LARK CRAFTS and the distinctive Lark Crafts logo are registered trademarks of Sterling Publishing Co., Inc.
Text 2018 Alli Bartkowski
Cover and photography 2018 Sterling Publishing Co., Inc.
All rights reserved. No part of this publication may be reproduced, stored in a retrieval system, or transmitted in any form or by any means (including electronic, mechanical, photocopying, recording, or otherwise) without prior written permission from the publisher.
ISBN 978-1-4547-1086-8
For information about custom editions, special sales, and premium and corporate purchases, please contact Sterling Special Sales at 800-805-5489 or .
sterlingpublishing.com
larkcrafts.com
Interior design by Karla Baker
Cover design by David Ter-Avanesyan
Interior and cover photography by Chris Bain
Introduction
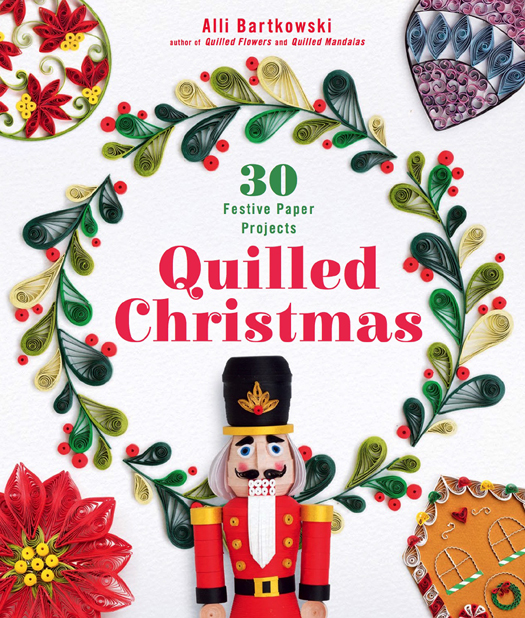
Christmastime is one of my favorite holiday seasons. In the fall, I begin quilling snowflakes for teachers, coaches, friends, and family. They are some of my favorite gifts to give, especially when theyre attached to a bag of chocolates. Any quilled Christmas ornament is a guaranteed crowd-pleaser, and the receiver always cherishes it.
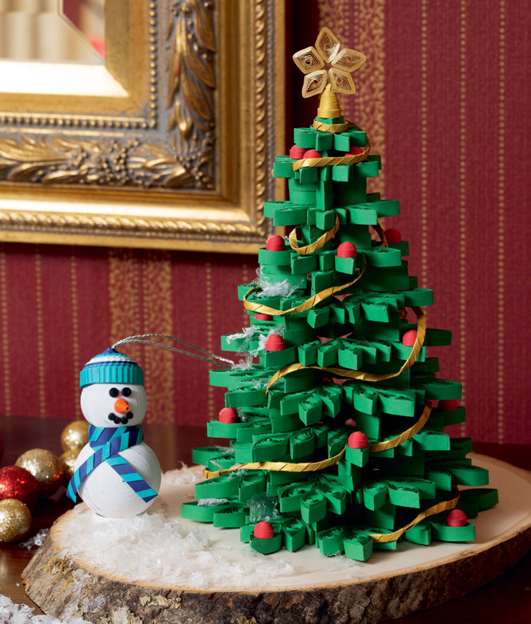
But in this book, I wanted to stretch my quilling knowledge beyond ornaments. I started to think about what home dcor items I would love to proudly display when family and friends visit my home. As I worked on each project idea, I became more excited for the season to come! The projects include framed wall art to hang in your foyer in December, centerpieces to display on a kitchen table, and unique cards to make for that perfect hand-delivered present. I even have some jewelry projects you can wear to your annual festive holiday gatherings.
I also asked myself how I could combine old and new quilling techniques in this book. I love to use typical text-weight quilling paper. It makes intricate quilled shapes and the perfect off-center circle. But with the growing popularity of quillography and linear art, how could I combine these trends with basic quilling techniques? Linear art and quillography, which blends paper quilling and typography, became popular when graphic designers started using strips of paper in advertisements to add an element of dimension to their work. They would use card-stock strips like a paintbrush or marker to make pictures, outlines, or shading effects. The strips were also shaped into letters to highlight the words in the ads. Their thickness and stiffness makes it more difficult to roll them into loose or tight circles, but these qualities help create beautiful linear art and defined borders. After much experimentation, I created projects that showcase the best use of both types of paper. I love how well they complement each other when you use them along with crimping, banding, and lettering techniques.
This book is filled with Christmas projects of all different levels. If youre looking for a project using the basic quilled shapes in a simple pattern, then try the Easy level projects. For those who want to venture into new quilling techniques, go for a Medium project. Advanced quillers can definitely dive into the more intricate and difficult Hard projects, where you can master multiple techniques. Theres something for everyone!
Quilling Basics
These unique Christmas projects only require some quilling tools and holiday-colored quilling papers. Youll enjoy learning a handful of new techniques and practicing some popular ones too.
Materials
To find quilling tools and papers, visit your large craft store chains. They may not always carry every color of paper, but they will have the basic quilling tools and variety packs to get you started. Online stores offer the best selection of quilling papers and card-stock strips for your projects. They will also have a good selection of tools to help with the techniques in this book.
Paper
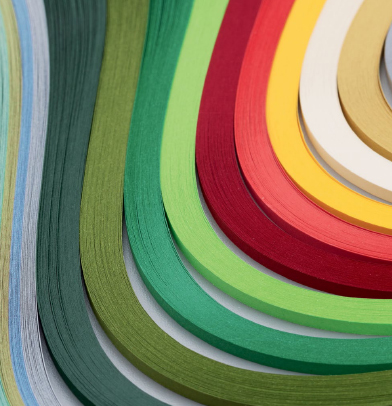
Quilling paper comes in all lengths, widths, and weights; most of the projects in this book use text-weight quilling paper (70 lb. text or 105 gsm). Youll find that text-weight paper is the easiest to roll, mold, and shape. For quillography, youll use special quillography strips that are often made of card stock (80 lb. cover or 190 gsm). They are stiffer to work with, but they are great for lines or borders. Youll see how you can combine both weights of paper to create beautiful quilled art projects.
Greeting cards work best with -inch (3 mm) wide paper. Miniature figures and three-dimensional projects are best made with a combination of -inch-wide (3 mm) and -inch-wide (6 mm) paper strips. The most difficult size to work with is the  -inch (1.6 mm) width because the strip is very narrow and takes more practice to roll. However, its best for adding small details, like buttons or faces. For the smaller projects, like the gift tags and Festive Place-Card Holders (), precut papers are a better choice. Cutting papers by hand will be very time-consuming, and the resulting strips may be uneven. A paper shredder can speed up the process, but the strip will have rough edges, which may not look appealing. The benefits of using precut strips are smooth edges, uniform widths, and longer strip lengths. The convenient packaging also gives you a place to store and keep the quilling paper in good condition.
Embellishments
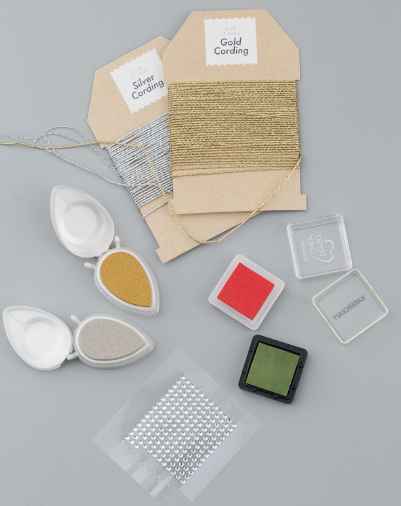
Only a few projects use embellishments to add sparkle or color. A rhinestone on a snowflake can be eye-catching. Ink pads can change the look of a plain piece of card stock, while chalk is useful for giving your Nutcracker () rosy cheeks. Add a special greeting to your cards and tags by using stamps or rub-on letters. Metallic cording is a functional tool that not only helps hold an ornament but also adds a finishing touch to a project. Visit your local craft stores to find all of these supplies.
Jewelry Findings
Some of the projects, like the Poinsettia Pin (), can be turned into wearable art! Your local craft store will carry the pin backings and corded necklaces that youll use to create some unique holiday jewelry.







 -inch (1.6 mm) width because the strip is very narrow and takes more practice to roll. However, its best for adding small details, like buttons or faces. For the smaller projects, like the gift tags and Festive Place-Card Holders (), precut papers are a better choice. Cutting papers by hand will be very time-consuming, and the resulting strips may be uneven. A paper shredder can speed up the process, but the strip will have rough edges, which may not look appealing. The benefits of using precut strips are smooth edges, uniform widths, and longer strip lengths. The convenient packaging also gives you a place to store and keep the quilling paper in good condition.