Contents
Guide
The Art of
Modern
Quilling
Contemporary Paper Techniques & Projects for Captivating Quilled Designs
Erin Perkins Curet

INTRODUCTION
Im going to begin this book with a confession: I am a lazy quiller. I do not mean that in a self-deprecating way or that I shy away from ambitious projects or even that I take shortcuts that compromise the end result of my work; that is far from the truth. I identify as a lazy quiller because I am turned off by traditional quilling methods that require me to take steps that, at least to my mind, seem essentially unnecessary and oftentimes very dated. If I see a paper project that involves pins of any kind, I inwardly cringe and avert my eyes. Is there a place for this kind of quilling in the world? Of course there isyou just wont find it in the pages of this book.
A decade ago, after a few years of being a stay-at-home mom and intermittent crafter, I stumbled across some quilled jewelry on a popular craft website. I was broke-as-a-joke in those days, so the thought of making such intricate beauties out of something as inexpensive and accessible as paper was instantly appealing to me. I didnt know what the craft was called or how it was done at the time, so I did what the desperate often do: I got to work and figured it out on my own. Trial and error was my best friend. I cut my own paper, and I used found household objects to get the job done. Those first projects were a mess, but I was hooked.
Eventually I learned that what I was doing was called quilling, and although my local craft store didnt sell any supplies, some lovely people from Asia did on eBay, and soon enough I was rolling proper. Why am I sharing this story with you? There are many beautiful quilling books on the market that will teach you the history of quilling and how to go about learning the art of paper filigree. Buy them, they are awesome. This book, however, is not one of them. The history of this book and the projects that it contains began ten years ago by a mama starved for a creative outlet while her toddlers napped upstairs.
Because I was without instruction or patterns, I was inclined to come up with my own. I made my own tools or found them and made paper bend to create my visions. It was years down the road, after finding some success on the festival circuit and online, that I came to the realization that I did not quill in a traditional way and that my projects were quite different from those of my peers. As I was not taught otherwise, I always took the most direct route to make my ideas come to fruition. This is a very different concept in the world of quilling, which traditionally can be tedious and finicky. I dont do well with that, and it turns out that there are a lot of other crafters who feel the same way! That brings us to the concept of this beautiful book.
In no way does this book cover everything there is to know about the art of quilling. Far from it. Instead, this book takes the quiller through a series of lessons and projects that closely replicates (in a less messy, trial-and-error way) the experience I had of teaching myself the art of modern quilling all those years ago. It all begins with the basic shapes, the same as in traditional quilling, but that is where the similarities end.
Each project will allow you to develop a skill, hone it, and then master it before moving on to the next one. Every chapter builds on those that came before it, and every project results in something useful, whimsical, or gift-able. Even if you have been quilling for years, The Art of Modern Quilling will have you using new tools, using tools you have always used in unique and different ways, or, at the very least, seeing the possibilities in quilling with new eyes and in unconventional ways.
My hope for this book, and for you, my dear paper roller, is that you get to experience some of the wonder and magic that I did back in the day as you create tangible works of art out of colorful, but humble, strips of paper! To this day, with each project I finish, I am in awe and full of gratitude for the beauty and satisfaction that can be created by mere pulp and glue. Thank you for letting me share this wonderment with you.
Chapter
One
THE BASICS
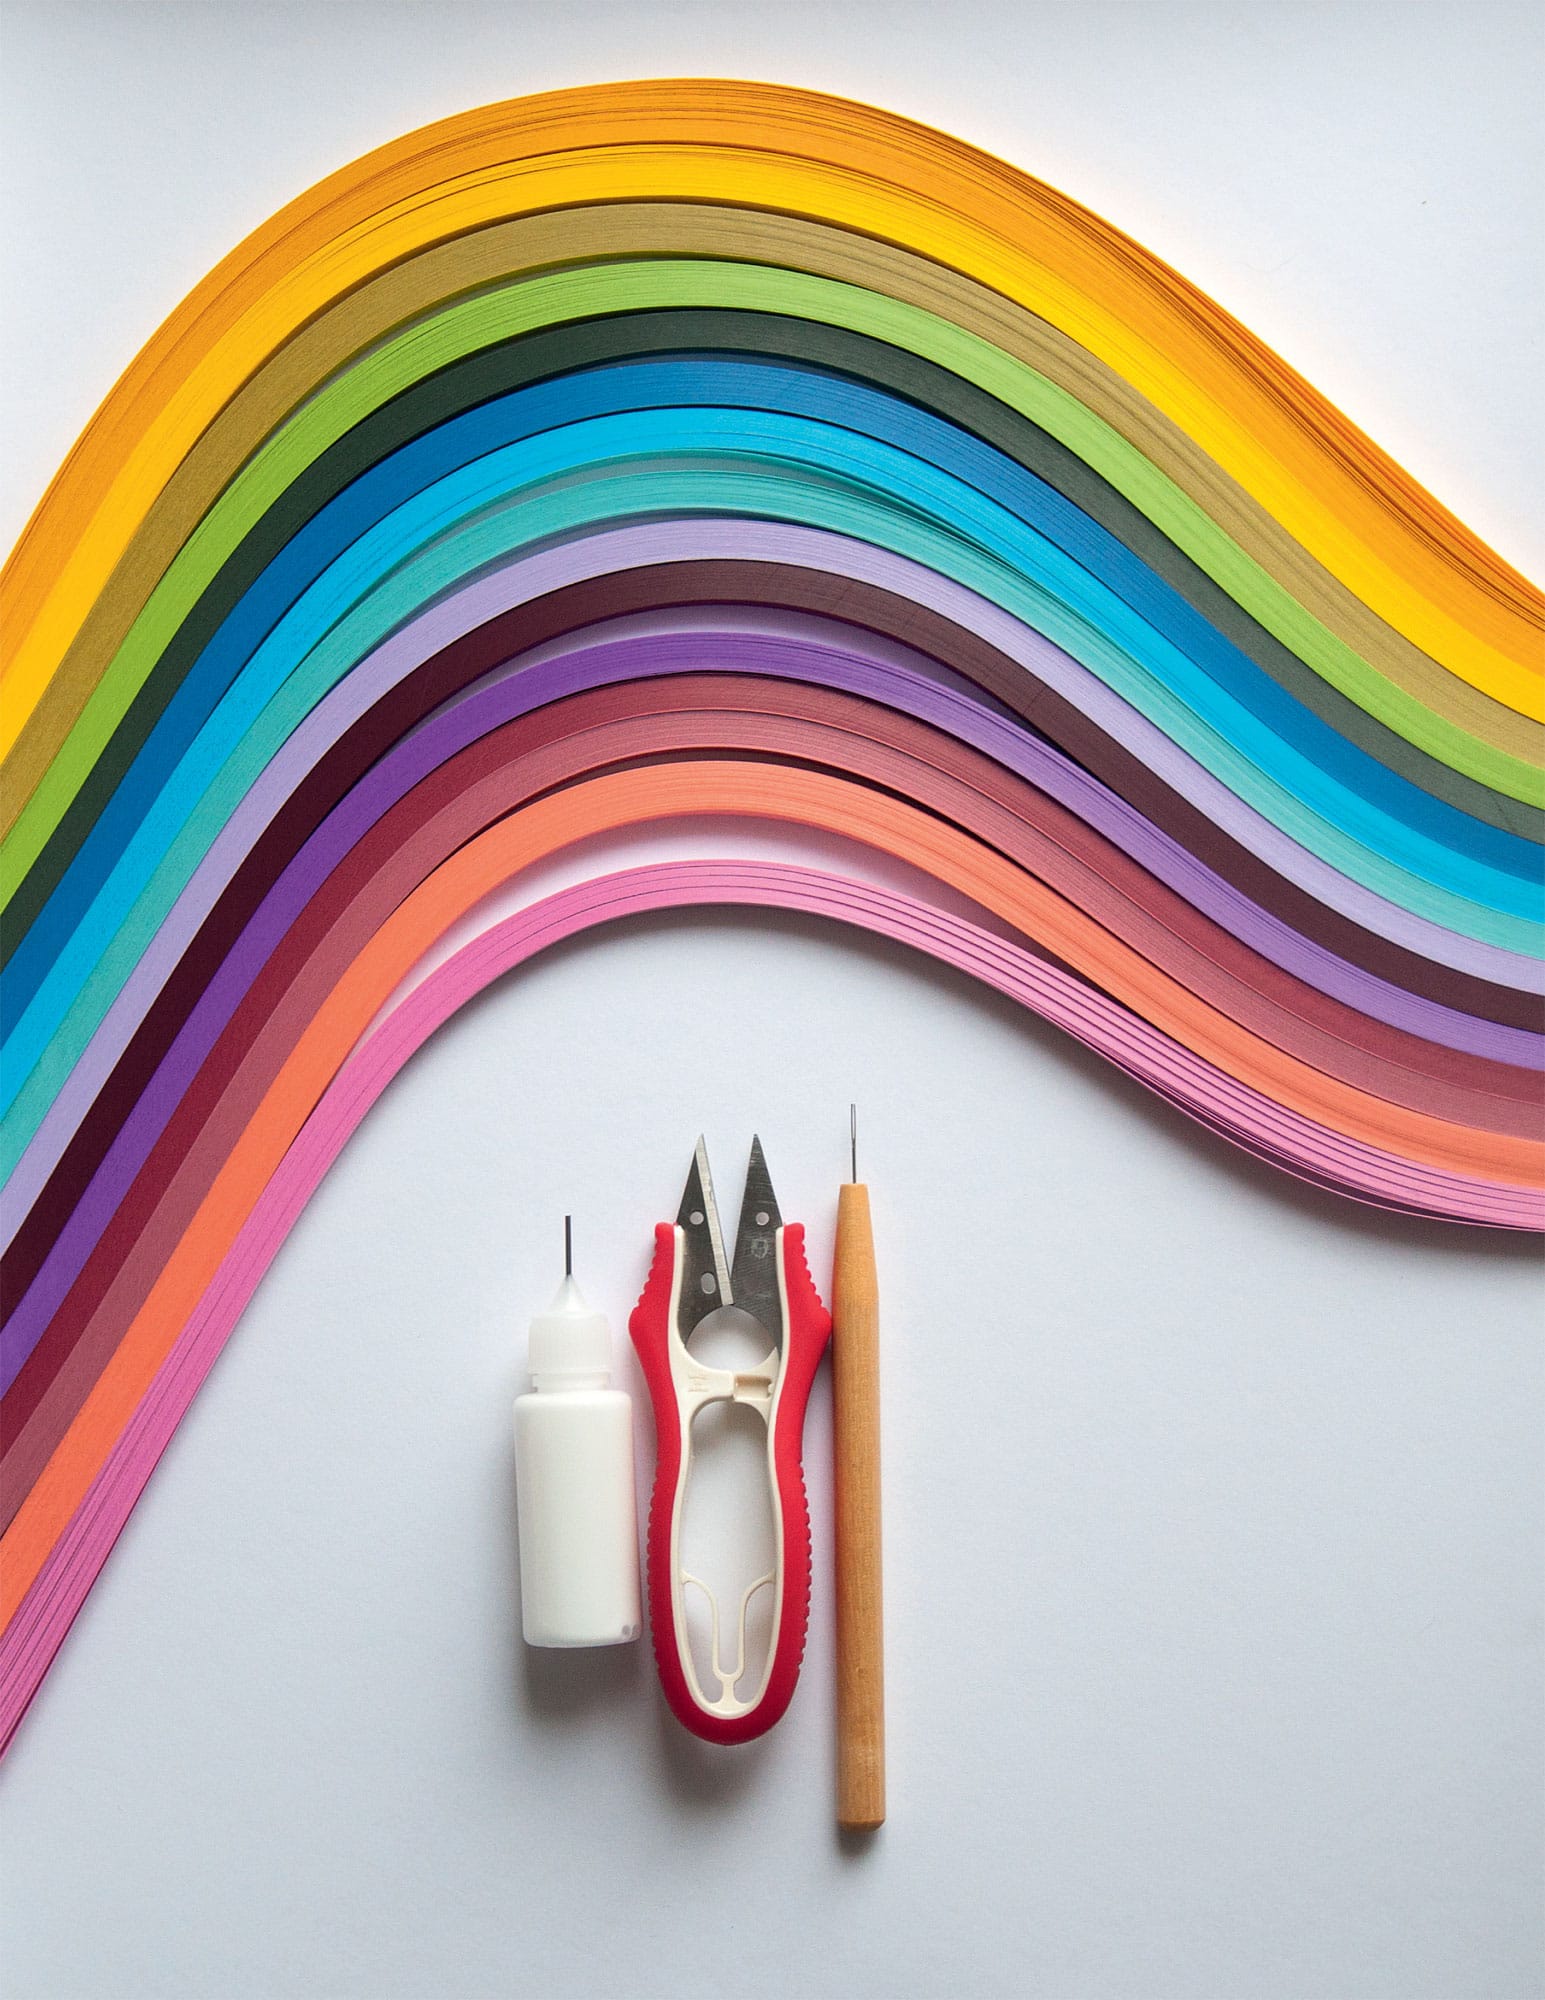
Quilling, in the simplest form, requires few tools and materials to get started. Paper strips, a tool to roll them, and some glue to secure them are all you need to learn the fundamental shapes that are truly the heart of quilling. In this book, however, we are going to go way beyond the basics and take quilling to new and exciting heights.
In this chapter, you will learn about the tools that we will use to create the various projects in this book, as well as a few additional ones that are great to have in any quilling kit. Many of the tools can be purchased from quilling supply shops; however, a lot of them can be sourced from items around your home or can even be made with just a few crafting materials.
Making what you have on hand work is one of the greatest advantages of this versatile craft. After looking over all of the information presented on the following pages, get creative and see what you have lying around that can be repurposed. Using what you already have available will allow you to practice and perfect your skills before investing in the supplies that you may want to create some (or all!) of the projects ahead.
One additional note: As stated in the introduction, the following supplies and materials are not a complete list of whats available in the world of quilling. This is merely a showcase of the tools we will be working with in this book and a few other fun items that can ease your work and make your projects pop!
MATERIALS & TOOLS
Quilling Tools & Rollers
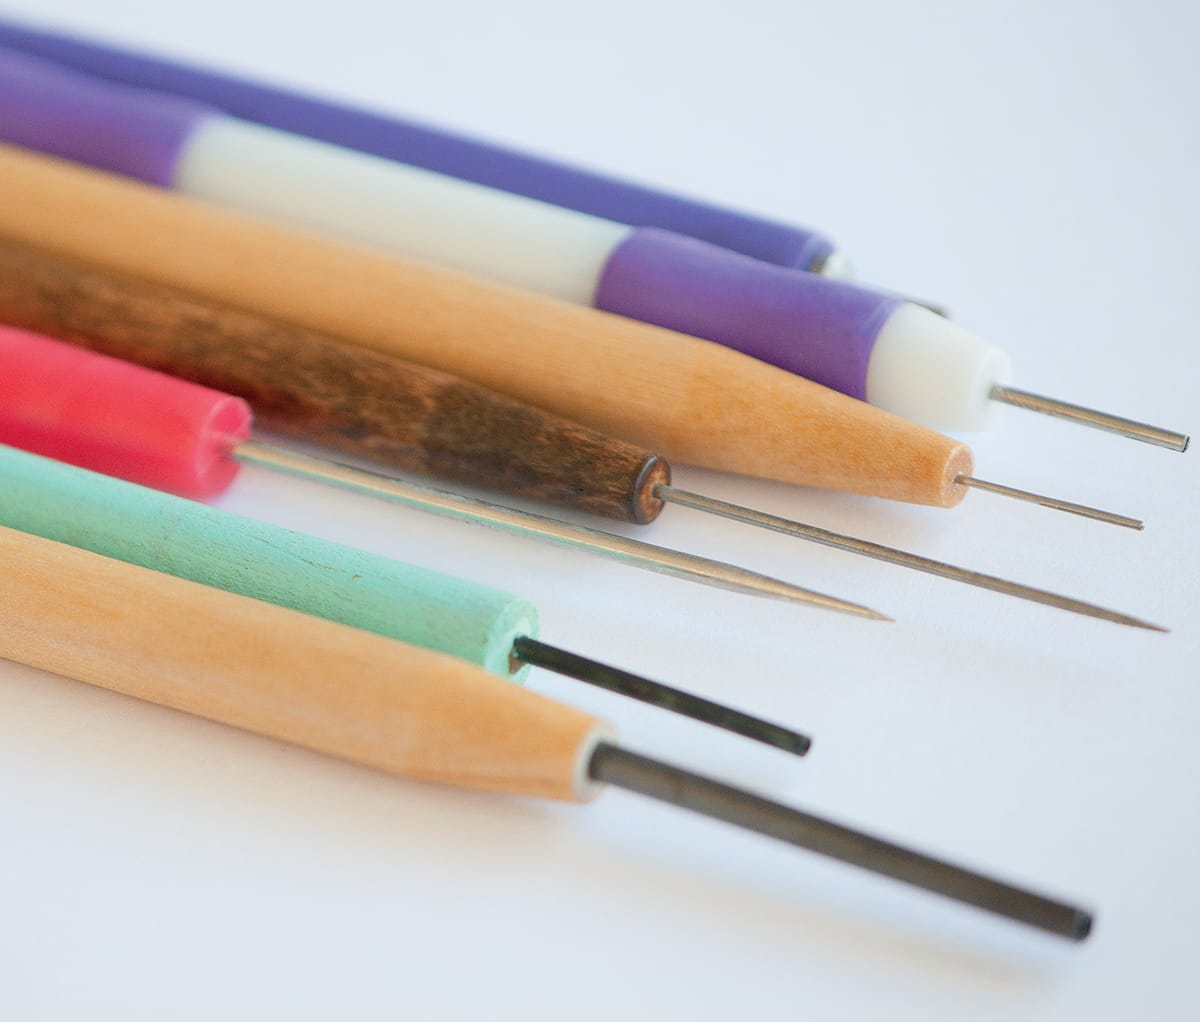
Quilling tools come in a plethora of shapes and sizes, and its handy to have a variety. Traditional quilling was originally created by rolling with just your fingers (no tool) or a needle tool (a long, thin needle in a wooden shaft). Both of these methods work, but they can be tedious. Some genius along the way came up with a slotted tool that can make quick work of rolling up paper strips. When picking slotted tools, purchase multiple lengths to work with different widths of paper. I also like to keep a larger bead roller tool in my kit that has a larger diameter shaft and a wider slot opening that can roll multiple strips at one time.


