Jerry Yarnell - Secrets of Acrylic - Landscapes Start to Finish
Here you can read online Jerry Yarnell - Secrets of Acrylic - Landscapes Start to Finish full text of the book (entire story) in english for free. Download pdf and epub, get meaning, cover and reviews about this ebook. year: 2012, publisher: Northlight, genre: Home and family. Description of the work, (preface) as well as reviews are available. Best literature library LitArk.com created for fans of good reading and offers a wide selection of genres:
Romance novel
Science fiction
Adventure
Detective
Science
History
Home and family
Prose
Art
Politics
Computer
Non-fiction
Religion
Business
Children
Humor
Choose a favorite category and find really read worthwhile books. Enjoy immersion in the world of imagination, feel the emotions of the characters or learn something new for yourself, make an fascinating discovery.
- Book:Secrets of Acrylic - Landscapes Start to Finish
- Author:
- Publisher:Northlight
- Genre:
- Year:2012
- Rating:3 / 5
- Favourites:Add to favourites
- Your mark:
Secrets of Acrylic - Landscapes Start to Finish: summary, description and annotation
We offer to read an annotation, description, summary or preface (depends on what the author of the book "Secrets of Acrylic - Landscapes Start to Finish" wrote himself). If you haven't found the necessary information about the book — write in the comments, we will try to find it.
Learn how to: Work with the right materialsMaster all essential techniquesChoose, mix and apply color
Jerry Yarnell: author's other books
Who wrote Secrets of Acrylic - Landscapes Start to Finish? Find out the surname, the name of the author of the book and a list of all author's works by series.


Secrets of Acrylic - Landscapes Start to Finish — read online for free the complete book (whole text) full work
Below is the text of the book, divided by pages. System saving the place of the last page read, allows you to conveniently read the book "Secrets of Acrylic - Landscapes Start to Finish" online for free, without having to search again every time where you left off. Put a bookmark, and you can go to the page where you finished reading at any time.
Font size:
Interval:
Bookmark:
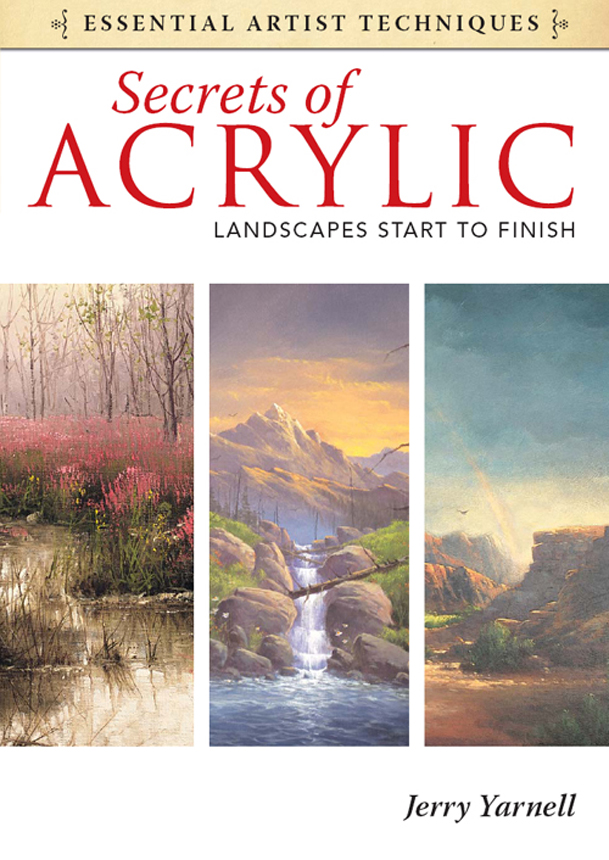
 ESSENTIAL ARTIST TECHNIQUESE
LANDSCAPES START TO FINISH
Jerry Yarnell
![]()
It was not difficult to know to whom to dedicate this book. I give God all the praise and glory for my success. He blessed me with the gift of painting and the ability to share this gift with people around the world. He has blessed me with a new life after a very close brush with death. I am here today and able to share all of this with each of you because we have a kind, loving and gracious God. Thank you, God, for all you have done.
Also to my wonderful wife, Joan, who has now gone on to be with the Lord. I know she must have loved me or she would not have endured the hardships of an artist life and stuck with me all those years.
Lastly, to my two sons, Justin and Joshua: You both are a true joy in my life.
So many people deserve recognition. First, I want to thank the thousands of students and viewers of my television show for their faithful support over the years. Their numerous requests for instructional materials are really what initiated the process of producing these books. I want to acknowledge my wonderful staff, Diane, Scott and my mother and father for their hard work and dedication. In addition, I want to recognize the North Light Books staff for their belief in my abilities.
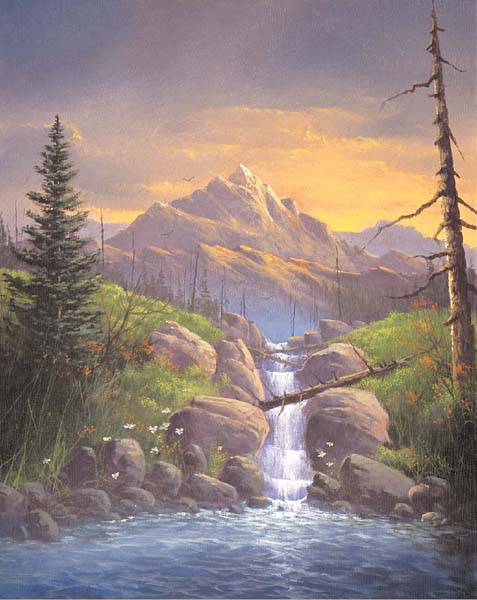
Peaceful Waters
12 16 (30cm 41cm)
Hopefully by now you have had a chance to become familiar with the basic techniques of landscape painting through my previous books. Until now, we have only scratched the surface. Keep in mind that painting requires a lifetime of learning, practice, patience and experimenting. In this book, we will explore the many different areas of landscape painting that often create problems for most beginning and intermediate artists.
Over the years I have realizedfor myself and my studentsthat sometimes the best way to learn new techniques, subjects and styles is to do a series of what we call thumbnail studies or paintings. Thumbnail paintings are small practice segments of a painting you may be struggling with; thumbnails are done on scrap canvases. Maybe youre painting a landscape with a beautiful sunset, or a snow-capped mountain, or a waterfall with large boulders, and youre really struggling with the rocks in the waterfall or the water running over the rocks. Or maybe you just cant quite get the snow-capped mountain right. Well, Ive discovered that by setting your painting aside, getting a scrap of canvas and working out your problems on that scrap instead of on the original canvas, you will have a tendency to learn faster. You will be less concerned about messing up on the thumbnail-study painting than you would working on the original. Artists generally are more relaxed and not as afraid to experiment with different techniques, color schemes and applications when theyre working with smaller segments on a canvas board. Once you work out everything on the thumbnail, youll have much more confidence to try the techniques on the original without as much fear of messing up your beautiful painting.
In this book we will primarily focus on thumbnail paintings to learn specific subjects, techniques, color schemes and more. I know youll love this way of learning. It will be exciting, fun, and very informative. So grab your paints, brushes and some scraps of canvas or canvas boards and lets get started.
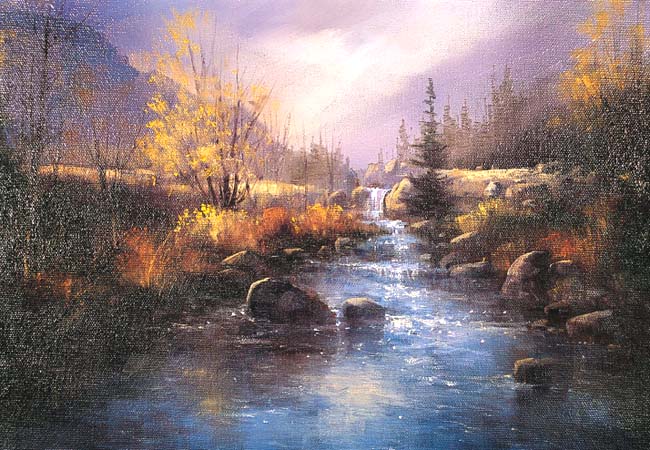
Peace Be Still
12 16 (30cm 41cm)
Complementary colors are always opposite each other on the color wheel. Complements are used to create color balance in your paintings. It takes practice to understand the use of complements, but a good rule of thumb is to remember that whatever predominant color you have in your painting, use its complement or a form of its complement to highlight, accent or gray that color.
For example, if your painting has a lot of green in it, use its complementredor a form of red, such as orange, red-orange or yellow-orange. If you have a lot of blue in your painting, use blues complementorangeor a form of orange, such as yellow-orange or red-orange. The complement to yellow is purple or a form of purple. Keep a color wheel handy until you have memorized the color complements.
In most of my books, you hear me use the word creamy in every study. For the acrylic technique, I teach the principle that the paint has to be very creamy for it to work correctly. In other words, when a mixture needs to be creamy, it should be like the consistency of soft butter.
This technique is used to create leaves, ground cover, flowers, etc. Take a bristle brush and dab it on your table or palette to spread out the ends of the bristles like a fan. Then load the brush with an appropriate color and gently dab on that color to create the desired effect.
Often it is necessary to put two colors on your brush to create a mottled effect, create special blends in a sky, or underpaint certain things like large, grassy areas, tree trunks, rock formations, etc. To double load, simply put one color on one corner of the brush and another color on the other corner of the brush. Then blend them together on the canvas itself.
To prepare your bristle brush for dabbing, spread out the end of the bristles like a fan.
This term is often misunderstood. There are two aspects to drybrushing: loading and applying. To drybrush, take whatever mixture you are using and, after loading a very small amount on your brush, wipe some of it onto a paper towel or another surface. Once the brush is properly loaded, very lightly skim across the surface of the subject you are painting with very light pressure. Thus you have created a dry-brush effect.
Eye flow is the movement of the viewers eye through the arrangement of objects on your canvas or the use of negative space around or within an object. Your eye must move or flow smoothly throughout your painting or around an object. You dont want your eyes to bounce or jump from place to place. When you have a good understanding of the basic components of composition (design, negative space, eye stoppers, overlap, etc.), your paintings will naturally have good eye flow.
Feathering is a blending process used to soften the edges of certain objects. You take the color and carefully blend it in whichever direction you need until the color fades into the background and there are no visible edges where the colors are blended together. This is sometimes hard to do. It usually requires a dry-brush technique.
Font size:
Interval:
Bookmark:
Similar books «Secrets of Acrylic - Landscapes Start to Finish»
Look at similar books to Secrets of Acrylic - Landscapes Start to Finish. We have selected literature similar in name and meaning in the hope of providing readers with more options to find new, interesting, not yet read works.
Discussion, reviews of the book Secrets of Acrylic - Landscapes Start to Finish and just readers' own opinions. Leave your comments, write what you think about the work, its meaning or the main characters. Specify what exactly you liked and what you didn't like, and why you think so.