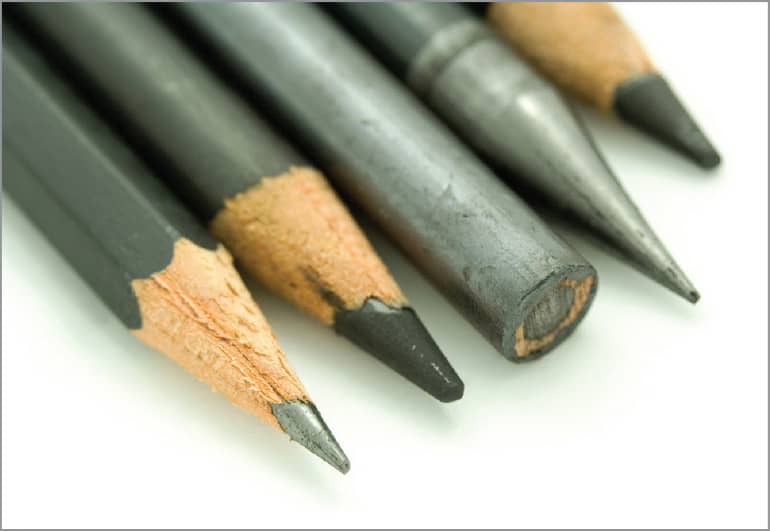
Drawing pencils come in soft and hard grades. Soft-grade pencils range from B, 2B, 3B, up to 9B and 9xxBextra soft! Hard-grade pencils range from H, 2H, 3H, up to 9H. The higher the number that accompanies the letter, the softer or harder the lead. Between the two grades is the HB pencil, and between H and HB is the F pencil. Experiment with the different grades to discover which ones you prefer. You will find that you dont need to work with every grade of soft and hard pencil. I have narrowed down my set to just a small number for most of my work, but I keep the others close by in case I need them. Some artists prefer the mechanical drafting (clutch) 2mm pencil rather than traditional wood-encased pencils. A good-quality clutch pencil will last for years and perform very well. The 2mm graphite refill leads come in all the hard and soft grades. When purchasing clutch pencils, make sure you get the sharpener designed for them; it produces a very sharp point for fine-detailed work. You can even save the graphite shavings for later use!
Erasers
There are many different types of erasers available. I primarily use the following:
KNEADED This very versatile eraser can be molded into a fine point, a knife-edge, or a larger flat or rounded surface. It removes graphite gently from the paper, but not as well as vinyl or plastic erasers. Use it in a dabbing motion to pull or lift off graphite from the drawing surface. A kneaded eraser works well for final cleanup.
BLOCK ERASER A plastic block eraser is fairly soft, removes graphite well, and is very easy on your paper. I use it primarily for erasing large areas, but it also works quite well for doing a final cleanup of a finished drawing.
STICK ERASER This is one item that I cannot draw without! Also called click pencil erasers, these handy tools hold a cylindrical eraser inside. You can use them to erase areas where a larger eraser will not work. Using a utility razor blade, you can trim the tip at an angle or cut a fine point to create thin white lines in graphite. Its like drawing with your eraser! Refills are inexpensive and easy to find.

Blenders
There are many tools available for blending graphite and charcoal. Some you can even find around the house! Never use your finger to blendit can leave oils on your paper, which will show after applying your medium.
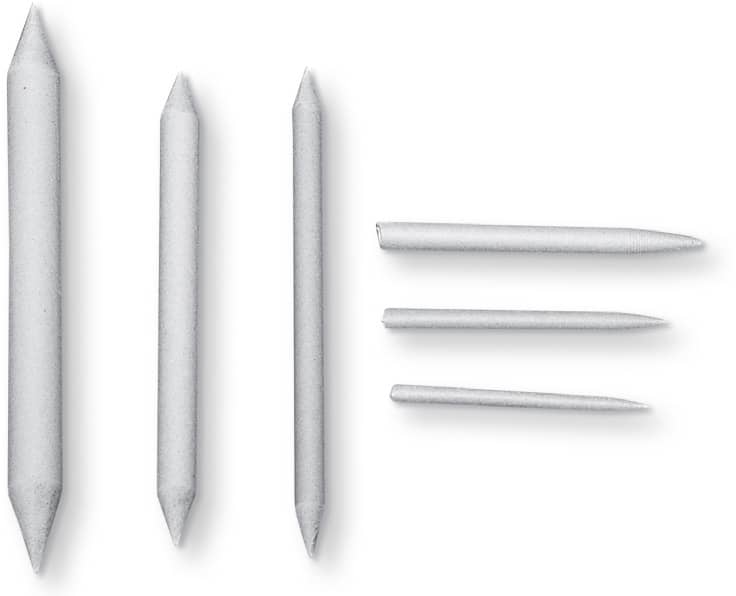
STUMPS These blenders are tightly rolled paper with points on both ends. They come in various sizes and are used to blend large and small areas of graphite, depending on the size of the stump. I keep my old, worn stumps for applying light shades of graphite. You can also use stumps dipped in graphite shavings for drawing or shading.
TORTILLONS These tools are rolled more loosely than stumps. They are hollow and have one pointed end. Tortillons also come in various sizes and can be used to blend smaller areas of graphite.
FACIAL TISSUE This is one of my favorite blending tools. You can wrap it around your finger or roll it into a point. I mostly use it when drawing very smooth surfaces or in portraits to achieve soft skin tones. Make sure you use plain facial tissue, without added moisturizer.
CHAMOIS These cloths are great for blending areas into a soft tone. You can use them for large areas or fold them into a point for smaller areas. I prefer a good-quality natural leather chamois, but a synthetic leather chamois can also yield good results. Cut them into the size that works best for you. When the chamois becomes embedded with graphite, simply throw them into the washer or wash by hand. I usually keep one with graphite on it to create large areas of light shading. To create darker areas of shading, I add graphite shavings to the chamois.


