Dedication
To Gwen Steege, for everything
Contents
Going Round the Bend
You might think that with the 150 borders that appear in Around the Corner Crochet Borders, I would have used up all the border designs that I had floating around in my head, but apparently that was not the case. You might even say that Im crazy about borders!
Here are 139 additional borders, each of them engineered to flow smoothly around the 90-degree corners that youll find on blankets, sweaters, washcloths, and other items. No matter what your need lacy, solid, textured, subtle, bold, narrow, medium, or wide youll find a border to fit it.
To encourage browsing, the borders are arranged on the following pages in no particular order. Browsing can pay off in a big way. You may think you want a ruffled edging, but when you see that textured border, youll realize its just the thing! If you really have your mind made up, however, Ive tagged each entry with attributes to help you quickly find what you are looking for. Use the lists in the to scan the borders categories: reversible, wide, medium, narrow, undulating, straight, motifs, open/lacy, layered, fringy, and textured.
Crocheted borders work on many types of fabric, including crocheted, knitted, and woven. You can add a crocheted border to non-woven fabric, such as felt or fleece, and you can make separate borders and sew or glue them onto other types of material.
As with Around the Corner Crochet Borders, I hope youll use Every Which Way Crochet Borders as a starting point for discovering new techniques and for jump-starting your imagination.
Design Concepts
Choosing a border design may seem overwhelming. After all, there are so many to choose from! Your choice will be determined by the project, your personal taste, and the taste of the person who will be using it. You may just go with your instincts when choosing a border, but if you want a more structured approach, you might keep in mind some of the following principles.
Choices: Form Follows Function
Simple, narrow borders may serve mostly functional tasks: hiding yarn ends, stabilizing edges, and serving as button and buttonhole bands. They may be the best choice to frame a throw or shawl or other item that is particularly busy, multicolored, or highly textured. In other words, for these projects, let the main fabric be the main act and the border be the supporting cast.
More decorative borders, on the other hand, may be the focal point of a design, or at least may serve to enhance and complement the main fabric. As a matter of fact, some borders are so versatile that they can be used for more than just borders! That fringy, dangly border that might not be the best choice for a much-used childs blankie might be perfect made into a necklace.
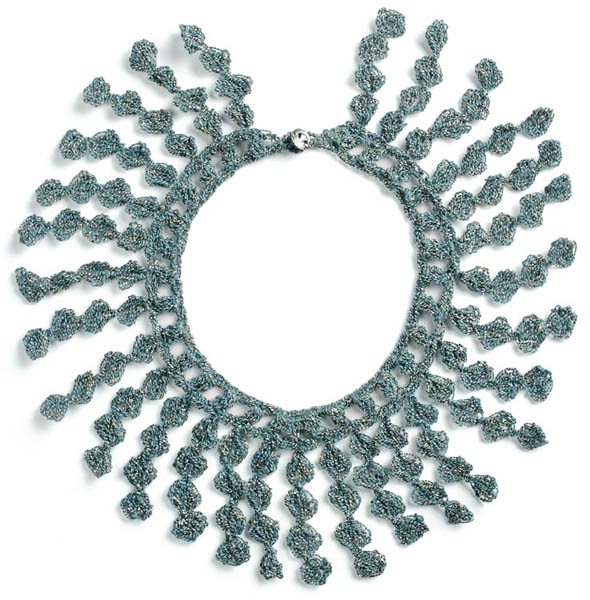
Border #15 () worked in a metallic/cotton/linen blend creates a dramatic necklace.
Complement vs. Contrast
Consider choosing a border that picks up some aspect of the main fabric.
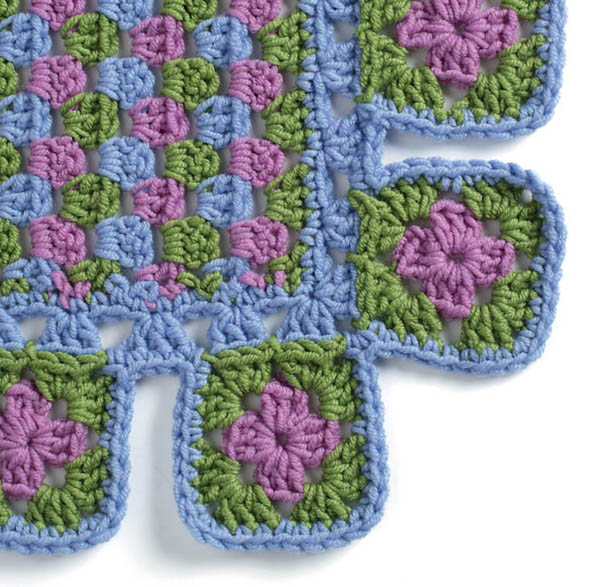
This border consists of granny squares and would look terrific on an afghan composed of granny stripes.
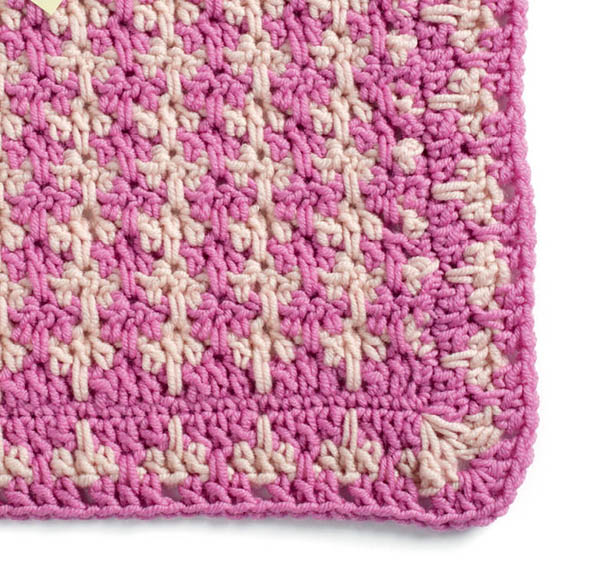
This example uses the same stitch pattern as the main fabric, but with reversed colors.
A very plain fabric may be enhanced by a fancy border, as demonstrated by this fan-based design on a shell-stitch fabric.
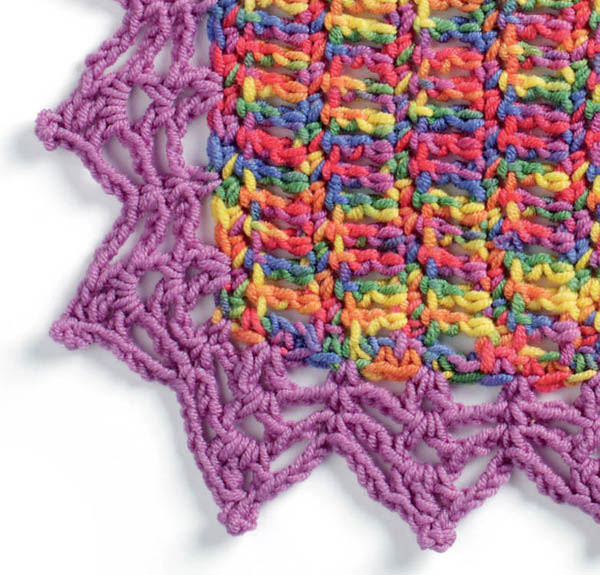
A crazy, multicolored fabric might need the settling influence of a solid-colored border.
A Matter of Scale
Pay attention to the scale of your border as it relates to whatever you are attaching it to. Avoid overwhelming a tiny project with a too-wide border, as seen in the photo below. (Unless, of course, thats the look you are going for!)
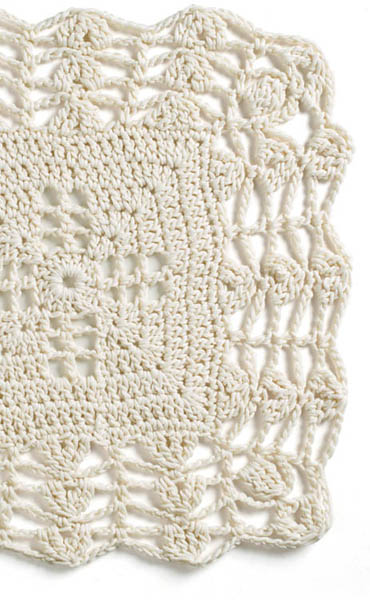
This 7"/18 cm square washcloth is overwhelmed by its wide border, making the washcloth somewhat difficult to use for its intended purpose.
The Potential in Color
Colors play a very important part in design; a simple change of color can completely change the look of a border, as you can see in the examples below. A solid color used throughout can highlight the shape of the overall design, while a multicolor yarn may confuse and muddy that same shape. Using different solid colors in separate rounds can highlight individual stitches or groups of stitches. The order of the colors can matter; two colors may seem to go well in theory, but have unexpectedly unhappy results when placed next to each other. The color of the final round sets the tone of the entire border. You may need to play with color placement to ensure that the final round stands up to its role as both design anchor and focal point. And of course, we all have color preferences. Dont dismiss a border in the book based on color alone. You might love it in a different color!
What a Difference Colors Can Make
in the original solid (A), and in an entirely different solid color (B), worked in a multicolor (C), and worked with three different colors, on different rows (D)
Colors call Attention to Structure
Working in two colors highlights the construction of the border on the top (A), whereas working in one color simplifies the appearance and highlights the shape of the border on the bottom (B).

