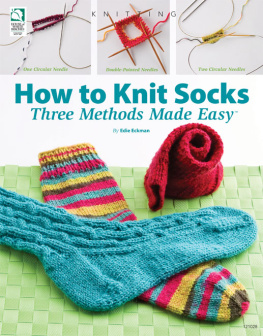
How to Knit SocksThree Methods Made Easy
 Table of Contents
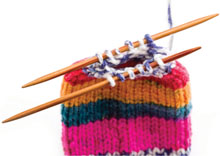
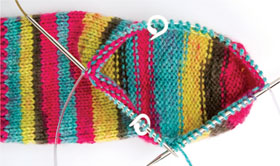
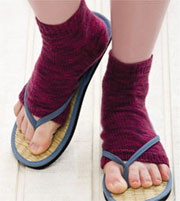
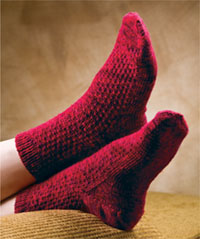
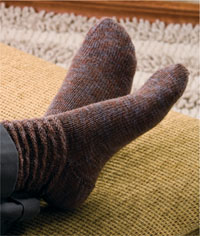 IntroductionSocks are a never-ending source of pleasure for knitters. They are small, portable and functional. Furthermore, they offer an unlimited opportunity to play with texture, color and all those elements that keep our fingers and our minds happily engaged.For perhaps hundreds of years, people have been knitting socks using double-pointed needles. In recent years, other sock-knitting techniques have become popular as knitters look for alternative ways to knit small-circumference tubes in the round. In this book, youll learn three different methods of knitting socks in the round:Using double-pointed needles.Using two circular needles.Using one long circular needle, sometimes called the Magic Loop.These instructions are written for working one sock at a time. Using the two circular needles or Magic Loop method, it is possible to work two socks at the same time using separate balls of yarn.
While this has the advantage of getting both socks completed at the same time, for purposes of learning a new technique well just concentrate on working one sock at a time.Start with the basic sock in sport weight yarn to learn the basics of sock knitting. Take time to understand this type of sock constructionthe way the different parts of the sock relate to one anotherand youll find it easy to use these methods in other socks.The construction of all the socks in this book is the same:Start with a cuff and/or leg which is worked in rib or another type of stitch which will hold the sock up.Work back and forth on a heel flap, while the instep (top-of-the-foot) stitches are left unworked.Turn the heel using short-row shaping on the heel flap stitches.Pick up stitches along the sides of the heel flap, and begin working in the round once more.Decrease two stitches every other round, placing the decreases where the instep joins the side of the heel flap, to create a gusset.Work even in rounds until the foot is the desired length, minus the length needed for toe shaping.Decrease four stitches every other round (and then every round) at the sides of the foot, to create toe shaping.Arrange top-of-foot stitches and bottom-of-foot stitches on parallel needles so they may be grafted together.Graft toe stitches for a seamless finish.If this terminology sounds confusing, dont worry. Youll know what it means by the time you complete the basic sock.No matter which method you decide to use to knit your socks, youll find the step-by-step directions and photographs make your sock-knitting experience educational and enjoyable.Double-Pointed NeedlesTwo Circular NeedlesOne Long Circular Needle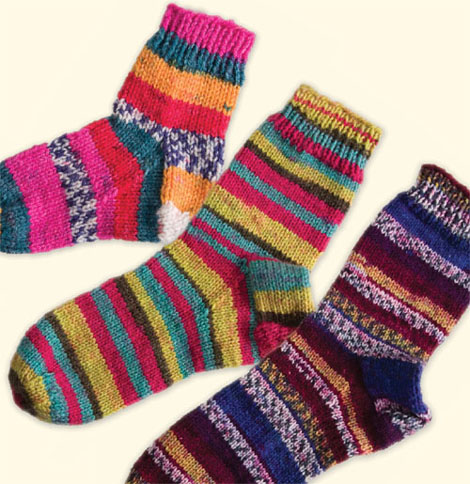 To help you learn these new methods, we included tips and explanatory information in italics. These sections are also indented to set them apart. If you already know how to knit socks in this method, you can follow the regular text only. Read the indented, italic section if you want more explanation than is given in the basic instructions.The three socks in the instructional section are knit in self-striping yarn.
If you havent tried knitting with these wonderful sock yarns, now is the time to start. All the yarns used in this book are available from AnniesAttic.com.SizesChilds (Womans, Mans) Instructions are given for smallest size, with larger sizes in parentheses. When only 1 number is given, it applies to all sizes.Finished MeasurementsFoot Circumference: 5 (6, 8) inchesFoot Length: 6 (9, 11) inchesMaterialsDK weight acrylic yarn (147 yds/50g per ball) 1 ball for childs size, 2 balls for womans or mans size3 balls needed for longer or taller sockSize 3 (3.25mm) double-pointed needles or size needed to obtain gauge: set of 4 or 5Stitch markersTapestry needleGauge12 sts and 17 rnds = 2 inches in St st.To save time, take time to check gauge.Project Note: With this method, stitches waiting to be knit are arranged on 3 or 4 needles. A 4th or 5th needle serves as the active needle. These instructions are written as if you are using a set of 5 needles, with changes for a set of 4 needles in brackets.CuffCast on 32 (40, 48) sts loosely. Arrange sts for working in the rnd.Arrange stitches so that of the stitches are on each of 4 needles [approximately of the stitches are on each of 3 needles].
You will be knitting with the 5th [4th] needle.Join, being careful not to twist sts. Knit 1 rnd.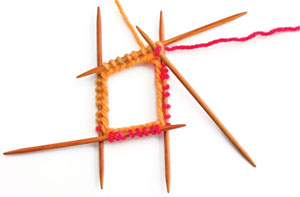 Hold the needles so that they form a square [a triangle]. Making sure that the cast-on edge does not twist around the needles, insert the free needle into the first stitch you cast on. Using the working yarn attached to the last stitch cast on, knit this stitch. Continue knitting all the stitches on the first needle. When the stitches on the first needle have been knit, use that needle to knit the stitches on the next needle.
Continue using the newly empty needle to knit the stitches off the next needle, until you have reached the end of the round.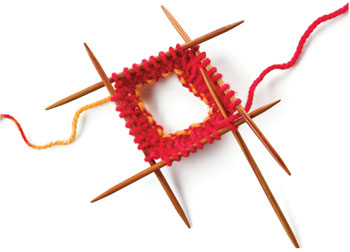
Next page
