
Copyright 2018 by Larissa Costello
Photographs copyright 2018 by Larissa Costello
All rights reserved. No part of this book may be reproduced in any manner without the express written consent of the publisher, except in the case of brief excerpts in critical reviews or articles. All inquiries should be addressed to Skyhorse Publishing, 307 West 36th Street, 11th Floor, New York, NY 10018.
Skyhorse Publishing books may be purchased in bulk at special discounts for sales promotion, corporate gifts, fund-raising, or educational purposes. Special editions can also be created to specifications. For details, contact the Special Sales Department, Skyhorse Publishing, 307 West 36th Street, 11th Floor, New York, NY 10018 or .
Skyhorse and Skyhorse Publishing are registered trademarks of Skyhorse Publishing, Inc., a Delaware corporation.
Visit our website at www.skyhorsepublishing.com.
10 9 8 7 6 5 4 3 2 1
Library of Congress Cataloging-in-Publication Data is available on file.
Cover design by Jane Sheppard
Cover photo credit iStock photo
Print ISBN: 978-1-5107-3056-4
Ebook ISBN: 978-1-5107-3058-8
Printed in China
DEDICATION

Crafts by the Sea is dedicated to all of the crafters and DIYers out there!
Never let your imagination run dry, for inspiration is all around you. This book is designed to give you inspiration and basic know-how, but from here, open your mind and let your creativity shine.
Creating is inventing, experimenting, growing, taking risks, breaking rules, making mistakes, and having fun! Mary Lou Cook
CONTENTS

A QUICK NOTE BEFORE GETTING STARTED

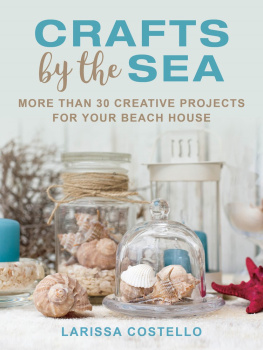
Welcome to Crafts by the Sea ! This book includes a diverse collection of coastal DIY crafts that can be completed by adults with different levels of experience. The projects that you will see and read about throughout the duration of the book can all be easily altered so you can put your own unique spin on them. Please use this book as a guide to create the projects listed, but dont feel nervous to try different things based on your personal desires for the finished project.
I hope that you enjoy reading and viewing the projects I created. Crafts by the Sea is an honest representation of all projects. Each project includes any tips and tricks I think will help you along the way, as well as examples of failures that may have occurred throughout the process that you may also encounter as you work. I encourage you to read the projects section completely before starting any of these crafts.
Lets jump ahead quickly before we even really get started! Youve gathered your coastal materials as recommended on the pages throughout this book, and now youre ready to start creating your pieces. However, youll need a few common materials and crafting supplies before you get to work. Be mindful that for any projects including paint, resin, or wood stain that you should always lay down plastic or newspaper before starting. Supplies are listed for each project individually, but I wanted to go into two specific pieces of equipment with you first.
HAND-HELD ROTARY DRILL
I currently have a Dremel 3000. This is a variable-speed, hand rotary tool that allows me to cut, drill, engrave, polish, sand, and so much more. Be sure to purchase diamond-tipped drill bits. Most commonly, I use a 1-2.1 mm for drilling holes in sea glass or shells.
Drilling through sea glass is tricky and may not happen perfectly the first time through, so play with it a little. Try drilling holes into pieces of shells or non-preferred glass pieces. Make sure to use a diamond-tipped drill bit in the desired size and complete a wet-drill. I typically drill against wood block that is submerged in a small basin of water. When drilling, the water level is right below my wood-drilling platform. I can pause to dip the material into the water or add droplets of water during the drilling process.
At the start of drilling, be sure to just barely touch the surface and not press down too hard. If you press too much on the drill, the diamond bit wont be able to do the work and you will simply burn through your bits. So, go slow and let the diamond-tipped drill bit do the work.
To prevent cracking or breaking, be sure to flip the glass over halfway through drilling and drill the same hole from the other side. This helps to alleviate pressure near the end of the drilling. Ive lost several pieces from putting too much pressure on the glass when drilling or from cutting too close to the edge.
Another thing that I love to do with my Dremel is to use the sanding attachments to shape edges on sea glass. This can smooth out any edge or help shape a piece to fit your ideal design.
WOOD STAIN
To apply wood stain, you can use a small sponge, paintbrush, or old, cotton T-shirt. Dont forget that this will most definitely ruin whatever you use! My preference is the T-shirt because its soft and has the perfect absorbency to spread the stain around. Make sure that the T-shirt is clean! I keep a pile of them in my garage for projects like these, and once made the mistake of grabbing one that had some fine dirt and dog hair on it, not noticing until after I started to stain the project. All the dirt and hair stuck into the stain and was a pain to clean up! When applying the wood stain, make sure to follow the direction of the wood grain and to spread the stain evenly.
SIMPLE ODDS-N-ENDS


Magnets

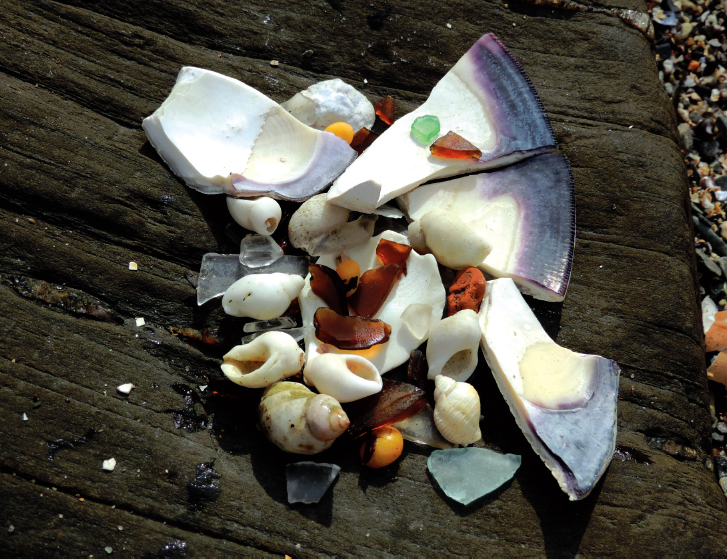
When searching for yet another magnet for the refrigerator, I realized how easily I could make my own. Coastal magnets seem simple, but they can really bring the tranquility of the ocean to the home, office, or anywhere else desired.
MATERIALS:
Magnetic circles or strips (cut to desired size)
Any variety of coastal shells, glass, or brick desired
Quick Grip contact cement
THE HOW-TO
For this, I chose to use the magnetic circles instead of strips since I knew I had smaller seashells and glass items that I wanted to use. Magnetic circles or strips are easy to find in all local craft stores.
Next page
