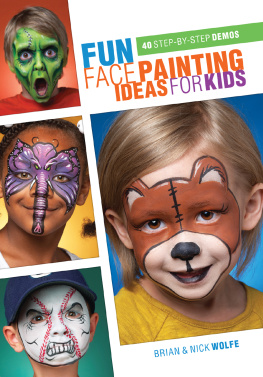
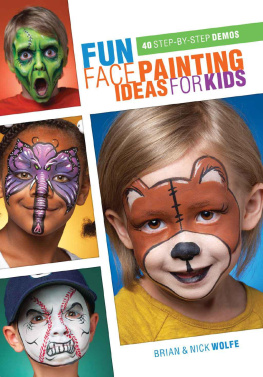
FUN FACE PAINTING
IDEAS FOR KIDS
NICK & BRIAN WOLFE
CINCINNATI, OHIO
WWW.IMPACT-BOOKS.COM
Dedication
Nick and Brian would like to dedicate this book to you.
Introduction
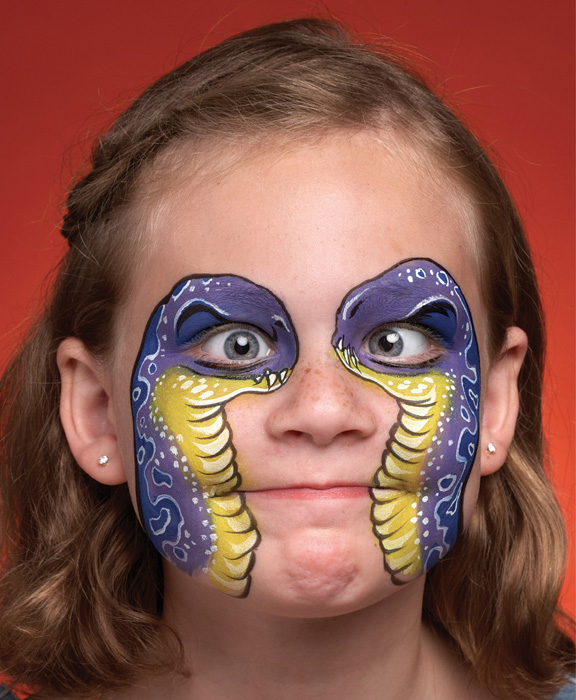
Welcome to Fun Face Painting Ideas for Kids! Dont be fooled by the title, because this book is for everybody. Its for kids, parents, clowns, thespians, face and body painters, make-up artists, and anyone who wants to transform someone into their hearts desire. Well cover all kinds of face art designs ranging from simple to challenging. There are projects for every skill level.
With this book, we hope to raise public awareness of this form of art. It truly is for everyone. We all have faces, dont we? Face art does not discriminate. Anyone can paint a face or have their own face painted.
We also hope that this book will always remain with you and continue to provide inspiration while you grow as an artist. This book was designed to be shared so be sure to show people your favorite face art designs from these pages, as well as your own original creations that they inspire.
Materials
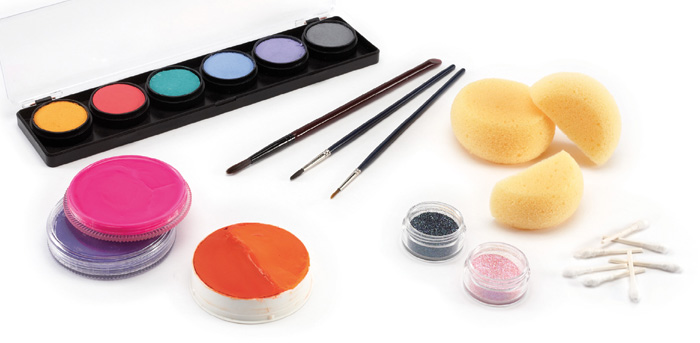
You dont need a ton of stuff to get started painting faces. Brushes and paints are the essentials.
STIPPLING
Paints
Use water-based theatrical makeup that is hypo allergenic and nontoxic. Acrylic paint is not made for face painting and should be avoided. Every brand of face paint works. Some have more pigment and brighter colors, while some are easier to wash off. Decide which characteristic is more important to you and go with that.
Brushes
We use small synthetic rounds. Make sure they have stiff bristles with sharp points that can yield a fine line.
Stick with a no. 3 round for ideal control. The bigger the brush size, the less control youll have, which means the lighter your touch will need to be. A no. 3 round allows you to make a really thin line. By applying more pressure, you can produce a wide line as well.
If you find your linework is a bit heavy-handed, try a no. 1 round. Use a no. 6 round for very wide lines. A filbert brush is a good choice for dragging and blending color because of its rounded head and very thick bristles. All these brushes can be found in any art or craft store.
Other Materials
Cotton swabs cut in half are useful as disposable applicators, erasers (when used with a little water) or disposable brushes. Youll also need sponges. We recommend firm sponges with rounded edges and large pores. The sponges used for this book are pottery sponges cut in half. Hand sanitizer, baby wipes and loose polyester glitter are also great items for your kit.
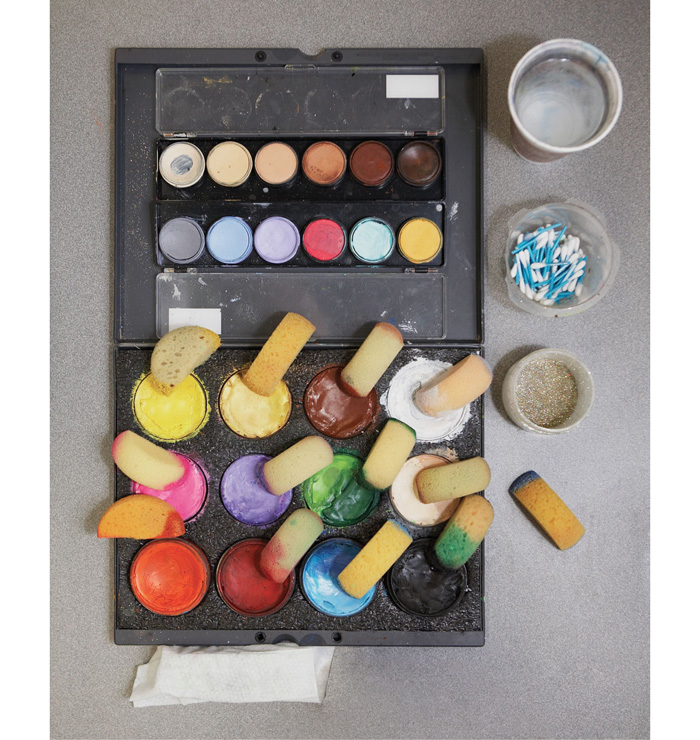
Face Painting Kit Setup
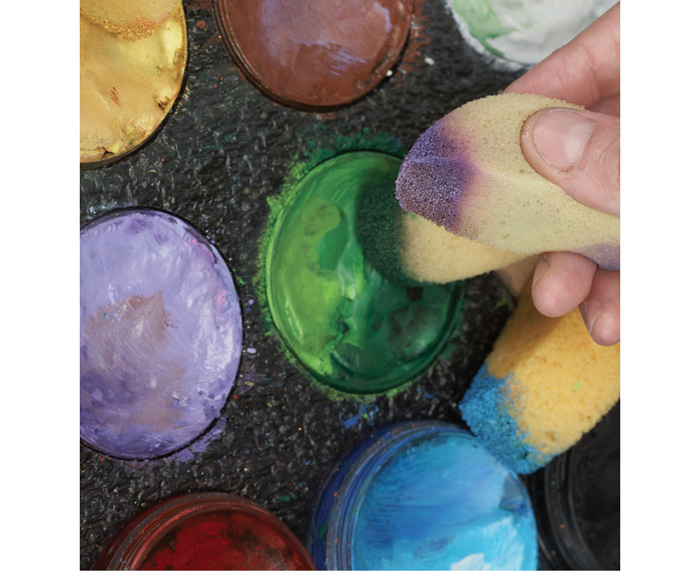
All face painting kits are unique, but this is our typical setup. One color per sponge is recommended. Use one end for the paint and keep one end dry for blending.
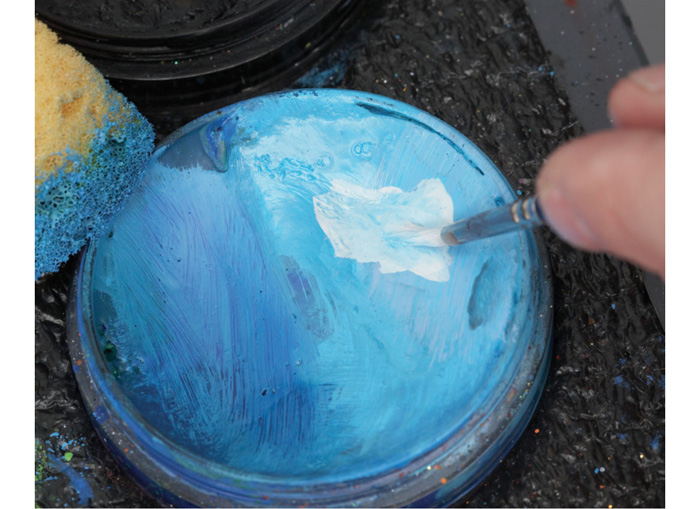
Split Paint Cakes
Split cakes have both the dark and light shades of a color. Some have one half UV-reactive (black light) paint. The idea is to have more color choices in a smaller kit and to be able to mix colors to achieve maximum coverage and the brightest color. Colors can be mixed right on top of the cake as well. Wipe the cake clean with a baby wipe to get it back to the original condition.
Using Sponges
Wet only the very tip of the sponge. The amount of water determines how much paint there will be to work with. If you wipe a sponge across the cake a few times, the makeup will be thin, watery and transparent. Rub the sponge many times and the makeup becomes thick and opaque.
Color Wheel
Make yourself a simple color wheel to help you choose colors. Colors on the same side of the color wheel blend easilyfor instance, yellow, orange and red. Yellow is often used to highlight because it is brighter. To paint a green ball, for example, use blue for shade and yellow to highlight.
Another way to change the value of the base color is to add black (for shade) or white (for highlight). You can also create highlights by adding white to an adjacent color on the wheel. For example, to highlight purple, use light blue or light red.
Paint Allergies
Rarely is anyone allergic to face paint. Allergies will usually result in discomfort within a minute or so of application. If this happens, wash off the paint with soap and warm water and discontinue use. We have painted hundreds of thousands of faces from all over the world and have never witnessed a reaction, but it could happen.
Sponge Techniques
The sponge is used to cover the face quickly with thin amounts of paint. Twisting the sponge in different directions can really add detail. Always test a sponge first to see how wet the paint is thats on it. It may have plenty of paint and water from the last face you painted. The sponge is a very versatile tool, so dont be afraid to use it a lot. Practice and pay attention to what you do and what the results are.
STIPPLING
This is one of the most useful sponge techniques. Stippling is great for blending color, suggesting texture, indicating highlights and suggesting facial hair. To get the most realistic result, hold your half sponge upside down so the rounded part touches the skin. Using the edge of the sponge would result in linessomething you want to avoid when stippling.

