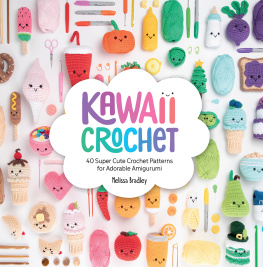
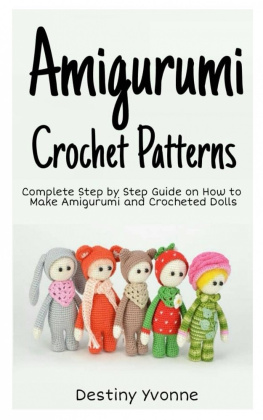
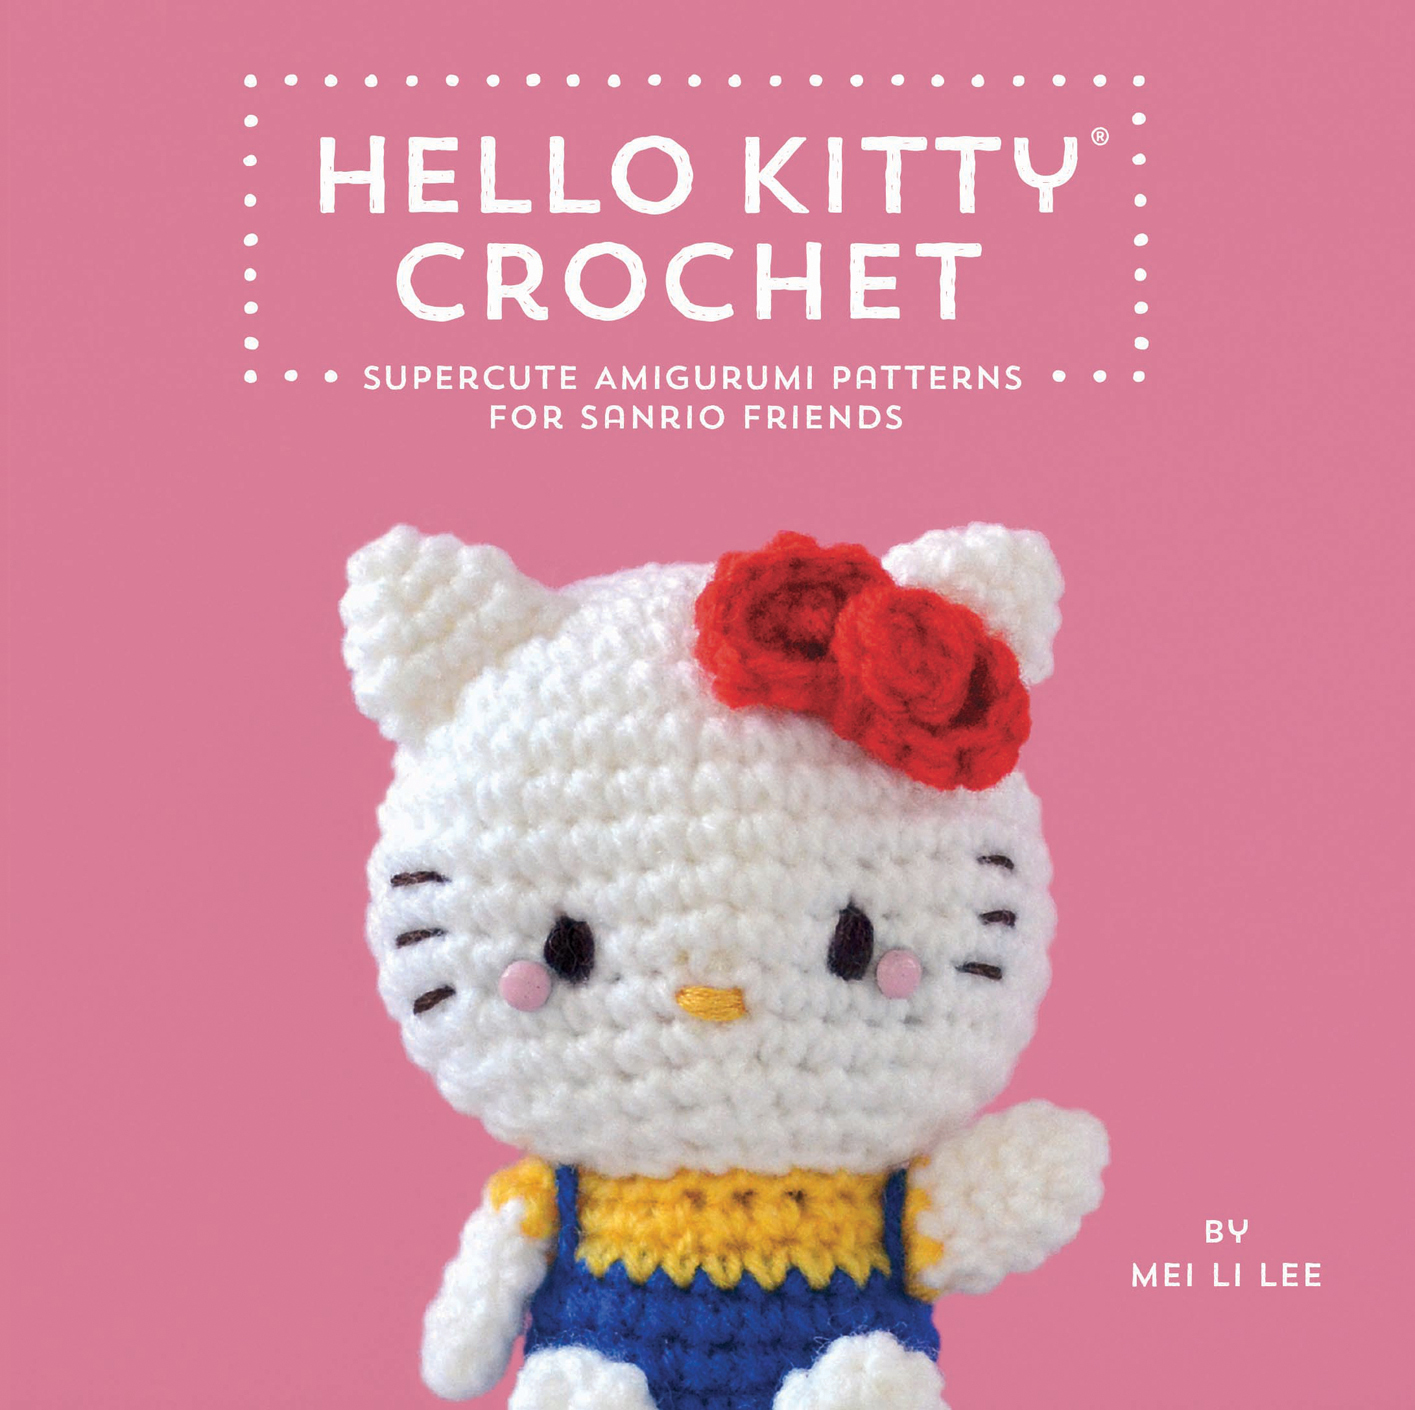
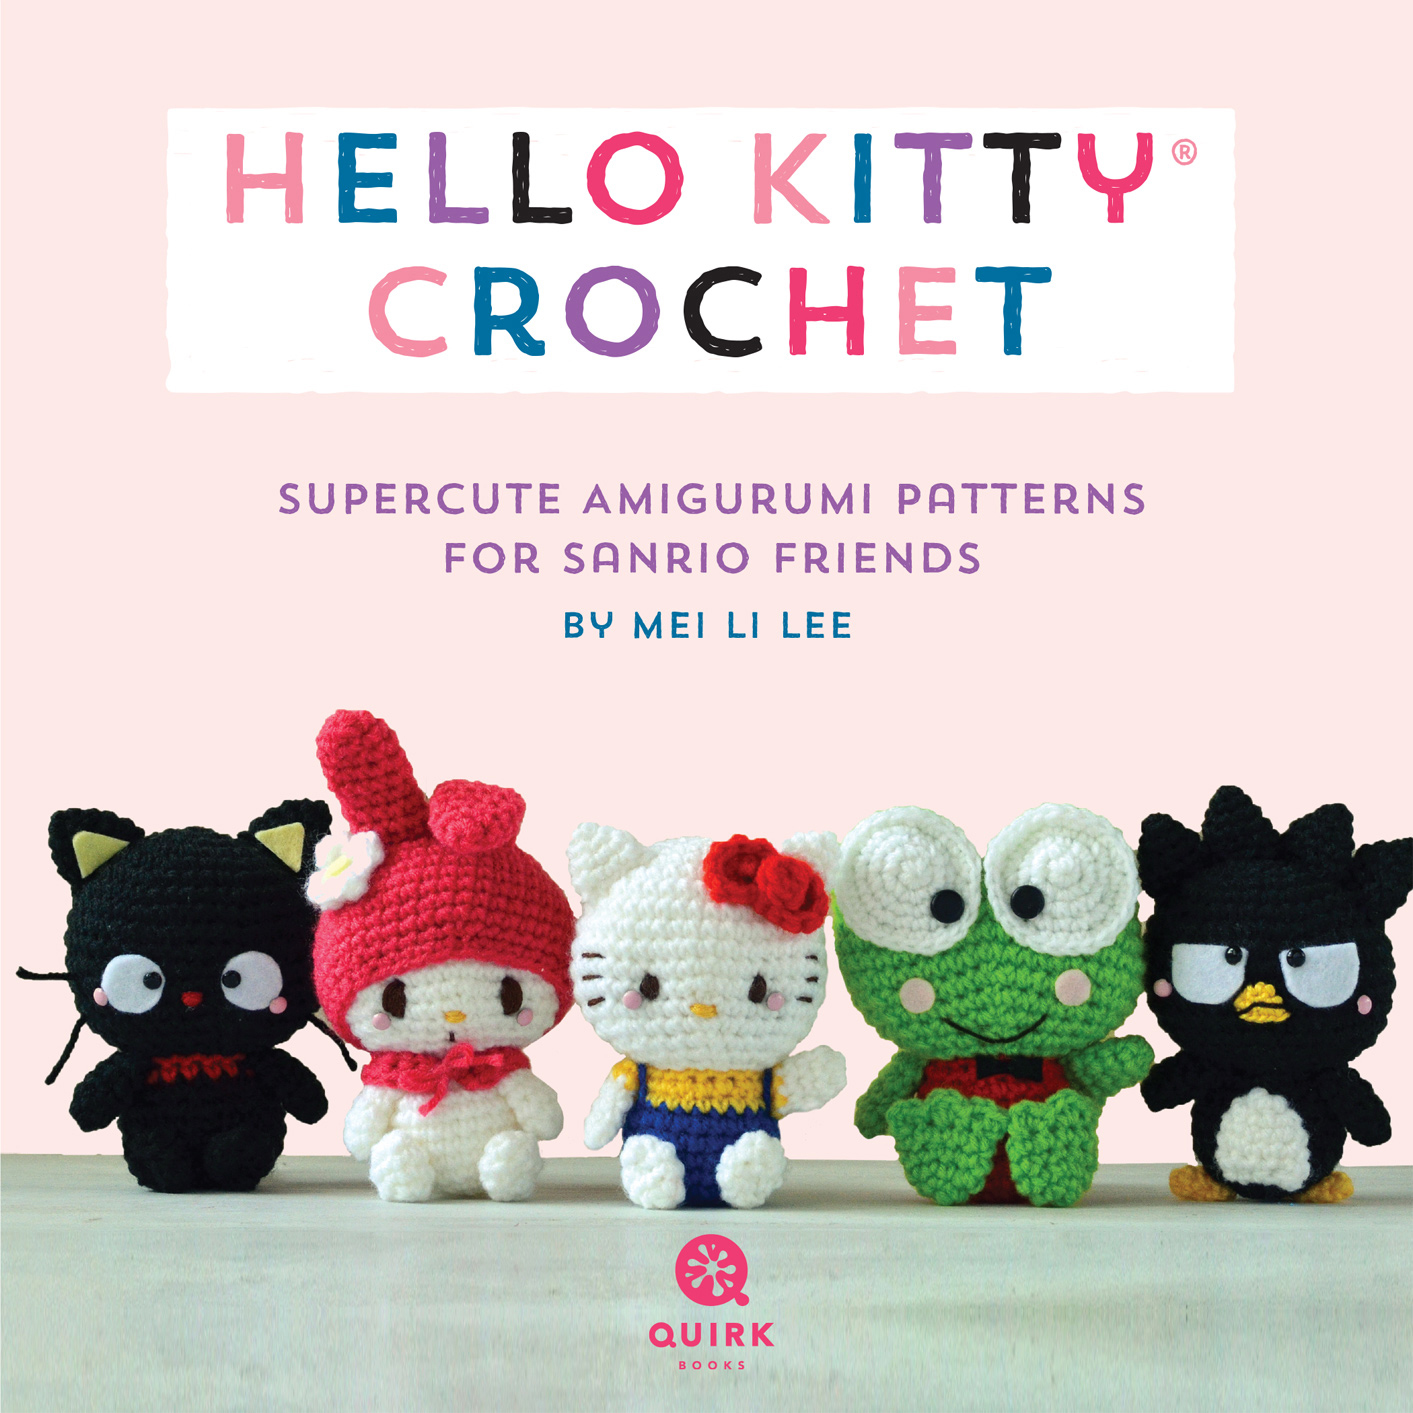
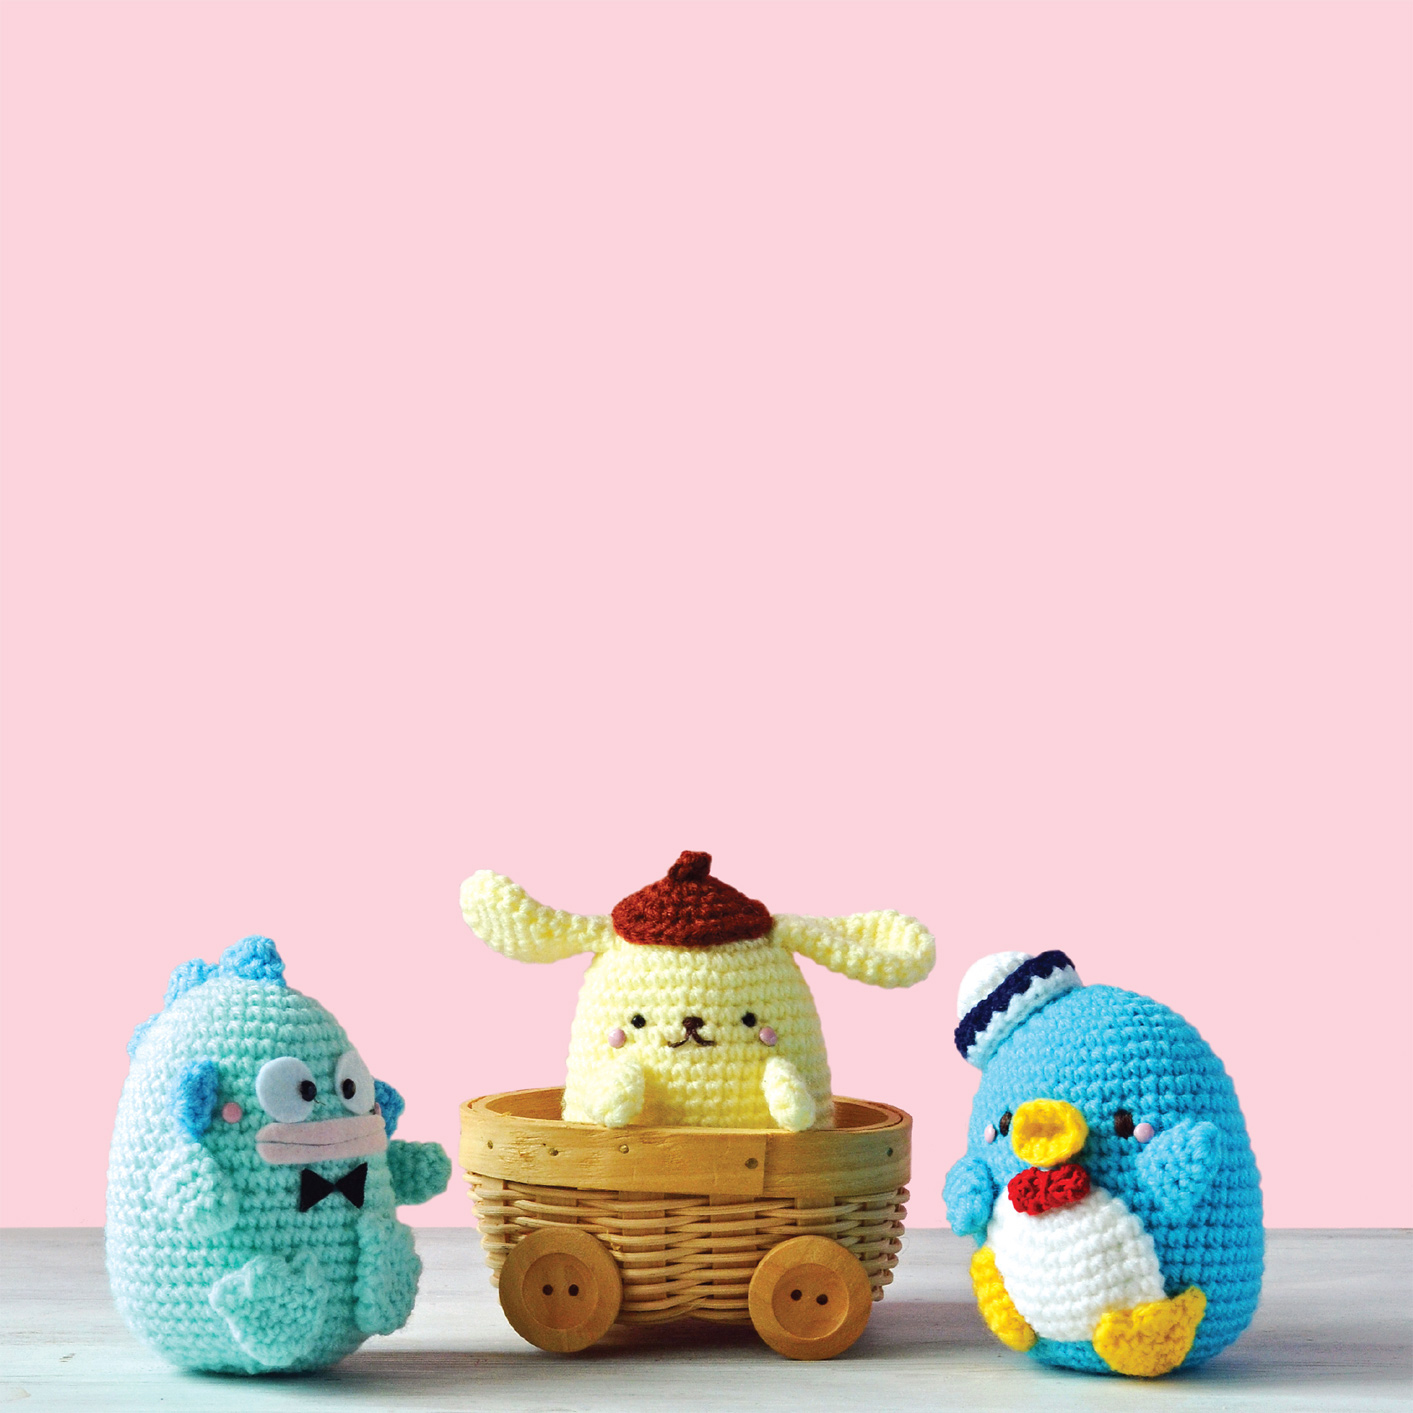
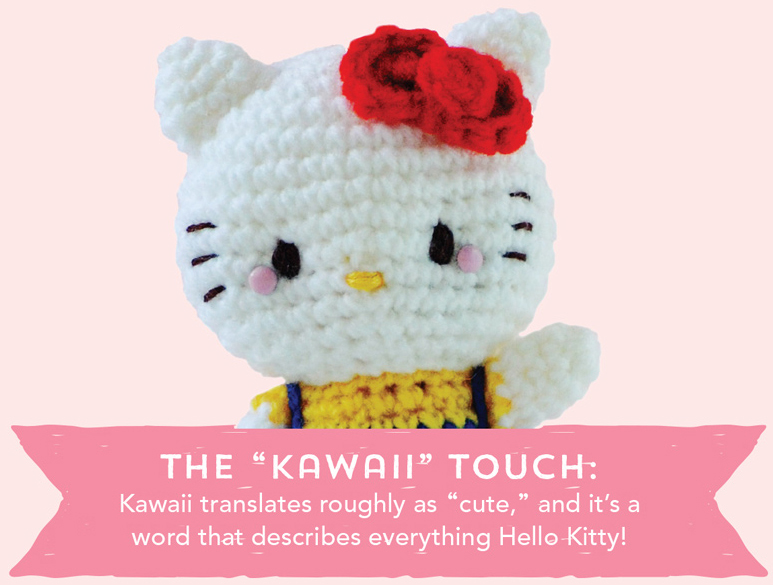
In Japanese, amigurumi refers to knitted or crocheted stuffed dolls. Making amigurumi is a fine art that requires practice and patience. Having a whimsical imagination helps, too. In this book, the crochet technique is used to create Hello Kitty, her friends and family, as well as many other Sanrio characters.
).
).
If you crochet, then you know that patterns use abbreviations for stitches and directions. See the chart below for a refresher on what these mean. In the patterns, brackets [ ] indicate a group of stitches to be made all at once or repeated a specified number of times. Parentheses ( ) within brackets further set off stitches. Curly brackets { } at the end of the line indicate the number of stitches you should end up with.
Gauge.
Gauge isnt all that important when making amigurumi. The size and height of your dolls will depend on the hook and yarn you usea larger hook and thicker yarn will yield a bigger doll. The patterns in this book call for a U.S. size B (2.3 mm) hook for amigurumi about 312 inches tall.
A BASKET OF SUPPLIES
All the projects in this book share common tools. Once you acquire these basics, youre ready to craft! Brads.
These little round fasteners are usually used in scrapbooking but make great cheeks for Hello Kitty amigurumi. Coat the prongs with glue and attach by gently pushing through stitches. Crochet Hooks. If youre a beginner, stick with steel hooksthey let you work smoother stitches. My favorite is a 2.3mm hook, which is similar to a US size 1/B and perfect for creating little amigurumi in fine stitches. I use the Clover brand, available online from Amazon.
The 1.75mm hook is handy for when you need to crochet the smaller bits with embroidery floss. I like Tulip brand, also available online and in kits at craft stores. Choose whichever size youre most comfortable with, but remember to match it to the thickness of your yarn. Darning Needle. This needle is the only one whose eye is big enough for yarn to pass through. It will help you weave in yarn ends and attach body parts.
TIP: Most of the patterns in this book require you to stitch facial features before attaching the head to the body. That way you can secure all the knots and ends at the bottom of the head and hide them when you arrange the body over the seam. Embroidery Floss. Embroidery floss is useful for fine details, like facial features. Also known as embroidery thread or embroidery string, it comes in a rainbow of colors and can substitute for yarn when making small crocheted parts. Felt.
A true amigurumi artist would strive to crochet everything with yarn, but some parts are better made with felt (eyes and cheeks, for instance). Try using felt seals, which have an adhesive backing. They are easy to apply and can be drawn on to create precise shapes. Glue. White craft glue dries clear and can be used to manipulate strands of embroidery floss into shape, which is helpful when creating facial features. Polyester Fiberfill.
For most of the projects in this book, only the head and body parts require stuffing. Polyester fiberfill is the best choice. To help with stability, you can add weighted stuffing, such as Poly-Pellets, and top off with more fiberfill. TIP: Use less stuffing if you prefer your amigurumi squishy-soft, but note that more stuffing helps your doll maintain its shape. Scissors. A sturdy, sharp pair of scissors is a must for every craft basket.
Sewing needle. Just about any basic sewing needle will do, as long as its sharp and not too big. Standard thread works fine, too. Use these to attach beads to Kuromis collar and Deery-Lous eyes. Stitch Markers. Use this tool at the start of every round to keep track of your stitches.
When you make a mistake, the marker will tell you how far back to go to fix the problem. Yarn. The characters in this book are made using acrylic yarn, which is easiest to work with, but you can try other types of yarn to create different effects. Its best to use the same type to finish a project instead of changing midway through the pattern. If you plan to display your collection of characters side by side, you may want to consider using the same type of yarn throughout.
OPTIONAL MATERIALS...........................
Beads.
Use tiny black ones for eyes or colorful ones for details on clothes (like Kuromi. Doll eyes. These are best for the distinctive oval eyes of some Sanrio characters (like Pochacco and Pekkle). Indentations where the eyes are set can do wonders for the cuteness of your amigurumi. To get the look, hold your doll with both hands and use your thumbs to gently press eye sockets. Pom-poms.










 The others are only slightly more advanced (shown by two bows
  ).
).