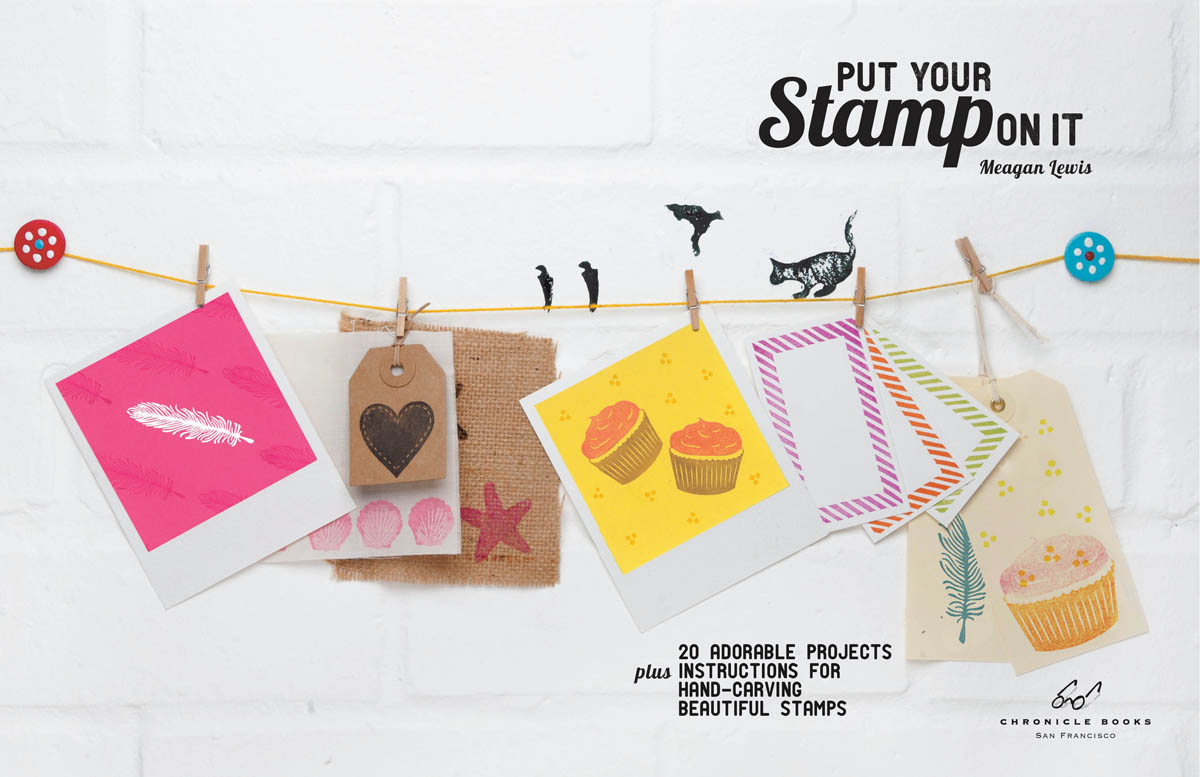
Lewis - Put your stamp on it: 20 adorable projects, plus instructions for hand-carving beautiful stamps
Here you can read online Lewis - Put your stamp on it: 20 adorable projects, plus instructions for hand-carving beautiful stamps full text of the book (entire story) in english for free. Download pdf and epub, get meaning, cover and reviews about this ebook. City: San Francisco;Calif, year: 2014;2013, publisher: Chronicle Books LLC, genre: Home and family. Description of the work, (preface) as well as reviews are available. Best literature library LitArk.com created for fans of good reading and offers a wide selection of genres:
Romance novel
Science fiction
Adventure
Detective
Science
History
Home and family
Prose
Art
Politics
Computer
Non-fiction
Religion
Business
Children
Humor
Choose a favorite category and find really read worthwhile books. Enjoy immersion in the world of imagination, feel the emotions of the characters or learn something new for yourself, make an fascinating discovery.

- Book:Put your stamp on it: 20 adorable projects, plus instructions for hand-carving beautiful stamps
- Author:
- Publisher:Chronicle Books LLC
- Genre:
- Year:2014;2013
- City:San Francisco;Calif
- Rating:5 / 5
- Favourites:Add to favourites
- Your mark:
Put your stamp on it: 20 adorable projects, plus instructions for hand-carving beautiful stamps: summary, description and annotation
We offer to read an annotation, description, summary or preface (depends on what the author of the book "Put your stamp on it: 20 adorable projects, plus instructions for hand-carving beautiful stamps" wrote himself). If you haven't found the necessary information about the book — write in the comments, we will try to find it.
Lewis: author's other books
Who wrote Put your stamp on it: 20 adorable projects, plus instructions for hand-carving beautiful stamps? Find out the surname, the name of the author of the book and a list of all author's works by series.


Put your stamp on it: 20 adorable projects, plus instructions for hand-carving beautiful stamps — read online for free the complete book (whole text) full work
Below is the text of the book, divided by pages. System saving the place of the last page read, allows you to conveniently read the book "Put your stamp on it: 20 adorable projects, plus instructions for hand-carving beautiful stamps" online for free, without having to search again every time where you left off. Put a bookmark, and you can go to the page where you finished reading at any time.
Font size:
Interval:
Bookmark:
First published in the United States of America in 2013 by Chronicle Books LLC.
Copyright 2013 by Quintet Publishing Ltd.
All rights reserved. No part of this book may be reproduced in any form without written permission from the publisher.
Library of Congress Cataloging-in-Publication Data available.
ISBN 9781452115719 (pb)
ISBN 978-1-4521-3972-2 (epub, mobi)
Designer: Smith & Gilmour
Photographer: Marianne Paraskeva
Contributing Crafter: Gareth Butterworth
Art Director: Michael Charles
Project Editor: Ross Fulton
Editorial Director: Donna Gregory
Publisher: Mark Searle
Chronicle Books LLC
680 Second Street
San Francisco, California 94107
www.chroniclebooks.com
Stamping has been appreciated by both fine artists and crafters for a long time. Printmaking has been around for centuries. But what makes stamping currently so popular? As our world becomes increasingly dependent on technology and mass-produced items, handmade items gain even more value. How nice would it be to give a hand-stamped and personalized stationery set rather than a store-bought, generic box of cards? Or maybe youre getting married and cant find the right style of place cards and coasters. The solution can be as simple (and rewarding) as making your own.
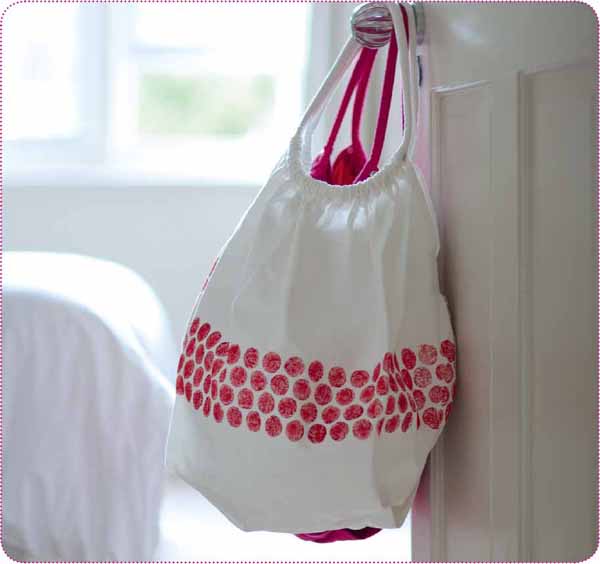
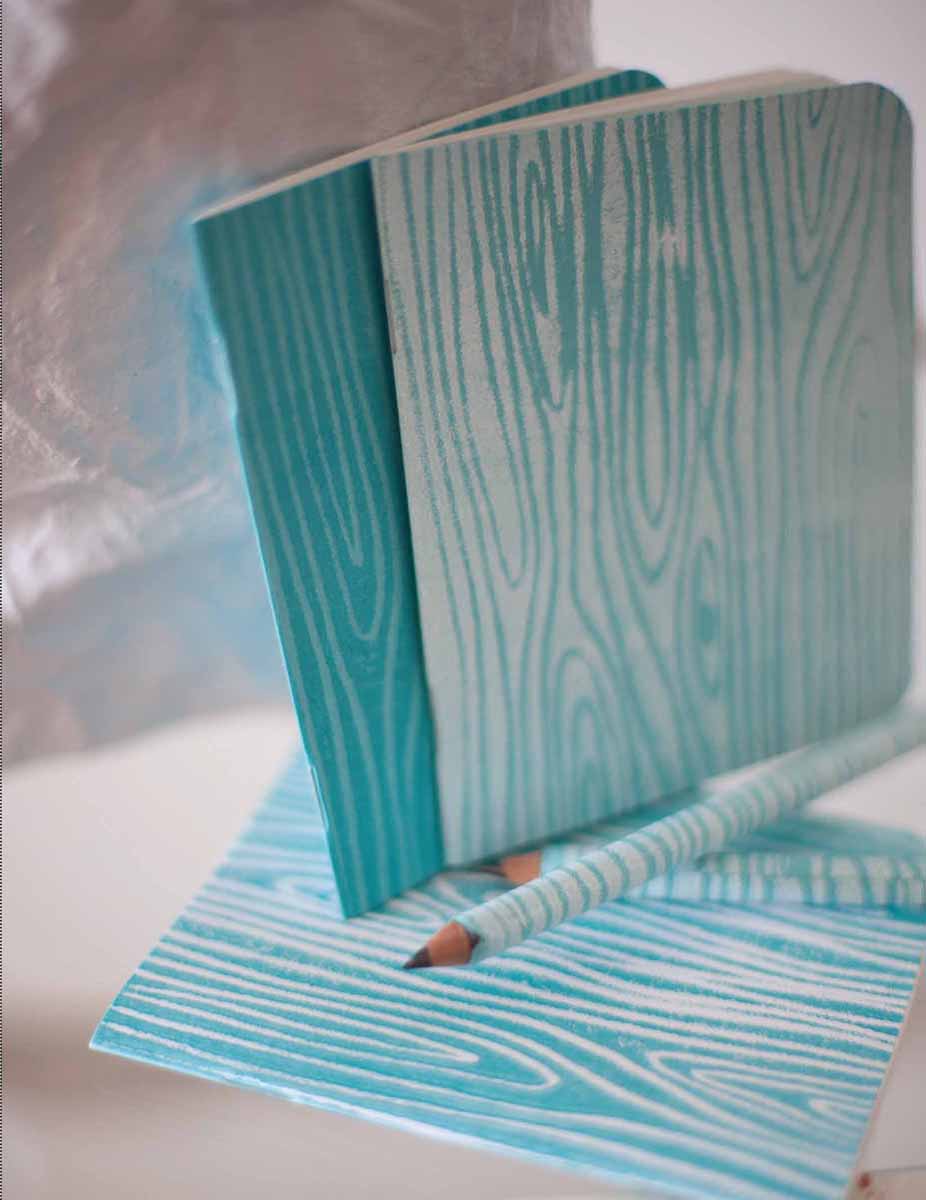
You can make your own hand-carved rubber stamps, print your own gift wrap, and create a unique pattern to stamp on anything from a wooden picture frame to a cotton tote bag. These are just a few of the inspiring projects that will be outlined in this book.
I remember being about seven or eight years old and visiting a new mall with my mother. We went into a few shops but the one that stood out was a rubber stamp store. Yes, a whole store full of stamps! I admired all the stamps that filled the store walls from floor to ceiling. I wanted to take every stamp home with me. When I began to study printmaking some ten years later, I started to make my own stamps and used them to create handmade cards. It was so much fun not only to create the stamp but to come up with the design. The finished stamped piecea card, a journal, or a gift taglooked completely different than anything available in a store.
There are so many facets to printmaking, and each and every technique is truly exciting. I love the bold graphic shapes made from a screen print, and the delicate lines of an etching; but above all, my favorite is relief printing. Relief printing is essentially stamping. Its one of the simplest methods of printmaking and it requires a relatively small amount of materials and space. The word relief refers to the raised or relief parts of the block that get inked and that are then printed. In this book, Ill explore several different forms of relief printing through different projects.
The most recognizable type of stamp is the kind made of rubber and affixed to a wood block, but there are actually many kinds of stamps. A stamp can be made from wood, linoleum, rubber, or a variety of alternative materials in fact, you can make a stamp from just about anything. Use the projects and techniques shown in this book as inspiration to create your own stamps, and experiment with this versatile and exciting medium.
Creating art is a two-part processhaving an idea then bringing it to life. The idea is what makes the piece special and unique. We all have different ideas and styles and so we are all capable of producing art that is one of a kind.
In order to tap into our creative side we need to ask ourselves, What do I like? Which colors do I like? What excites me? The answers to these questions could be right in your home. You may have certain colors in your wardrobe, or patterns in some of your home furnishings, that you didnt realize were repeated throughout the house. Maybe you like bold colors and striking graphics, or perhaps you prefer a softer palette and simple shapes.
Consider getting a sketchbook and sketching ideas when they come to you. You can even cut out any images or colors that you like from magazines and glue them into your sketchbook. By observing and taking an inventory of the things you like, you may find yourself inspired to create a motif of a pattern that would be a great design for a stamp.
All of the projects featured in this book can be customized to your liking. I welcome you to change the colors, sizes, or layout of any of the designs. I hope that once you learn the basic steps to creating a stamp, you will try your hand at sketching some motifs of your own. You are only limited by your imagination!
There are many tools and materials available for creating stamps and printing. Many of these materials can be found at your local arts and craft stores, hardware stores, and online specialty stores. You may want to experiment with some tools or materials that I dont list in the book, and by all means, go ahead! Printmaking is an art of trial and error and experimentation. There are certainly some techniques, tricks, and a few rules to learn, but as the artist you get to decide what kind of paper to print on, and what colors of ink to use. You may find an object around the house and think to yourself, I wonder what would happen if I inked that up and printed with it? You might discover a new technique or an interesting pattern by doing so. To get you started, I list the materials that you will find most helpful on the pages that follow.
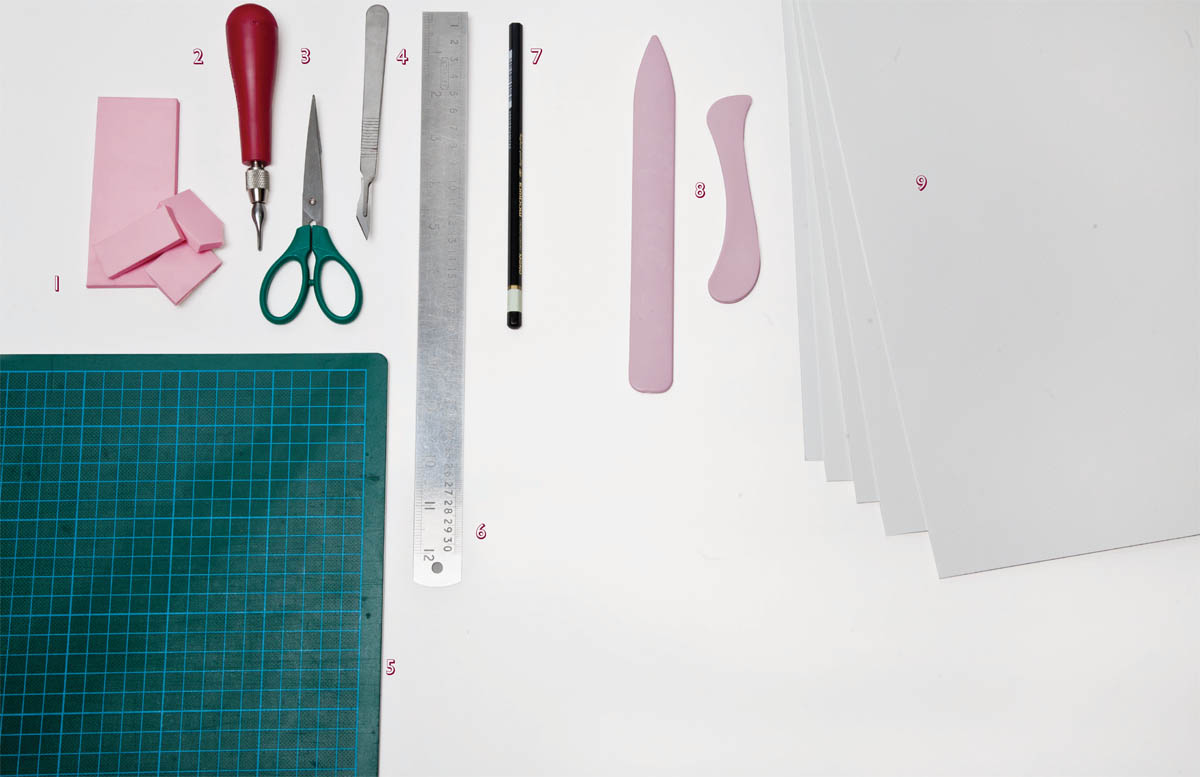
BASIC CARVING MATERIALS
These are the materials you will need to create a hand-carved rubber stamp. Refer back to this list for many of the stamp projects in this book.
- Artist carving rubber
- Linoleum cutting tool
- Scissors
- Craft knife
- Cutting mat
- Metal ruler
- Graphite pencil (6B)
- Bone folder
- Paper
As you start to gather your stamp-carving supplies, you may be delighted (or possibly overwhelmed) to see that there are many carving materials available. They range in color, texture, thickness, and density. Fortunately many of the materials come in precut sizes and are relatively inexpensive, so you can purchase a few different kinds and see what works best for you. For most of the projects in this book, a softer artist carving rubber is the best option. For most carving rubbers, both sides are the same and you may carve from either side. I like Speedball brands Speedy-Carve. Its durable, easy to carve, easy to clean, and easy to print with by hand, whether its mounted or unmounted.
A linoleum (or lino) cutting handle and blade attachments can be found together in a set. You will likely get about five or six assorted blades in a set. The blades will vary from a thin V-shape blade (#1) excellent for carving the outline of a design and cutting fine detail, to a wide U-shape blade (#5) that will help you carve away larger areas. You may also get a flat blade (#6) for cutting and slicing. Do you need all of these? Well, perhaps not. Experiment with the blades and see what works best for you. I do all of my carvings with three blades: #1, #2, and #5. Because I use my tools so often I decided a while back to purchase three separate handles, one for each of the three blades I use. This way I dont have to change the blade every time I need to switch. When you do need to switch the blade from the handle, twist the metal part at the end until the tip loosens and the blade can be carefully removed. You will see a slight opening where you can insert the new blade, then tighten the screw part to secure into place. Depending on how much you use your tools, you might not have to replace the blades very often. When carving becomes tougher than usual, or the blade no longer cuts a crisp edge, its time to replace the blade.
Next pageFont size:
Interval:
Bookmark:
Similar books «Put your stamp on it: 20 adorable projects, plus instructions for hand-carving beautiful stamps»
Look at similar books to Put your stamp on it: 20 adorable projects, plus instructions for hand-carving beautiful stamps. We have selected literature similar in name and meaning in the hope of providing readers with more options to find new, interesting, not yet read works.
Discussion, reviews of the book Put your stamp on it: 20 adorable projects, plus instructions for hand-carving beautiful stamps and just readers' own opinions. Leave your comments, write what you think about the work, its meaning or the main characters. Specify what exactly you liked and what you didn't like, and why you think so.