CHAPTER 1
SAVE-THE-DATES AND ANNOUNCEMENTS
Save-the-date cards and announcements are the first steps you take when planning your wedding. These important pieces of paper tell the world who you are, whom you love, and what you hope your future holds. They also set the theme and tone for the rest of your wedding events, so why not add a bit of your own individuality and style? Whether you prefer a sparkly shadowbox announcement or a sweet and simple bookmark, these projects will help you find your own special way to express your joy and excitement as you spread the word about the amazing day ahead!

SHADOWBOX ANNOUNCEMENT
Wedding announcements should be fun and original. They announce to the world the joining of two people in love! With this unique shadowbox, you can spread the good news to your loved ones in style. The materials are easy to find, and the technique is simple and quick. Mix up your design by choosing bright silver stars or colorful confetti. Choose colors and papers that reflect your wedding theme, coordinated with your other paper details. These announcements are as much fun to make as they are to receive.
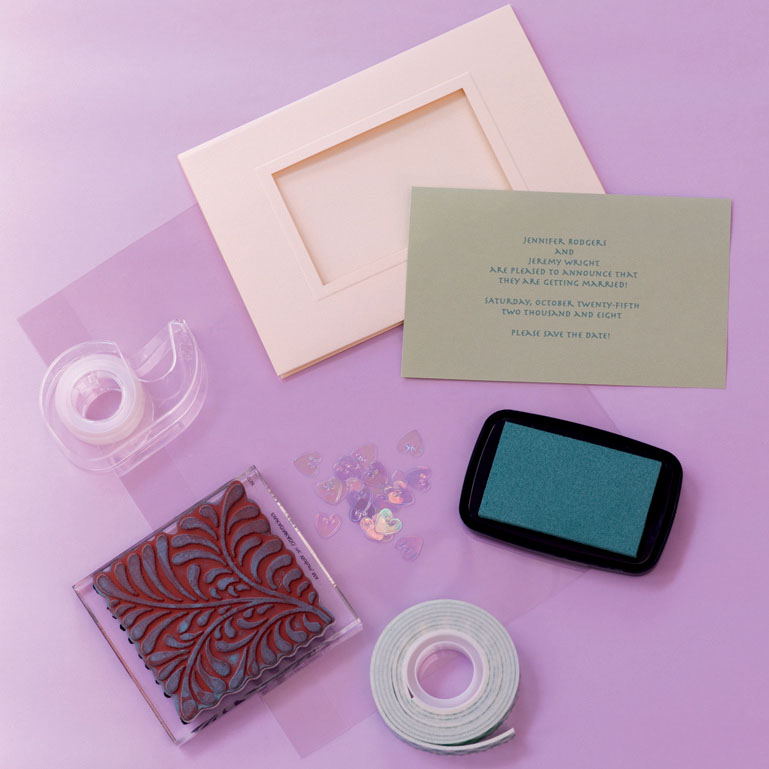
Here are the materials you will need to make one shadowbox announcement:
one 5 7 (12.5 18 cm) paper photo card with 2-1/2 4 (6.5 10 cm) window opening
one plastic sheet protector
paper in color of your choice, for announcement
one large, decorative rubber stamp
one rubber-stamp ink pad
clear double-sided tape
foam double-sided tape
small plastic confetti
scissors
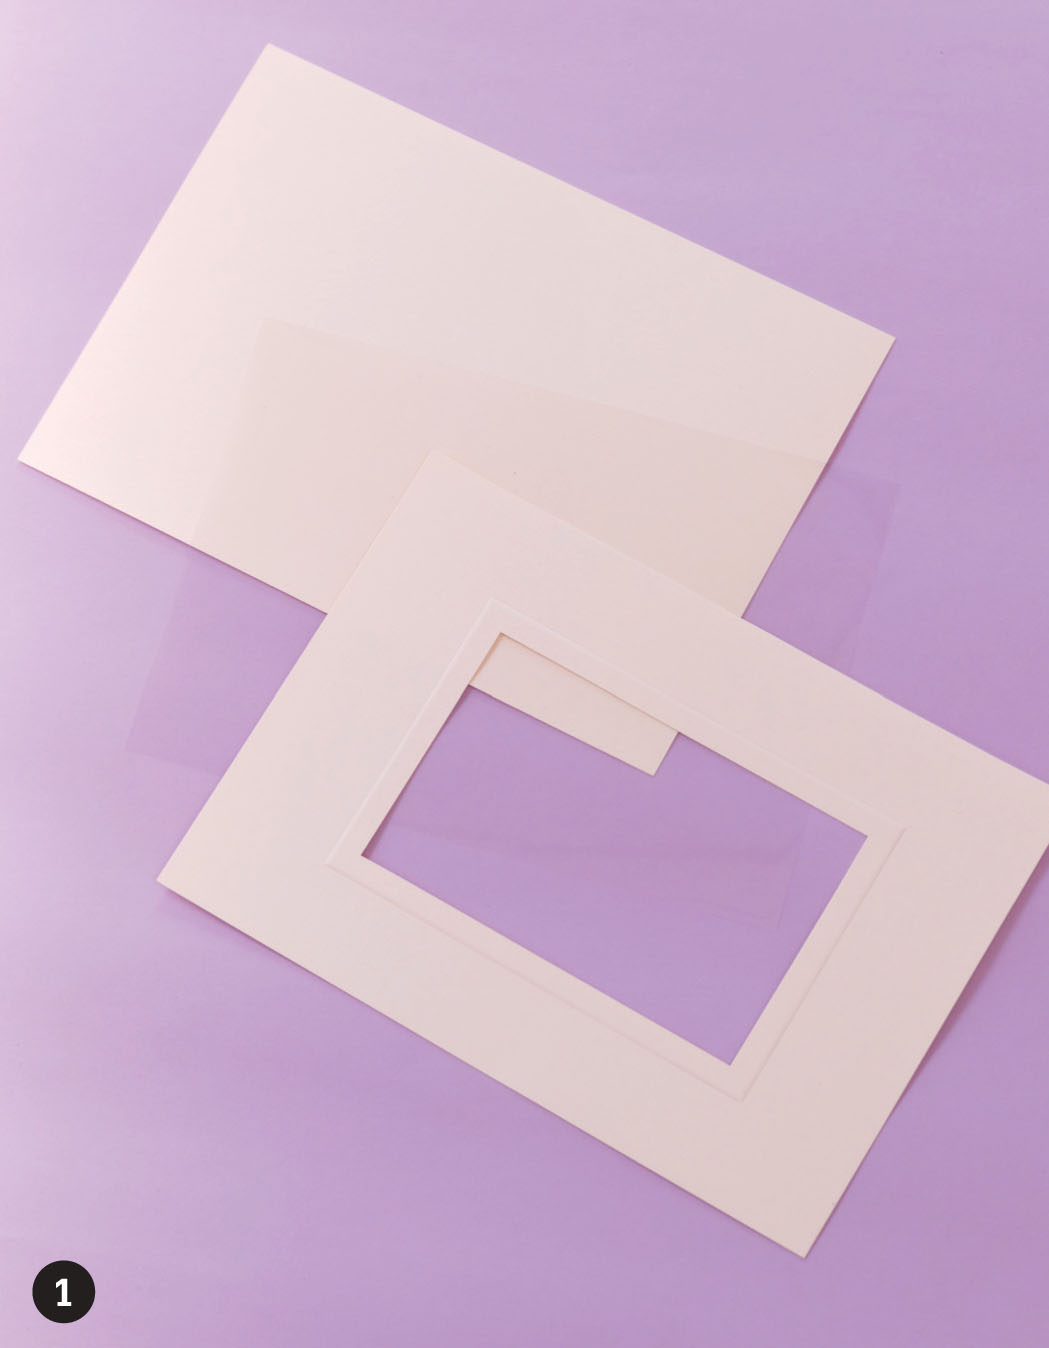
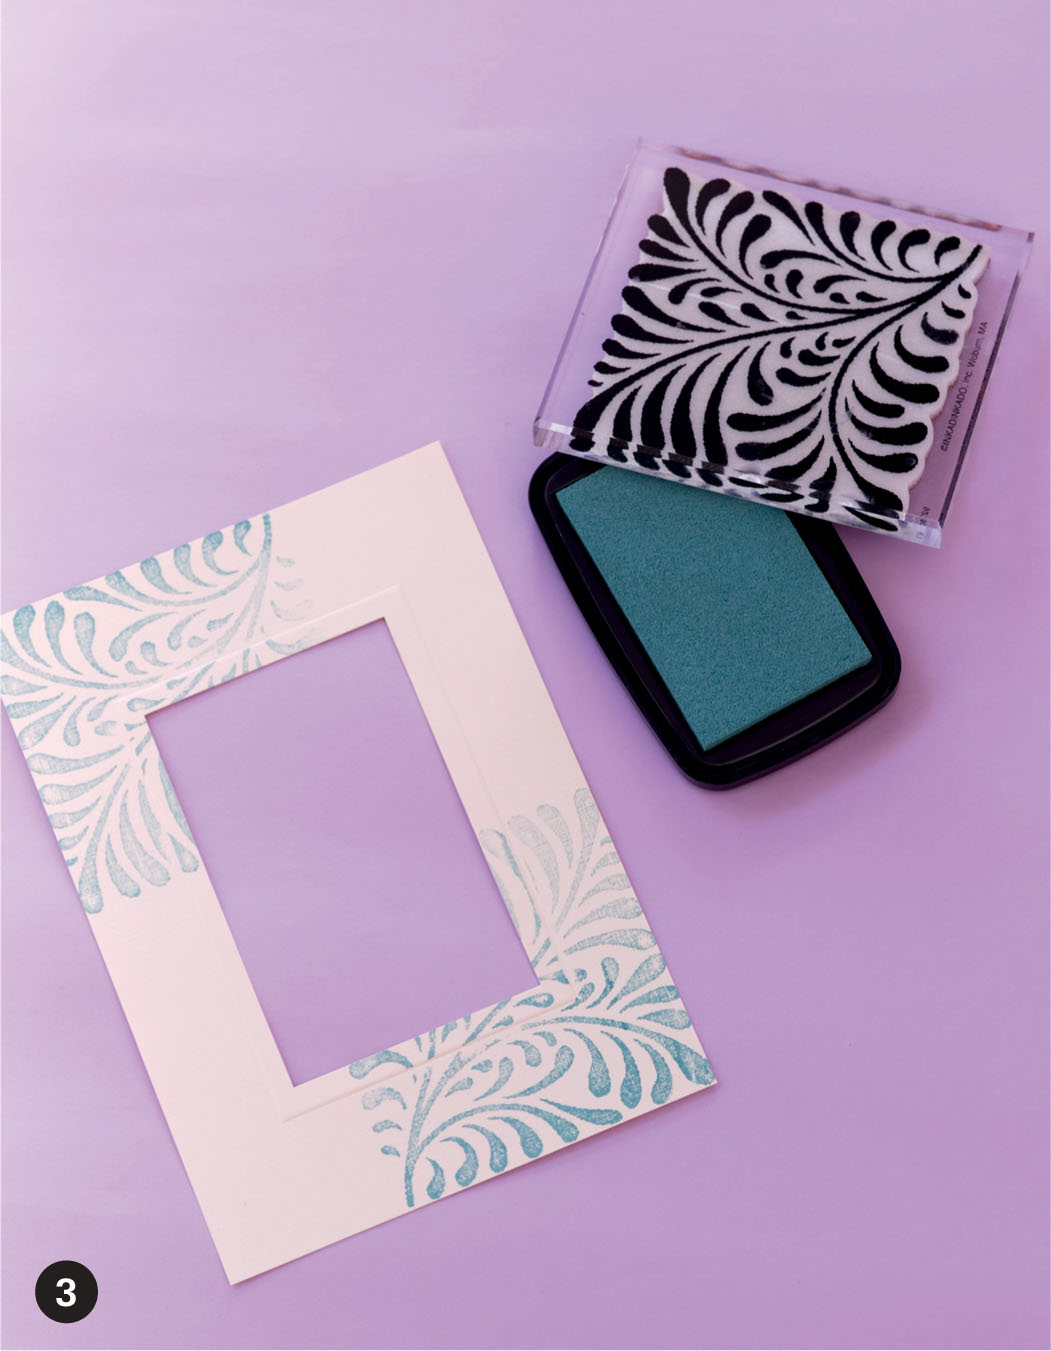
STEP 1. Cut apart the photo card. Discard the middle piece of paper (youll use only the front and back of the card).
STEP 2. Cut the sheet protector in half. Cut it in half again to make a total of eight small plastic sheets, measuring 4 5-1/4 (10 13.5 cm).
STEP 3. Working with the decorative rubber stamp and ink pad, stamp two opposite corners on the front of the top photo card. Try to place each design motif in the same position on each cornerbut you dont have to be exact.
STEP 4. Adhere the plastic sheet onto the inside of the top photo card with the clear double-sided tape.
STEP 5. Print your announcement on the colored paperby hand or with a computer and color printer (we used a 14-point font in our word processing program). Position the announcement so you can cut the paper to a size of 4 6 (10 15 cm).
STEP 6. Attach the announcement to the center front of the bottom photo card with clear double-sided tape. Make sure the announcement is centered in the window of the card before securing it.
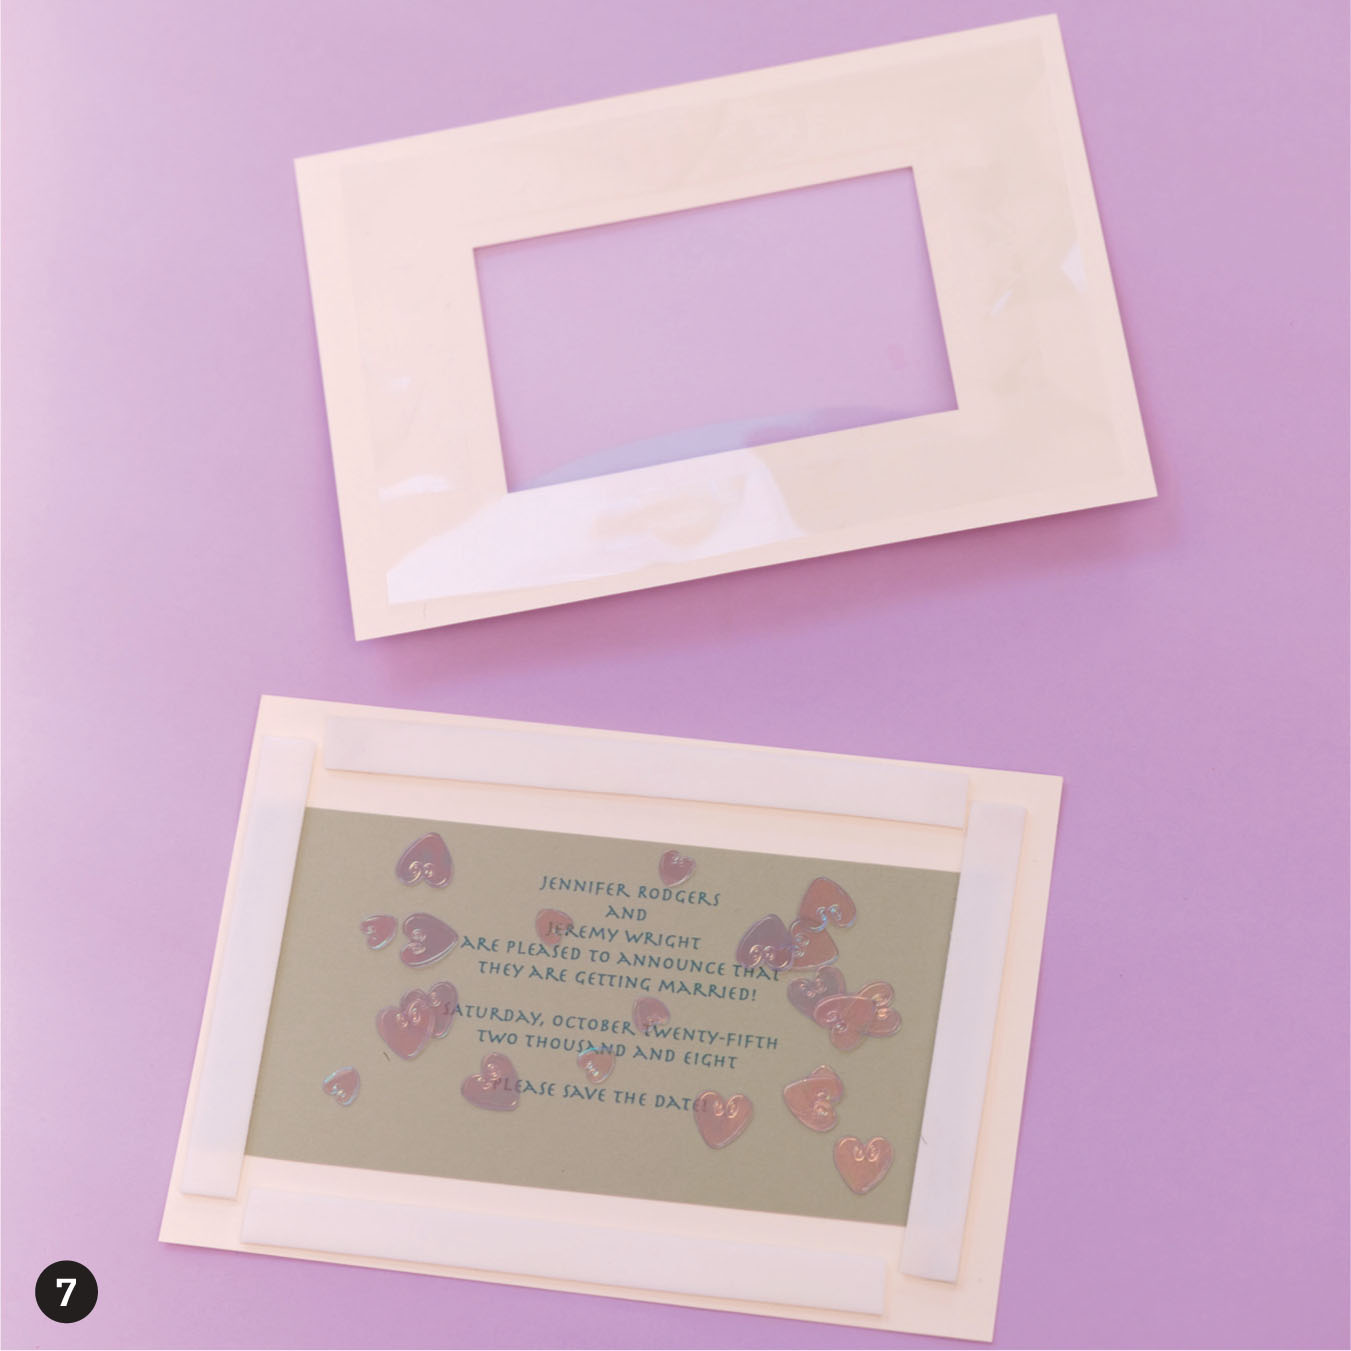
STEP 7. Frame the front outside edge of the bottom photo card with foam double-sided tape. Sprinkle a small amount of plastic confetti inside the foam-tape frame. Place the top window frame onto the bottom card, making sure it sits evenly on all sides.
STEP 10. Frame the front outside edge of the bottom photo card with foam double-sided tape. Sprinkle a small amount of plastic confetti inside the foam-tape frame. Place the top window frame onto the bottom card, making sure it sits evenly on all sides.
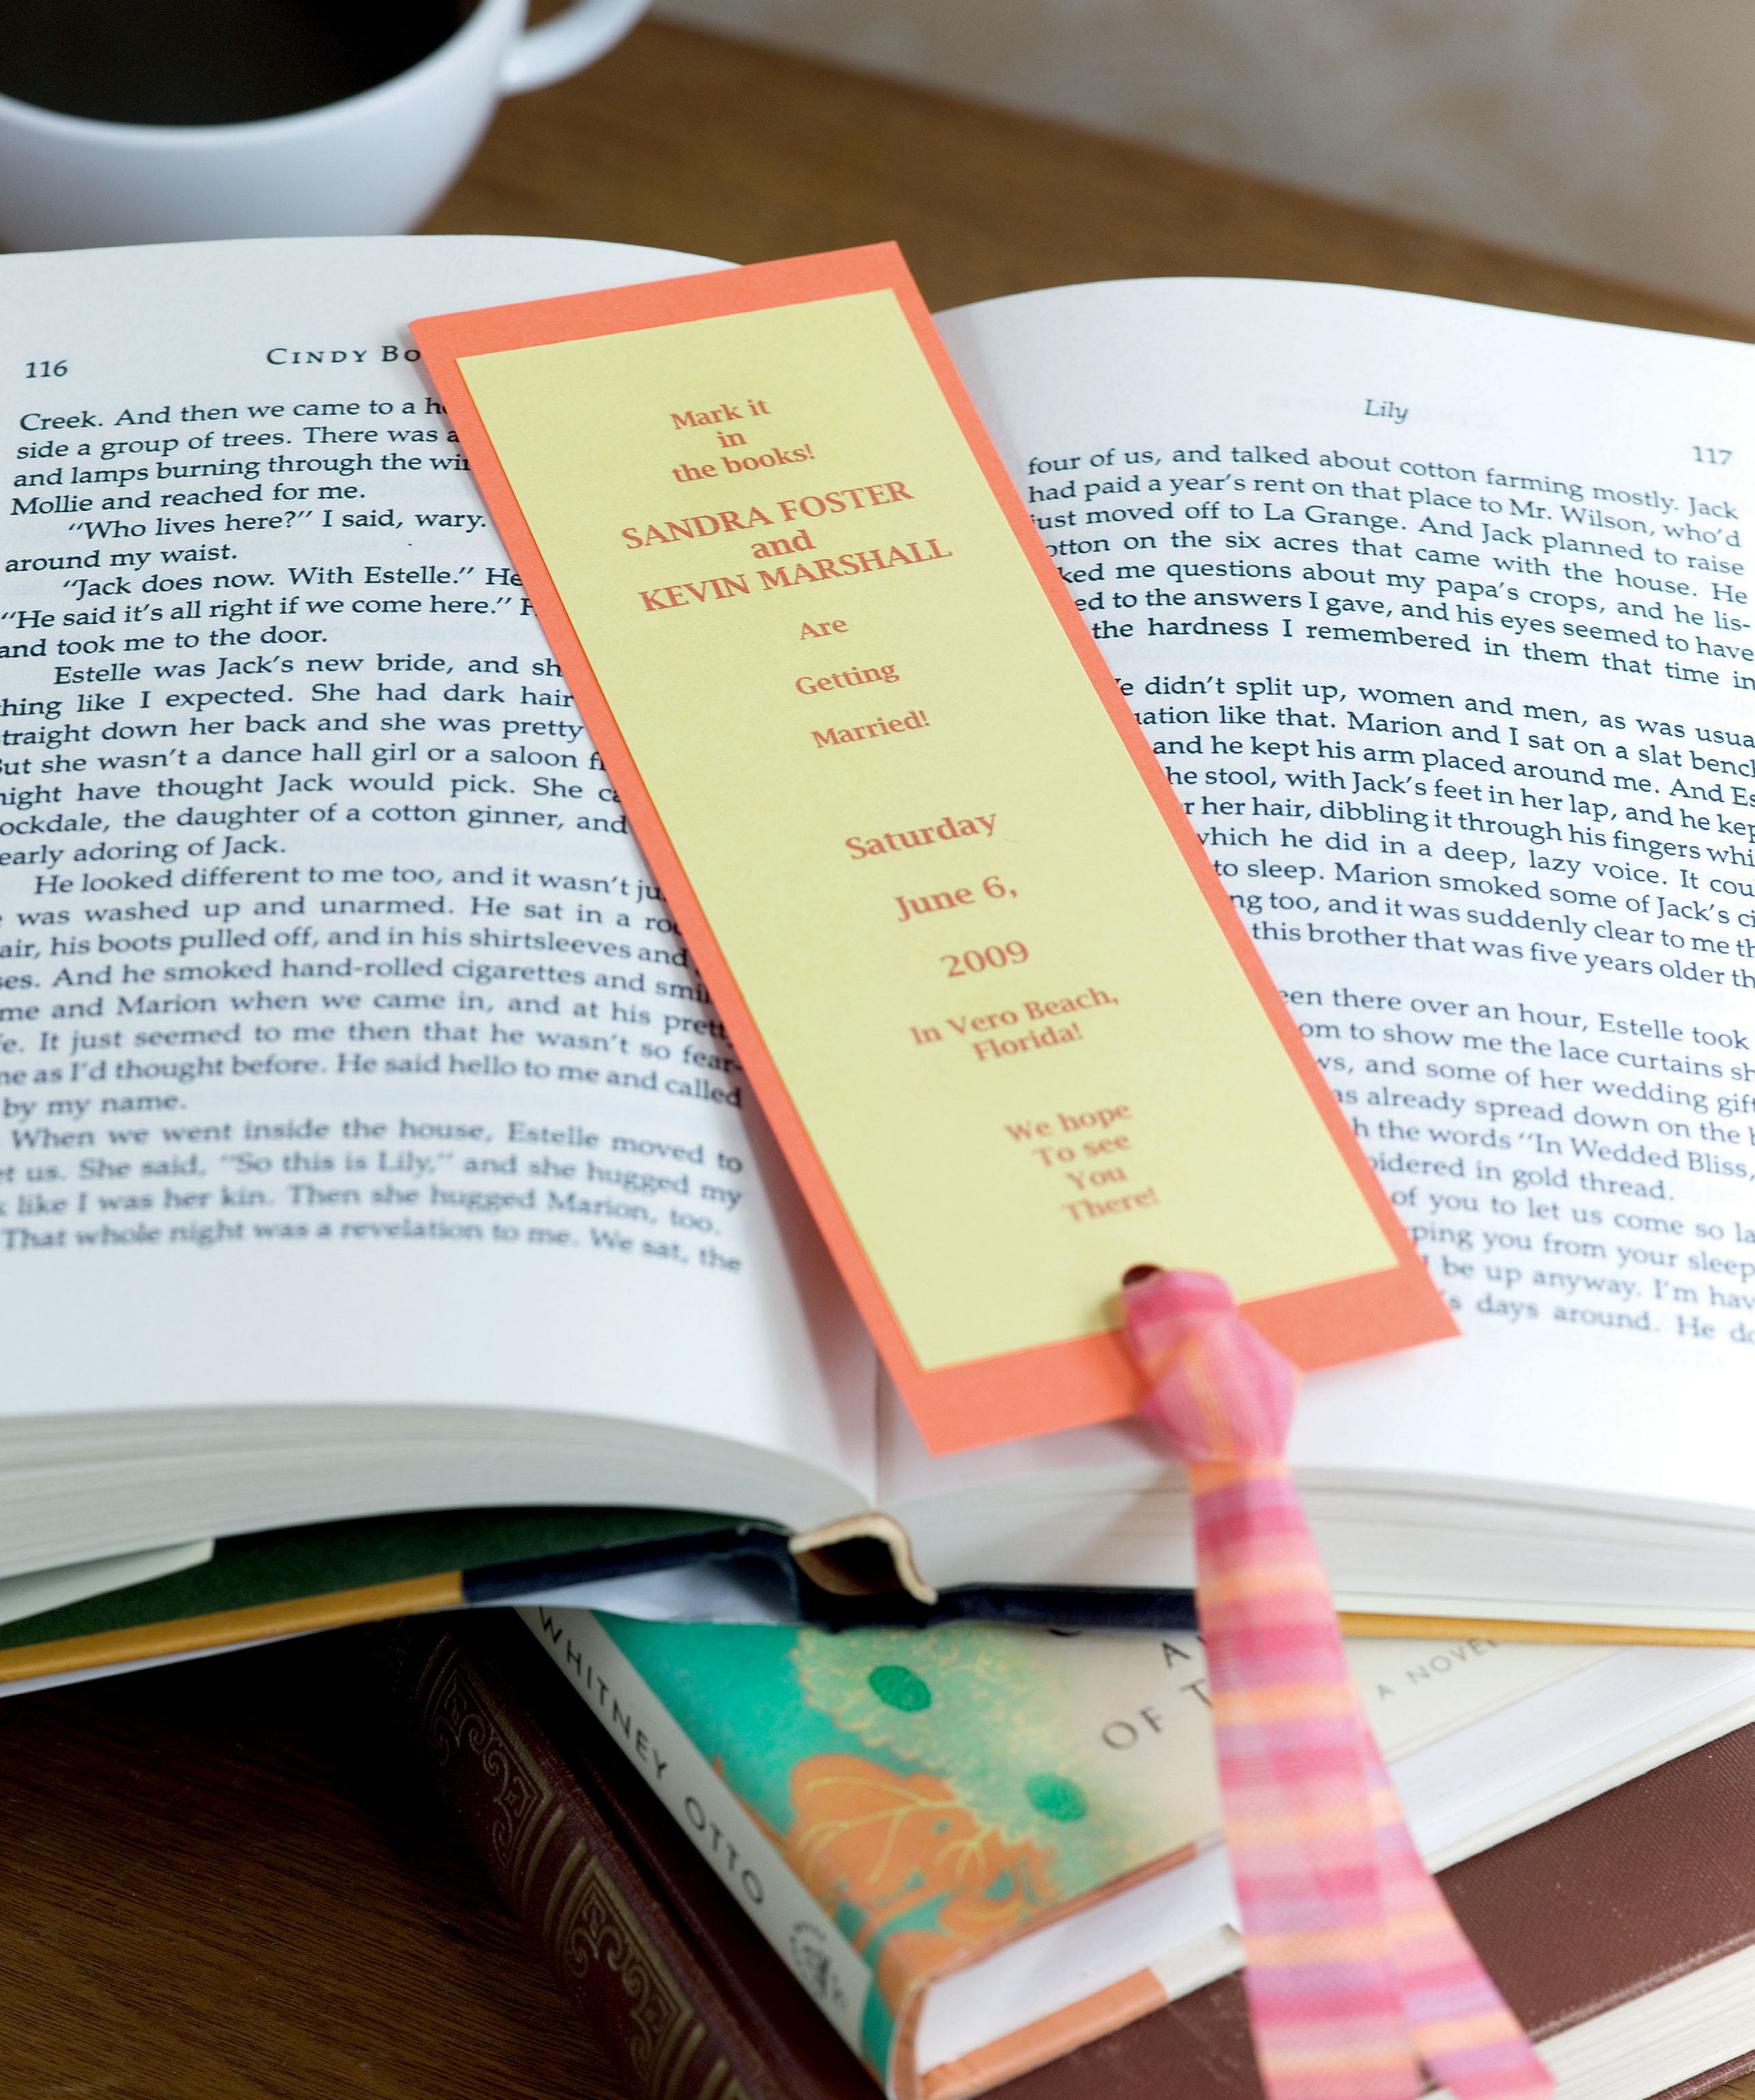
SAVE-THE-DATE BOOKMARK
Of course, a bride wants to make sure no one misses her big day. Before sending out your invitations, secure the date with friends and family by sending them this cheery save-the-date bookmark. This little reminder will not only keep their place in the books theyre reading, but it will also help them keep their schedules clear. Provide all the information on where and when or just print up the date and a simple phrase or poem. Your loved ones will be thinking of you from one chapter to the next!
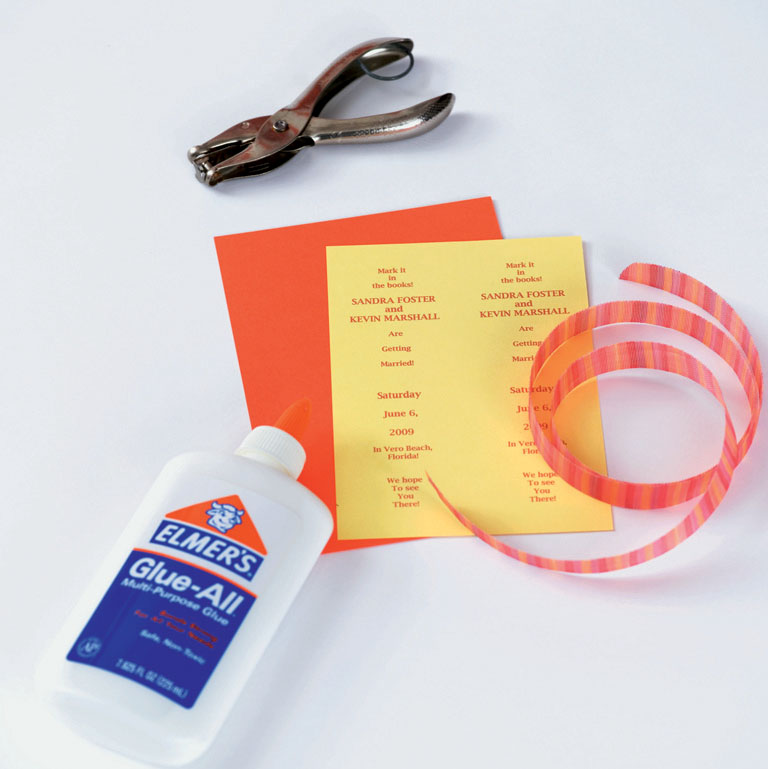
Here are the materials you will need to make two save-the-date bookmarks:
one 4-1/2 6-1/4 (11.5 16 cm) card, yellow
one 5 7 (12.5 18 cm) card, orange
scissors
craft glue
single-hole punch
12 (30.5 cm) length of 1/2 (1.3 cm)-wide ribbon
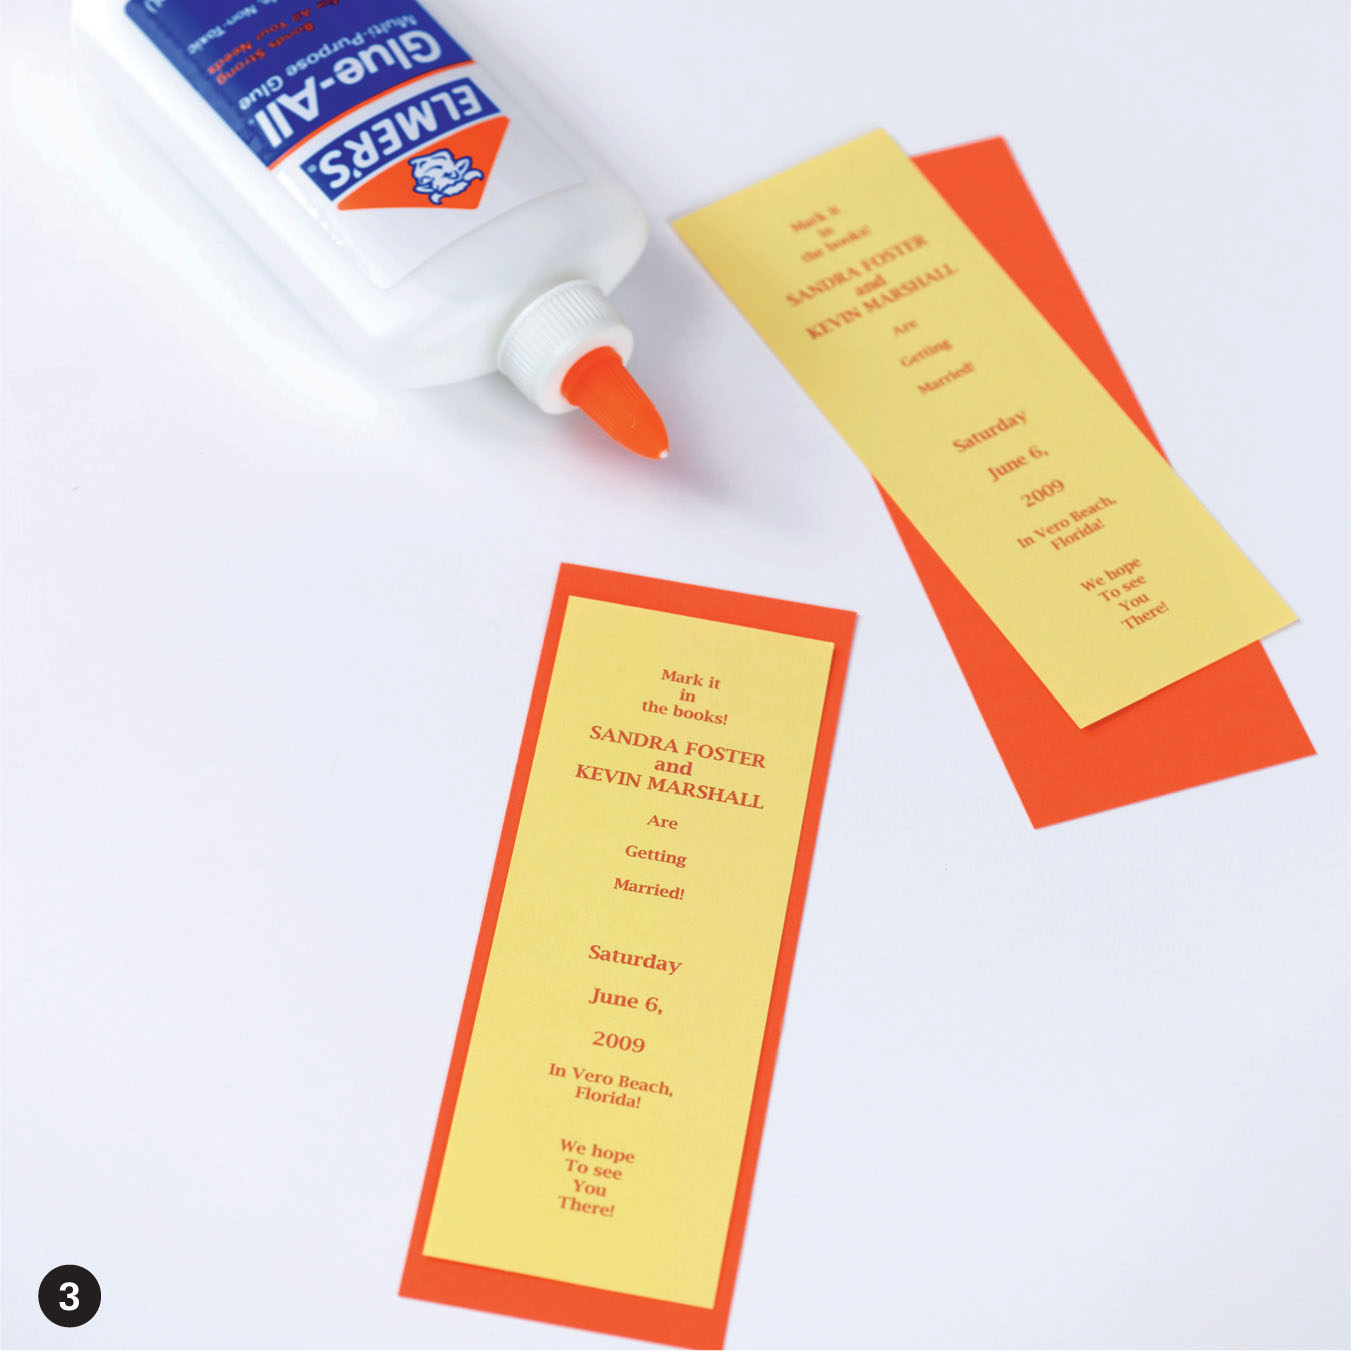
STEP 1. Print your save-the-date information on the yellow card with a color printer. You can print two bookmarks on one card by formatting the document into two columns and duplicating the information. Make sure the text is centered within both columns.
STEP 2. Cut both cards in half lengthwise.
STEP 3. Center one small card on top of one large card and glue together. Allow the glue to dry.
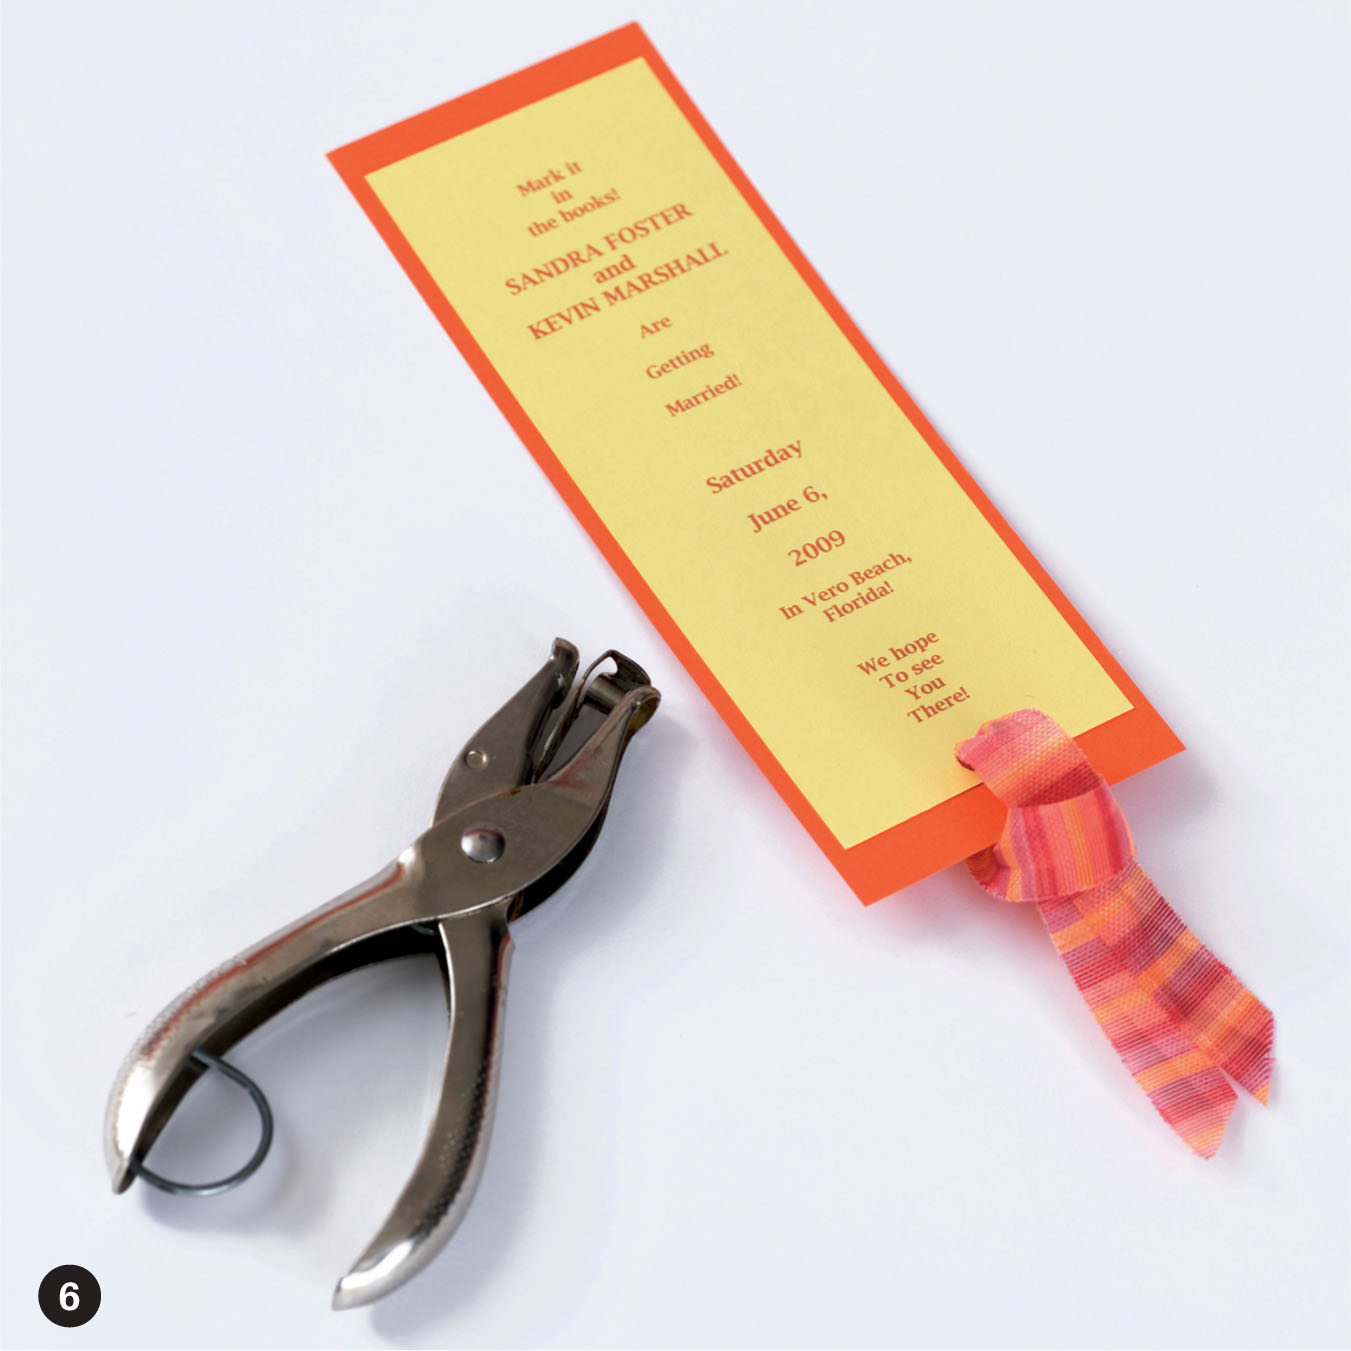
STEP 4. Punch a hole 3/4 (2 cm) from the bottom of the bookmark.
STEP 5. Fold the ribbon in half and feed both ends through the back of the hole.
STEP 6. Pull ends through the loop gently to secure the ribbon to the bookmark.
SAVE-THE-DATE DCOUPAGE VOTIVE
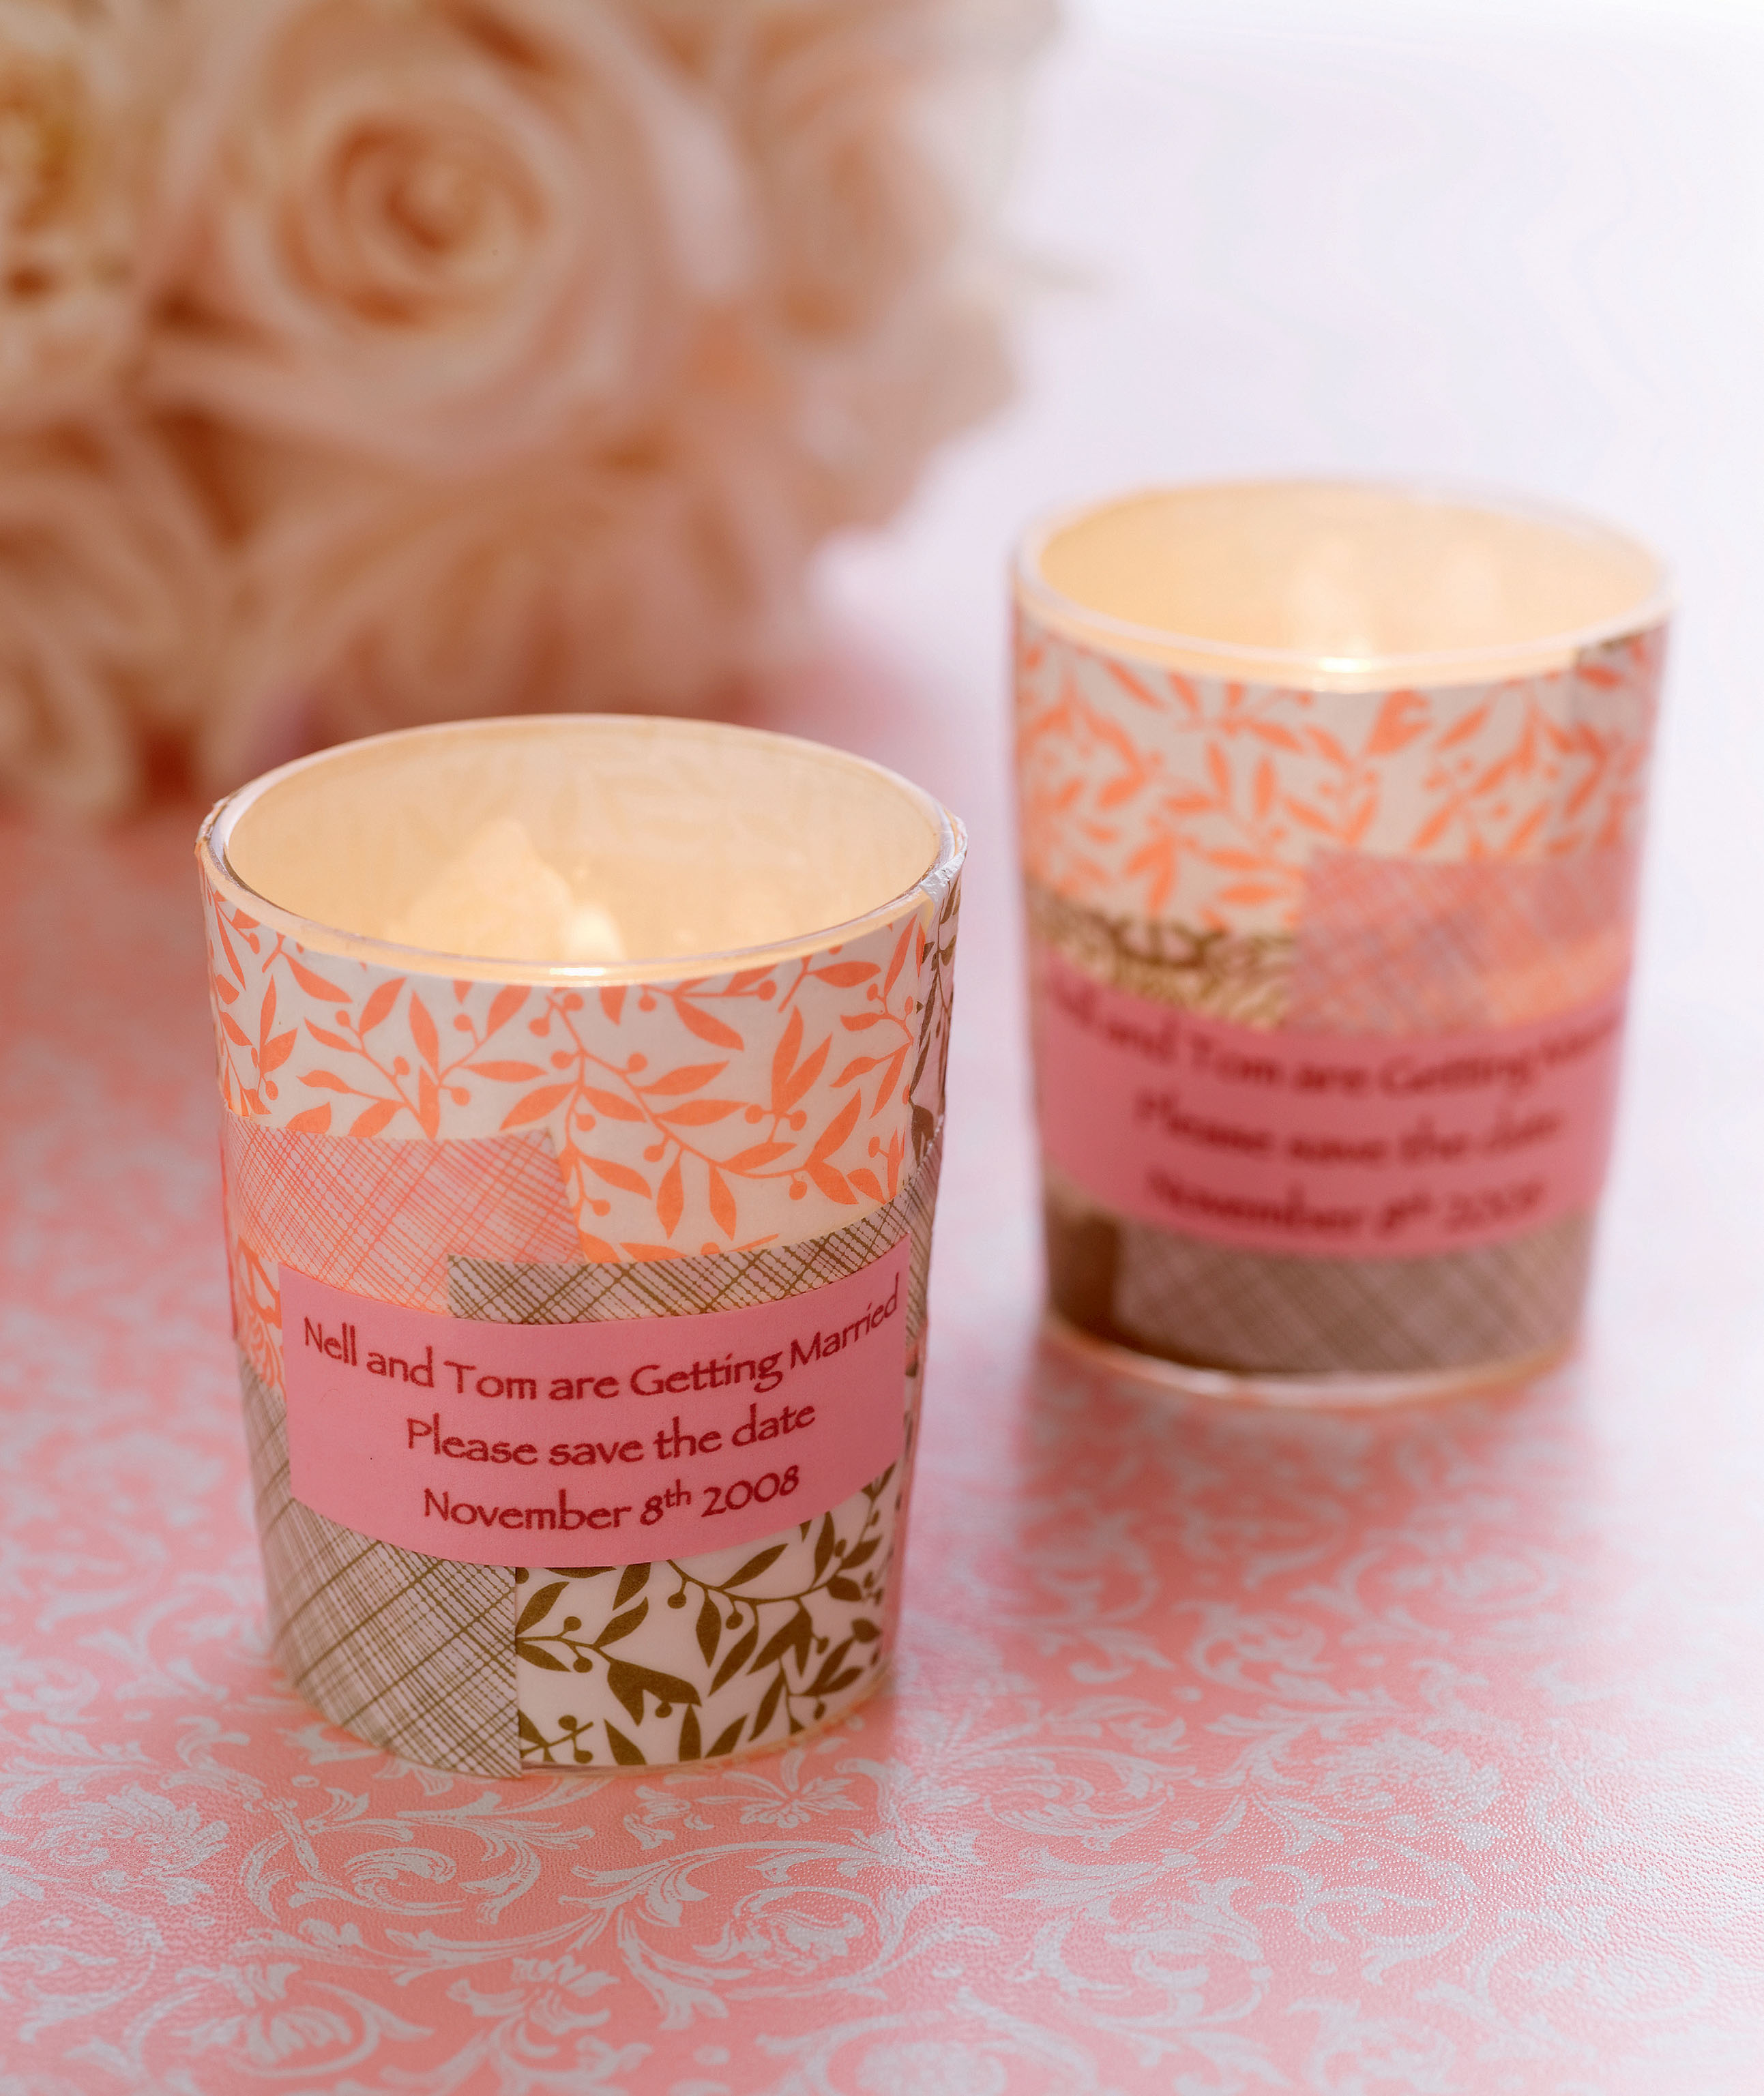
Everyone loves to find a surprise in the mailbox. Heres a sweet and sendable trinket to announce your wedding day. These votives will fit easily into small mailing tubes. Remember to check the postage of each votive before mailing. This project is not only a terrific gift to receive but is also fun to make. Gather your girlfriends together, serve some cocktails and snacks, and have yourself a dcoupage craft night. Choose scented candles for an extra sensory surprise!
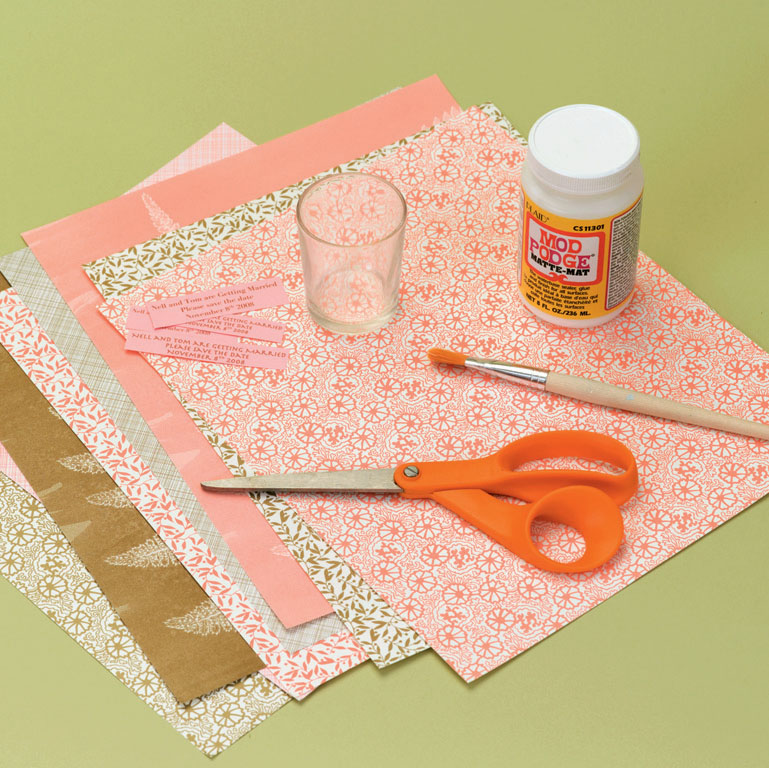
Here are the materials you will need to make one save-the-date dcoupage votive:
paper, in color of your choice, for announcement
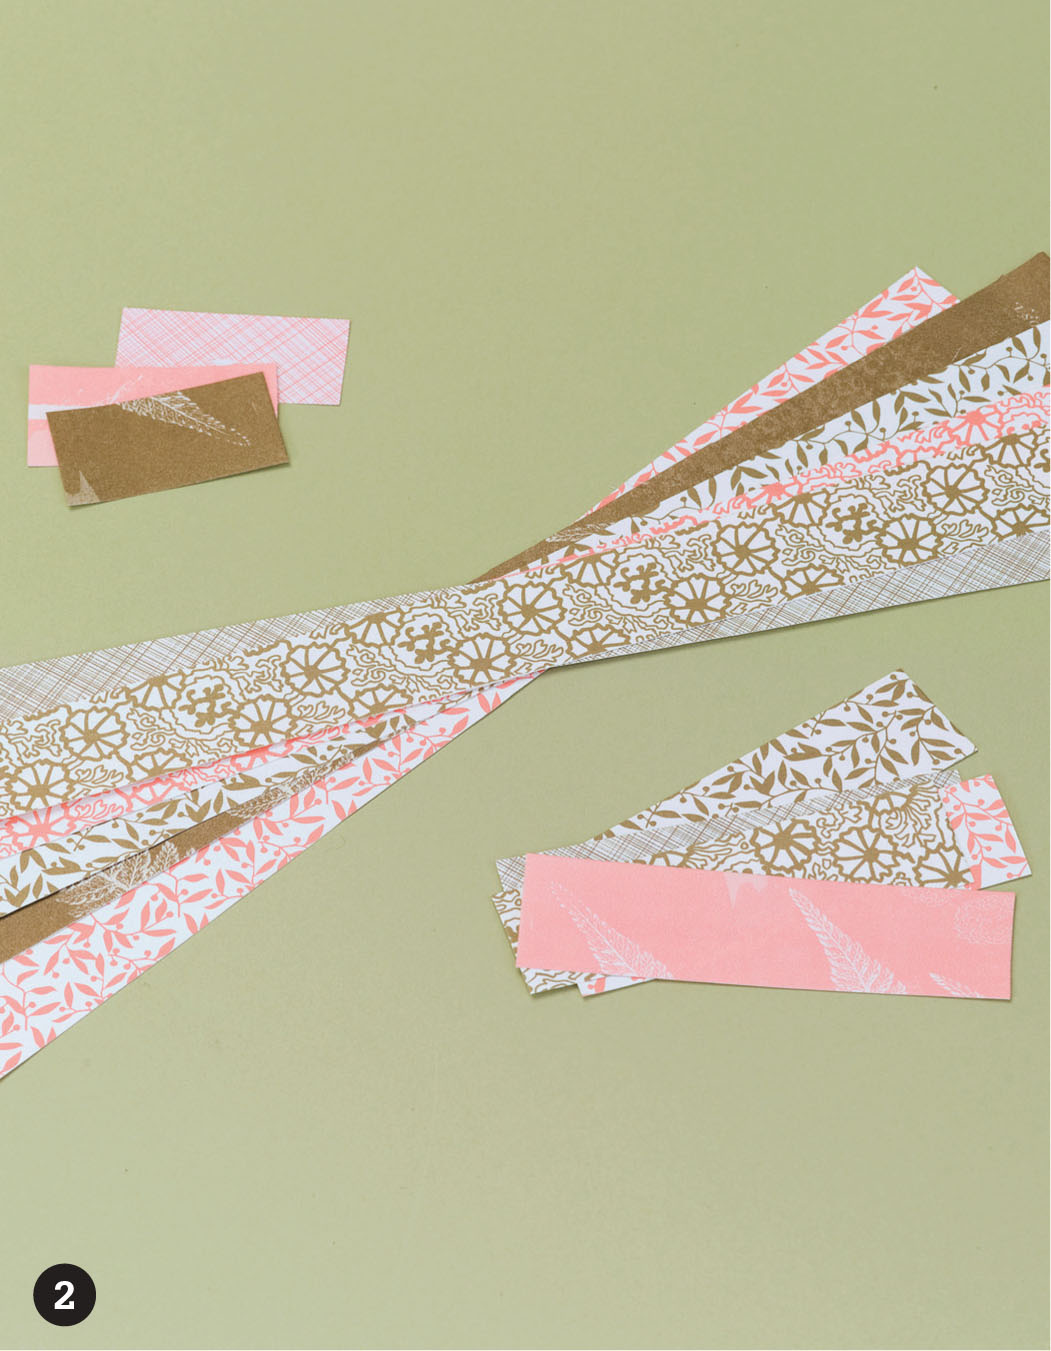
assorted scrapbooking papers or other decorative papers
scissors
small glass votive
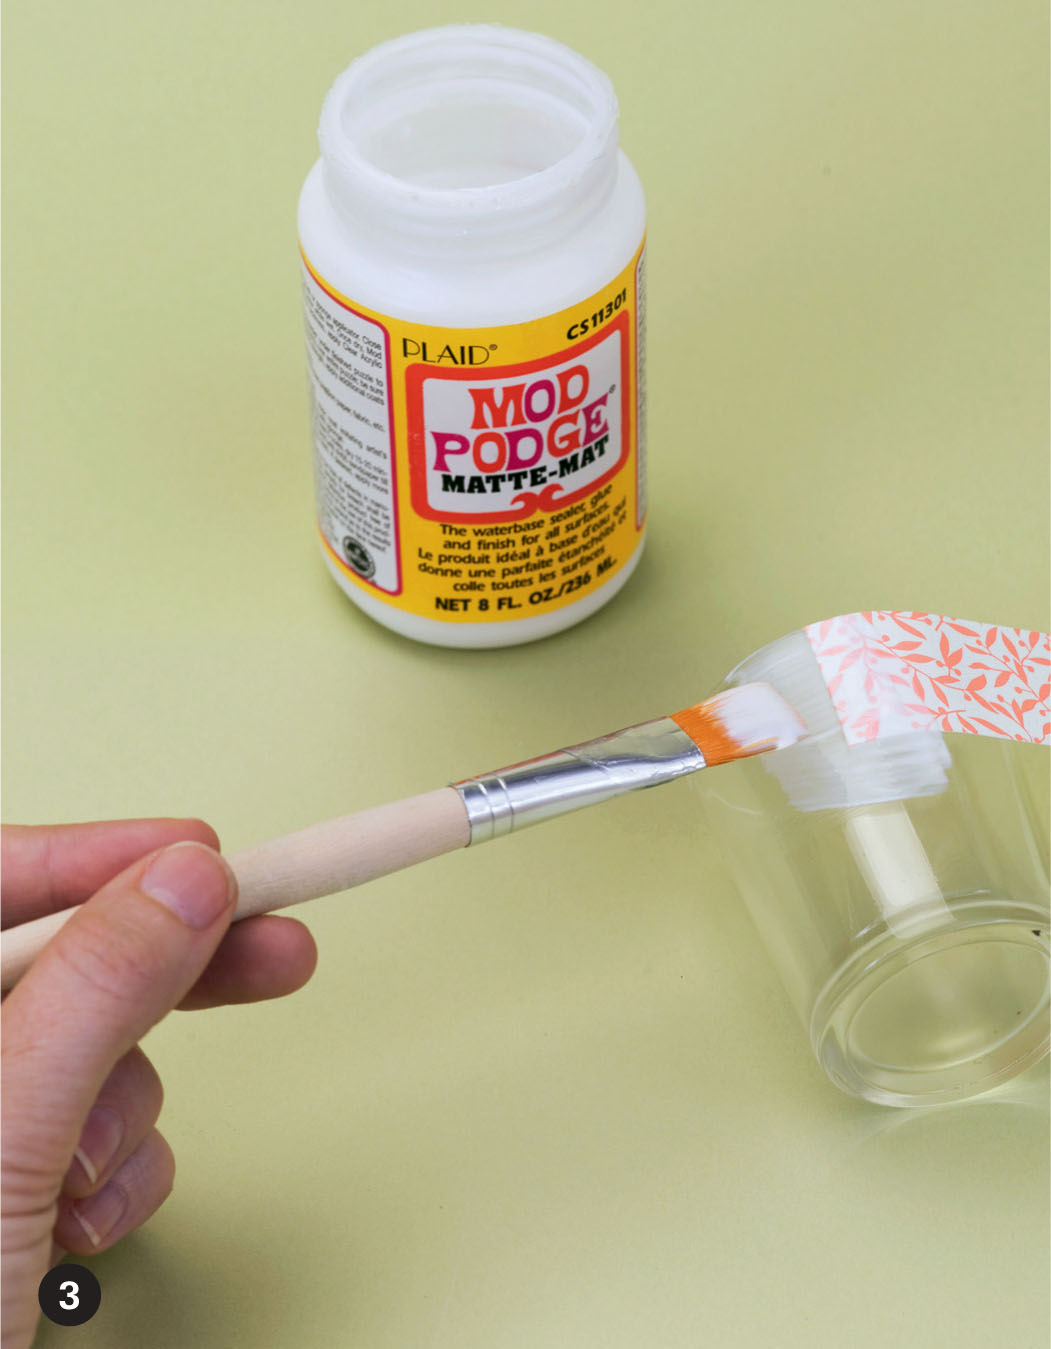
dcoupage glue
small paintbrush
