Camp Cooking
100 Years
The National Museum of Forest Service History

Camp Cooking
100 Years
Digital Edition 1.0
Text 2010 The National Museum of Forest Service History
Photographs 2004 The National Museum of Forest Service History
All rights reserved. No part of this book may be reproduced by any means whatsoever without written permission from the publisher, except brief portions quoted for purpose of review.
Gibbs Smith
P.O. Box 667
Layton, Utah 84041
Orders: 1.800.835.4993
www.gibbs-smith.com
ISBN: 978-1-4236-1222-3
Foreword
This Heritage Cookbook pays tribute to the decades of dedication given by Forest Service employees throughout the past century.
In the Northern Regions Early Days in the Forest Service, Volume I, the words of Joe B. Halm seem to state clearly how it was in the beginning. Halms career began in 1909 working for Ranger Edward Pulaski on a survey crew at Wallace, Idaho. He said:
In thinking back over those early years of the Service I am impressed by the unselfish loyalty of everyone, the enthusiasm with which they worked and sweat [sic], carrying their food and beds on their backs, traveling the dim forest trails mostly without horses. Pride and loyalty to the Service and their chief carried them on, rain or shine, day after day, sleeping under the stars or in winter in soggy, leaky cabins with sagging roofs ten feet beneath the snow. That loyalty and enthusiasm has never waned, in my case at least.
There is a bond which holds those of us remaining who traveled the forests together in those earlier days, who ate from the same pan and slept under the same blanket or snowshoed with hundred pound packs for days, wet to the bone, sleeping by a fire on a bleak mountain top burrowed in the snow many feet above ground. When the snow was soft we sank to our knees staggering along under our packs breaking trail. When the snow was crusted on steep ascents, we painfully cut steps in the treacherous icy slopes, but when the snow was firm and the going was good, we laughed, joked and sang.
We have all shared the dangers, too, toiling beneath those great white billows of smoke miles high, adding our mite of strength to control the fire demon and stop the destruction that those to follow may profit by and enjoy our great national heritage.
I am sure not one regrets a single hardship, firm in the belief that each mile traveled, each step taken, has added a bit in making the Forest Service what it is today.
Dutch Oven Basics
Food that requires baking such as biscuits, breads and cakes, needs most of the heat on the top. Coals should be placed under the oven and on the lid at a 1 to 3 ratio with more on the lid. For roasting, the heat should be equal with the same number of coals on top as underneath. For frying, boiling, simmering and stewing, heat should come from the bottom only. To keep biscuits and other baked food from burning on the bottom, remove the bottom heat after two-thirds of the total cooking time.
To share heat and serve dishes that are similar in cooking time, ovens can be stacked. This technique requires careful watching, however, to ensure that the bottom oven does not overcook.
Depending on the size of the Dutch oven, each briquette adds between 10 and 20 degrees of heat. Placement of briquettes is also important, because heat is more evenly distributed if placed in a circular pattern on the bottom and in checkerboard fashion on the lid. Remember that it is much easier to raise the heat in a cast-iron oven than to lower the temperature. Also, temperatures inside the oven will vary according to altitude so the cook may want to use a thermometer to check oven temperatures when using for the first few times. Rotating the oven every ten minutes will also help distribute the heat in a more uniform way. The lid can also be rotated a third of a turn in the opposite direction every ten minutes.
Pay close attention to the manufacturers instructions for help on seasoning and curing a new cast-iron Dutch oven as well as caring for your oven after using it for the first time. Never use soap because the porous nature of the cast iron will trap the soap taste for future meals. Ovens can crack if heated too quickly or if cold liquid is poured into a very hot oven. With proper care, your cast-iron cookware will last for many years.
Ron and Karen Ashley, Region 4, retiree
Table 2.1. Basic Briquette Temperature Control Guidelines
| Oven Size | Number of Briquettes on Top | Number of Briquettes on Bottom |
|---|
| 10-inch | 10 to 12 | 8 to 10 |
| 12-inch | 12 to 14 | 10 to 12 |
| 14-inch | 14 to 16 | 12 to 14 |
| 16-inch | 16 to 18 | 14 to 16 |
Breakfast
Breakfast Memories
Sausage
5 to 6 potatoes, cubed
1/2 small onion, chopped
1/4 c green pepper, chopped
6 to 7 eggs
Milk (optional)
1/4 c American or cheddar cheese
Gravy:
2 Tbsp flour
Salt and pepper
1 glass milk
Cook sausage in a skillet. Remove sausage and add potatoes to skillet with grease from sausage (add shortening if needed to keep potatoes from sticking). Add onion and green pepper. Cook until potatoes are tender. Add eggs and crumbled sausage. Can add a little milk to eggs to make them fluffy. Add cheese. Cook until eggs are done.
Gravy: Mix flour with salt and pepper in just enough grease to coat the bottom of the skillet. Brown to desired doneness and add about a glass of milk. If not enough, add water until your skillet is about 3/4 full. Stir constantly until gravy starts to thicken. Remove from heat and stir until desired consistency is obtained.
Note: I add garlic to the potatoes as they are cooking just enough to taste, and this works in two ways: adds a good flavor and helps keep the insects away.
Sharon Waid, Region 8, Ozark-St. Francis National Forests, Arkansas
Hint
Butter will keep indefinitely by submerging in a strong salt solution, preferably in a sealed fruit jar. Keep in a cool place.
Dutch Oven Breakfast
2 Tbsp olive oil
2 cloves garlic, crushed
1 Polish kielbasa sausage
2 onions, sliced
4 potatoes, boiled and chopped
1 Tbsp diced green chilies
In a 10-inch Dutch oven, heat olive oil, add garlic. Stir twice and add sausage. Brown on both sides. Add onions, cook until tender. Add potatoes and chilies and simmer 10 minutes.
Hugh and Pam Thompson, Region 4, retiree
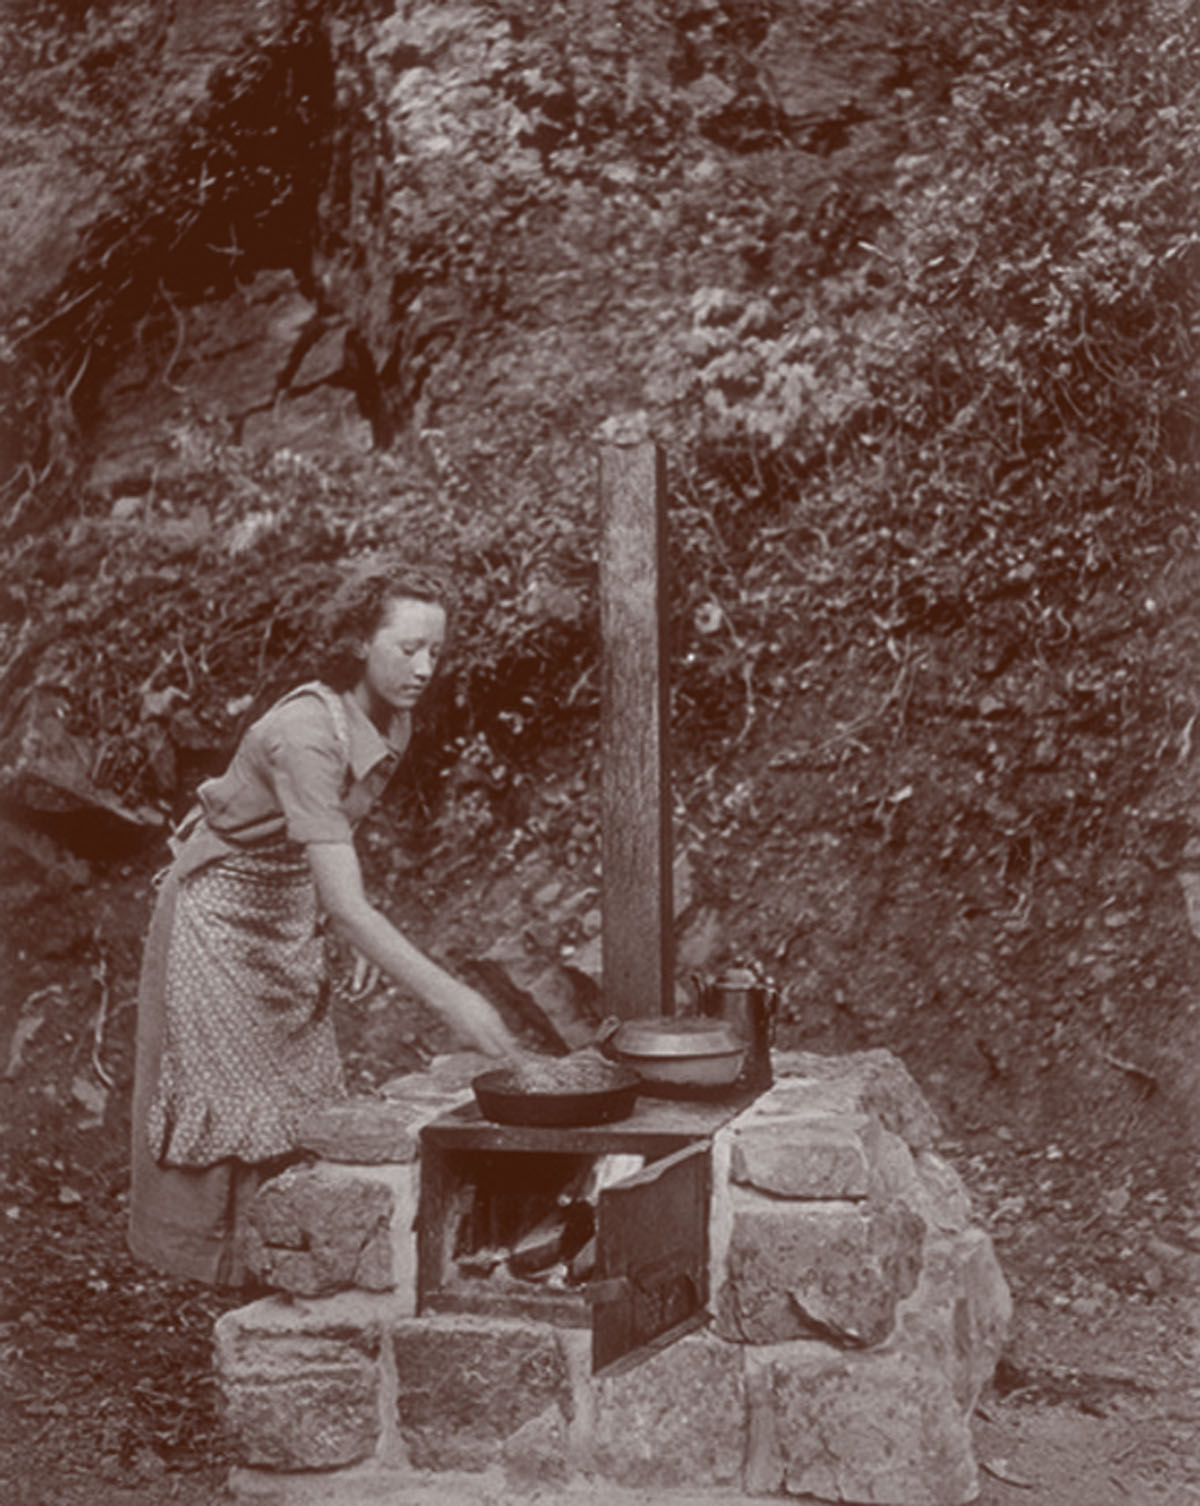
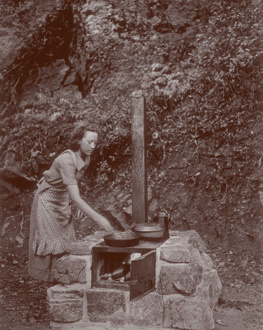
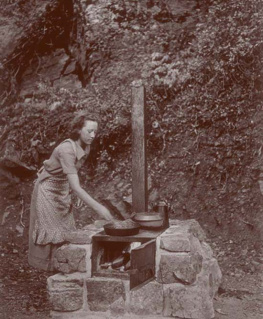
Camp stove, Wasatch National Forest, Utah, circa 1935.
Cowboy Breakfast
1 roll sausage; bacon and ham can be added
1/2 c chopped onion
1 dozen eggs
1/4 c milk or 2 Tbsp sour cream
Salt and pepper
4 to 6 slices Velveeta brand cheese
Cook sausage, bacon, ham, and onion. Beat eggs and milk or sour cream. Pour mixture over meats and onion. Cook in large skillet over open fire. Add salt and pepper to taste. Top with cheese. Optional chopped hashbrown potatoes, mushrooms, and bell peppers can be added.
Judy Boren, Region 8, Land Between the Lakes National Recreation Area, Kentucky

