Lisa M. Pace
Thank you for purchasing this Artist Network eBook.
Sign up for our newsletter and receive special offers, access to free content, and information on the latest new releases and must-have art resources! Plus, receive a coupon code to use on your first purchase from NorthLightShop.com for signing up.
or visit us online to sign up at
http://artistsnetwork.com/ebook-promo
Contents
Introduction
Not only do I take delight in techniques used in my projects, but I also take delight in the assemblage of these projects. Starting with a blank canvas, then adding and adding to create a mixed-media project or piece of collage art with my very own hands is something I find so rewarding. Im often asked how I created a piece, where I get my inspiration and if I have any helpful hints I can share. So I thought it would be fun to write a book that showcases just thathow to put everything together to create amazing projects using current and vintage finds. In this book, I not only share with you step-by-step techniques but also lead you through the extra steps necessary to get the end resultmy projects are explained from start to finish. Each project is perfect to keep for your very own or to give as gifts. And you know each one will have that endearing vintage charm that I love so much.
The projects in this book show you how to incorporate vintage finds like old buttons, sewing patterns, metal spoons, tart tins, fabric remnants, trims and so much more. I find these items during my travels or just digging around booths at flea markets, antique stores or thrift shops. I never tire of the hunt for treasures, and it is common to see me getting down and dirty, scraping off layers of grime from metal pieces or scrubbing soiled linens or fabrics. I see nothing but beauty in all things stained, tattered, torn and rusted.
In is filled with projects using all kinds of paper, from vintage sheet music and ledger paper to sewing patterns and patterned papers. You will learn how to fashion beautiful feather embellishments from old book pages and silhouettes from family photos. You will also see how easy it is to create beautiful resin paper butterflies that accent a three-dimensional canvas piece.
My two wishes for you are to enjoy the creative process from start to finish and to look beyond the item. Just because it is a canvas does not mean it has to remain just that. Turn it around and use the back to create a shadow box or body for a doll. A beautiful vintage platter can easily become the canvas for a family photo accented with buttons and trims. Tart tins and gelatin molds arent just for bakingthey can be stacked together to create amazing flowers. So when you look at an object, try to think of a way to use it other than its original purpose. This kind of discovery is a fun part of the creative journey that you do not want to miss out on.
About the Materials Lists
The techniques in this book each include a list of the general materials you will need to accomplish that technique. For a complete list of the exact materials I used to make the projects shown, see section.
CHAPTER ONE
Textiles
If you want to see me get a little skip in my step, just throw a bunch of vintage feed sacks, dish towels, fabric remnants, lace and trims into a basket and toss it on a table. When I spot a basket like this at a flea market, I cannot get there fast enough. It is so fun digging through all these goodies. I tell you, its the thrill of the hunt that gets me every time, and I come by it honestly because my mom and dad love the hunt as much as I do. Just remember: It can be washed; stains are OK and create a distressed feel; and tattered and torn is good. But most importantlyif you like it, buy it. This chapter is filled with creative ways to use all those textile finds you come upon during your shopping adventures. You will assemble a textile charm using remnant pieces of canvas and lace and adorned with a basic needle-felted accent, and you will create a unique doll using a sewing pattern for her skirt that is accented beautifully with trim and seam binding.
Birds Nest
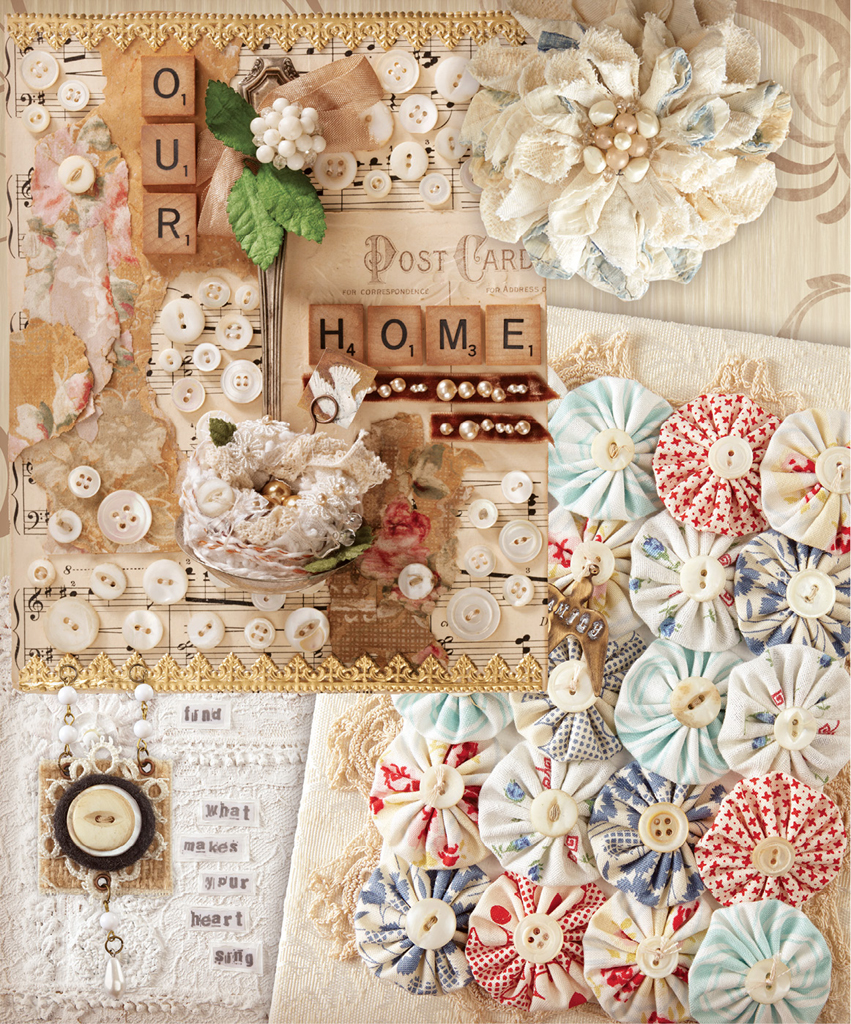
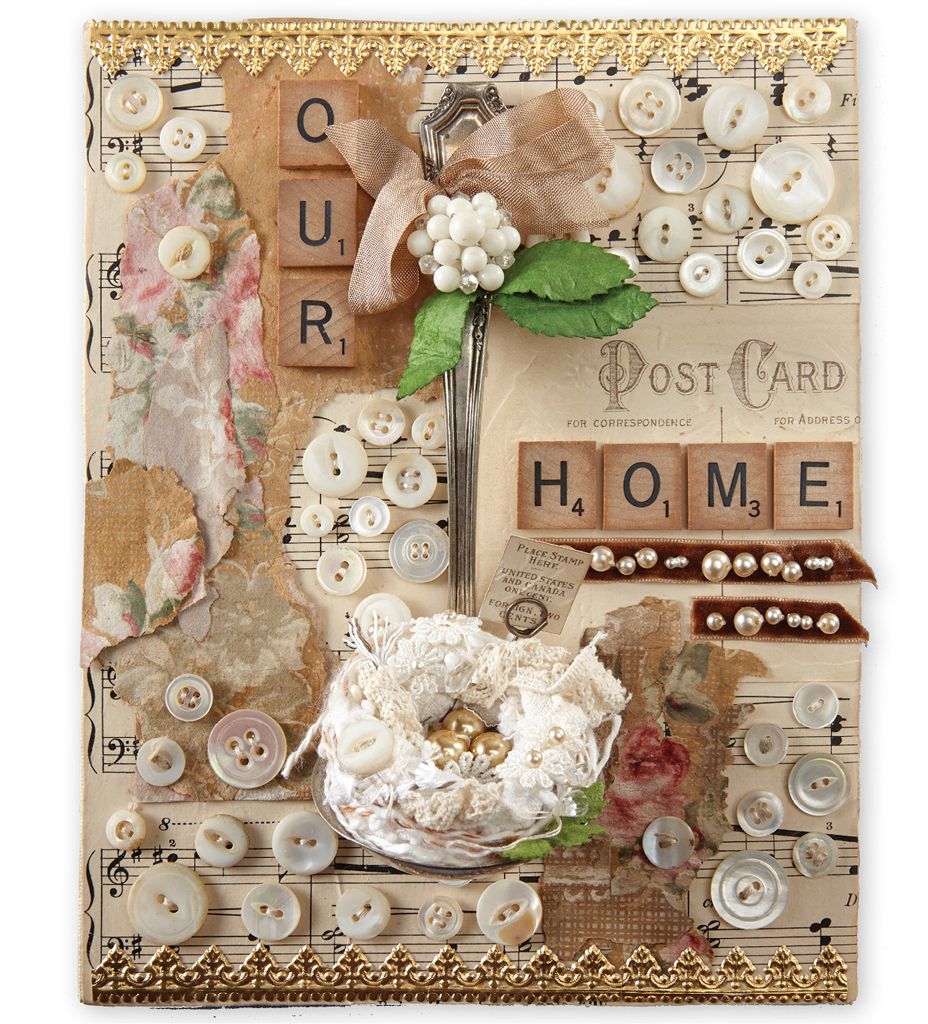
This collage highlights meaningful items from a place I love to visit. For the past several summers, Ive driven with my parents to West Virginia to visit family and the old homestead. This homestead was placed in its spot in 1900, so I used a postcard and sheet music from that era for my background. The wallpaper is pieces of the homes actual wallpaper, which Mom and I carefully peeled away. The buttons and chenille bedspread nest represent items found in the attic. The ladle symbolizes all the wonderful meals my great-great-aunts cooked on a woodstove.
What Youll Need
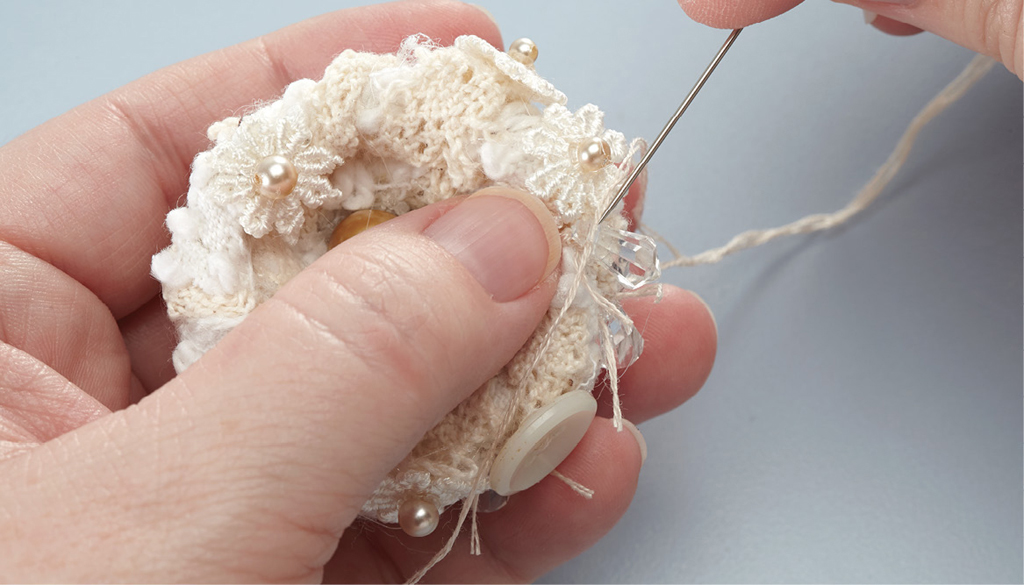
Ladle, chenille fabric, crochet trim, yarn, embroidery floss, beads for eggs, daisy trim, buttons, fabric leaf, small chandelier beads, hot glue sticks, hot glue gun, sewing needle, scissors
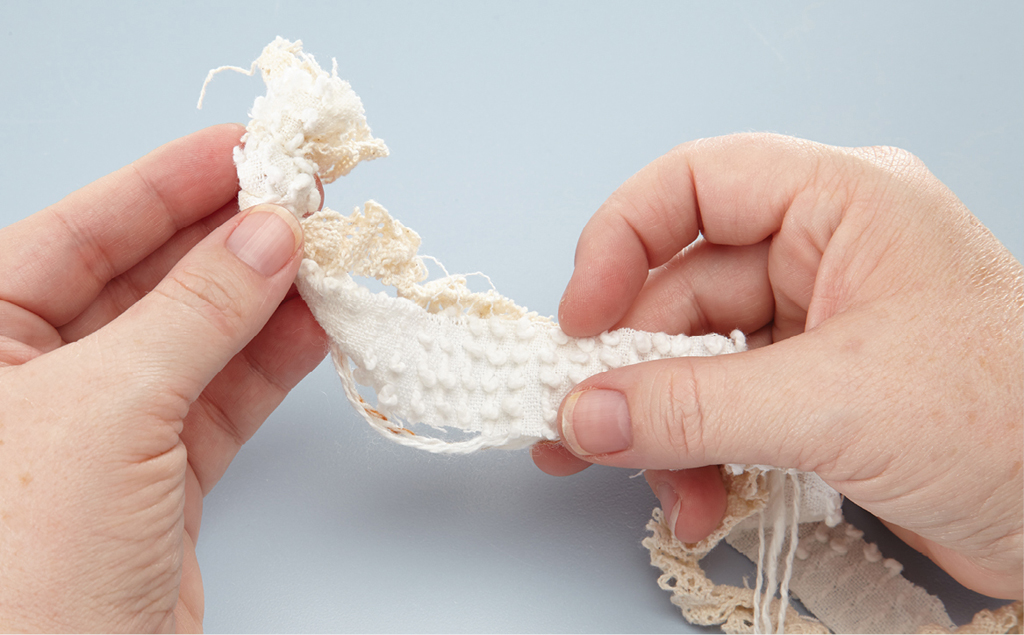
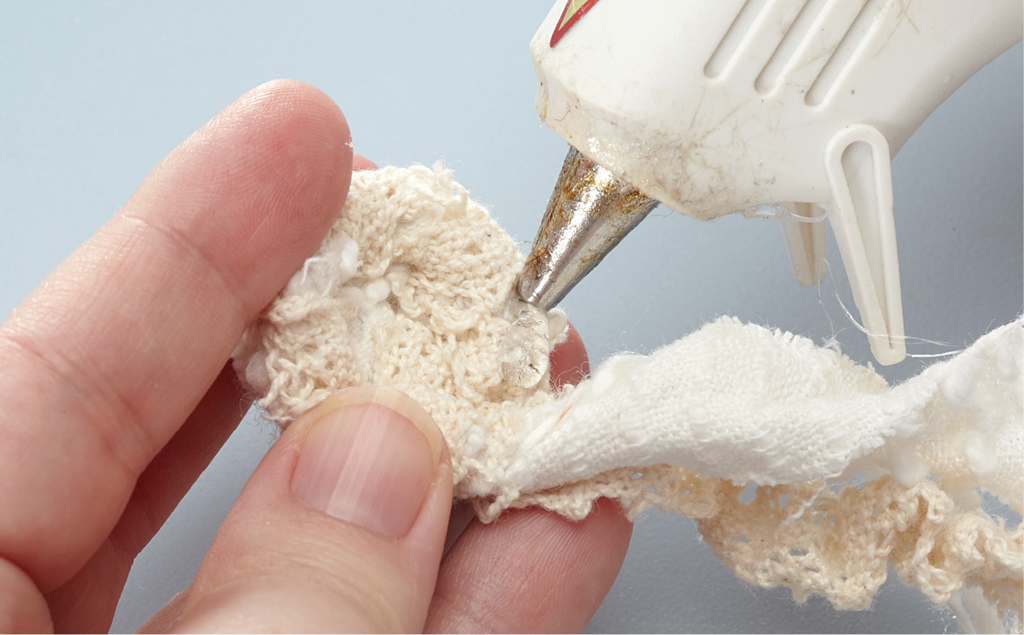
STEP 1 Using scissors, cut pieces of a chenille bedspread or fabric, yarn and crochet trim to 1 x 12 (3cm x 30cm). Hold all three pieces together and tie a knot at one end.
STEP 2 Starting at the knotted end, twist the textiles together to form a nest shape. Using a hot glue gun, apply small dots of hot glue to the top of the textiles strip before you layer the next twisted row. This will help keep the nests shape as it gets larger. Add additional dots of glue as needed, one or two per row. Glue the ends of the fabric to the nest to secure.
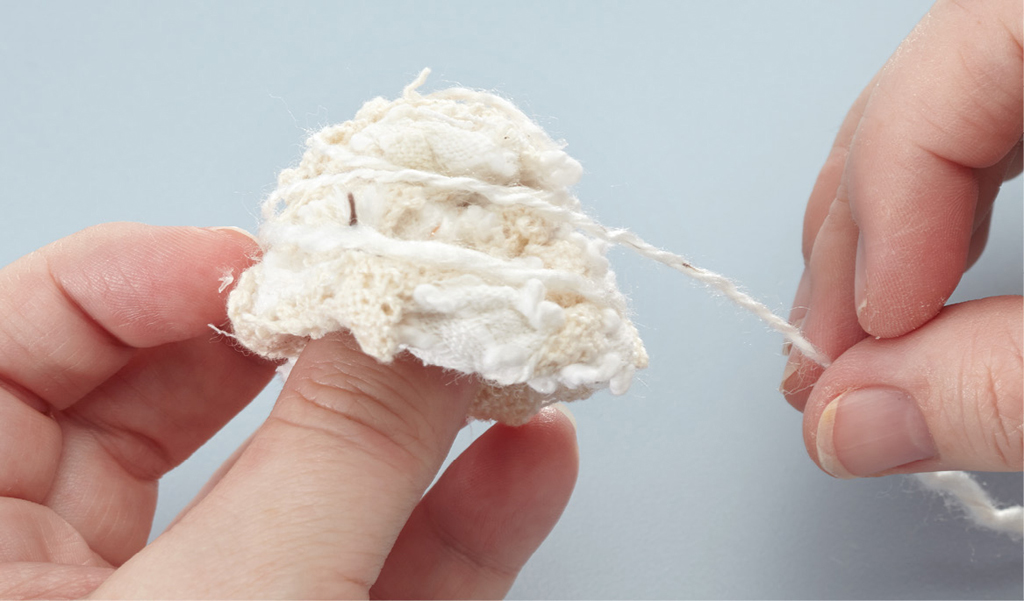
STEP 3 Wrap a bit of yarn around the nest, working bottom to top, to add body and visual interest, gluing both ends of the yarn in place.
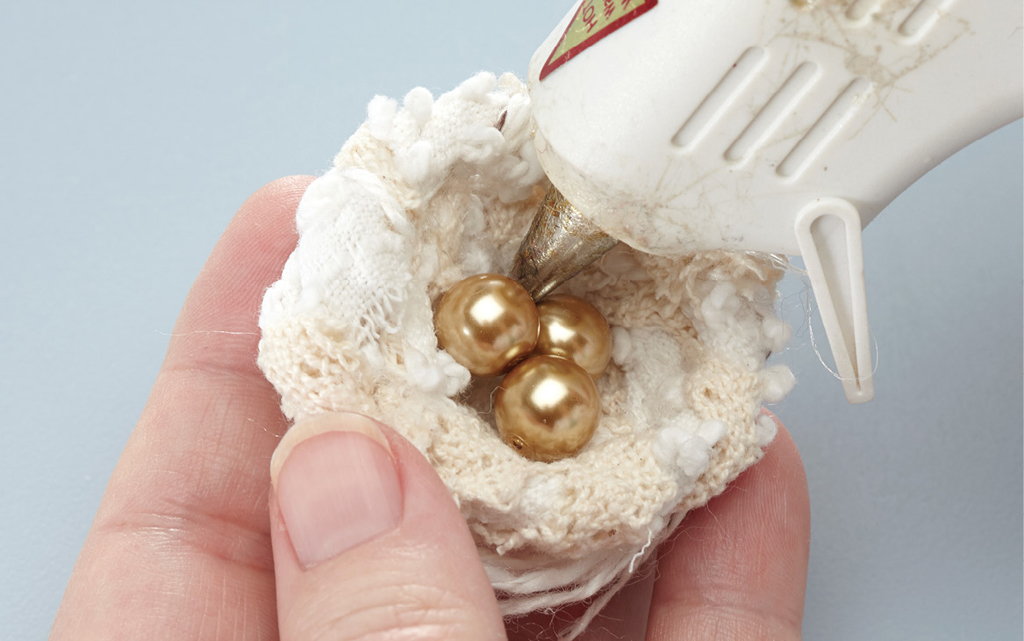
STEP 4 Using a sewing needle or hot glue gun, attach three beads to the center of the nest for eggs.

