Text copyright 2013 by Jessica Peck Photography and Artwork copyright 2013 by C&T Publishing, Inc. PUBLISHER: Amy Marson CREATIVE DIRECTOR: Gailen Runge ART DIRECTOR: Kristy Zacharias EDITORS: Lynn Koolish and Deb Rowden TECHNICAL EDITORS: Ann Haley, Teresa Stroin, Sandy Peterson, Mary Flynn, and Nanette Zeller COVER/BOOK DESIGNER: April Mostek PRODUCTION COORDINATOR: Jenny Davis PRODUCTION EDITOR: Joanna Burgarino ILLUSTRATOR: Lon Eric Craven PHOTO ASSISTANT: Mary Peyton Peppo PHOTOGRAPHY BY Diane Pedersen and Nissa Brehmer of C&T Publishing, Inc., unless otherwise noted Published by Stash Books, an imprint of C&T Publishing, Inc., P.O. Box 1456, Lafayette, CA 94549 Dedication This book is dedicated to my three favorite redheads, who have allowed me to reach my dreams through all of their love, support, and inspiration: an abundance of love and gratitude to Jason, Ephraim, and Aeris. Acknowledgments I am so honored to have had such a wonderful support system in creating this book. Without the patience and encouragement of my team at C&T Publishing, this book would not have been possible. Thank you for guiding me through this process and being so understanding with my thousands of questions.
Much generosity has been shown to help in the production of all of the projects in this book. Aurifil, Dear Stella, Michael Miller Fabrics, P&B Textiles, PCP Group (Pellon/Legacy), and Prym-Dritz Corporation are gracious companies that have all lent their support. Special thanks to Wacom Technology Corporation for aiding in the production of technical illustrations. Most importantly, National Nonwovens wool felts have been my premier choice over the years. I have been working with Christin and the dedicated team at National Nonwovens for years and cannot thank them enough for supplying all of the felt for this book. Thank you to my beautiful babies, Ephraim and Aeris.
My children are my main source of inspiration. They aid me in each project, every step of the way, from inspiration to production. And to my incredibly supportive husband, thank you for your patience. It is with your love and belief in me that my dreams are made possible. Introduction There is not a moment from my childhood that I cannot remember being enveloped with a mothers touch. From the Care Bears and rainbows that hung on my bedroom wall to a sunny yellow gingham quilt, from fields of lavender flowers draped over my canopy bed to a velvet outfit to match my favorite Cabbage Patch doll, the special touches were all there.
Mothers and grandmothers took time from their own lives to create something special for mine. Even as a small child I understood the significance of the handmade items in my life, and as soon as I had children of my own, I knew I wanted them to have the same. As I began creating things for my two childrenclothes and blankets, duvets and throw pillowsI soon learned that I didnt want just beautiful curtains to hang on bedroom walls but things we could enjoy together, things we could use together. When I thought back to those items from my childhood, the most joy I had came from when my father would lift down the Care Bears and let me float off on a bed of clouds to Care-a-lot. This world of imagination and wonder is what was missing in those beautiful pieces I was creating for our home. My children and I could not interact with one another through a custom-covered lampshade.
I began taking notes on the playroom floor. As my children played I watched what they played with and how they played with it. I created designs and then gave them to my children and watched how they responded, what pieces they pulled off, and what pieces fell off. More often than anything, they brought the toy back to me. They were offering me entry into their world of imagination, where we could play tea party or sell football tickets. Re-creating a world where they could go grocery shopping and choose produce, pay the cashier, and bag their own groceries allowed them opportunities for role play and creativity.
The greatest joy from creating toys and play spaces for my children was introducing imaginative play through my handmade items. The benefits of imaginative play in young children are innumerable, especially when playing with loved ones. 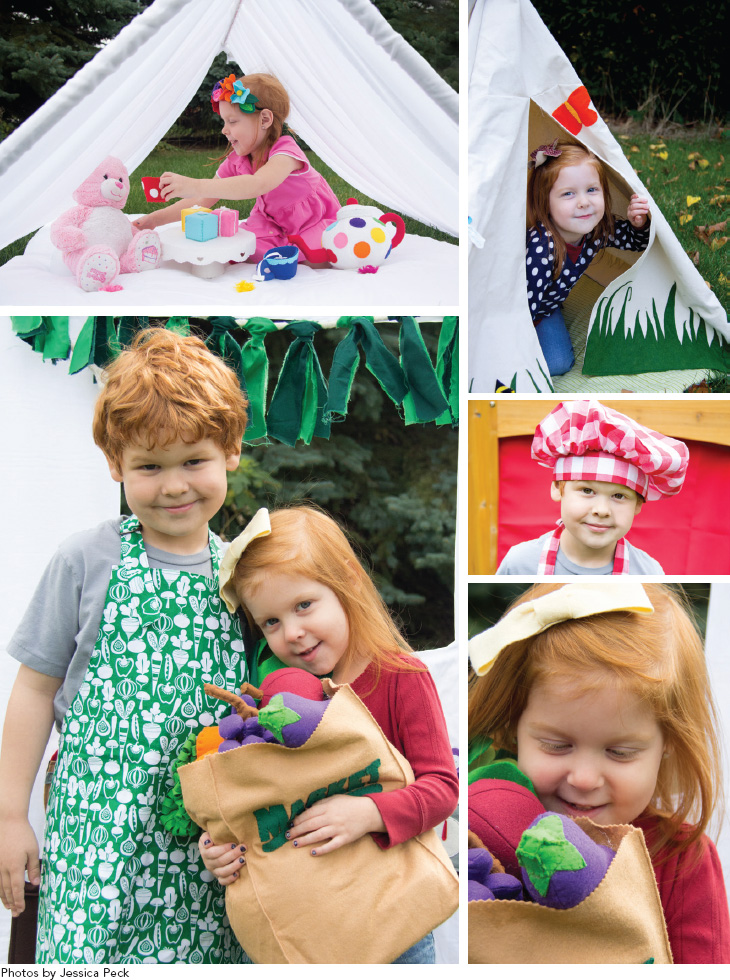 Getting Started Before you begin any project, it is important to understand your materials and their applications. The types of materials you choose have a great impact on the longevity and wear of a product. There is nothing worse than finishing a project only to find out you didnt use the proper materials.
 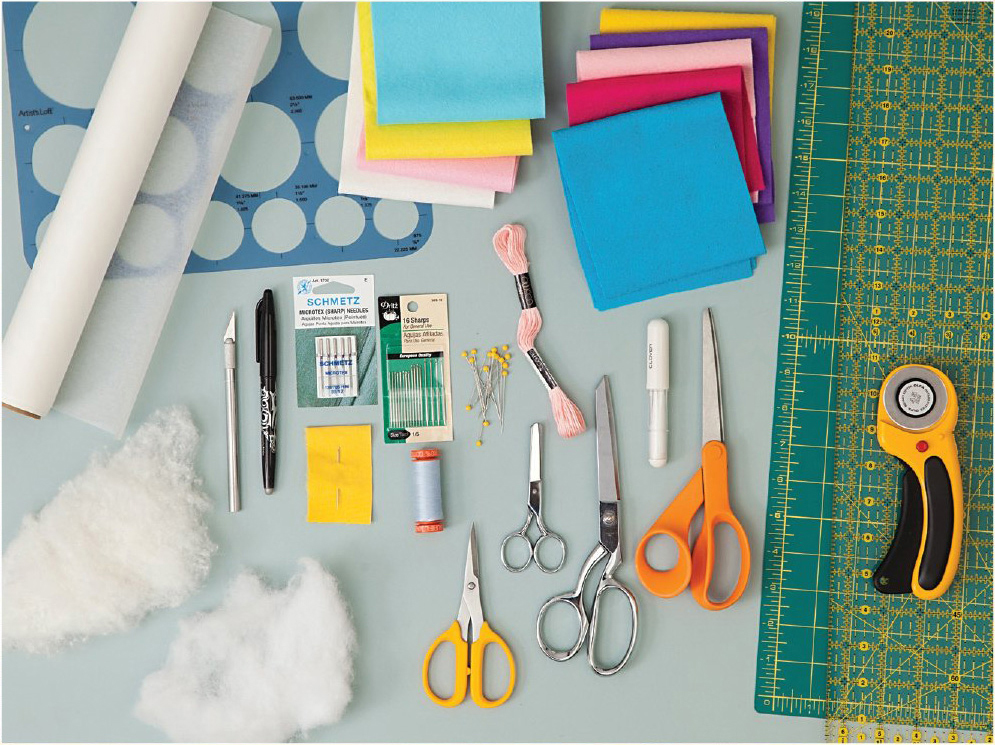 Sewing Tools Cutting and Measuring Even a novice sewist would tell you that never, under any circumstances whatsoever, should the fabric scissors cut anything other than fabric! Sewists are very partial to their scissors, which may be why they have collections of them.
I mention four types of scissors throughout this book. Although it is not essential to have them all, it is helpful, as each pair discussed has its own specific use. DRESSMAKING SHEARS The first pair of scissors a sewist should invest in is a great pair of shears. While shears are offered in a wide range of prices, the most important thing to keep in mind is that these scissors should be used solely for fabric. This practice will ensure the longevity of even an economical pair. For use on felt, I have a secondary pair of dressmaking shears marked with a ribbon so I do not confuse the two.
EMBROIDERY SCISSORS Embroidery scissors are a great addition to any sewing kit and usually the second pair that one would add after a great pair of fabric shears. They usually measure about 4 in length, making them ideal for doing detailed work and taking on the go. CRAFT SCISSORS Craft scissors are an economical choice to extend the life of the rest of your scissors; use them on interfacing as well as paper and templates. BLUNT-TIP SCISSORS Although not used too often, when they are called for, blunt-tip scissors are extremely helpful. For example, when you are clipping around the curve of a seam, blunt-tip scissors are an ideal choice so that you do not accidentally cut the sewn section. Blunt-tip scissors are also useful for cutting many lightweight and sheer fabrics.
The soft end will prevent fabric from fraying when cut. ROTARY CUTTER A rotary cutter, offering accuracy and precision, is often a quilters favored choice for cutting fabric. While most of the projects in this book do not call for long cuts of fabric, some do use the rotary cutters replacement blades. Swapping the straight blade for a scalloped or pinking blade lets you create beautiful decorative edges. I recommend Olfas Deluxe Ergonomic Rotary Cutter. Not only is the handle comfortable, but the blades are easily interchangeable, which is helpful when working on these felt projects.
CUTTING MAT AND CLEAR RULER For use with a rotary cutter, a cutting mat and clear ruler are essential. I recommend Olfas 24 36 Self-Healing Rotary Mat along with a 6 24 Non-Slip, Frosted Advantage Acrylic Ruler. It is helpful to have a ruler as long as your mat is wide so you can benefit from the full capacity of your cutting mat. 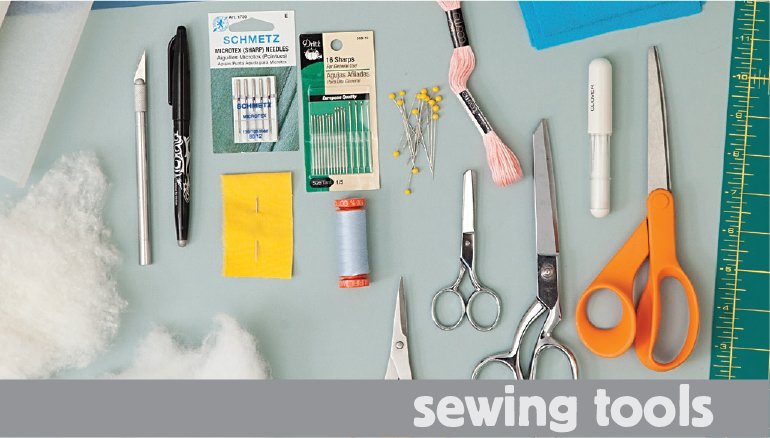 Pins and Needles There are several different types of sewing pins that vary by head, point, and length. For the projects in this book, I recommend pins with plastic, ball-shaped heads and sharp points. These are great for felt or fabric projects and come in long and short lengths.
I like pinning the felt projects together and removing the pins as I hand sew. I recommend Dritz Ball Point Pins, both long and short. Keep in mind that some plastic heads will melt under the heat of an iron, so be careful when you take projects to the ironing board. The projects in this book use two types of needles: sewing machine needles and hand embroidery needles. Check with the manual for the particular sizes needed for your sewing machine; fabrics in this book require a sharp or universal needle and a medium/heavy-weight needle. For hand embroidery, I recommend Dritz Embroidery needles.
Next page







 Getting Started Before you begin any project, it is important to understand your materials and their applications. The types of materials you choose have a great impact on the longevity and wear of a product. There is nothing worse than finishing a project only to find out you didnt use the proper materials.
  Sewing Tools Cutting and Measuring Even a novice sewist would tell you that never, under any circumstances whatsoever, should the fabric scissors cut anything other than fabric! Sewists are very partial to their scissors, which may be why they have collections of them.
 Pins and Needles There are several different types of sewing pins that vary by head, point, and length. For the projects in this book, I recommend pins with plastic, ball-shaped heads and sharp points. These are great for felt or fabric projects and come in long and short lengths.