Contents
Guide


FLOWER POWER!

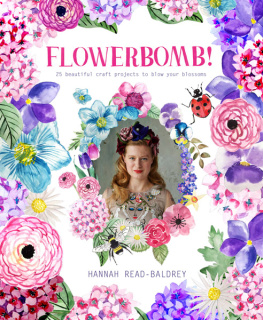
Welcome to Flowerbomb!, a book dedicated to beautiful bloomin flower projects.
I have been in love with flowers ever since I can remember, from making daisy chains as a young child to choosing the peonies and wildflowers for my wedding bouquet. I find their beauty endless and the joy they bring me immeasurable. My mother studied botany and over the years she has attempted to teach me the names and meanings of an array of flowers; her appreciation has well and truly rubbed off on me.
I am continuously amazed by the design, shape and scent of flowers, and each season brings a whole new set of flora to enjoy. This book aims to pay homage to my favourite blooms through lots of different craft media. I love how using different materials can create such different effects, from felt and wool to leather and crepe paper, and even using resin in an attempt to freeze dried flowers in time.
First comes the Floral Home chapter, full of projects that bring the outside in, which will have you working with all sorts of materials to enliven your pad with blossoms. The .
Next theres the Flower Fiesta chapter. This brings together some craft and baking ideas you will love. The made with a lavender buttercream icing its simply delicious.
As a stylist married to an ex-fashion designer, I have an affinity for fashion and I have so loved scouring the catwalks to inspire the Floral Fashionista chapter. Designers such as Dolce & Gabbana, Versace and Vivetta bring amazingly creative floral designs to their collections year on year. The uses embroidery in a modern way to create the most gorgeous handbag.
So what does Flowerbomb mean? Creating a decorative explosion of beautiful flowers across your home and life to bring floral joy to your world!
Flower Power to everyone! x

When you make something from the book, please share it with us! Post your pictures to Instagram using #FlowerBombStyle and tag @couturecraft, @flowerbombstyle and @pavilionbooks
HOW TO DRY FLOWERS
Drying flowers is a wonderful way to preserve seasonal blooms all year round. They can be used for many different types of craft project, from working with resin to decorating candles and adding to soap. Here are a few tried-and-tested ways to dry flowers.


MICROWAVE TECHNIQUE
When flowers are being dried, they release a lot of liquid; using a microwave speeds up the drying process and makes it almost immediate. However, it is best to use the microwave to partially dry the flowers, then use a flower press to flatten them for a few days. The microwave technique is an excellent way to press large flowers, but its not ideal for very fragile flowers. You can even buy a special microwave press online, but for the method described here, all you need are two flat dinner plates and extra absorbent kitchen roll.
METHOD
1. Make sure your flowers are clean and free of insects: place the flowers in a bowl of water for a few minutes before you microwave them as you never know whats hiding inside. Dry the flowers with kitchen roll. Trim the stem of larger flowers right to the base.
2. Place two to three sheets of extra absorbent kitchen roll on one of the plates and place the flower in the middle. Put two to three sheets of kitchen roll over the flower, then place the second plate on top to sandwich the flower in between. Press down on the top plate.
3. Place the stacked plates in the microwave. If the flower is large, microwave for 12 minutes; for a smaller flower, microwave for only 30 seconds.
4. Remove from the microwave and check. The flower will have released a lot of water; change the kitchen roll if necessary and microwave again at 30 second intervals. Once most of the water has been released, remove it from between the plates, place it on a dry piece of kitchen roll and allow it to cool.
5. Finally to flatten, place the flower in a flower press for a few days in between two sheets of blotting paper until flat and dry.
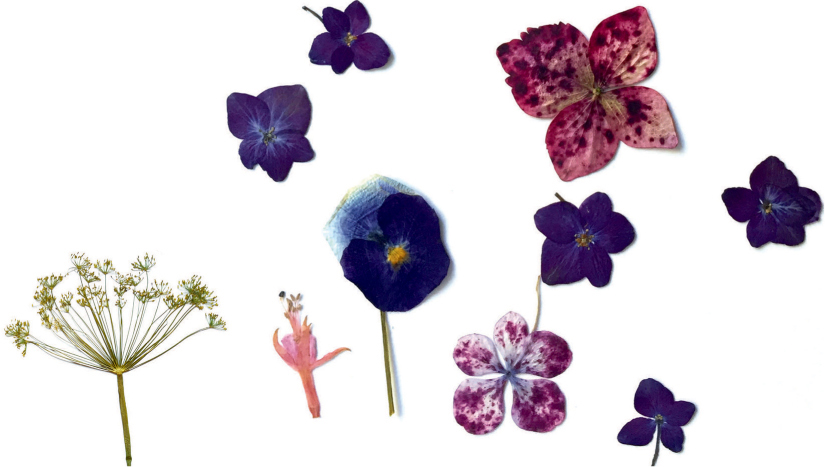
FLOWER PRESS
A flower press is constructed from two pieces of wood with screws around the outside and layers of cardboard and blotting paper inside. Buy a large press as the smaller ones often wont fit in many flowers.
METHOD
1. Collect a selection of flowers. Make sure they are insect free.
2. Place the flowers with good distance from each other on a sheet of blotting paper. (Some people write the names of the flowers and the date when they were pressed on this paper as a record.) Prepare as many sheets as required for the flowers you want to press.
3. Open up the flower press by unscrewing the sides. Ideally, you dont want to disturb the press too much during the drying process, so its best to layer up your prepared flower sheets all in one go. Starting with a sheet of cardboard, place a prepared blotting paper sheet on top, making sure the flowers are not touching, then cover with another piece of blotting paper. Repeat the layers until the press is full, then screw up the sides.
4. Flowers may need to press for three to six weeks. Open up the press every week to change over the paper, especially for the larger flowers, otherwise moisture will make the flowers rot.

BOOK TECHNIQUE
I once found a four-leaf clover in an old book I had bought; it was perfectly pressed. This is a traditional Victorian way to press flowers. These days it is best to use a heavy book such as a phone directory, something that doesnt matter if the pages are damaged.
METHOD
1. Simply collect a selection of flowers, place in between blotting or parchment paper and put them inside the pages of the book. The more pressure the better: you can balance several heavy books on top or squeeze the book back into a tightly stocked shelf.

