Contents
Guide

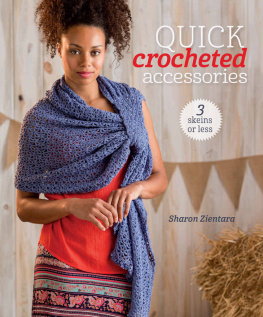
18 crocheted baby garments, blankets, accessories, and more!
SHARON ZIENTARA

Contents
Introduction
In this, the latest addition of the 3 Skeins or Less series, we thought it only fitting that we focus on some of the cutest, most crochet-worthy people in our livesbabies! The three skeins or less concept is perfectly suited to baby projects because little ones grow so quickly. The faster a baby item is to make, the longer he or she can wear it! Each one of the patterns youll find here is handpicked for maximum cuteness, as well as how fun it is to make.
Baby projects are great opportunities to hone your crochet skills. If you are a new or intermediate crocheter, there are plenty of interesting techniques in each pattern, but in a tiny, less intimidating project. We also included a few fantastic little sweaters, and if you're thinking about dipping your toe into garment making, these are great patterns to help ease you into it and teach you some valuable lessons. Of course, if all youre looking for is an adorable group of patterns to crochet for the wee ones in your life, we have plenty of those. Whatever the reason you pick up this book, enjoy making something special for some very sweet recipients.
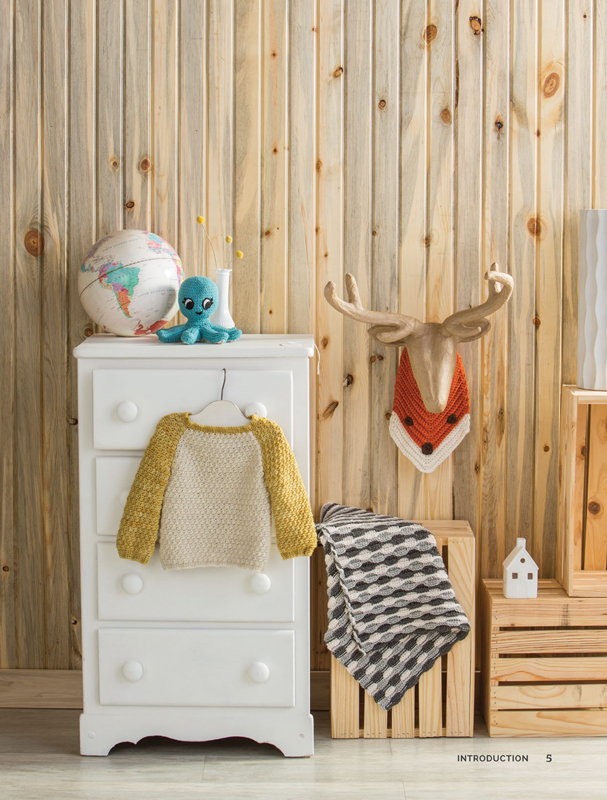
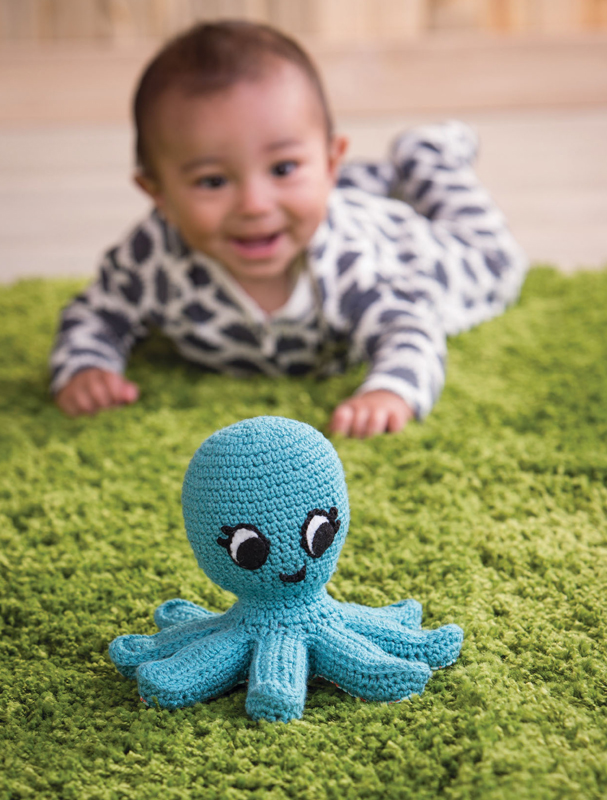
Octavia the Octopus
RATTLE
DESIGNED BY BRENDA K. B. ANDERSON
Most babies have lots of stuffed animals but few as special and unique as this darling little handmade octopus. This sweet friend takes just one skein of yarn and has the versatility to be a cuddly toy and a stimulating rattle. Either way, Octavia is a toy that baby is sure to love.
FINISHED SIZE
Model shown measures about 512" (14 cm) tall and head measures about 1034" (27.5 cm) in circumference after stuffing with polyester stuffing.
YARN
DK weight (#3 Light).
Shown here: Berroco Weekend DK (75% acrylic, 25% Peruvian cotton; 268 yd [247 m]/312 oz [100 g]): #2983 Cottage, 1 skein.
HOOKS
Size E/4 (3.5 mm) and steel hook size 6 (1.6 mm). Adjust hook size if necessary to obtain correct gauge.
NOTIONS
Stitch markers (m); yarn needle; polyester stuffing; small amounts of black and white felt (for eyes); black and white sewing thread and needle; sewing pins; black embroidery floss; embroidery needle; 2 squares of fabric or 1 square of felt that measures about 9" 9" (23 23 cm) (optional; for bottom appliqu); matching thread (for appliqu); 1 small plastic container with lid that holds about 1.18 oz (35 ml); 12 oz (14 g) bag of poly pellets (or something that makes noisesee ); superglue (optional, for plastic container lid).
GAUGE
20 sts and 16 rnds = 4" (10 cm) in esc worked in the rnd. To make a gauge swatch, work through Rnd 6 of head instructions. Circle should measure 3" (7.5 cm) in diameter.
NOTES
Octavia is crocheted in two pieces and then slip-stitched together after stuffing.
Mouth and outline around eyes (including eyelashes) are crocheted bits of embroidery floss that are sewn onto Octavias face.
Hidden inside Octavias head is a tiny plastic container filled with poly pellet beads (plastic pellets) to make a little noise when she dances. This container must be small enough so that it can fit inside Octavias head with space around it to stuff with polyester stuffing. A Sistema brand 1.18 oz (35 ml) dressing container is used here with 1 Tbsp (12 oz) of poly pellets. Make sure lid is fastened well. Use dab of superglue to make sure it wont come off.
Octavia has an optional contrasting appliqu stitched to her underside, but if you prefer, you can omit appliqu and make her crocheted underside out of a contrasting-color yarn instead.
STITCH GUIDE
Esc (extended single crochet): Insert hook in next st, yo and pull up lp, yo and draw through 1 lp, yo and draw through 2 lps.
Esc2tog (extended single crochet 2 stitches together): Insert hook in next st, yo and pull up lp, yo and draw through 1 lp, insert hook in next st, yo and pull up lp, yo and draw through 1 lp, yo and draw through all 3 lps.
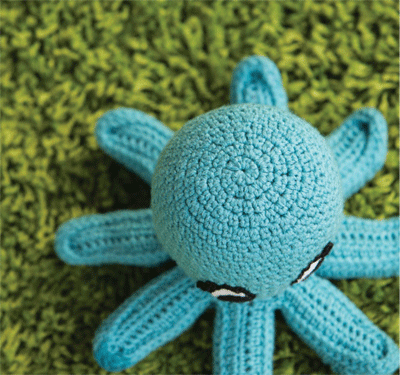
Underside
Rnd 1: Using larger hook, make an adjustable ring (see ) in ring, pull on beg tail to close ring8 sts. Do not join, but work in a spiral.
Rnd 2: 2 esc in each st16 sts. Place marker (pm) to keep track of beg of rnds.
Rnd 3: [2 esc in next st, esc in next st] 8 times24 sts.
Rnd 4: [Esc in next st, 2 esc in next st, esc in next st] 8 times32 sts.
Rnd 5: [Esc in next 2 sts, ch 13, beg with 2nd ch from hook (first ch from hook does not count as st) and working in bottom of ch, esc in next 12 ch, continuing to work in sts from Rnd 5, esc in next 2 sts] 8 times224 sts around including bottom side of foundation ch, 8 spokes sticking out from center circle.
Rnd 6: [Esc in next 13 sts, 3 esc in next st, sk turning ch, working into opposite side of spoke, 3 esc in next st, esc in next 13 sts] 8 times256 sts.
Note: There are sc as well as esc used in the next 2 rnds.
Rnd 7: [Esc in next 2 sts, 2 esc in next 2 sts, esc in next 4 sts, [esc2tog] twice (see ), esc in next st, sc in next 2 sts, 3 sc in next 2 sts, sc in next 2 sts, esc in next st, [esc2tog] twice, esc in next 4 sts, 2 esc in next 2 sts, esc in next 2 sts] 8 times288 sts.
Rnd 8: [Esc in next 10 sts, sc in next 2 sts, sc2tog (see ), sc in next 8 sts, sc2tog, sc in next 2 sts, esc in next 10 sts] 8 times272 sts. Sl st in first st of rnd. Fasten off. Pm in first st of rnd. Set aside.
Head/Top Surface of Legs
Rnd 1: Using larger hook, make an adjustable ring, 8 esc in ring, pull on beg tail to close ring8 sts. Do not join, but work in a spiral.
Rnd 2: 2 esc in each st16 sts. Pm to keep track of beg of rnds.
Rnd 3: [2 esc in next st, esc in next st] 8 times24 sts.
Rnd 4: [Esc in next st, 2 esc in next st, esc in next st] 8 times32 sts.
Rnd 5: [Esc in next 3 sts, 2 esc in next st] 8 times40 sts.
Rnd 6: [Esc in next 4 sts, 2 esc in next st, esc in next 5 sts] 4 times44 sts. Diameter should measure 3" (7.5 cm).
Rnd 7: [2 esc in next st, esc in next 10 sts] 4 times48 sts.
Rnd 8: [Esc in next 5 sts, 2 esc in next st, esc in next 6 sts] 4 times52 sts.
Rnds 912: Esc in each st around.
Rnds 1316: Work in esc decreasing 2 sts each rnd. Place decreases in different location each rnd; avoid making an esc2tog stitch into another esc2tog st from previous round44 sts after working Rnd 16.
Rnds 1720: Work in esc working 4 evenly spaced esc2tog stitches around, making sure to stagger decreases in subsequent rnds so they are not directly on top of one another28 sts after Rnd 20.
Place some stuffing into Octavias head, insert plastic container, and stuff around sides of container.
Rnd 21: Esc in each st around.

