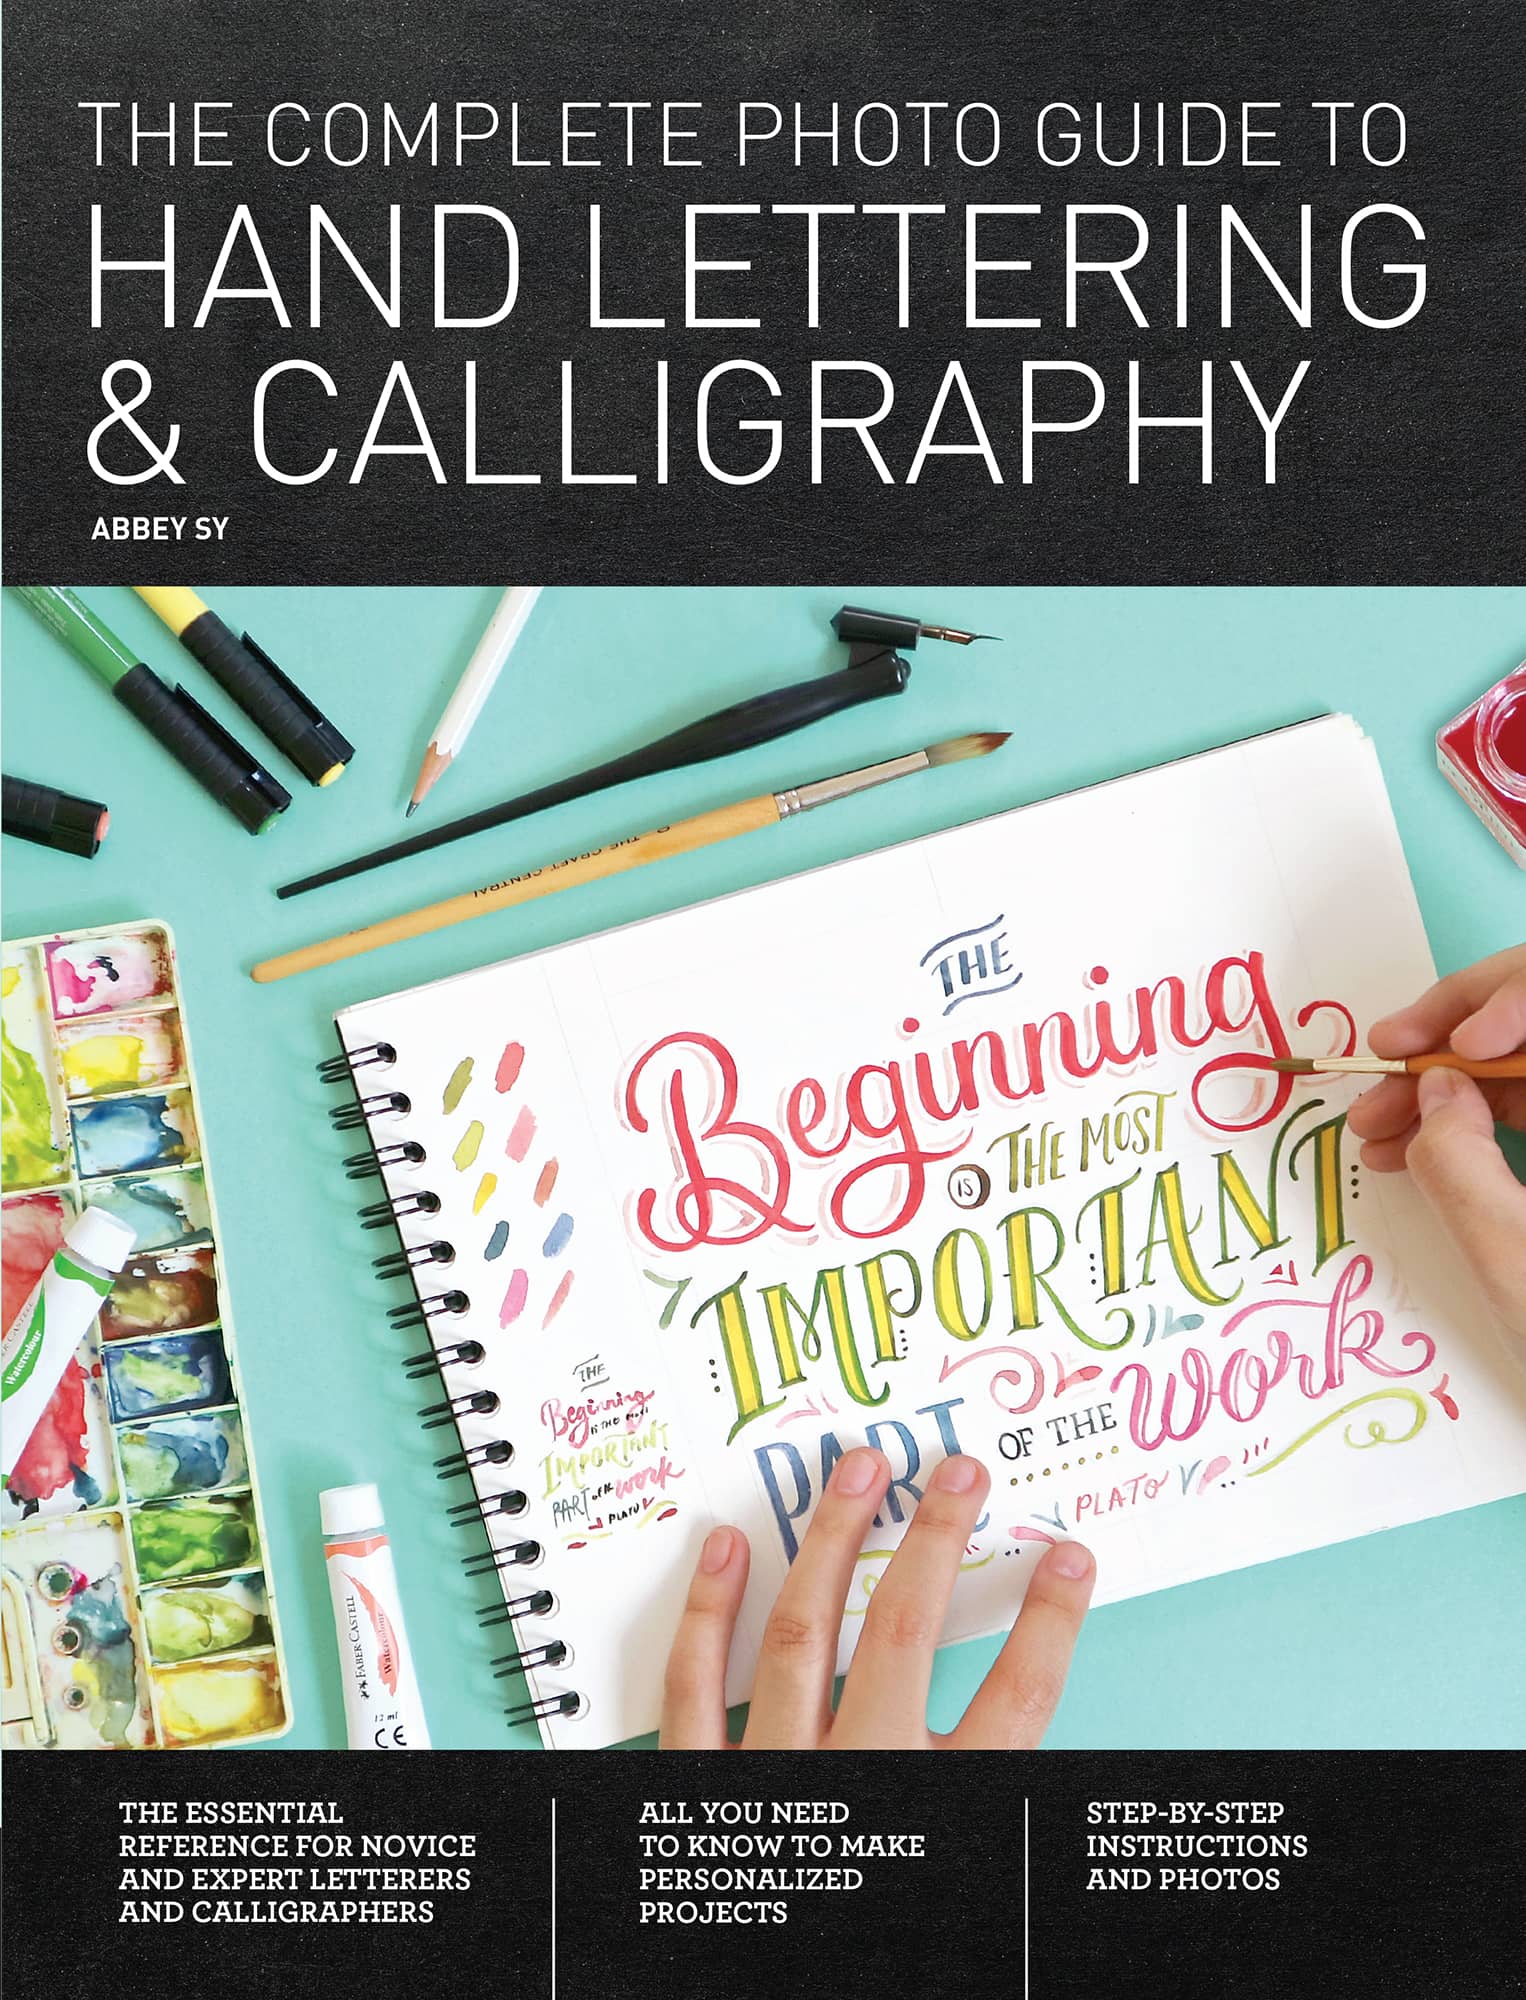
THE COMPLETE PHOTO GUIDE TO
HAND LETTERING & CALLIGRAPHY
THE ESSENTIAL REFERENCE FOR NOVICE AND EXPERT LETTERERS AND CALLIGRAPHERS
ABBEY SY

Letters communicate effectively through words and the stories they tell; but they also have a visual component, that adds meaning through illustration and other decorative effects. The recent resurgence of calligraphy and hand lettering has given artists and designers new and classical techniques to incorporate into their creative work, paving the way for the craft to flourish in the years to come.
The Complete Photo Guide to Hand Lettering and Calligraphy takes you through the process of turning letters into art, and it demonstrates various ways you can use calligraphy and hand lettering in your artistic practice. Whether its designing an invitation, writing a heartfelt note to a friend, creating your own gift wrap, or decorating a tote bag, this book shares a multitude of ways to get creative with your letters and layouts.
You will find information about the range of traditional, modern, and digital tools; a lettering primer featuring alphabet characteristics and techniques; a guide to classical calligraphy including italics, copperplate, Spencerian, blackletter, and roman; a chapter on modern hand lettering and using different types of scripts, flourishes, and flowers to embellish your work; an in-depth look at decorative lettering and composing layouts; and last, an introduction to digital lettering and how to transform hand-drawn elements into digitally rendered illustrations.
Whether youre just starting out or deep into the world of calligraphy and hand lettering, I hope you find this book to be a useful and inspiring tool for your creative endeavors. There is always something new to learn.
Always be creating,
This book is a thorough guide to the world of calligraphy and hand lettering. Here are some tips on how to use this book.
1 Read and take notes.
Each chapter contains how-tos on different kinds of calligraphy and hand lettering. Take notes and keep in mind some techniques you can use for your work. You can use this book as a launching point for further research once you discover which type of lettering you want to focus on.
2 Familiarize yourself with the terminology.
You will encounter many typography-related terms in the following pages. Familiarize yourself with the commonly used terms, most of which are defined in the text or in the .
3 Use practice sheets for application of skills and monitoring your progress.
At the end of this book, you will find 32 pages of practice sheets for you to apply what youve learned and to track your hand-lettering and calligraphy process. Each chapter has a corresponding set of worksheets so you can do your drills as you make your way through the book.
4 Experiment and have fun.
Whether its working on your strokes and drills for calligraphy, thinking of patterns to apply to your letterforms, or starting your own DIY project, experiment and have fun. Enjoy the process of learning new skills and honing your creative juices.
Time to turn the page and start creating!
chapter
Tools and Materials
Tools are important parts of the creative process. Traditional and modern tools each create a different impact on the final piece of art. Each artist has her own preferences and needs, but it is best to experiment with a variety of techniques and tools to learn how you can incorporate new methods and materials into your work.
This chapter explains the various kinds of materials you will encounter as you try your hand at calligraphy and lettering, highlighting their distinct qualities, where to find them, and which types best fit each area of calligraphy or hand lettering.
Traditional Tools
Nibs
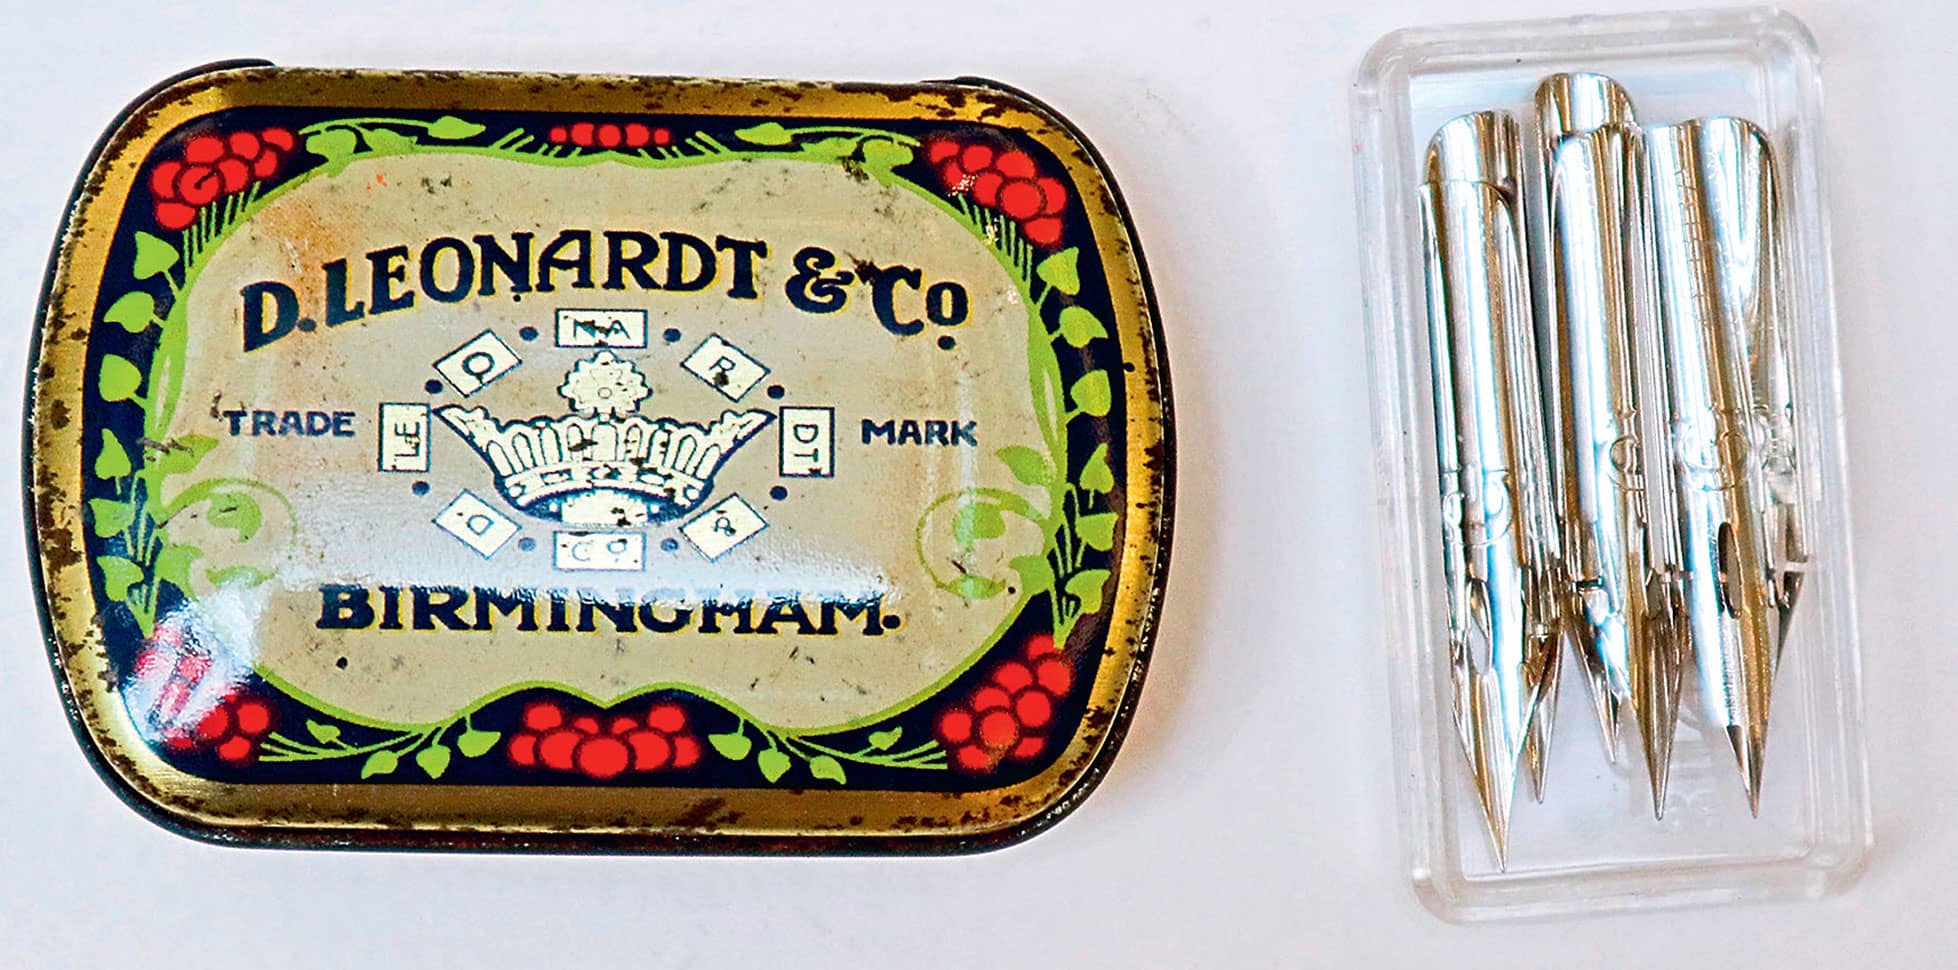
Nibs come in two styles: pointed and italic. Each type has a specific set of qualities that suit different calligraphic styles.
Pointed nibs are flexible and can be used for most calligraphy styles, as they have the versatility to produce both thick and thin strokes. The nibs two tines have the ability to split and produce wide lines. When the tines are together, they produce a thin stroke.
Italic, or broad-edged, nibs are flat and not designed to flex. These are used for italic, black letter, and gothic letterforms. This nib type is used to create consistent and uniform strokes. Its blunt edge creates strokes that are thin or bold.
Flat-Tip Dip Pens
Flat-tip dip pens are commonly used for black letter, italic, and other hands. Although the parallel pen is available, there are still those of us that favors this tool. Flat-tip dip pens have two parts: the nib and the holder. There are various types of flat-tip nibs that come in different cuts and sizes. These pens have stiff nibs and thus a low flex level.
Although this pen produces a very engaging and alluring contrast between the thin and thick strokes, it still requires more skill and practice to keep lines in place. Another good thing about this pen is that you have more options when choosing nibs, inks, and even holders. For ink loading, it is best to use a paintbrush and add ink on it rather than dipping the nib directly to the bottle of ink. This ensures minimal disruption and lets you control the amount of ink on the nib.
Nib Holders
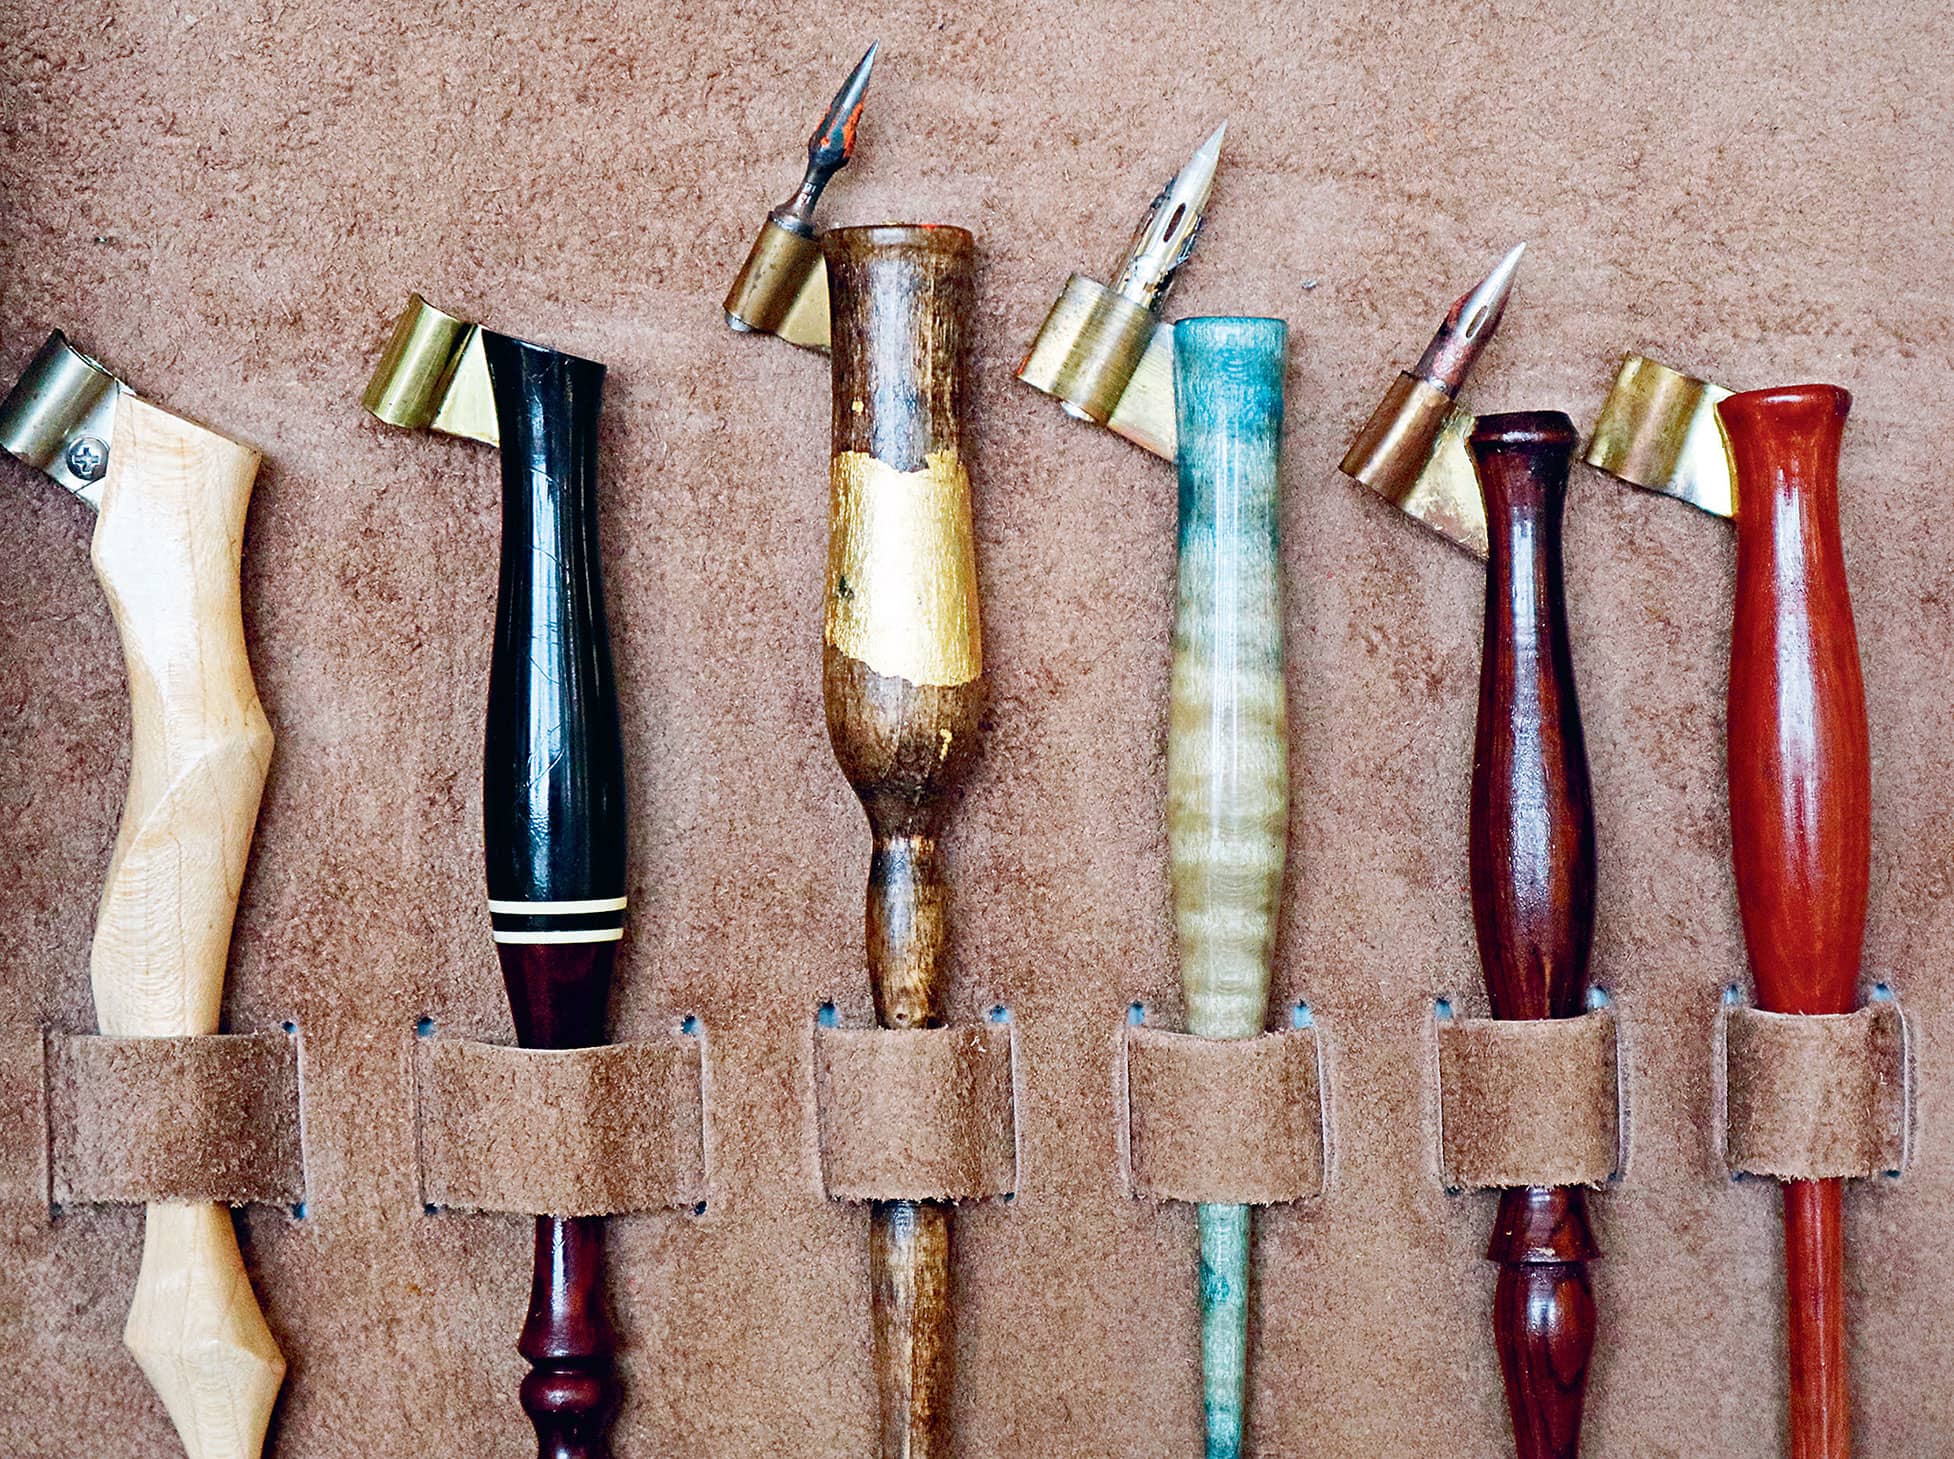
Nib holders come in both straight and oblique styles. Each type has distinct characteristics and its use depends on calligraphy style and the artists preference.
Straight Nib Holder
The straight holder is generally easy to control and is good for beginners because the orientation is similar to a pencil or pen. It is also recommended for left-handed writers as it is easier to adjust the angle of the nib and pen to paper to accommodate their writing. Although it is more common now to see straight holders used for broad-edged writing, they are also used for scripts and flourishing. Using the straight holder gives a modern and straight effect to your work because, unless you deliberately angle your paper, your writing will be upright.


