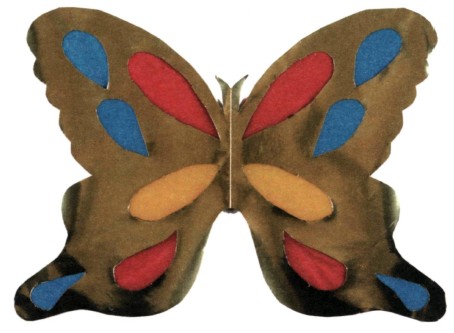
BUTTERFLY WINDOW PICTURE |  |
For this cutout a piece of dark or gold paper is backed with colored tissue paper for a see-through effect. |
You need:
Piece of letter paper
Dark color paper
Tissue paper in three colors
Pencil and tracing paper, photocopy, or computer scan
Scissors or craft knife
Glue stick
Small pieces of masking tape |

Draw, trace, photocopy, or scan half the butterfly.

Fold another piece of dark paper in half.

3a. Place the butterfly on the folded edge.
3b. Cut the outline through all layers.

4a. Cut the interior areas either with scissors or a craft knife. If you're using scissors, first pierce a small hole in the middle of the area to be cut away. Insert the scissors and cut around on the lines. When using a craft knife, place the work on a magazine or other backing to protect the table surface from being nicked.
4b. Unfold the butterfly.

5a. Cut pieces of tissue paper to fit around the open areas.
5b. Paste them to the back of the butterfly.

Completed Butterfly Window Picture. Paste the four corners against a window with small loops of masking tape.
LARGER BUTTERFLY
A larger size is easier to handle. The butterfly shown in the illustration was enlarged to a height of 10" (25 cm).
BIG BOLD CALENDAR |  |
One time I received the gift of a wall calendar where each month was highlighted with a different illustration contributed by members of the same family. The original calendar was made with heavy, stiff handmade paper. When I decided to emulate the idea I used Canson Mi-Teintes because it comes in many colors. Construction or other heavy papers can be used instead. |
You need:
12 pieces of card stock, 12" x 18" (30 cm x 45 cm)
Colored papers
Pencil and tracing paper, photocopy, or computer scan
Markers
Scissors
Glue
Hole punch |

Trace, photocopy, or scan suitable cutouts from the pages of this book. Place them on pieces of colored paper and cut them out.
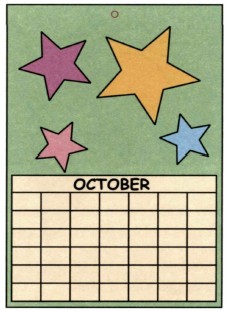
2a. Glue them on the upper half of the card stock, one design for each month. When you are pleased with the arrangements, glue them down.
2b. On the lower half of the card stock, write in the monthly dates with markers. You can also photocopy pages of a wall calendar and glue them on.
2c. Punch a hole at the top of the pages.
2d. Completed Big Bold Calendar.
GIFTS
Make photocopies of the calendar to give away.
CHERRY BLOSSOMS | 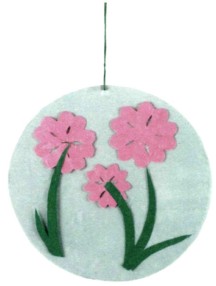 |
Once you have mastered the basic folding procedure for the Five-Pointed Star you can adapt it to produce five-petalled flowers, which occur frequently in nature. Just think of cherry blossoms to celebrate the arrival of spring. |
You need:
Pink copy paper 4" x 5" (10 cm x 12.5 cm)
Pencil
Scissors |

1a. Follow steps 1 through 5 for the Five-Pointed Star (see page 22).
1b. Make two rounded cuts, as shown, through all layers.
1c. Unfold the paper.

Completed Cherry Blossom.
SUN CATCHER
You can a make a semitransparent mobile with an arrangement of several cutouts, which is shown in the photo. The pieces are held in place between sheets of clear plastic, such as acetate page protectors. Attach a loop of thread at the top of the sun catcher.
THE FOUR SEASONS
Here are some suggestions for other designs for sun catchers:
Rainbow: Cut arcs in the colors of the rainbow.
Use other kirigami cutouts from this book and from other sources; for example, try an orange pumpkin for a jack-o'-lantern.
PHOTO PYRAMID | 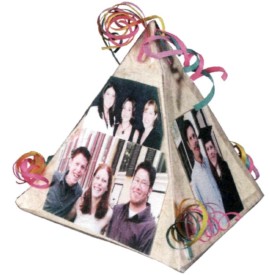 |
A pyramid showing family photos can be an admired table or desk decoration. |
You need:
Cover stock or thin cardboard
Assorted photos
Pencil and tracing paper, photocopy, or computer scan
Scissors
Transparent tape
Glue |
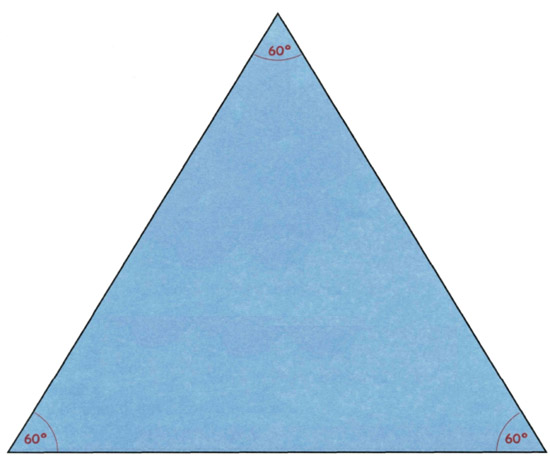
1a. Trace or photocopy the triangle (or draw an equilateral triangle with 60-degree corners).
1b. Place the tracing or photocopy on the card stock and cut out four triangles, one at a time.
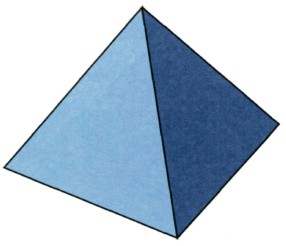
Tape the four triangles together to form a three-sided pyramid with a bottom.
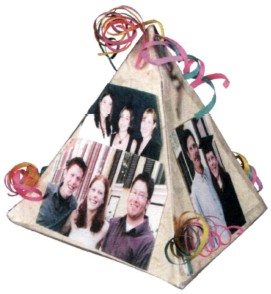
3a. Cut photos to fit on the triangles and glue them on the sides of the pyramid.

