DRAW AND PAINT
Super Cute
Animals
step-by-step
demonstrations
in pencil and
watercolor
JANE MADAY

artistsnetwork.com
Contents
This section contains all you need to know to get started drawing and painting adorable animals! After you gather your basic supplies, youll learn three beginning drawing techniques for getting your sketches started, plus a variety of coloring methods and helpful tips on the challenging aspects of animal fur.
In this section youll learn my favorite techniques for creating cute animals and birds in a variety of mediums. I have also added some tips on creating an environment for your animals to help place them in a natural setting.
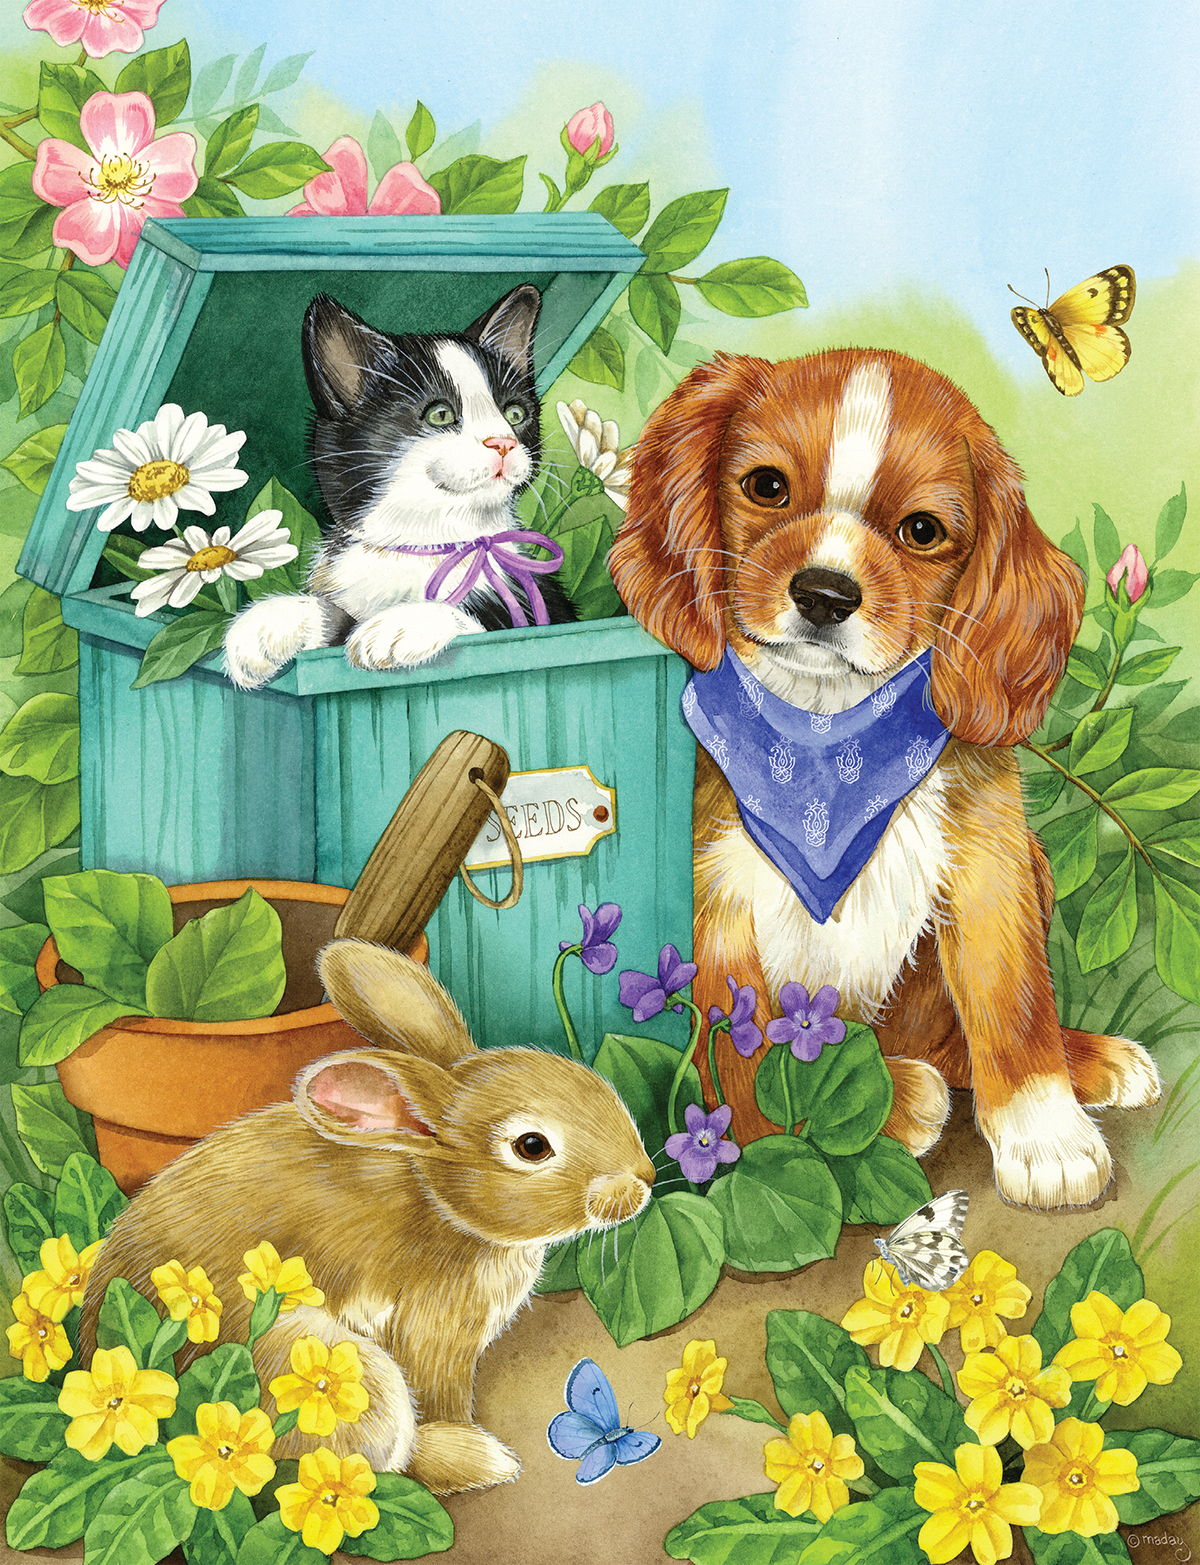
Dedication
This book is for all the new friends I have made out in the art world. I hope that you all love the book!
Introduction
Cute animals appeal to everyone. Who can resist their sweet expressions, fluffy fur or brightly colored feathers? That is why they are my favorite subjects to draw and paint. My goal with my art is to put a smile on the face of everyone who views it.
In this book Id like to introduce you to some of my favorite tools and techniques for drawing and painting adorable animals of all kinds. Remember, art is a learning process that continues throughout your whole life, and everyone has to start somewhere. I have tried to include lots of different art materials in this book, so you can experiment and find the techniques that work best for you.
I find it helpful to always have a sketchbook or camera handy. You never know when you are going to see the perfect subject. Daily sketching practice is very valuable. It is wonderful to be able to look back through your sketchbooks and see your work as your skills progress.
In these pages you will find many examples of drawing studies from my sketchbook that I use as references for larger drawings and paintings. Feel free to use these as a basis for your own personal work for learning purposes. Please note that I do retain copyright and ask that you keep them just for your own personal use.
I truly hope you enjoy using this book as much as I have enjoyed writing it. Trust that your happiness will show through your drawings and bring joy to those who see them. So relax, sharpen your pencils and have fun!
PART 1
Materials
and Techniques
In this section I will introduce you to the art supplies youll needincluding some of my favoritesand explain how to use them. You dont need to rush out and buy everything at once. Try a few different materials at a time to see whats most comfortable for you. I do recommend getting the best quality supplies you can afford, so that you are not struggling with inferior products in addition to your own inexperience. Feel free to play, experiment and become familiar with different mediums before you try an elaborate drawing. The more comfortable you are with your supplies, the more successful your drawings will be.
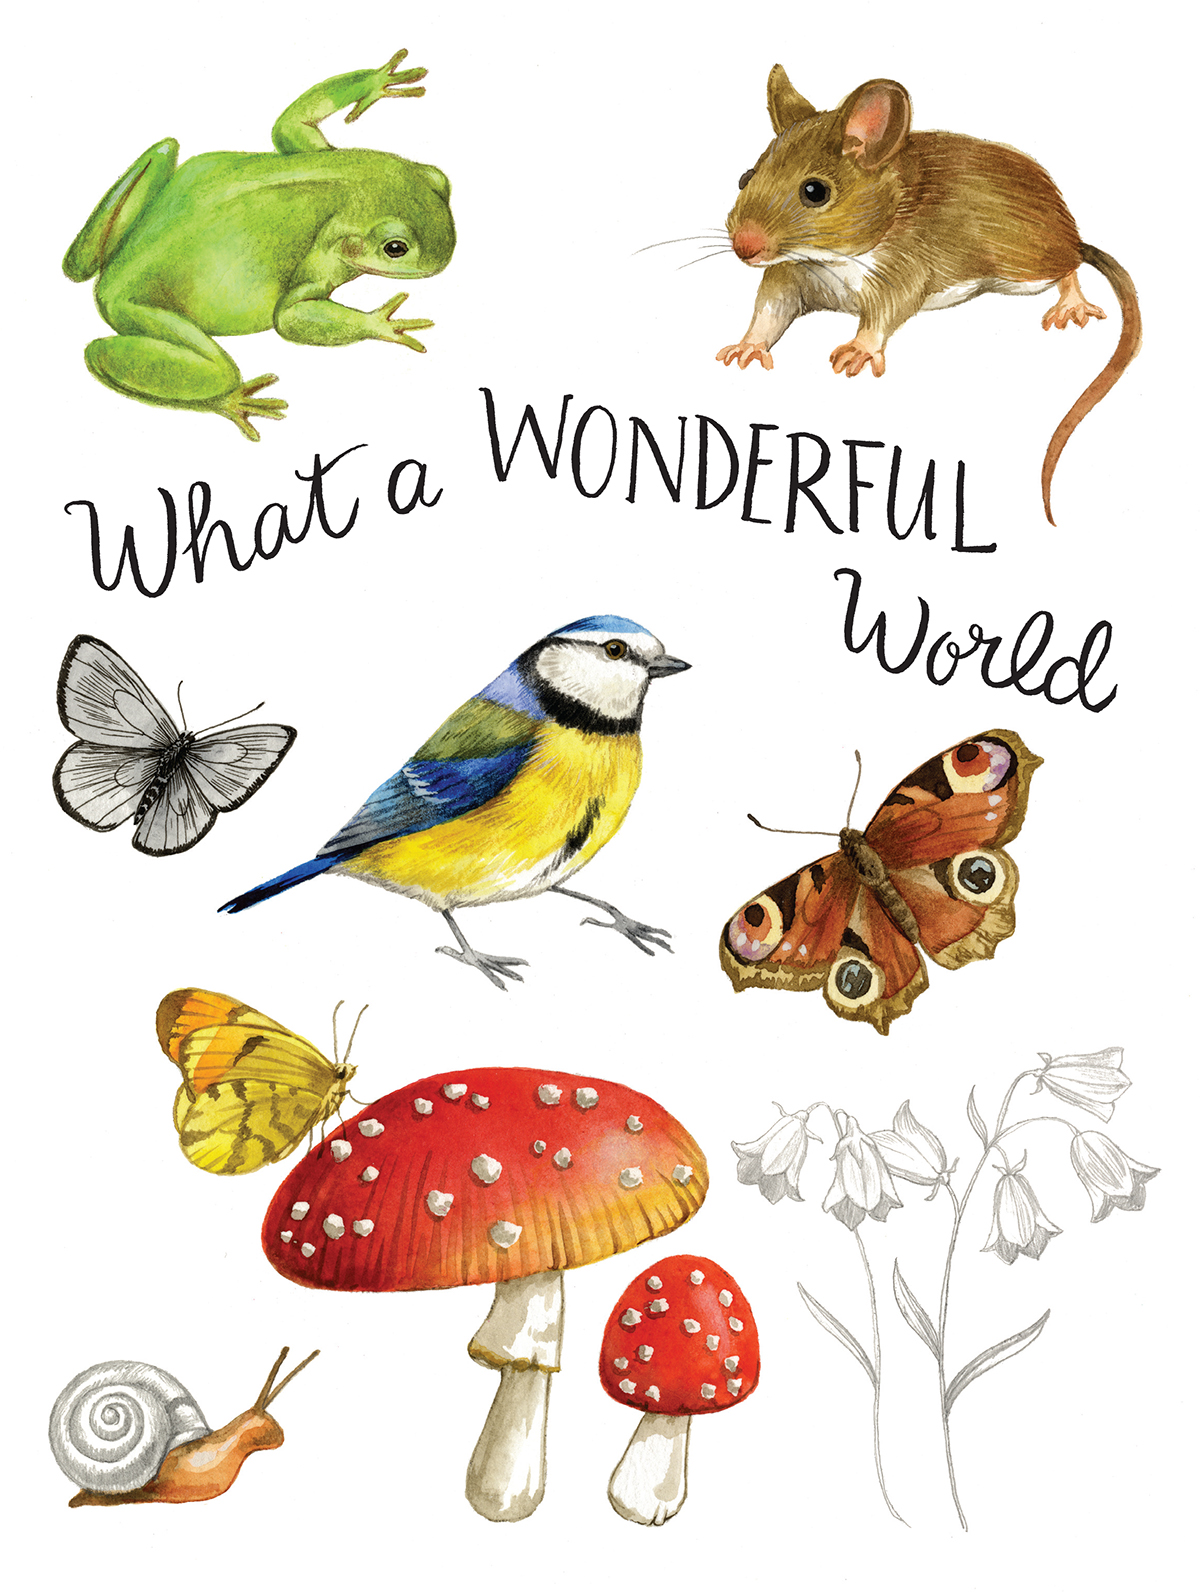
Basic Supplies
One of the great things about drawing is that you can create wonderful pieces of art with few supplies and at minimal cost. Here is a selection of my favorite drawing tools. Try a variety of materials and brands to see what works best for you.
You can do most of the demos in this book on mixed-media paper. I love the mixed-media sketchbooks made by Stillman & Birn. Bristol board is also a good choice for the projects in this book.
When you are ready to begin, make sure you are in a comfortable place where there are few distractions, and have your art supplies close at hand.
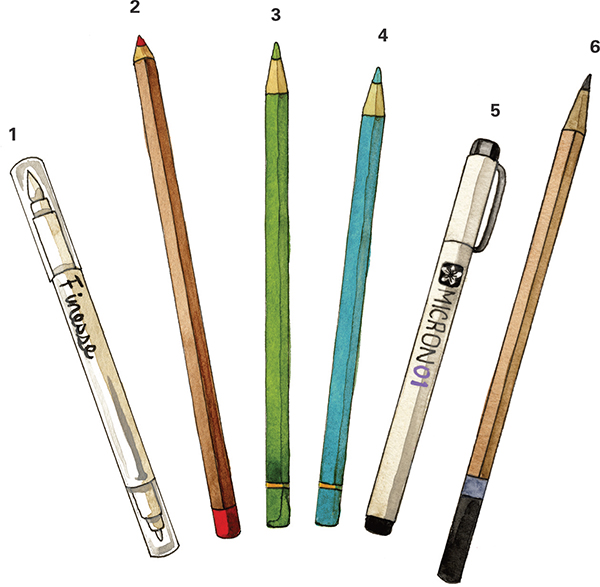
My Favorite Drawing Tools
- Blender penA blender pen is great for blending wax-based colored pencils. Pictured here is one made by Finesse, but the Derwent brand is also good. These pens contain a colorless solvent.
- Pastel pencilPastel pencils are great for soft effects. You can blend them with cotton swabs and tortillions. They break easily, so be careful when sharpening and try not to drop them.
- Colored pencilColored pencils come in a variety of colors, types and brands. Pictured is a Faber-Castell Polychromos colored pencil, which can be easily blended. I also like colored pencils by Caran dAche and Prismacolor. Prismacolor pencils are the softest and most opaque, so they are especially good if you are prone to sore hands, or if you draw on tinted paper.
- Watercolor pencilThese are water-soluble and can be smoothed or blended with water. Draw or color as you would normally, then go over the pencil with a damp brush to activate the watercolor effect.
- Liner penWaterproof ink fine-point pens, such as Sakura Micron, are a must-have for outlining your pencil work.
- Drawing pencilKeep a selection of graphite drawing pencils from 4B to 2H. The letter indicates whether the lead is soft (B) or hard (H), and the number indicates the level of softness or hardness of the lead. You will also need a pencil sharpener. I prefer handheld sharpeners such as T-Gaal or Faber-Castell. You will get the best results by rotating the sharpener rather than turning the pencil.
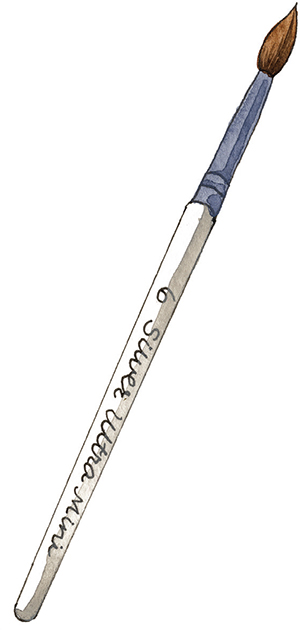
Watercolor Brushes
Choose small round brushes for painting with watercolor because they come to a fine point. My favorite is the Silver Brush Ultra-Mini Designer Round brush in sizes 6 and 10.
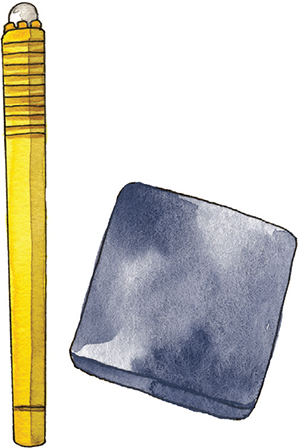
Erasers
Keep several types of erasers on hand. The kneaded eraser can be molded into a point to lift out highlights. When its dirty, simply knead it until its clean again. Click erasers work much like mechanical pencils. You may also want a large pink or white eraser for large areas.
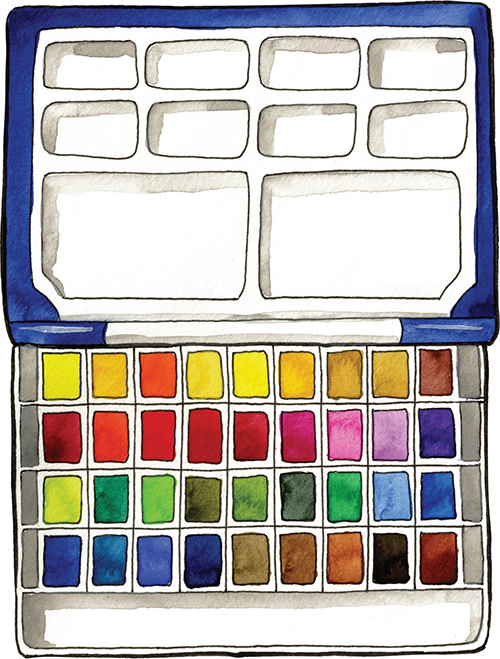
Set of Pan Watercolors
I love using watercolor pan sets because they are tidy and portable. I refill the pans from tubes when the paint level gets low. My favorite is this one from Holbein. I have customized it by adding more pans to the original set. The Winsor & Newton Cotman set is a nice, compact set at a lower price. The pans are replaceable and refillable, a great choice for beginners and those on a budget. When using pan colors, I like to spritz them with a little water to moisten them before I begin painting.
