Sequeira Eldrid - 3D Printing and Maker Lab for Kids
Here you can read online Sequeira Eldrid - 3D Printing and Maker Lab for Kids full text of the book (entire story) in english for free. Download pdf and epub, get meaning, cover and reviews about this ebook. year: 2020, publisher: Quarto Publishing Group USA, genre: Home and family. Description of the work, (preface) as well as reviews are available. Best literature library LitArk.com created for fans of good reading and offers a wide selection of genres:
Romance novel
Science fiction
Adventure
Detective
Science
History
Home and family
Prose
Art
Politics
Computer
Non-fiction
Religion
Business
Children
Humor
Choose a favorite category and find really read worthwhile books. Enjoy immersion in the world of imagination, feel the emotions of the characters or learn something new for yourself, make an fascinating discovery.

- Book:3D Printing and Maker Lab for Kids
- Author:
- Publisher:Quarto Publishing Group USA
- Genre:
- Year:2020
- Rating:5 / 5
- Favourites:Add to favourites
- Your mark:
3D Printing and Maker Lab for Kids: summary, description and annotation
We offer to read an annotation, description, summary or preface (depends on what the author of the book "3D Printing and Maker Lab for Kids" wrote himself). If you haven't found the necessary information about the book — write in the comments, we will try to find it.
Sequeira Eldrid: author's other books
Who wrote 3D Printing and Maker Lab for Kids? Find out the surname, the name of the author of the book and a list of all author's works by series.


3D Printing and Maker Lab for Kids — read online for free the complete book (whole text) full work
Below is the text of the book, divided by pages. System saving the place of the last page read, allows you to conveniently read the book "3D Printing and Maker Lab for Kids" online for free, without having to search again every time where you left off. Put a bookmark, and you can go to the page where you finished reading at any time.
Font size:
Interval:
Bookmark:
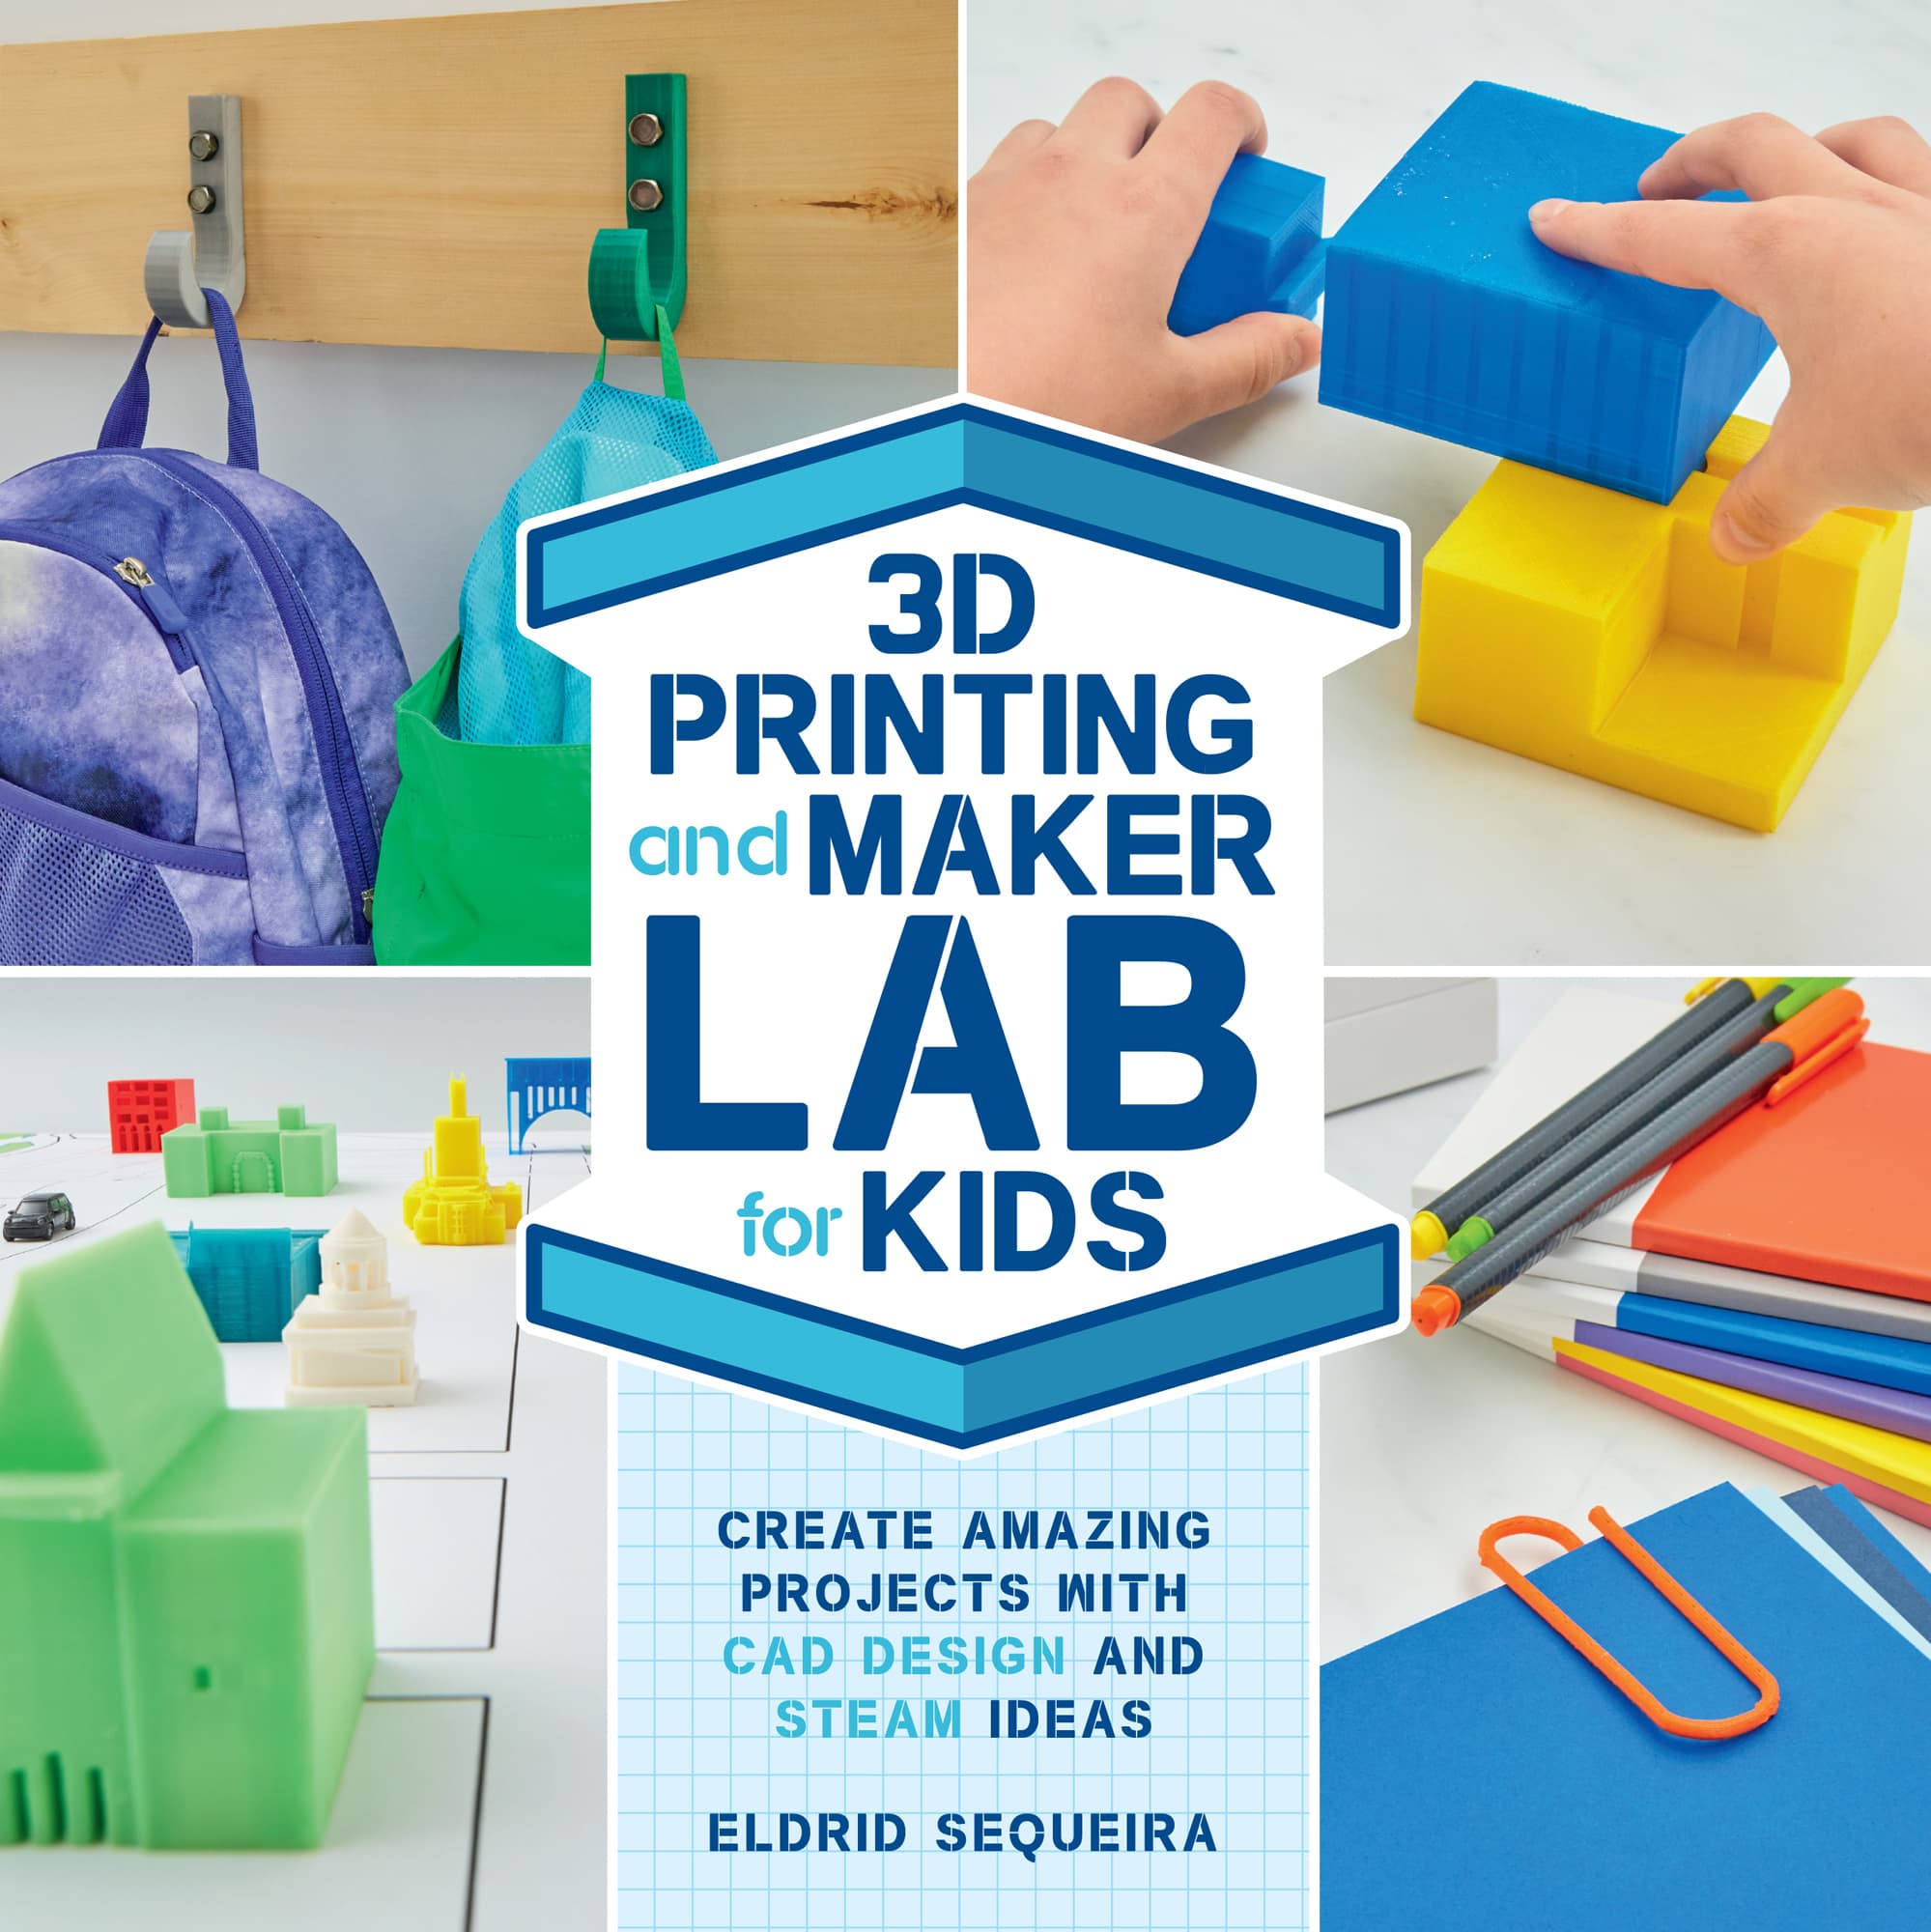
CREATE AMAZING PROJECTS WITH CAD DESIGN AND STEAM IDEAS
ELDRID SEQUEIRA

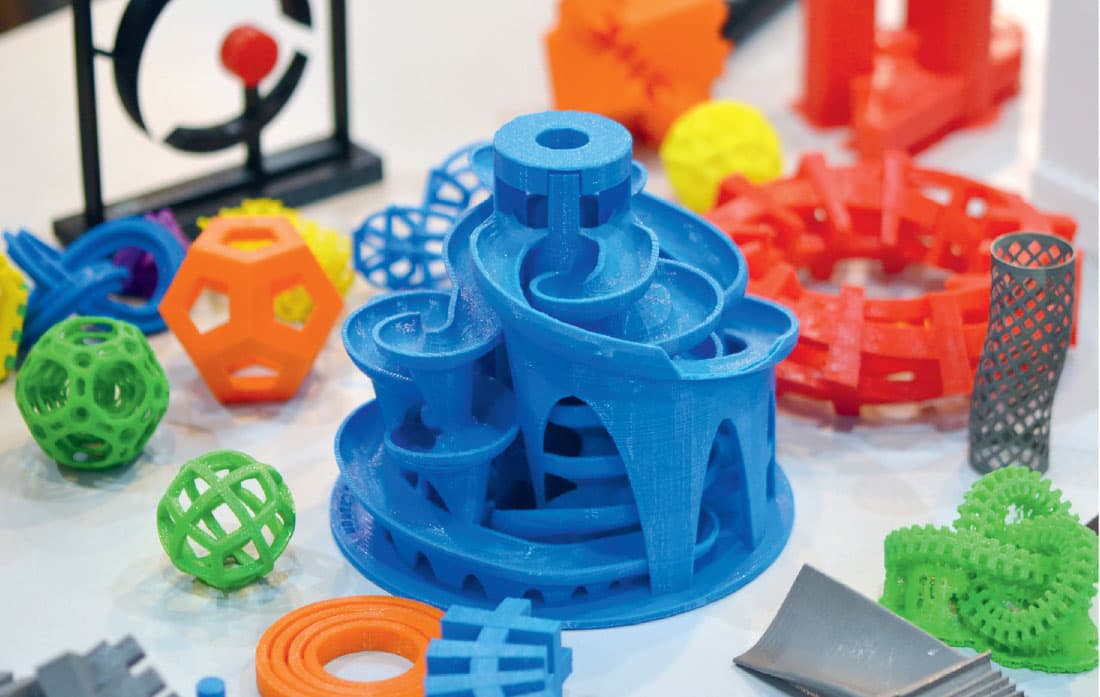
In 3D Printing and Maker Lab for Kids, we look at the process of designing physical objects through the concept of material manipulation.
Many objects are made from raw materials that are usually available in fixed shapes and sizesfor example, rolls of metal, sheets of paper, bars of iron, and so onand we can create the objects we want by manipulating these raw materials. This includes combining different shapes, changing their sizes, breaking them apart, partially joining them, and attaching two or more different materials. Typically, these actions require an intermediate step: gluing to combine, sawing to break something up, or hinging to make a flexible connection. By contrast, in the world of Computer-Aided Designusually called CADthese kinds of steps can be eliminated. In this book, we take a look at each of these processes and build a variety of objects that explain how they work in CAD.
3D Printing and Maker Lab for Kids also shows how to create designs in two different CAD programs: Tinkercad and SketchUp. Both applications are free; all you need is an Internet connection and a web browser to access them. And while both are fairly easy for beginners to learn, we use Tinkercad to make most of the projects because it has a shorter learning curve. The remaining projects are made in SketchUp, which unlike Tinkercad uses preset 2D objects that must be converted into 3D.
In addition to giving you the tools to develop your ability to visualize your designs through CAD, we also provide guidance on how to manufacture them through 3D printing. The ease of 3D printing offers the opportunity to revise and reprint as you explore the design and performance of each version. There are many ways to design an object; see which one works the most efficiently or is the most challenging to create or operate.
Youre about to embark on a journey that will change your view of our physical world. Enjoy dreaming, designing, and making!
In this book, we explore how to manipulate and combine materials and elements through CAD and 3D printing in a variety of ways:
1. Creating permanent joints and/or merging materials
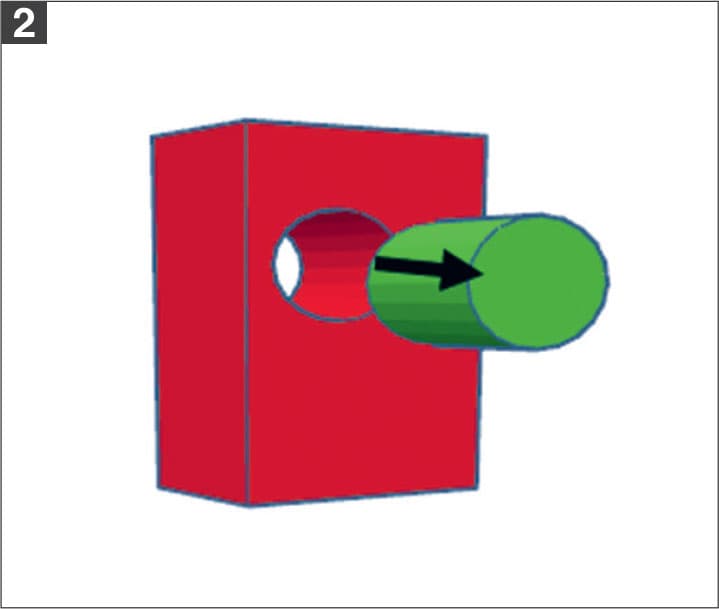
2. Removing material (making holes or cuts)
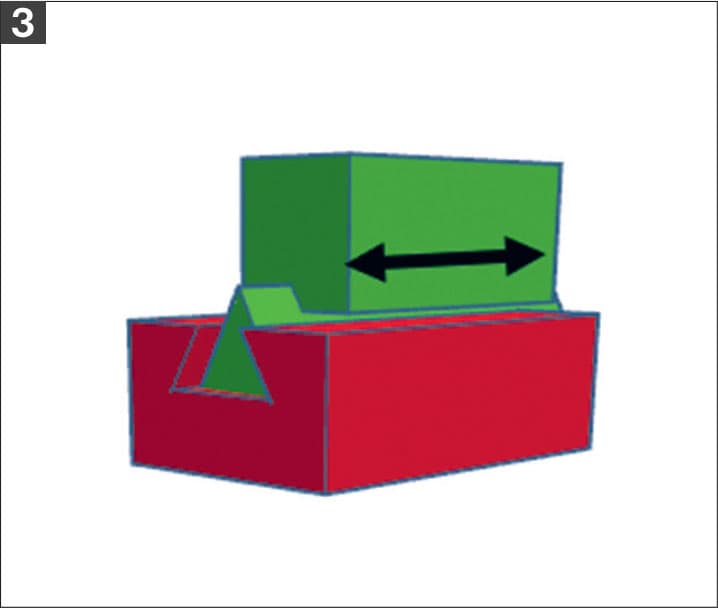
3. Creating temporary joints/merging materials/limited joints

4. Making complex materials through a series of manipulations
5. Mixing different types of materials (metal, fabric, organic, etc.)
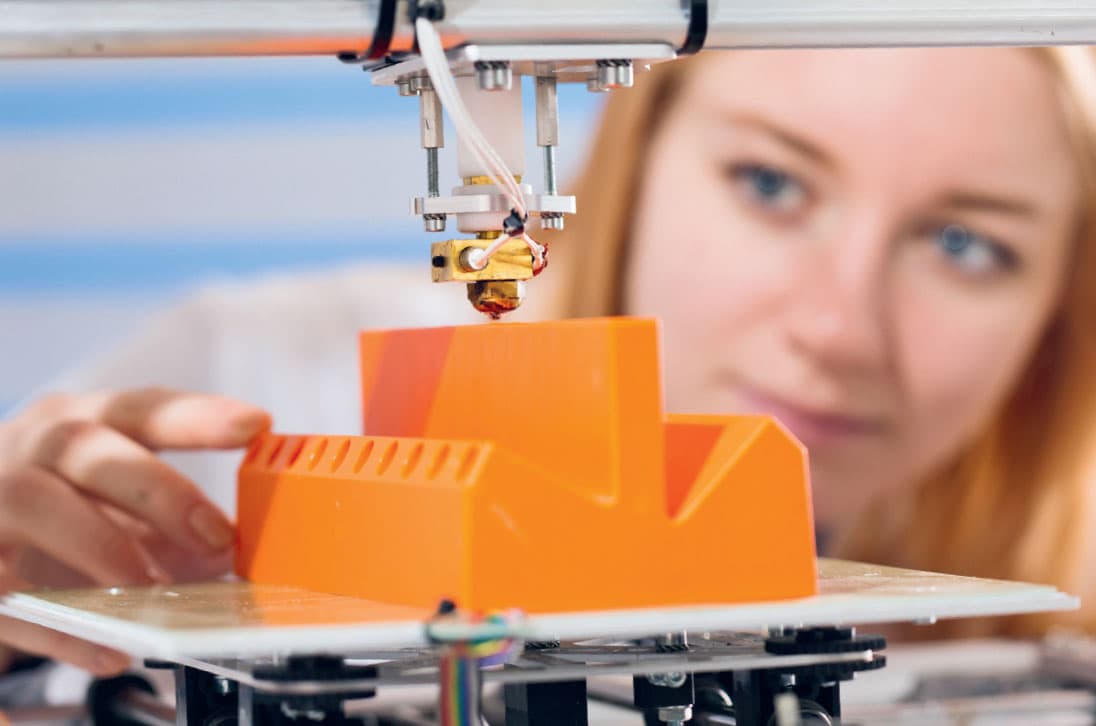
The process of 3D printing is essentially a manufacturing technology to create objects in three dimensions (as opposed to 2D printing of documents on paper) using various materials heated to a temperature that allows them to be formed into different shapes. It has gained much popularity in the past couple of decades due to the abundance of reasonably priced desktop 3D printers available on the market and in local libraries. It is a convenient way to create prototypes or customized items, or to create replacement parts for household items (some of which are discussed in this book).
There are many types of 3D printing; however, the one discussed in this book is also referred to as additive manufacturing. The 3D printer essentially lays out material in two dimensions and then keeps adding layers on top of the previous layer to create a three-dimensional object. The material (filament) is fed into an extruder where it is heated to about 215C, at which point it melts and the extruder pushes it out of a nozzle, much like toothpaste squeezed out of a tube. The extruder moves in three directions (left-right, front-back, and up-down) based on a sequence of commands that are determined based on the design. The design is usually created in a software separate from the printer (such as Tinkercad or Sketchup). The software file once completed is sent to the 3D printer software which interprets the software file that the 3D printer can understand. The printer software converts that into motion commands for the extruder. Most 3D printers will let you pause the printing midprinting this is a good way to see how the printer has determined the internal design of the object. Printers are shipped with various default settings to minimize the time and material to print objects. However, most printers will let users modify the default settings, so you can choose the temperature to heat the filament, the thickness of the outside walls, the amount of infill, the pattern of the infill, and other details.
3D PRINTING PROCESS
Typically, we use polylactic acid (PLA) plastic filament for printing, but this might vary slightly depending on the printer you use. There are many models of 3D printers, but in general, these are the steps necessary before printing a CAD creation:
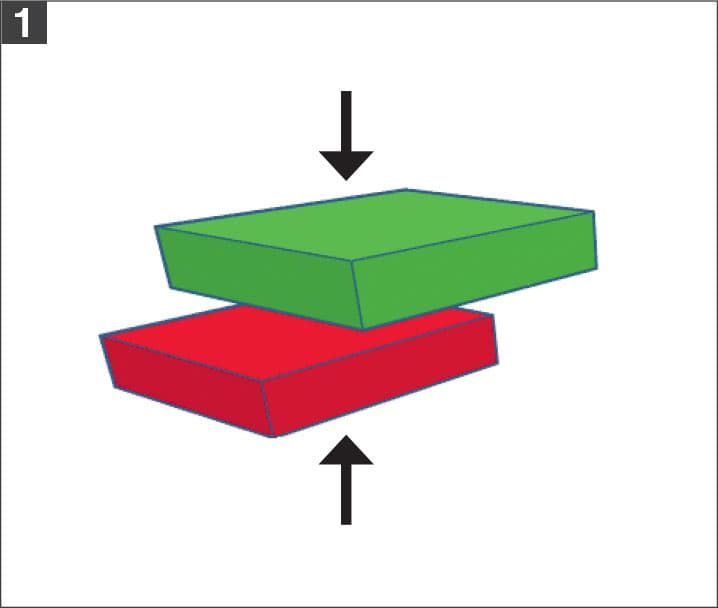
Ensure the bottom surface is touching the printing bed; if not, click the black arrowhead and drag it down till it indicates 0 mm (fig. 1).
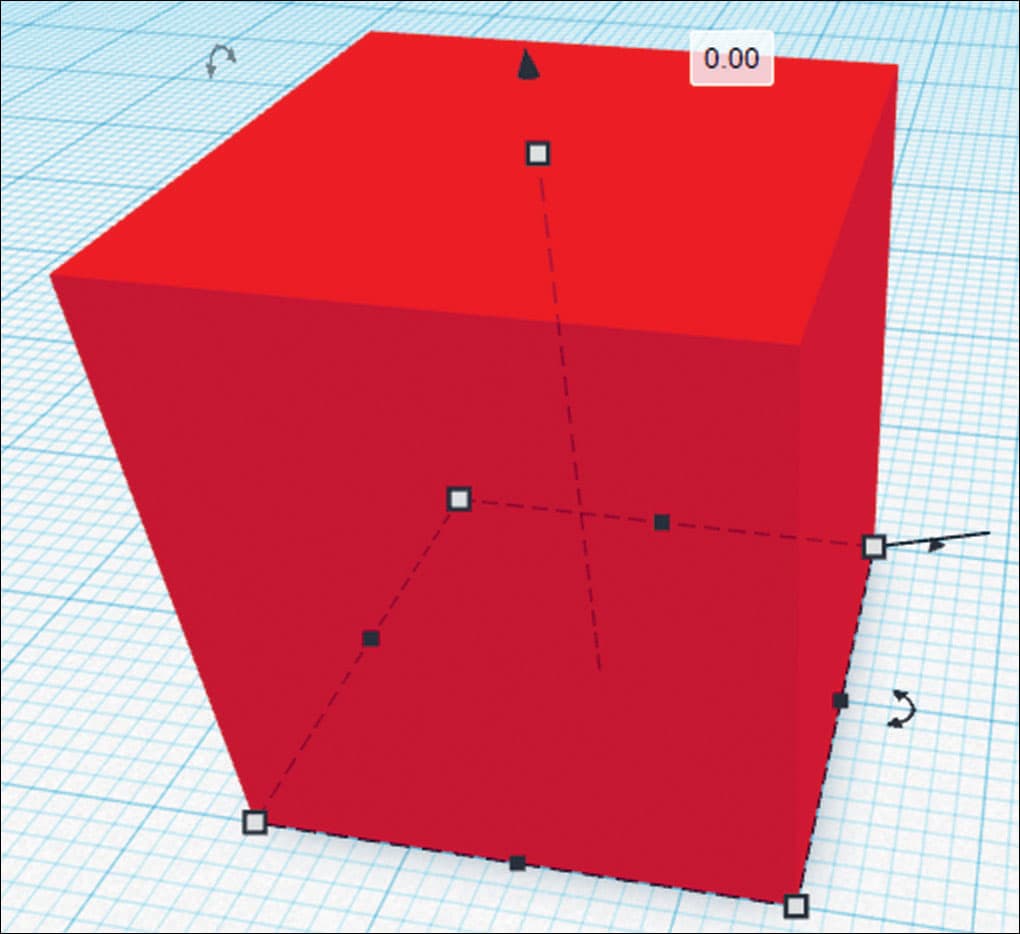
FIG. 1:To ensure that the bottom of the print item is touching the printing bed, click and drag the black arrowhead to 0.
Export the design to the 3D printer.
After the printer software has processed/sliced your design file, check to see whether the first layer of each element is sitting on the bed, or on another element (fig. 2).
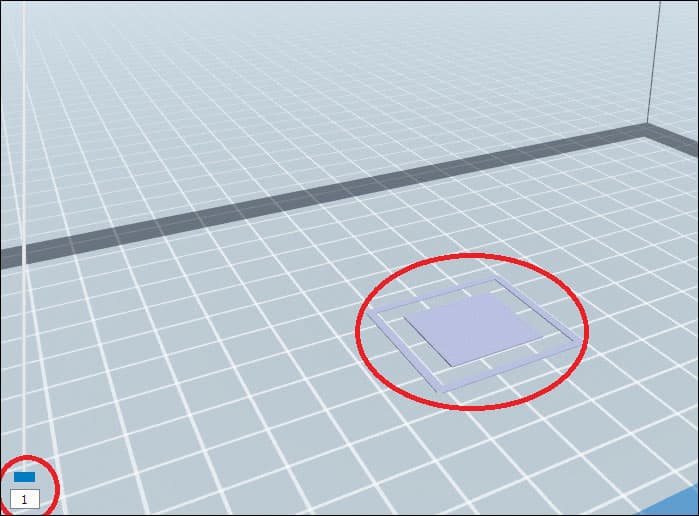
FIG. 2:
Font size:
Interval:
Bookmark:
Similar books «3D Printing and Maker Lab for Kids»
Look at similar books to 3D Printing and Maker Lab for Kids. We have selected literature similar in name and meaning in the hope of providing readers with more options to find new, interesting, not yet read works.
Discussion, reviews of the book 3D Printing and Maker Lab for Kids and just readers' own opinions. Leave your comments, write what you think about the work, its meaning or the main characters. Specify what exactly you liked and what you didn't like, and why you think so.