ABOUT THE AUTHOR
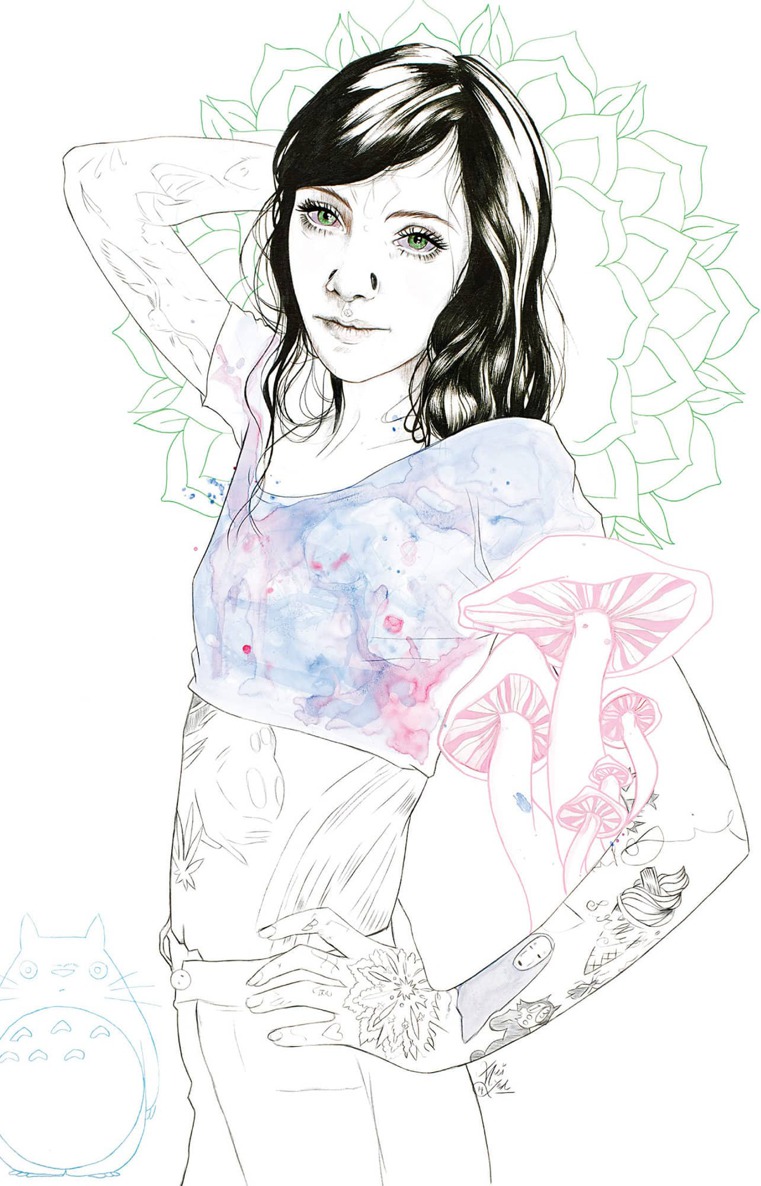
Joanna Henly, a.k.a. Miss Led, is an artist, illustrator, and art director based in London.
She is known for obsessively detailed and lushly rendered pieces across a wide range of media and scale, including paper, canvas, murals, installation, and digital realms.
As an illustrator, she works to commission for corporate brands, products, packaging, and advertising campaigns with specific experience in the fashion, beauty, and technology sectors.
As an artist, she works on projects from portrait commissions to large-scale complex works. These are often shown in public spaces or live performances. In addition, she creates personal work, which is exhibited globally. She has had solo shows in both Europe and Asia.
Jo is a strong promoter of professional practice in her art and illustration, including being a global ambassador for Liquitex paints and a European ambassador for Wacom. She is also a passionate educator, using social media and podcasts to reach her online audience of more than a million followers. Visit her at www.missled.co.uk.
ACKNOWLEDGMENTS
I dedicate this book to Pops. Thank you for your support and encouragement, always.
I want to offer a huge heartfelt thanks to everyone who has supported Miss Led over the past ten years. To those who have offered kind words via email or social media, who have purchased prints, bought books, and have come to say hi at exhibitions and events.
To my wonderful clients who have commissioned and continued to collaborate with me on so many magical and exciting projectsthank you!
Thank you to the fantastic team at The Quarto Group, especially Cara, Judith, and David, for their expertise and hard work in making this book happen.
My constant thanks goes out to my mum, who has always listened tirelessly to my ideas and excitement through the years, and continuously fuels me with her energy and excitement. Youre the best.
Thank you to my very dear family and friends for being reliably there and keeping me grounded at all times.
And finally a special acknowledgment to Abi, my best friend and partner in life. Thank you for being such a positive force. I love you very much.
PART ONE: THE BODY
BODY PROPORTIONS
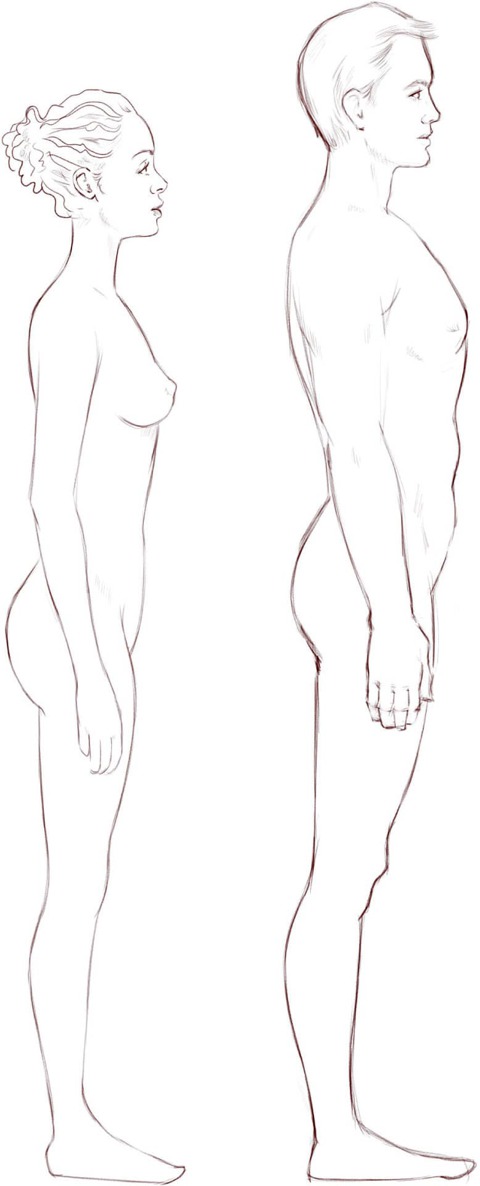
Weve started to talk about using the head as a basic unit of measurement for the bodyand its as good as any measurement for a rough guide. Bodies are very different, one to the next, so this is an approximation that will help you judge and estimate the relationship between body parts.
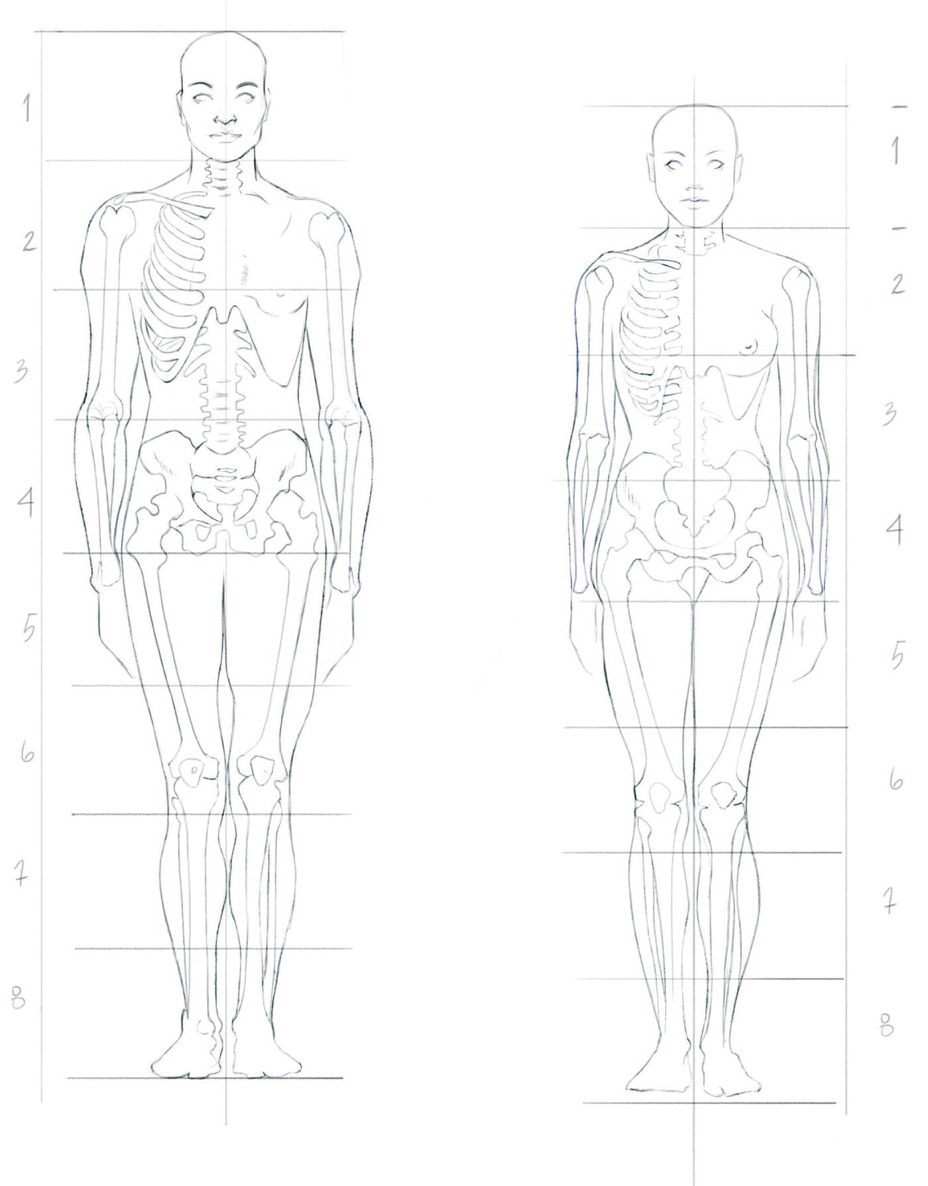
Observe both the male and female figure in profile to see the average difference in body frame.
BODY TYPES
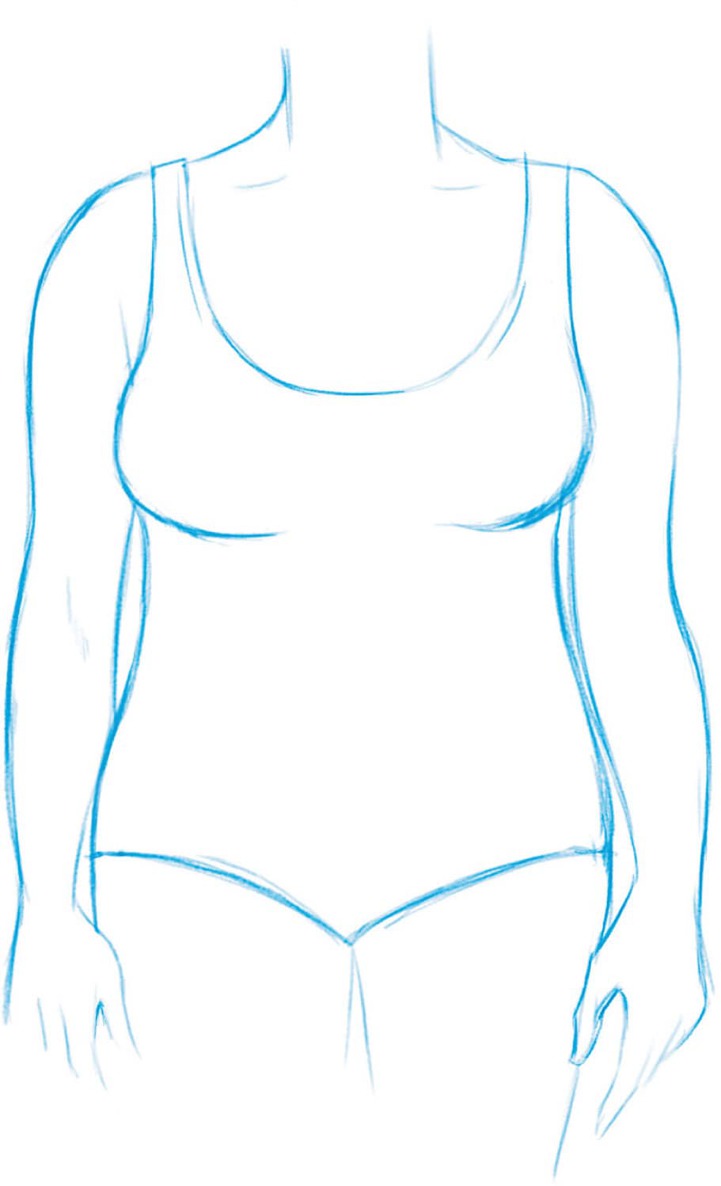
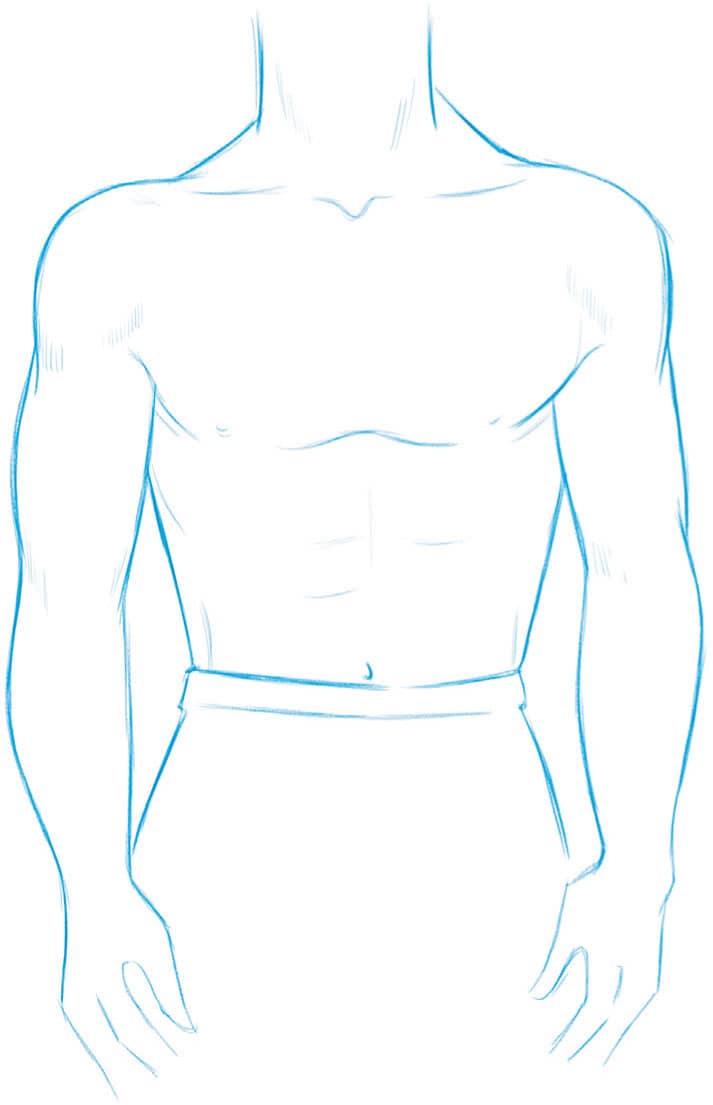
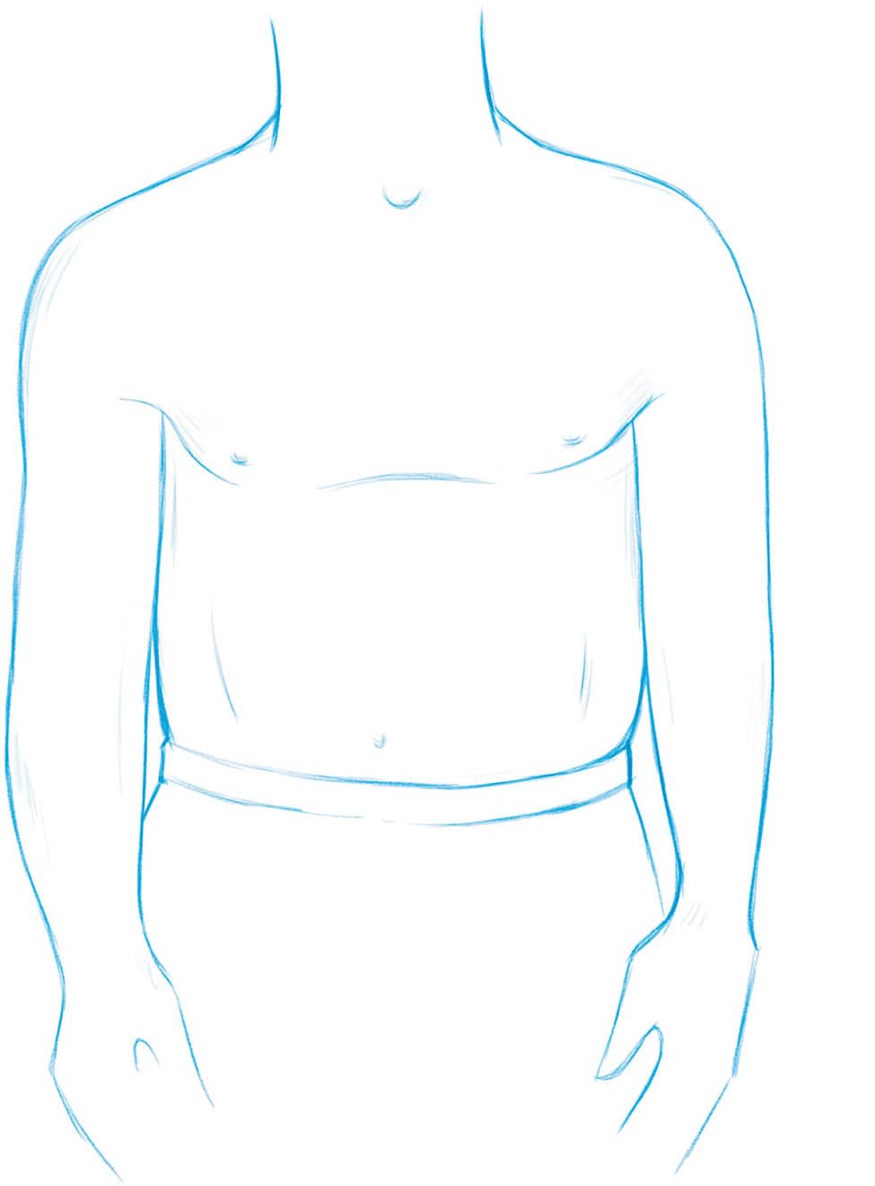
All bodies are beautiful. Were built with wonderful variations in stature and form. Here are a few drawings I created for a fashion website that helps consumers buy the correct garments for their body shape.
Female body shapes: slim, athletic, and curvy
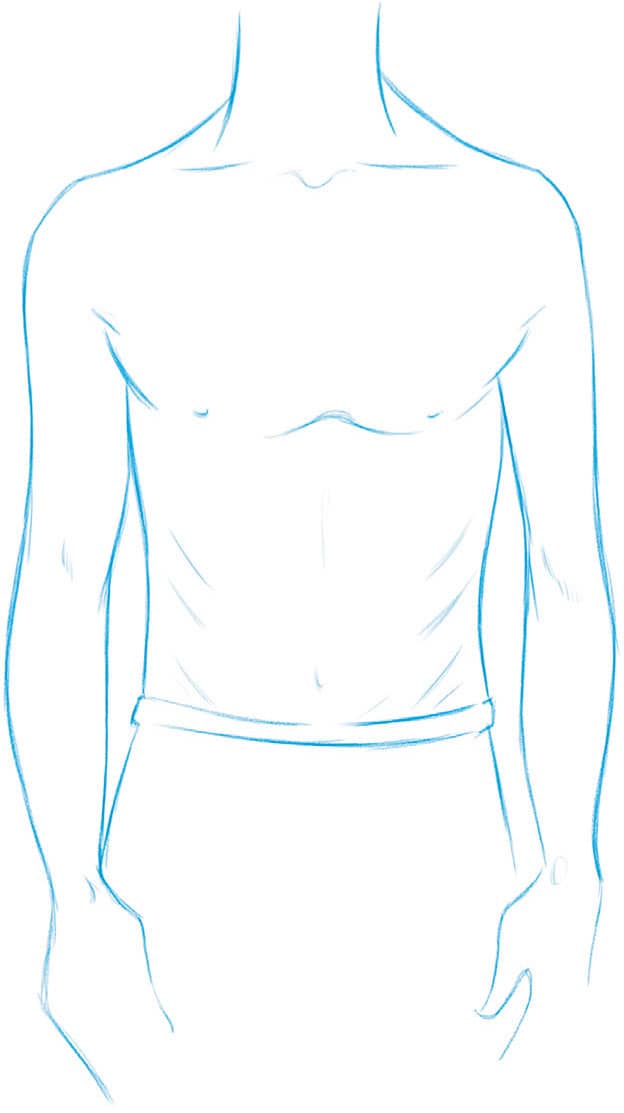
Male body shapes: slim, athletic, and thickset
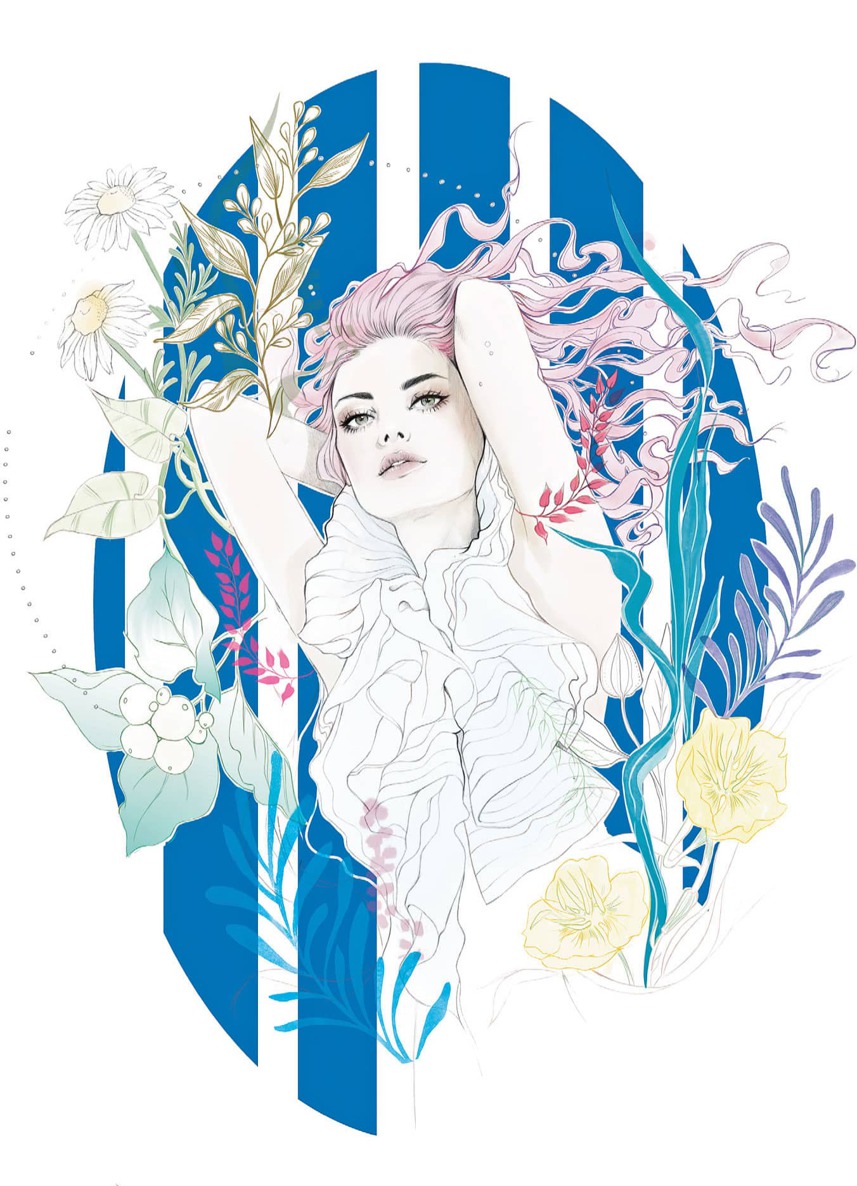
Into Bloom, personal project
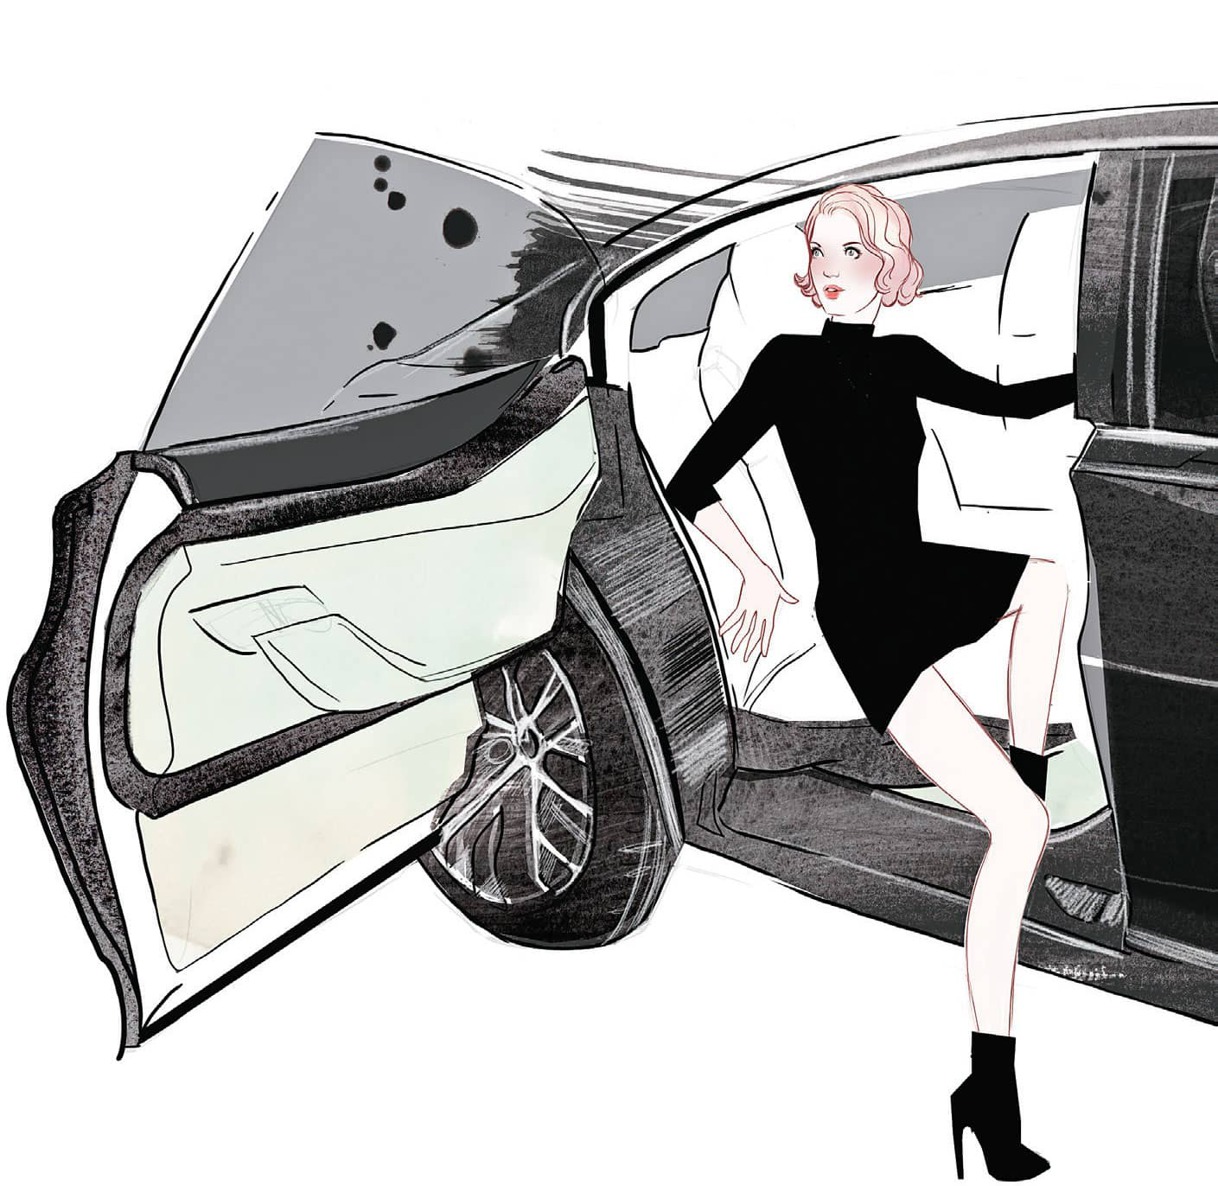
Work for Cliniques makeup line; a frame from a commissioned animation
BODY PARTS
THE ARMS AND TORSO
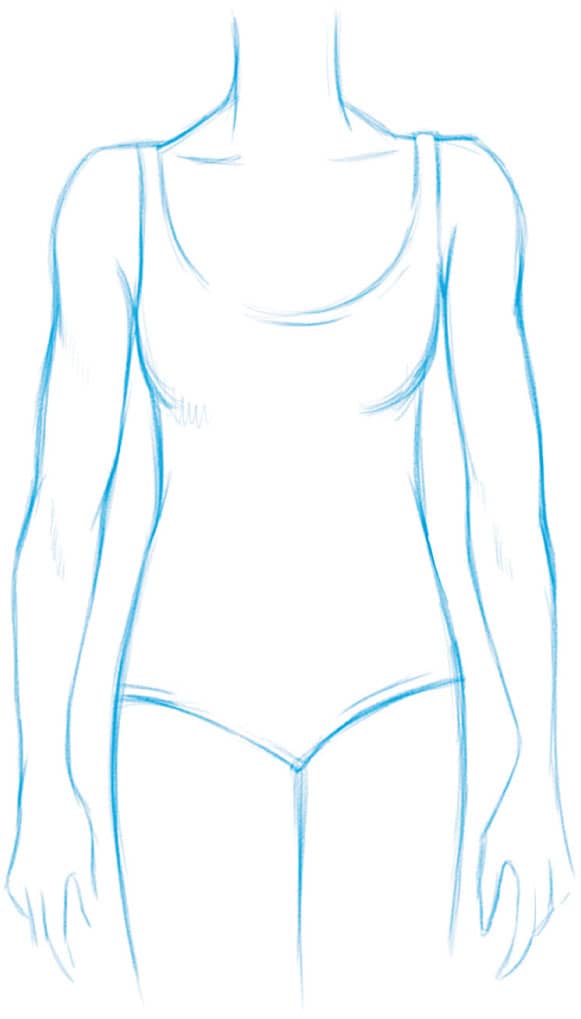
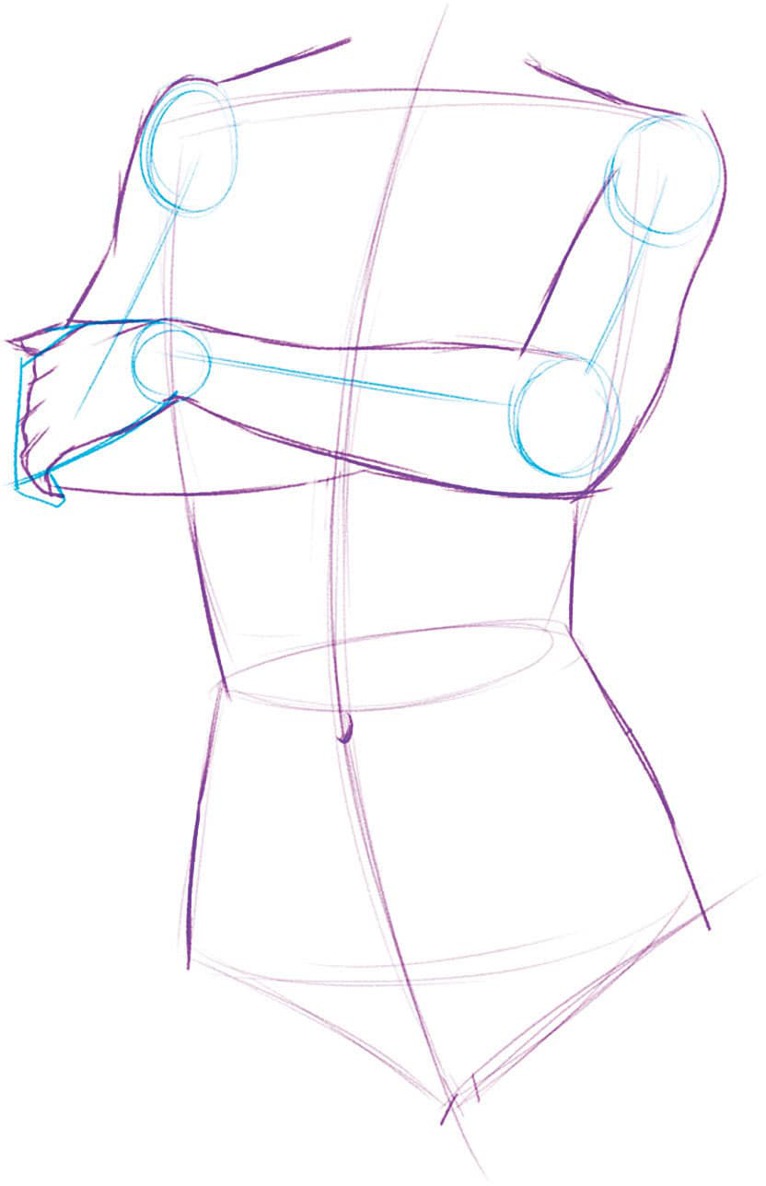
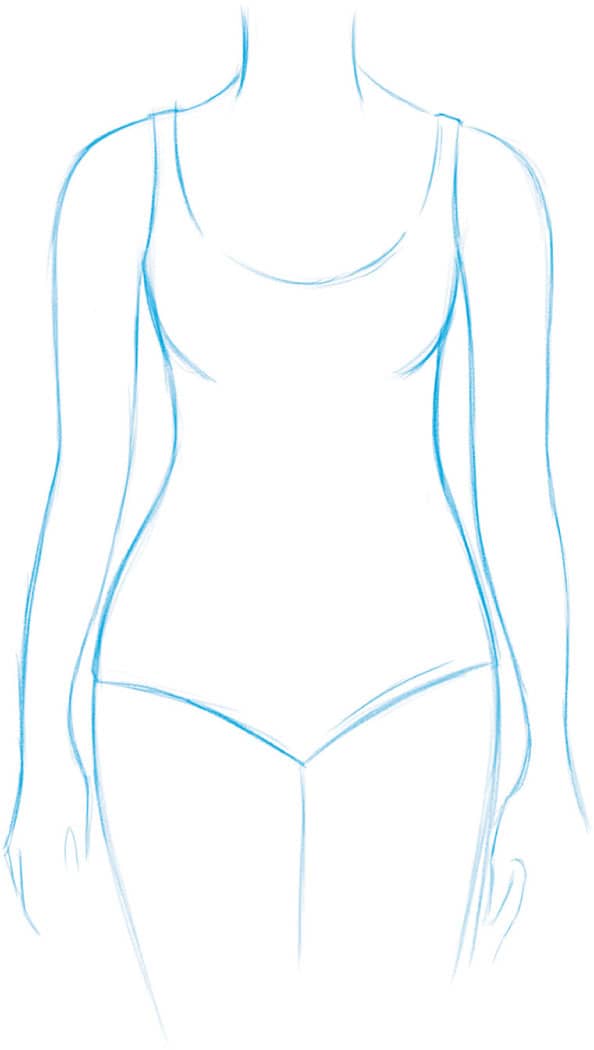
These images show you the arms in relation to the torso and spine. Look where I have added circles that show the joins of the arms and legs. Using a rhombus shape for both the body above the waist and for the body below, you can see that the elbow joints are placed approximately along the line where they connect (the waist line). Observe also how the top of the legs lines run from the waist line and the bottom of the rhombus.
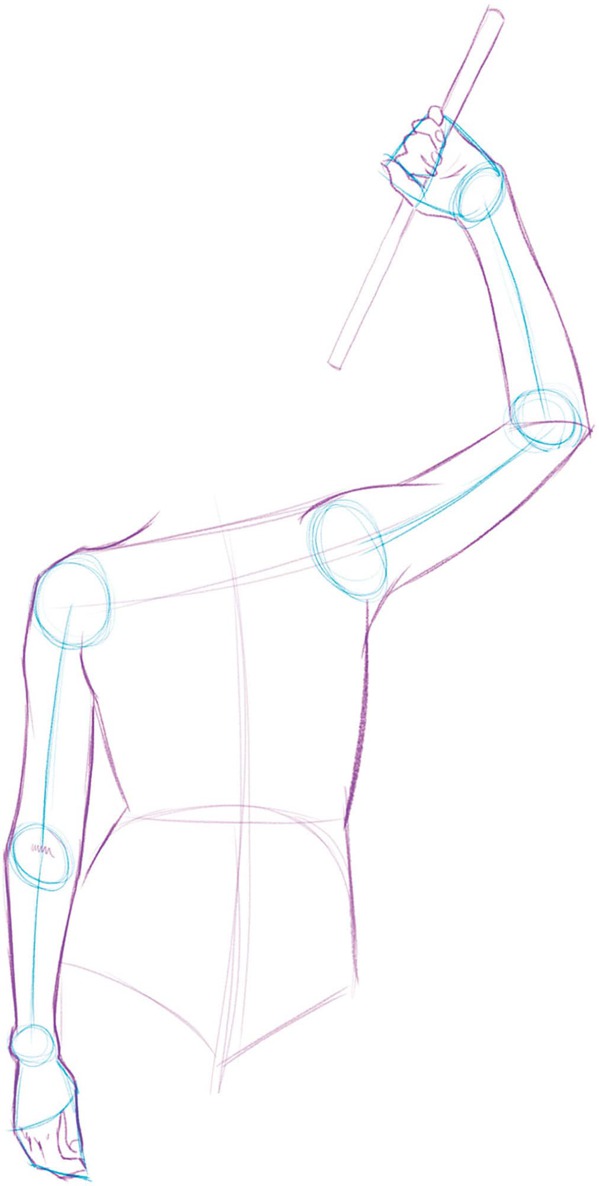
Moving forward, you can now start adding the form to the limbs and begin to shape the body. Use pinched triangular shapes from the waist down and softer shapes on the arm guidelines.
THE LEGS
Now, you should be familiar with the lines and shapes used to create the basic form of the body.
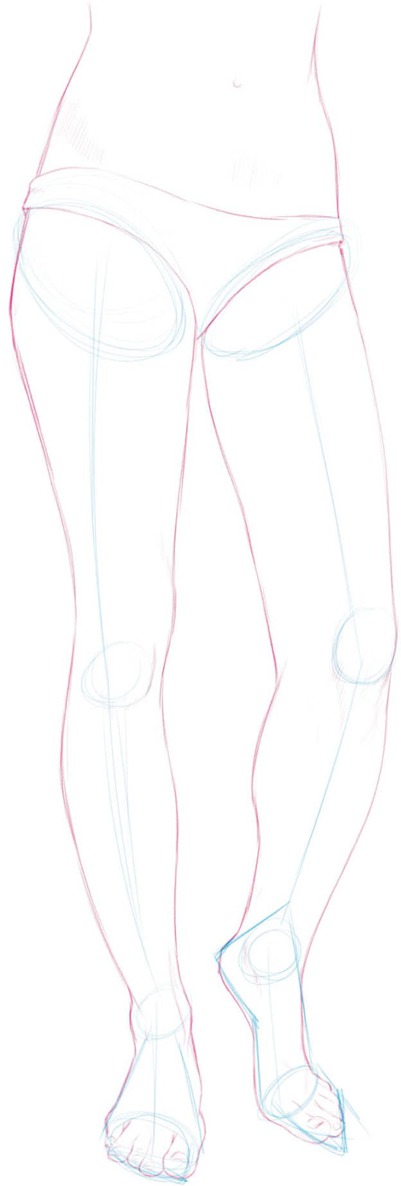
Here is a great example of the female legs in a relaxed standing position. See the difference in the foot where there is more and less weight: On the flat foot, you can see how the toes are more fanlike, whereas the lifted, lighter foot is at an angle to the leg, which lengthens the toes and almost makes them more triangular. Use angled lines on your reference to see this more clearly if you wish.
Note the oval shape that marks the lower stomach before the hips. This is where I started the drawing. After you have the oval, you can create the lines for the legs. Notice how the length between the top oval, from the pelvic bone to the knee joint, matches the length from the knee to the ankle joint.
The top of the thighs can also begin as oval shapes: See the lovely conical forms that help guide the form of the thighs. These then turn up, a little smaller this time, to shape the calves. Use ovals to mark the joints of the knees, ankles, and even the toes. Try using tracing paper over magazine cuttings and print outs for this. Look at athletes and fashion models for the most interesting positions. Work that way until youve got a real understanding of the legs and can start creating your own from memory and even imagination!


