The acknowledgments for this book are a little unusual. Many of the people I need to thank are no longer with us. When I talk to people about the way I cook, I always go back to how I grew up and people regularly comment that it sounds like Im from a time-warped kitchen. My family really did can and freeze obsessively. We sat shelling peas and butterbeans on Saturday nights, watching Fantasy Island, so we could can them on Sunday afternoons. The lessons I learned then are the ones I used to write this book.
So, I need to start by thanking the women who shaped my life from the very beginningmy mama, both grandmothers, my great-grandmother, great-aunts, cousins, and family friends. I love food and cooking traditions because of all of you.
Thank you to the amazing team at Rodale Books for taking Canning and turning it into a work of art. Thank you to my phenomenal editor, Dervla Kelly, for having the vision for a new book on an old subject; to Anna Cooperberg for answering every question and keeping me on track; and to Yeon Kim and team for making jam and pickles look like fine art.
Thank you to my wise and wonderful agent, Leslie Stoker, for constant support, the most helpful feedback, and diligent outreach on my behalf.
Thank you to the marathon list of friends and family, at Coon Rock Farm and around the world, who have helped roast tomatoes or pickle scallions, and fill jars, and stick on labels over the years. All that practice contributed to this gorgeous book.
And, as always, thank you, Richard, for tasting all the best bites of life with me. You make every day better.
Chapter 1: basic fruits and vegetables
Lets begin with the basics.
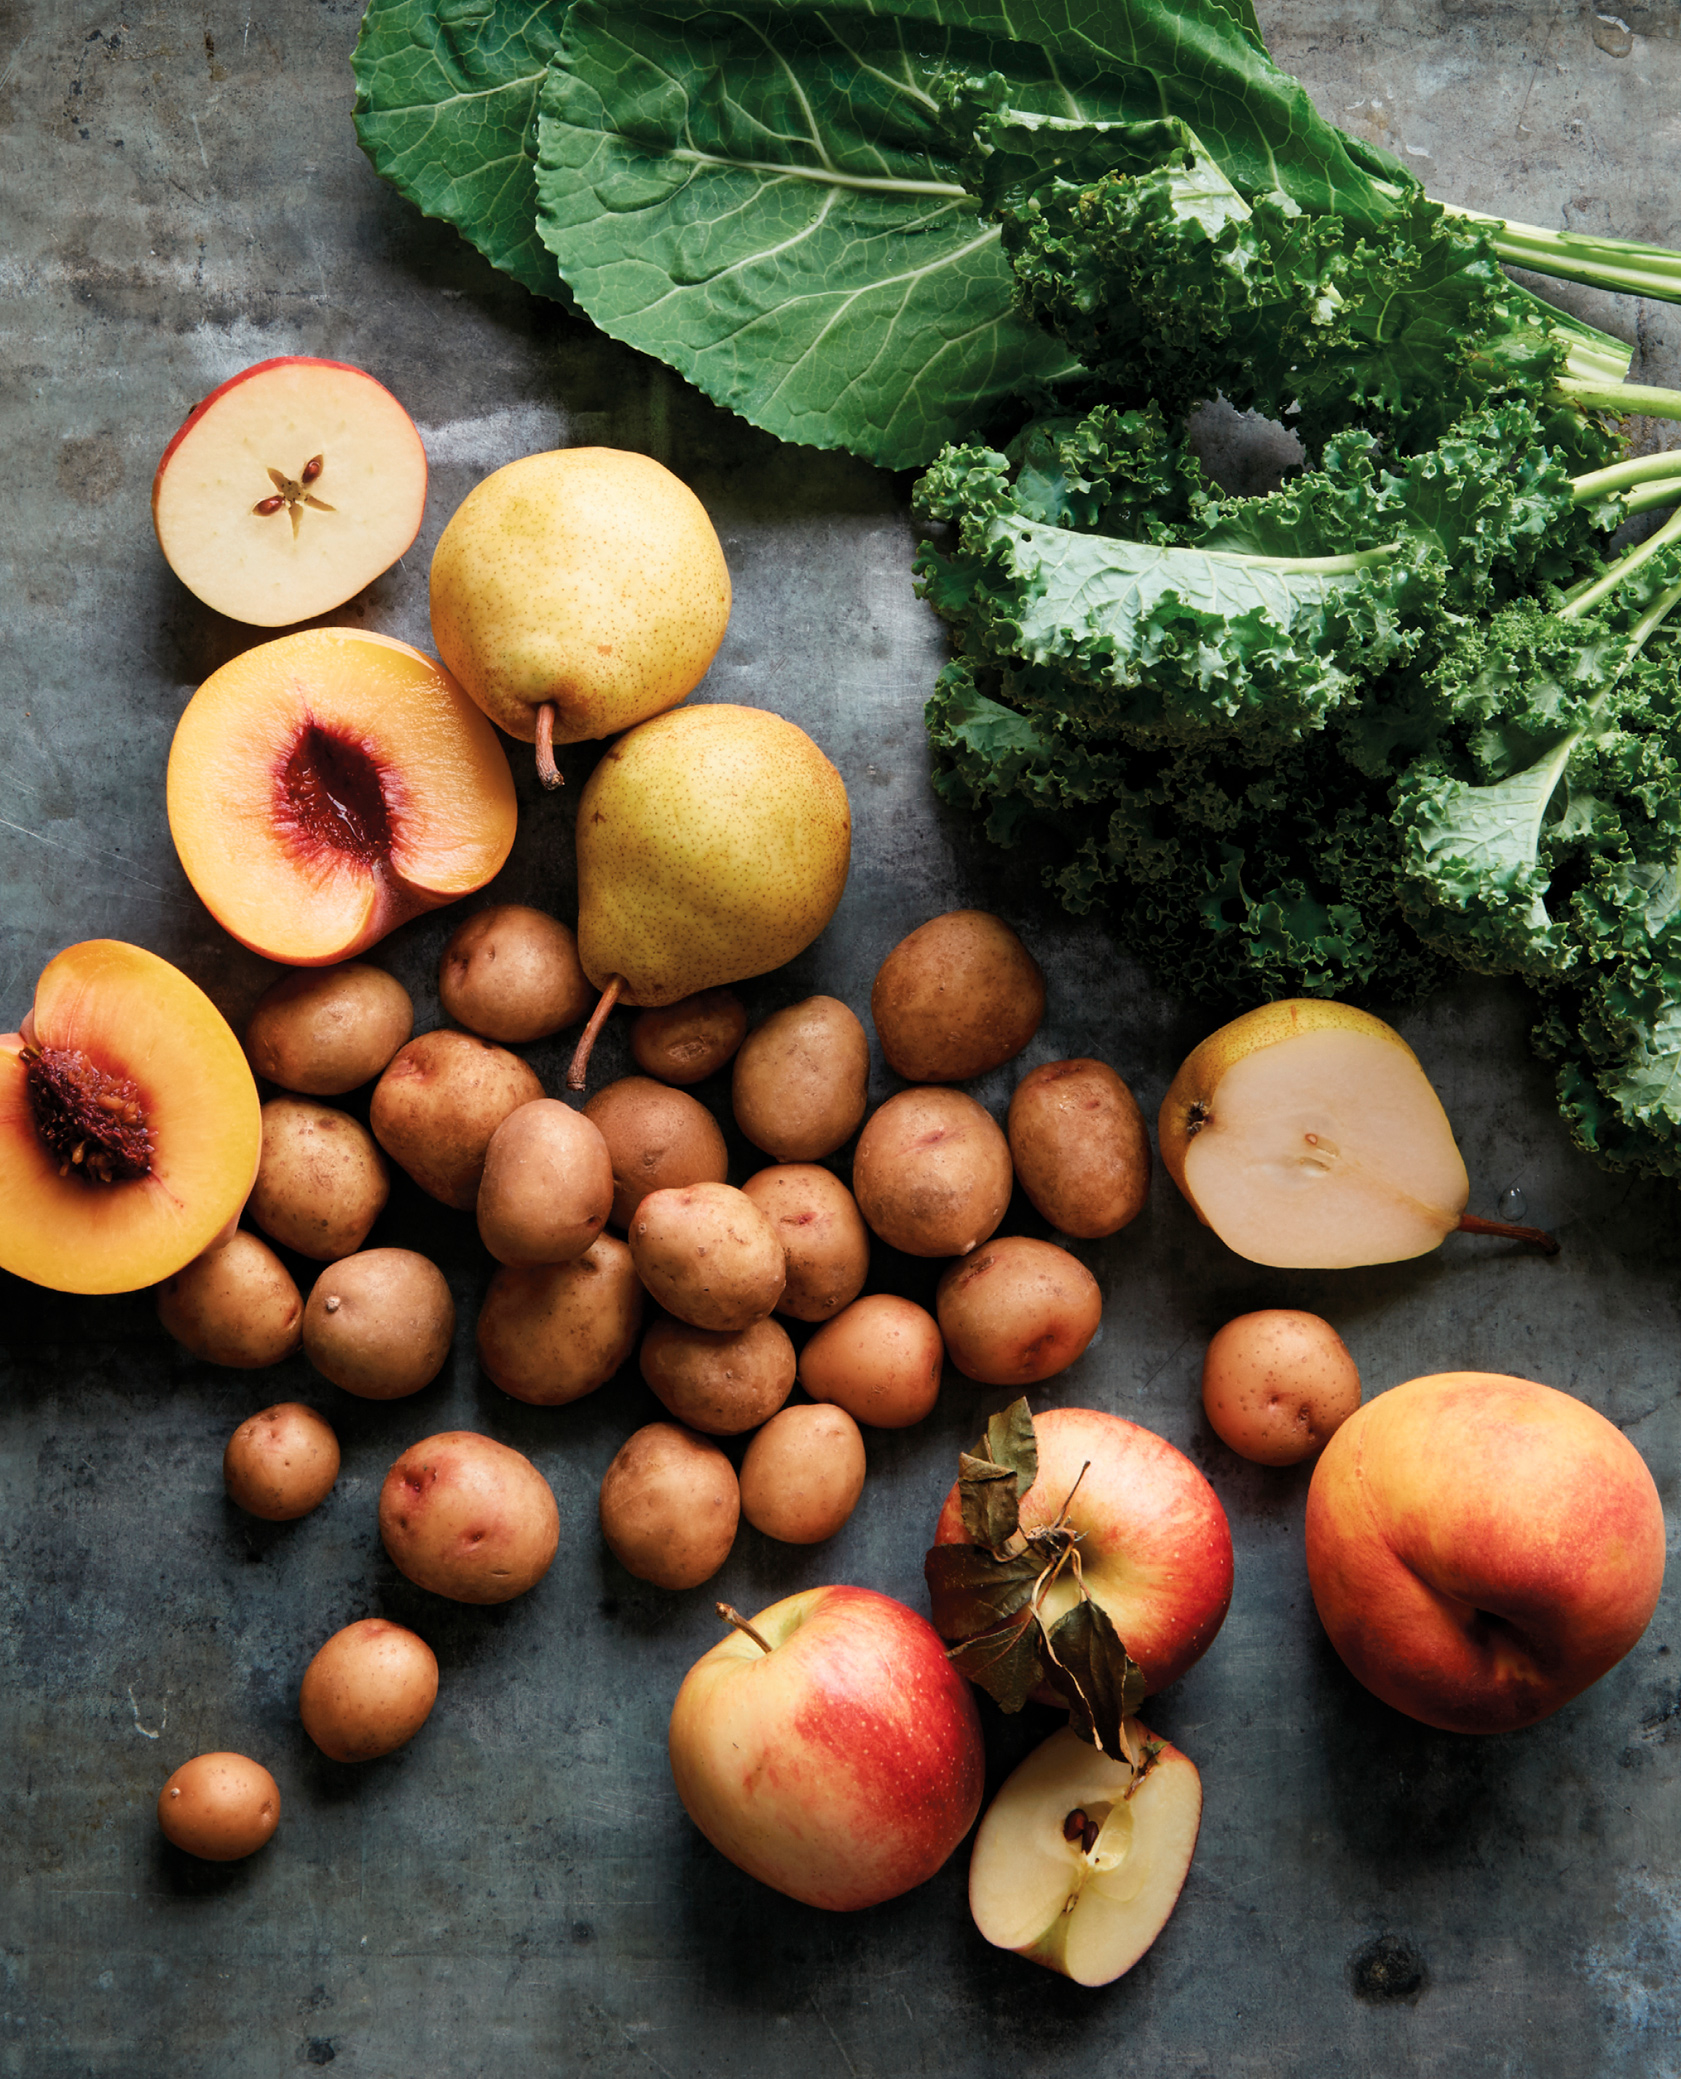
There are some things that are so delicious in their natural state that you want to eat them year-round just that wayin their most simple form. The recipes in this section preserve fruits and vegetables in their purest forms and give us a great place to start learning about canning!
peaches
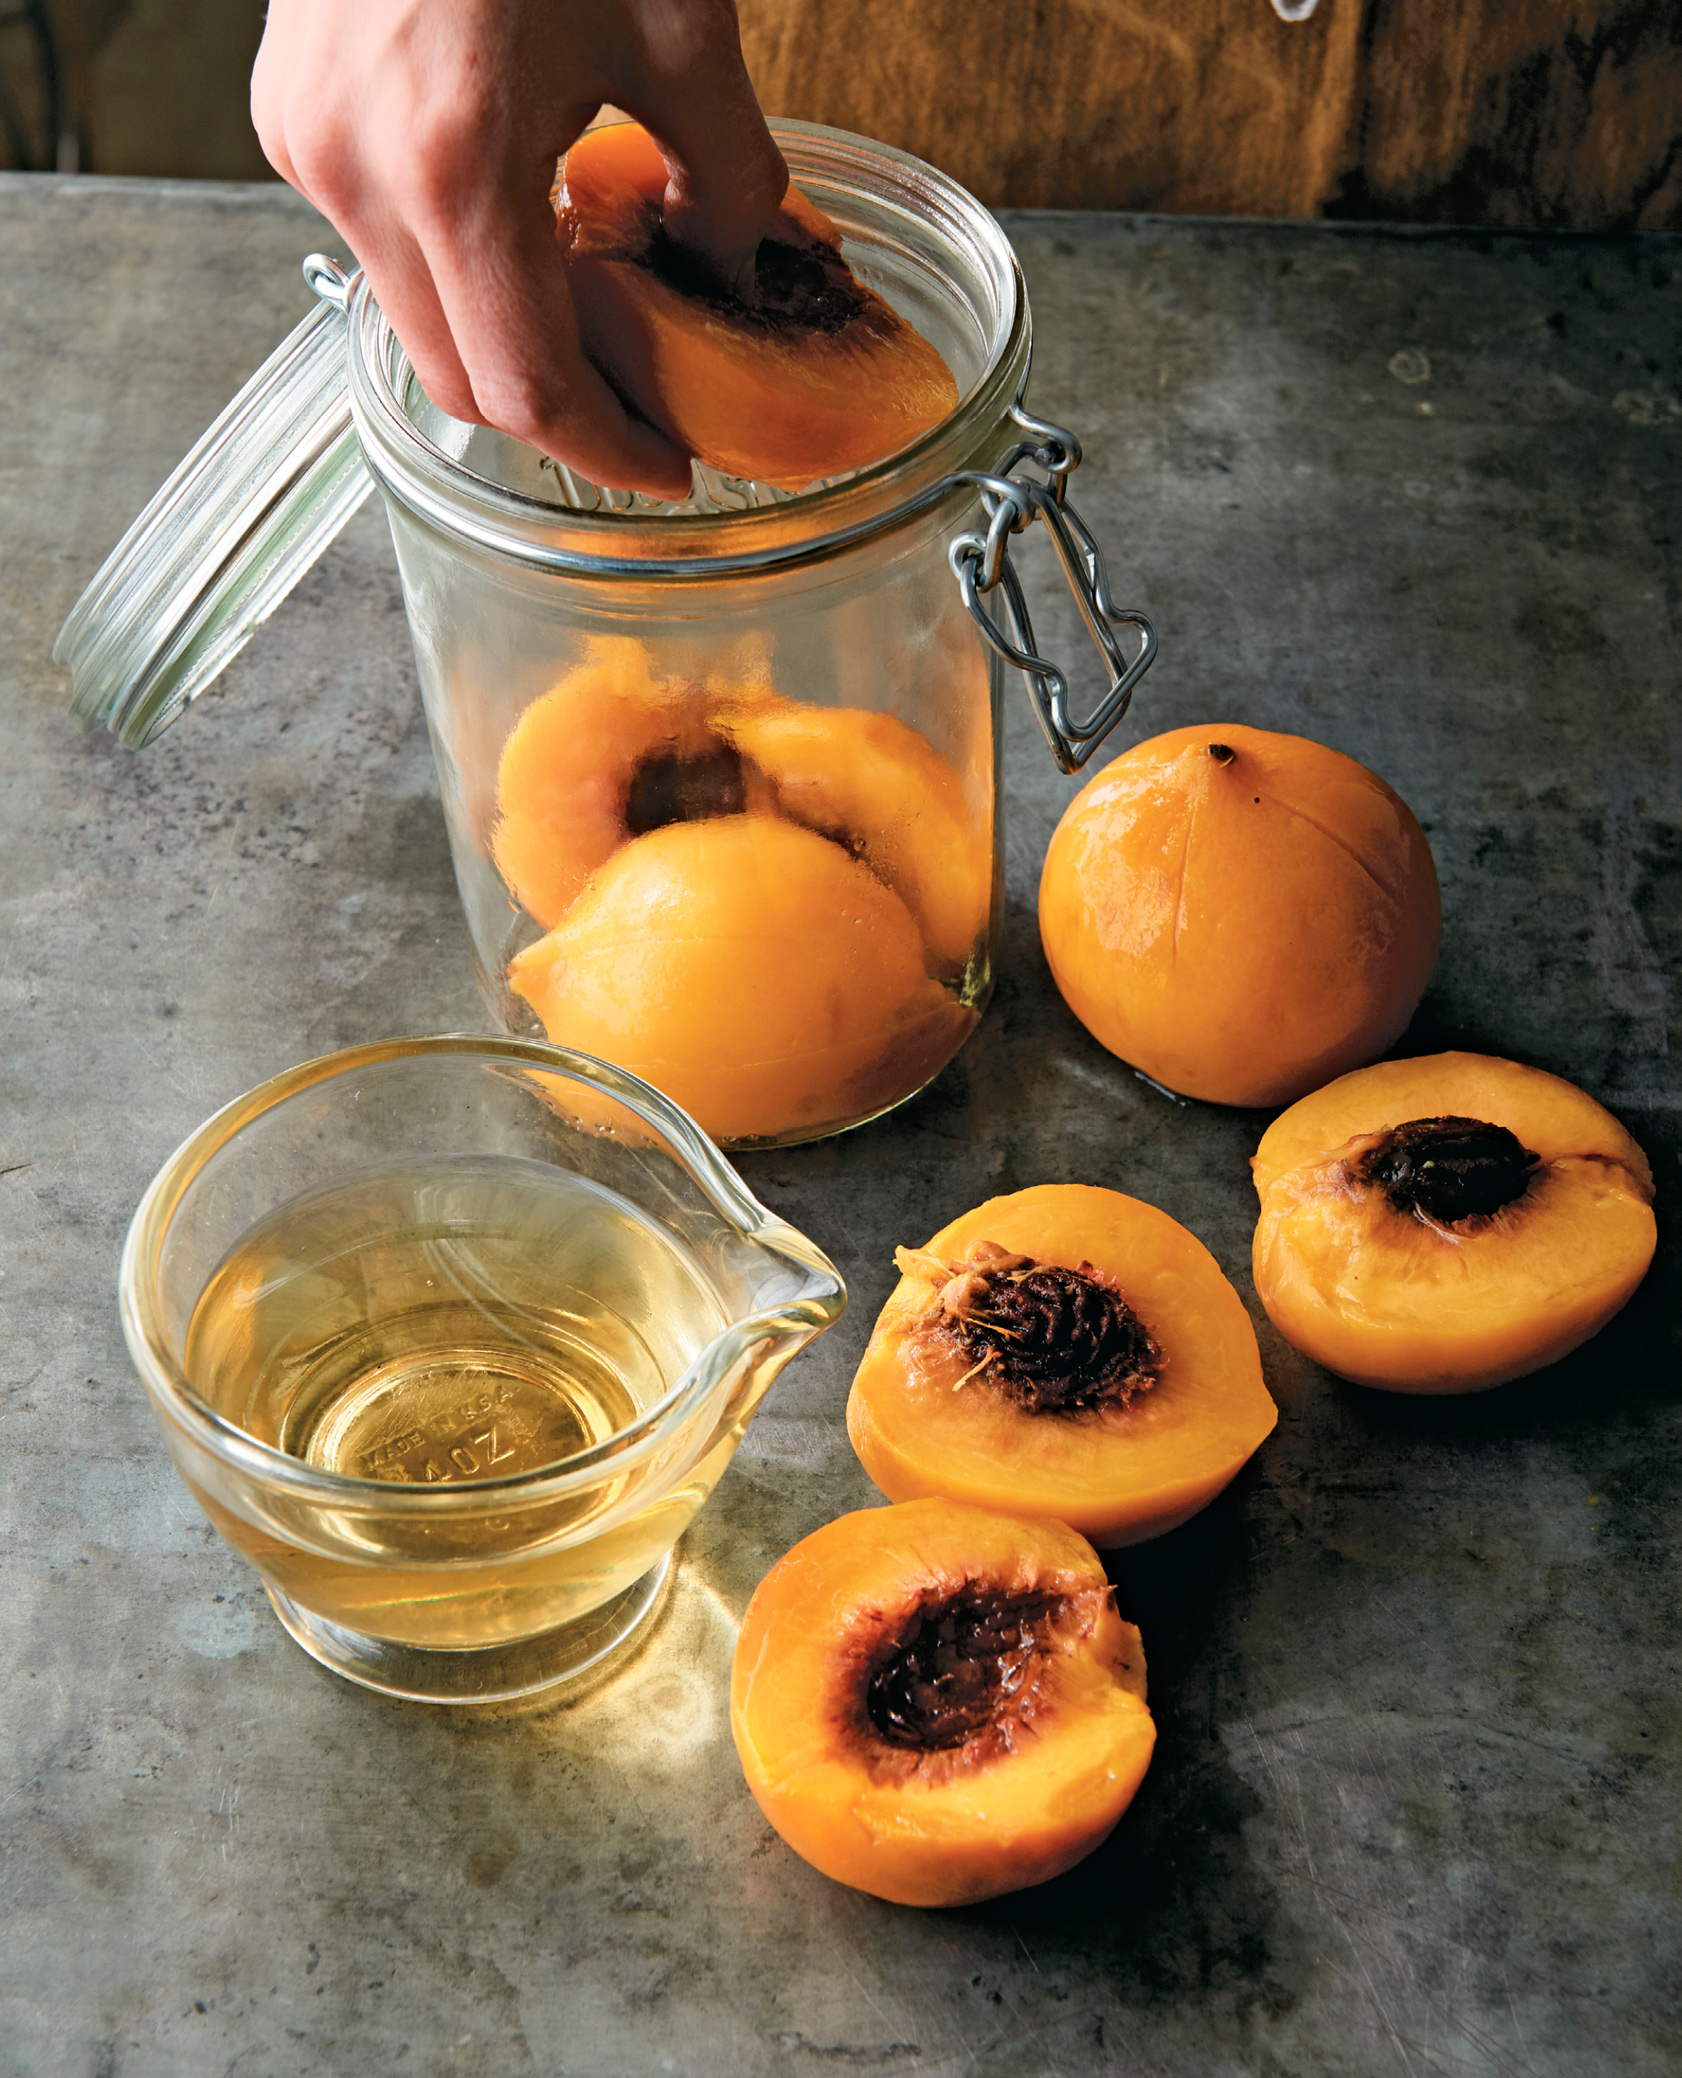
Im starting with peaches because they are my single most favorite thing to eat cannedstraight out of the jar. They are great as a snack alone or as a wonderful addition to salads and desserts. I make them in pint jars to keep myself from eating a whole quart in one sitting! This recipe uses fruit juice instead of sugar as a base because the canned peaches will be more versatile for later use if they are less sweet. The best ripe peaches, depending on where you live, tend to be available between June and August.
MAKES 78 PINTS
Get your boiling-water-bath canning equipment ready and have your jars sterilized and ready.
8 pounds fresh peaches
3 tablespoons fresh lemon juice
gallon white grape juice
Fill a large bowl with ice water and set it to the side. Bring a large pot of water to a boil. Drop the peaches into the boiling water, making sure they are all submerged. (Work in batches, if necessary.) Blanch the peaches for about 3 minutes, or until you can easily peel the skin off a cooled peach by hand. Using a slotted spoon, carefully transfer the peaches to the ice water. Let them cool in the water for 1 minute.
Using your fingers, quickly remove the skins from all the peaches. Cut the peaches in half, remove the pits, and put the halves in another large bowl. Add the lemon juice and gently stir to evenly coat the peaches (this prevents them from turning brown).
In a large stockpot, bring the grape juice to a boil. While the juice is heating, carefully pack the peach halves into hot, sterilized jars, leaving about 1" of headspace.
Once the juice has reached a rolling boil, carefully ladle or pour the hot juice over the peaches, leaving " of headspace. Gently tap the jars to make sure all the peaches are completely surrounded by liquid and there are no air bubbles. Add more hot juice now if needed.
Wipe the rim of each jar carefully with a clean towel to ensure a good seal, and carefully place the lids and rims on.
Follow your boiling-water-bath canning process and process for 25 minutes, adjusting for altitude based on the chart on .
pears
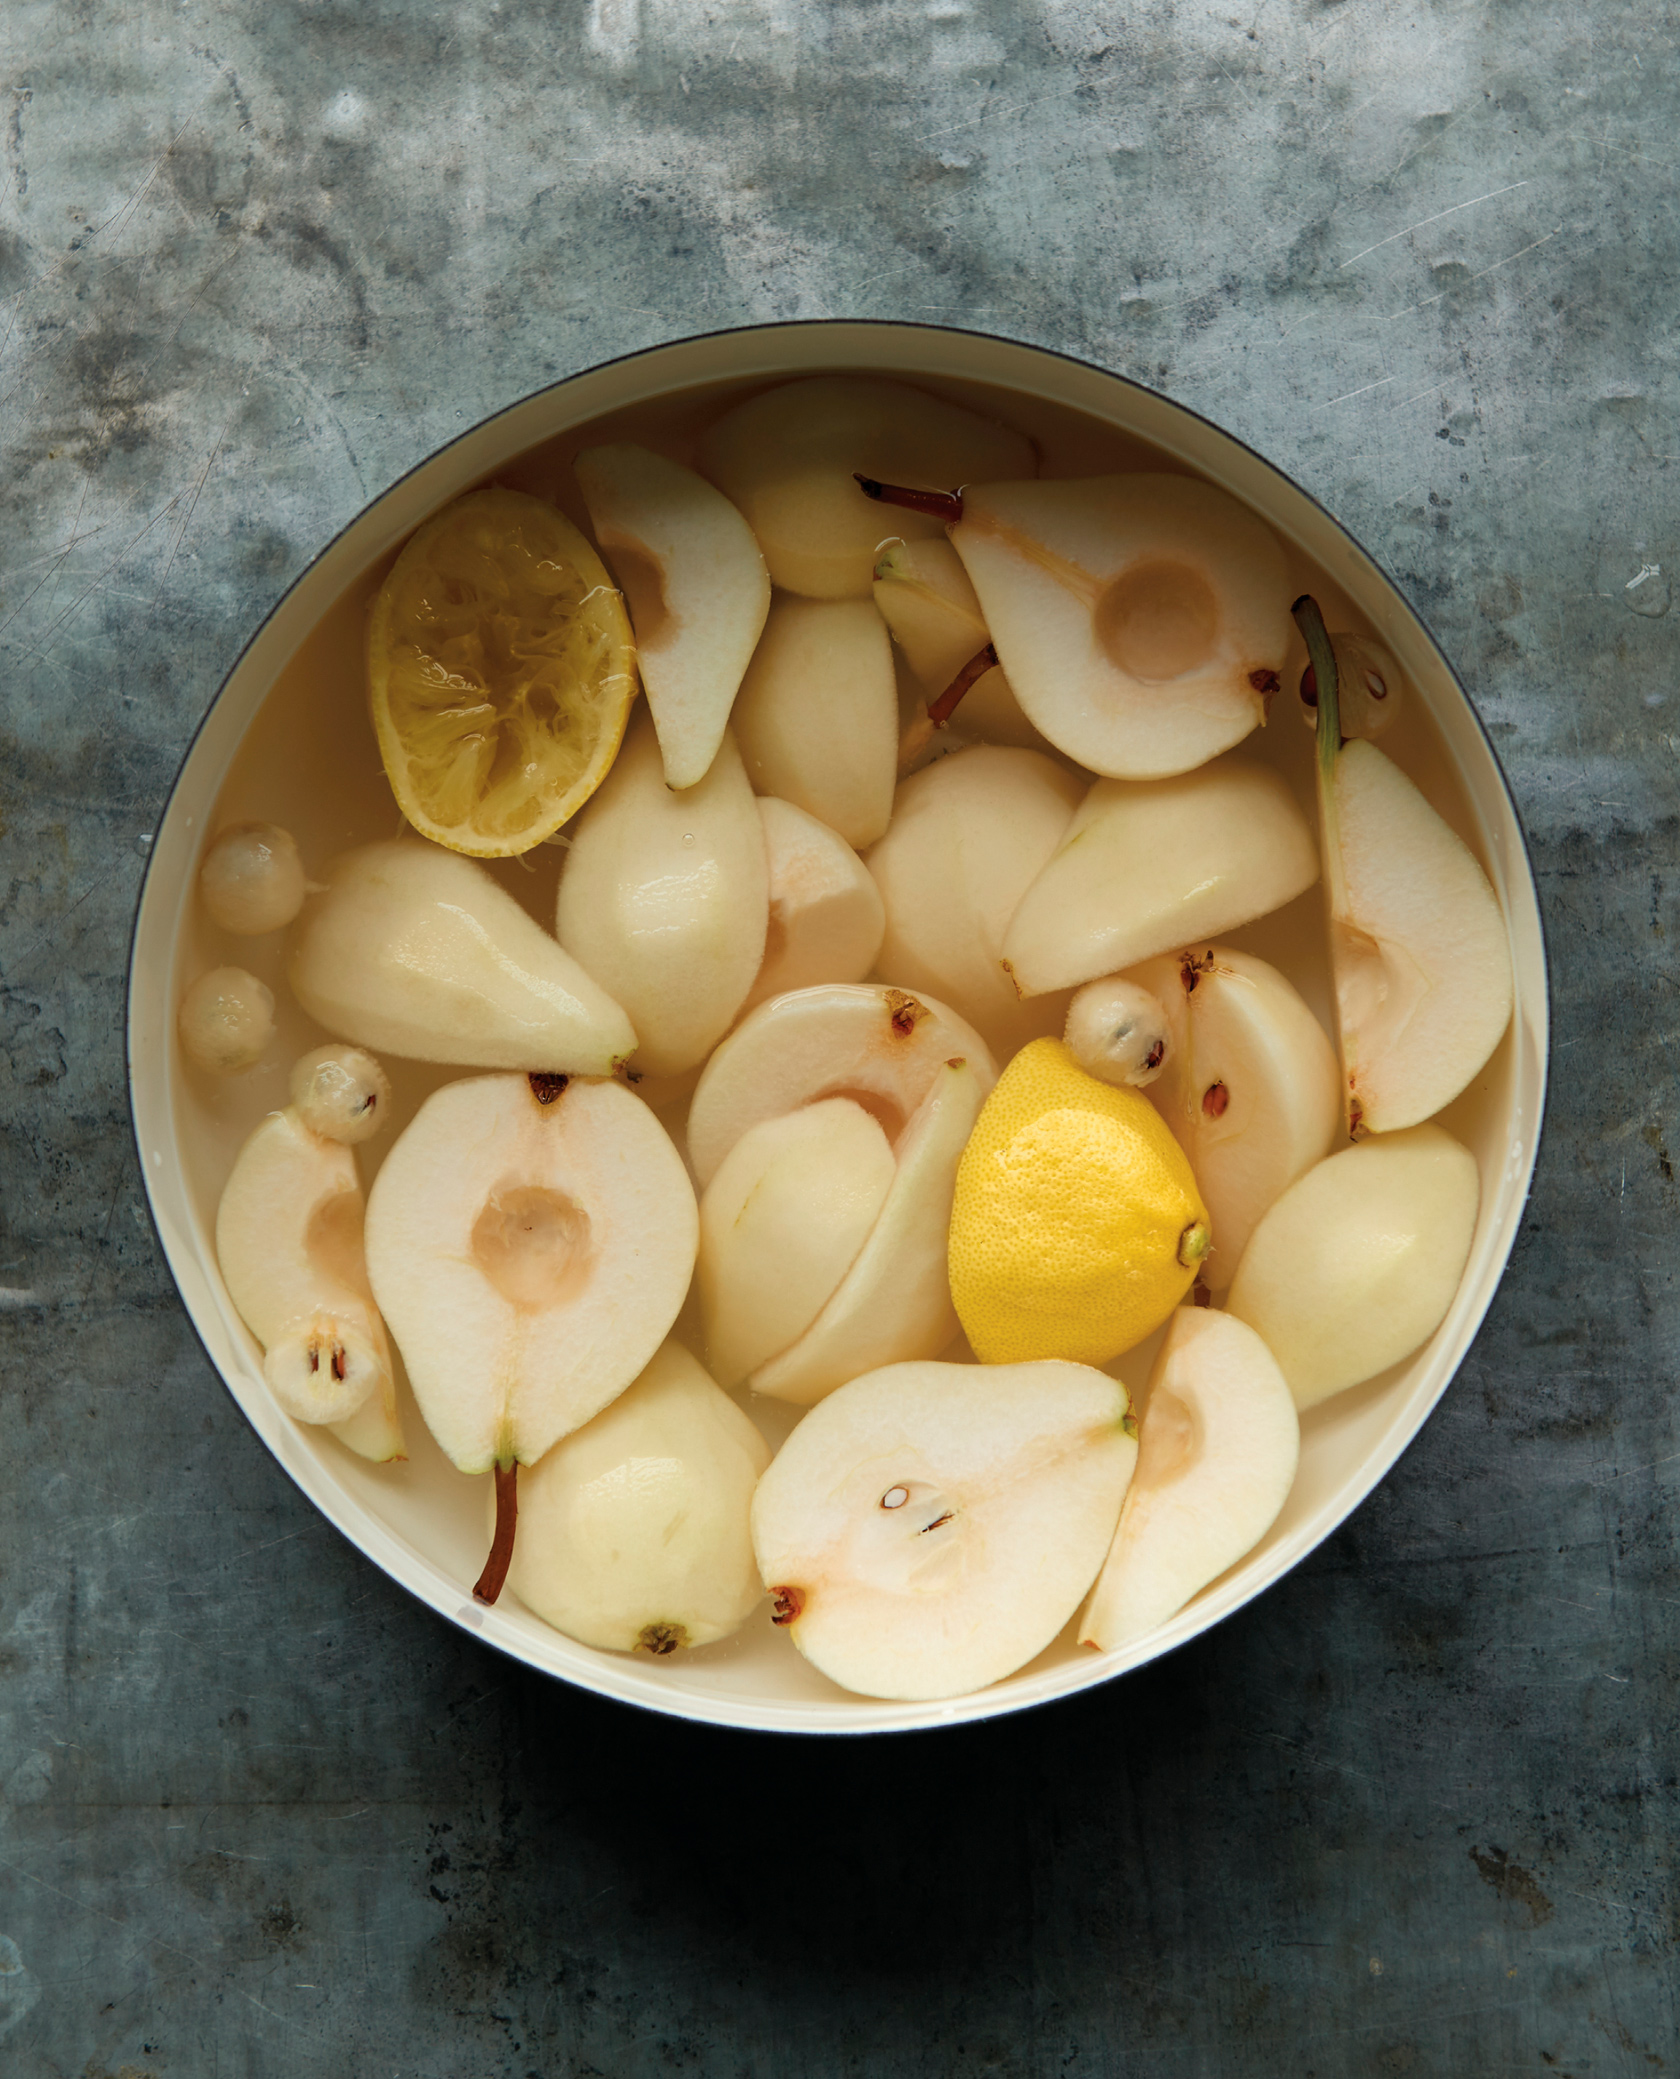
We have a pear tree, an old Bartlett variety, that produces more fruit than we can keep up with, so I preserve the fruit as it ripens. The pears can always be baked or frozen, but canning lets you keep some of that fresh pear crunch. This recipe doesnt use sugar, so it gives you more flexibility in how you can use your preserved pears in later recipesas a savory salad, or dinner additions, or sweet pie fillings.
MAKES 4 PINTS
Get your boiling-water-bath canning equipment ready and have your jars sterilized and ready.
6 pounds firm, ripe pears
3 tablespoons fresh lemon juice
Wash, peel, core, and cut the pears into halves or quarters and place in a large bowl. Add the lemon juice and gently stir to evenly coat. Let the pears soak for 2 to 3 minutes.
Meanwhile, bring a large pot of water to a boil.
Pack the pears into hot, sterilized jars. Carefully pour the boiling water over the pears, leaving " of headspace. Gently tap the jars to make sure all the pears are completely surrounded by liquid and there are no air bubbles.
Wipe the rim of each jar carefully with a clean towel to ensure a good seal, and carefully place the lids and rims on.
Follow your boiling-water-bath canning process and process for 25 minutes, adjusting for altitude based on the chart on .
honeyed cherries
We love cherries at our house! We eat them fresh as long as we can and put them up for later use in everything from desserts to duck potpie. Pitting the cherries will take a while, but its worth every minute. The recipe works with sweet and tart cherries.
MAKES 6 PINTS
Get your boiling-water-bath canning equipment ready and have your jars sterilized and ready.
2 quarts fresh cherries
3 tablespoons fresh lemon juice
2 cups honey
4 cups water
Wash and pit the cherries and place in a large bowl. Add the lemon juice and gently stir to coat. Set the cherries aside to soak.
Meanwhile, in a large pot over medium-high heat, bring the honey and water to a boil. Cook over medium heat for 8 to 10 minutes, or until a syrup forms.
Pack the cherries into hot, sterilized jars. Carefully pour the boiling syrup over the cherries, leaving " of headspace. Gently tap the jars to make sure all the cherries are completely surrounded by liquid and there are no air bubbles. Add more syrup now, if needed.
Wipe the rim of each jar carefully with a clean towel to ensure a good seal, and carefully place the lids and rims on.
Follow your boiling-water-bath canning process and process for 25 minutes, adjusting for altitude based on the chart on .
berries
Who doesnt want to keep the flavors of berries around all year long? Berries are a bit of a different beast, though, and need a little more sugar and attention than peaches (). The recipe below will also work by directly substituting blueberries, raspberries, and blackberries. It creates a wonderful filling for pies and cakes or a topping for shortbreads or ice cream.

