PIXEL ART BASICS
How to start with pixel art
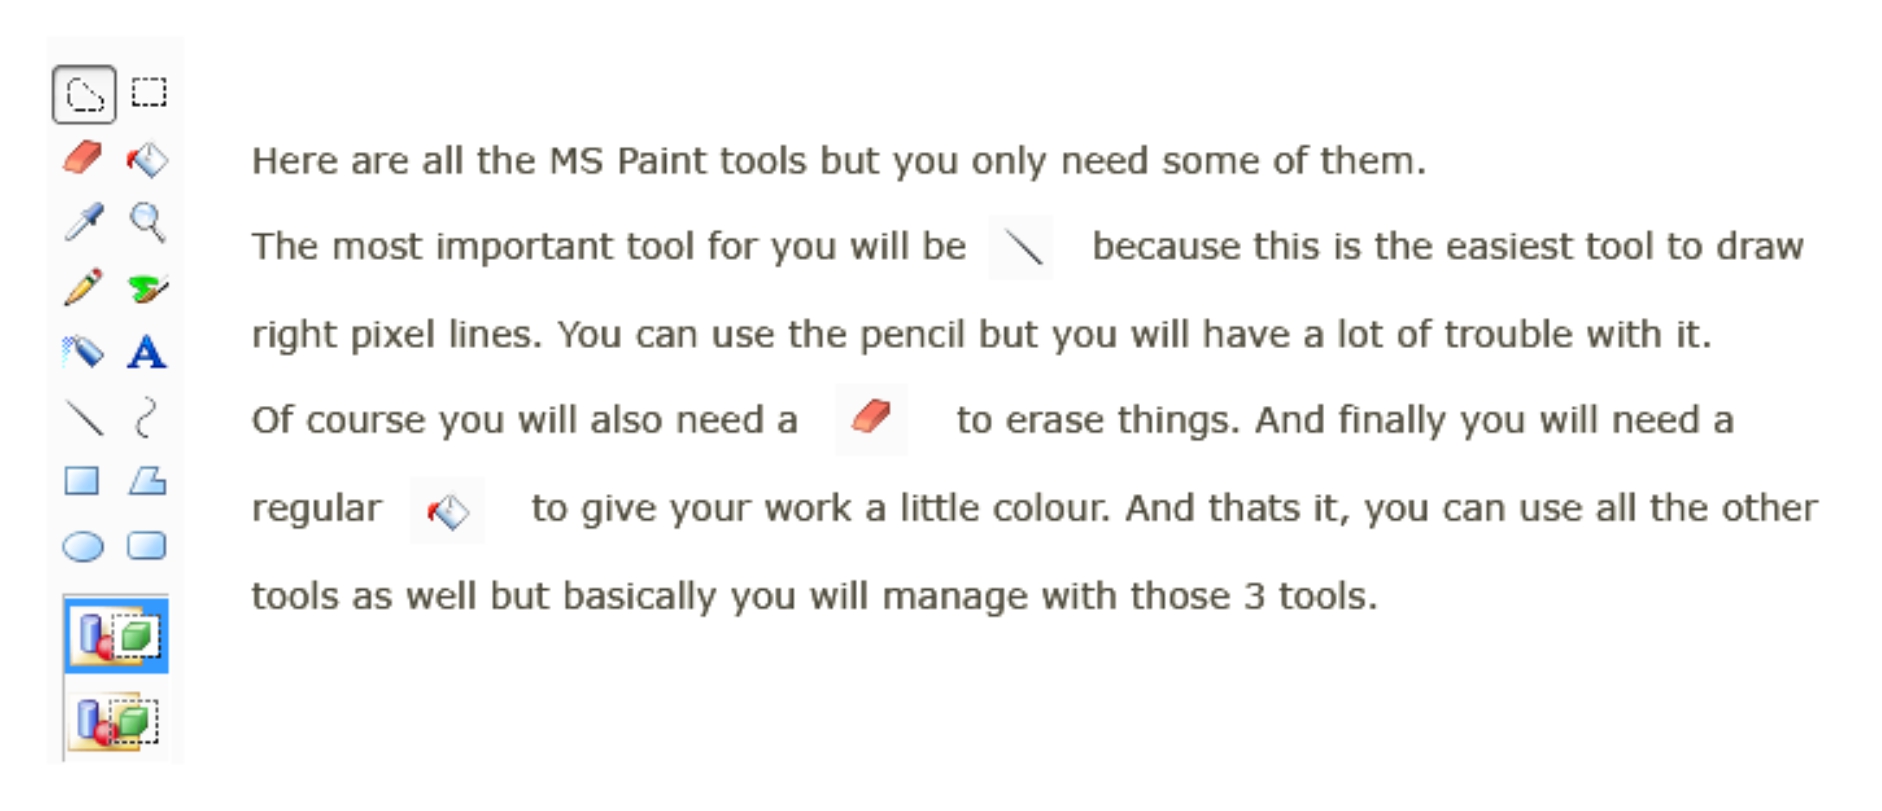
Before we start with a real tutorial I would like to show you some of the basic tools what you can use when you are making pixel art. And you will soon see that you don't need some fancy programs to make pixel art and I think this is one of the best things about pixel art - you don't need some super programs.
We use a regular MS Paint and its a windows default program, so if you have windows then you don't have to download anything.
Lets get started...
So you know all the tools you need and you want to get started, you want to draw houses, trees, people etc. But before we can do that you need to know how pixel art works. First of all I will show you how to draw a line in pixel art. I'm sure that you have seen that so many times but I will show you again.
This is the regular line in pixel art. As you can see it has a certain angle. Basically you just have to draw two pixels to the left and one down. That way you will achieve a wanted line.
The famous cube tutorial
The reason why the cube tutorial is so famous is that its easy to explain pixel art basics with it. And as we start from the beginning then it is important for us as well.
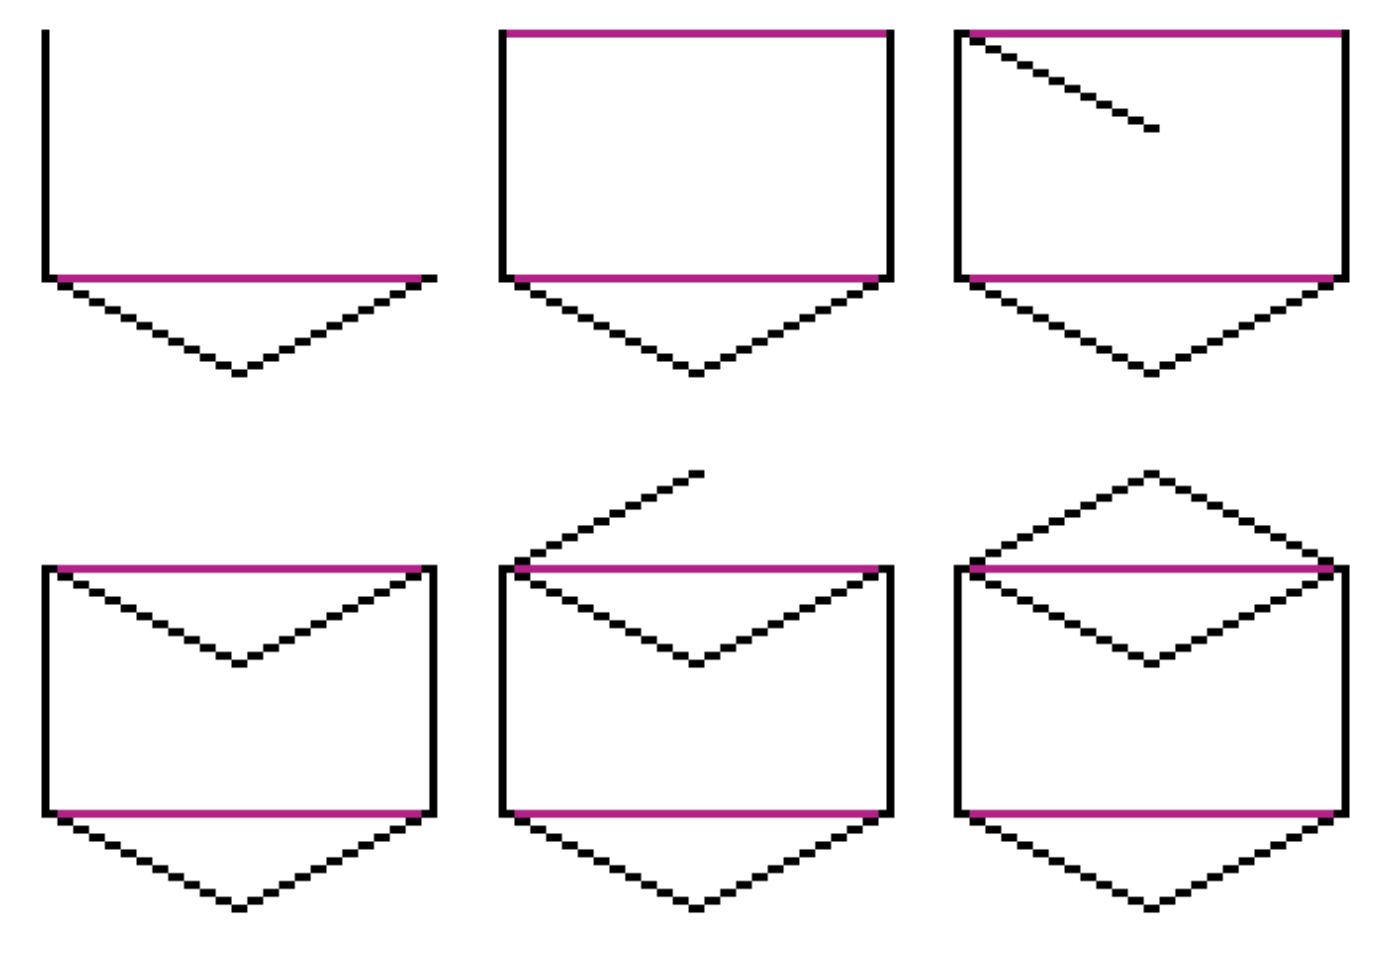
First step is to draw the regular pixel art line. So if you are using MS Paint, then open your
document, it doesn't matter how big it is. Take the and zoom in as much as you can. If its done then draw your first line.
It wasn't too hard. Now to make things harder we draw a second line.
Second line is done as well. I have that green line because I wanted to show you that the second black line should be the reflection of the first one. Ok, we need some more lines to get the cube done.
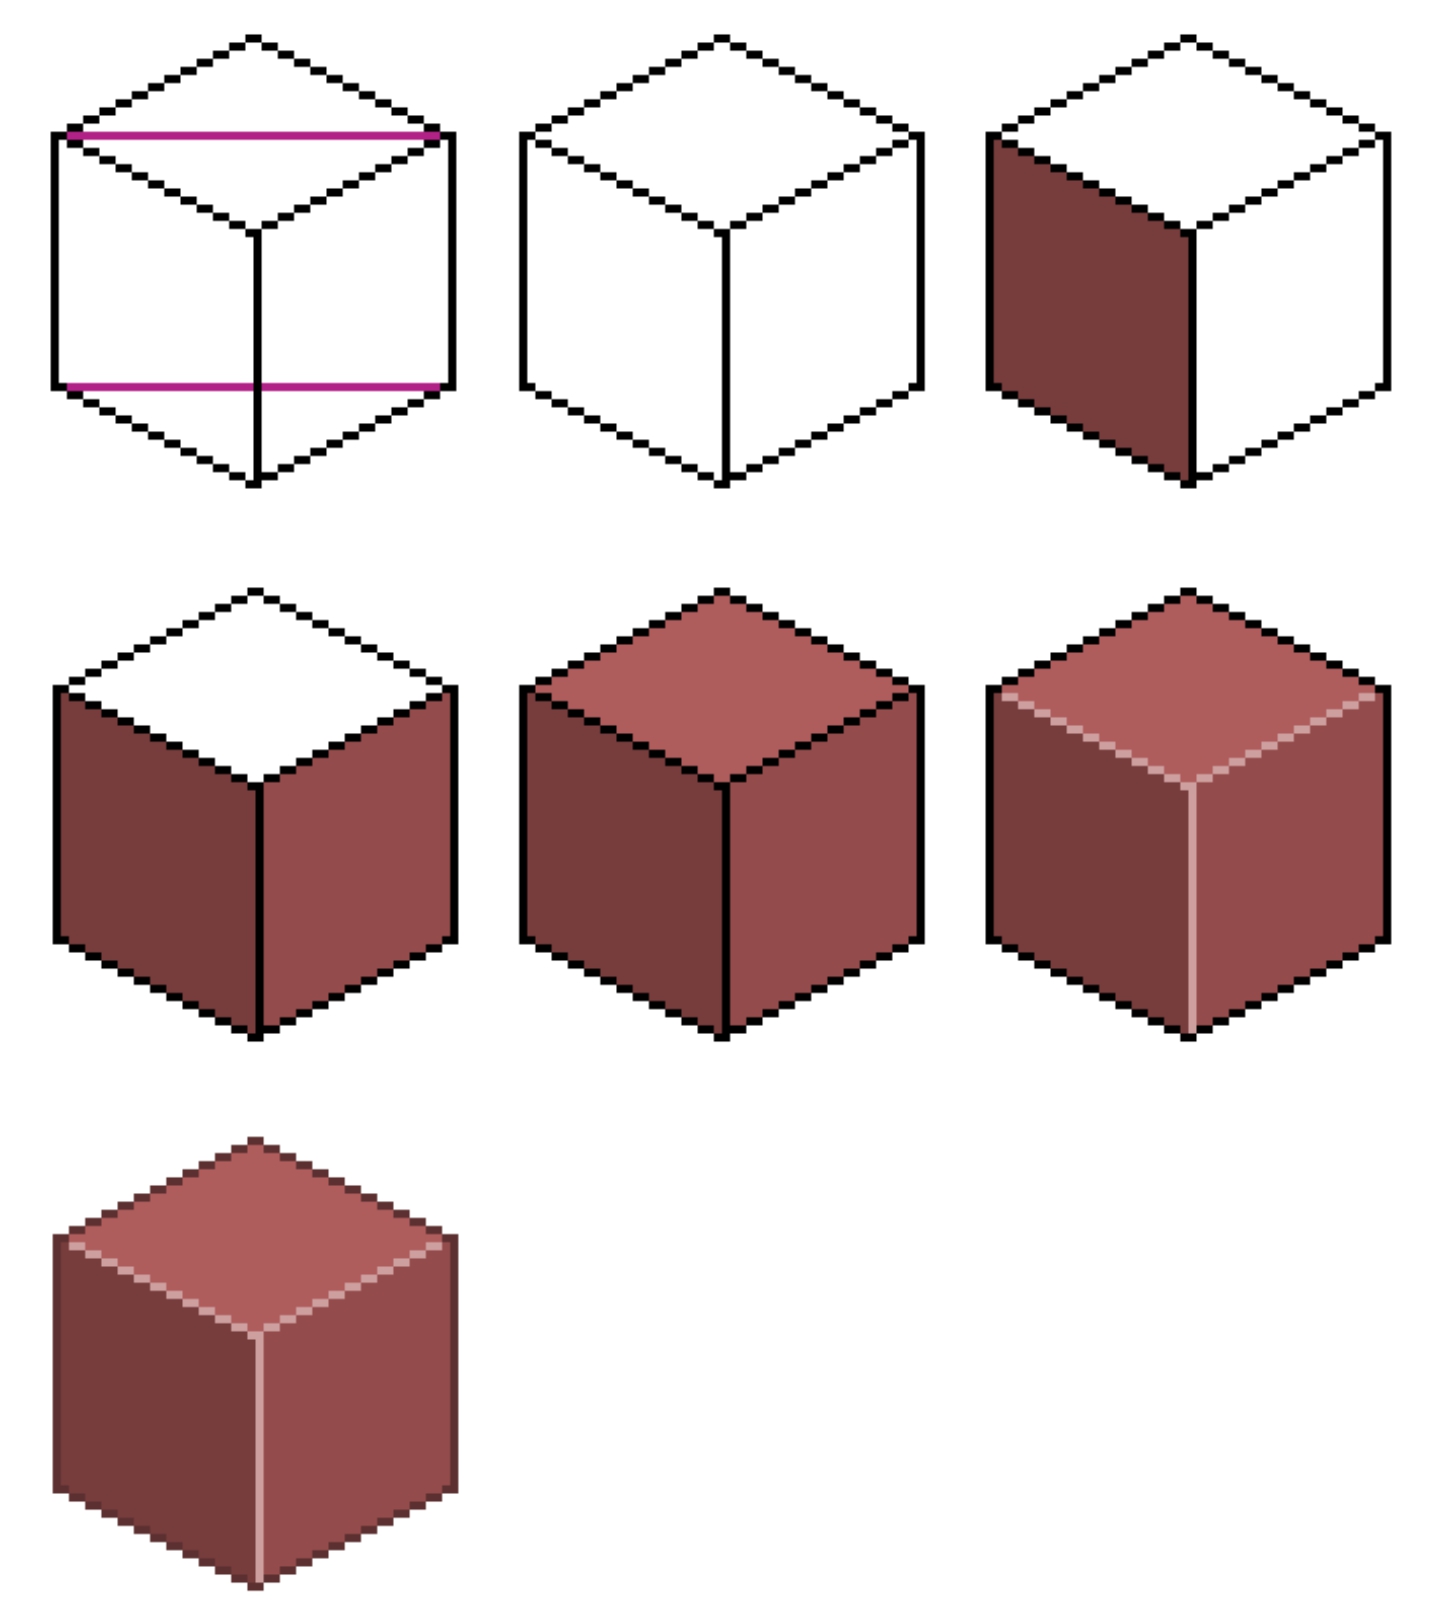
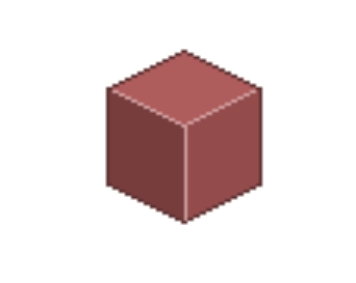
And the cube is done. As you can see I used 5 different colors. The darkest one is for the outside border and the lightest color is for the inner border. Now if you zoom the picture out as it should be then you should see something like this.
Difference between isometric and non-isometric
The title of this tutorial is quite long but the explanation between these two types of pixel art styles isn't. But since people ask this question constantly then I decided to do my best to explain you what it really means.
In short we can say that the main difference between these two types is that isometric pixel art follows the rules of isometric projection, or at least follows the idea of it, because some things are slightly modified. But if you don't know much about isometric projection, then it is also hard for you to understand what it really means.
When we google isomteric projection then Wikipedia gives us the definition that is:
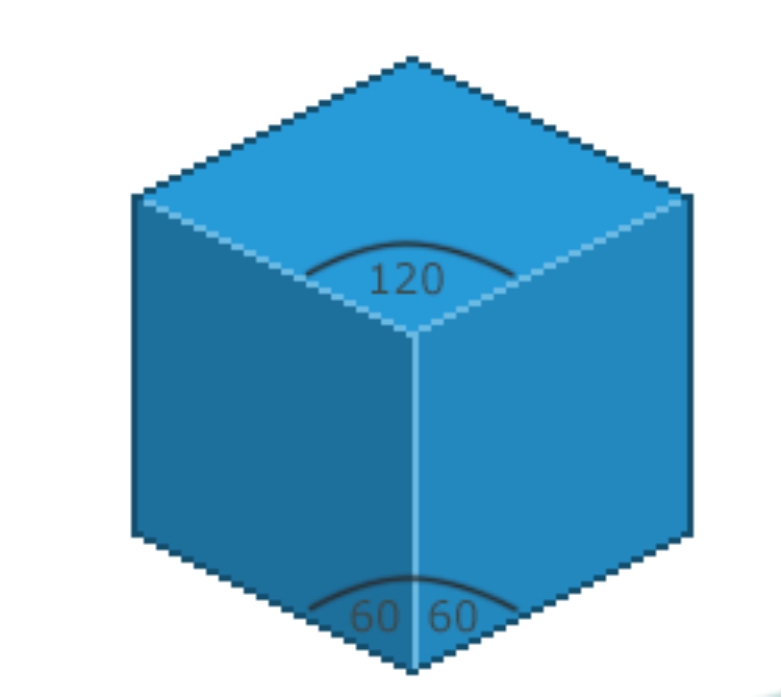
"Isometric projection is a method for visually representing three-dimensional objects in two dimensions in technical and engineering drawings. It is an axonometric projection in which the three coordinate axes appear equally foreshortened and the angles between any two of them are 120 degrees."
So what we can learn from this and put to pixel art is that isometric pixel art is always three-dimensional and it follows certain rules and angles.
As mentioned above then in theory the angles between any of the axes should be 120 degrees. As seen on the picture below.
But actually it isn't quite like so. The difference between real isometric object and isometric pixel art object comes from the angle of the line. When the angle of isometric object line should be 30 degrees then pixel art uses the angle of 26,56 degrees. And the reason behind this is actually quite simple: it is easier like this.
As you can see then the 30 degree line is quite hard to follow while the 26,56 line has a easy pattern that you can always make without any real problems. 2 pixels left/right and 1 pixel up/down, and that's pretty much it.
Therefor the angle between any of the two axes isn't actually 120 degrees either, but rather 116.565, 116.565, 126.87. Meaning that not even all the angles between any of the two axes are equal.
So what we have learned is that isometric pixel art:
1. is three-dimensional
2. Has a line angle of 26,56 degrees
With these two basic things we can create a isometric pixel art object.
Now you might think about these two points and get confused, saying that isometric pixel art can only produce cubes then. That's not true.
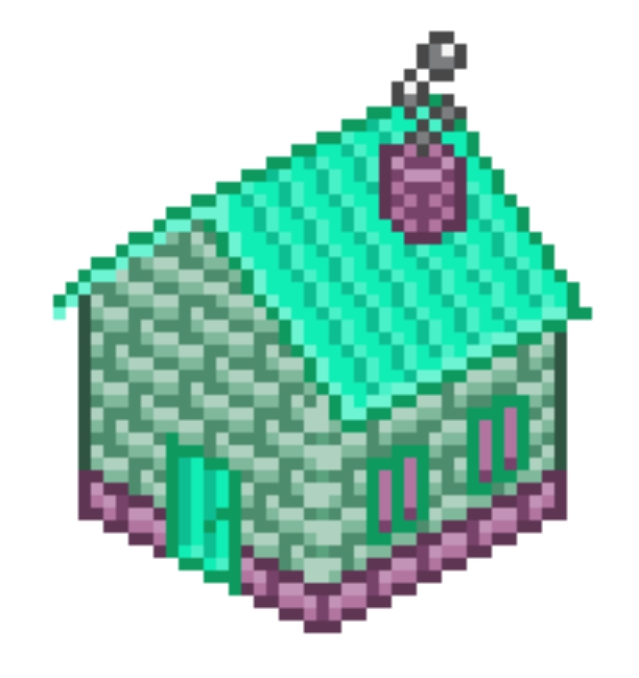
Isometric pixel art can be anything that follows these rules. In video games art and pixel art this three-dimensional view has also been described as 3/4 perspective. It means that as long as you make your pixel art in 3/4 perspective, you are still creating isometric pixel art.
Again, as you can see from the picture above then all of the lines aren't 26,56 degrees at all or even close to it, but it does follow the rules of 3/4 perspective, meaning that it is still considered as isometric pixel art. Same applies to round objects.
So in short isometric pixel art is three-dimensional with a default line angle of 26,56 degrees and it follows the rules of 3/4 perspective.
Non-isometric pixel art is basically everything else that often times can also look three-dimensional but isn't isometric.
I know that I could talk a bit more about non-isometric pixel art but the idea behind these two types is actually quite simple and once you understand what isometric pixel art is then you will also automatically understand non-isometric pixel art.
I hope this tutorial/article explained some of the basic things about this topic to you.
How to make round objects in pixel art
After taking some requests I decided that this time we will learn how to make round objects in pixel art.
Round objects in my opinion can be one of the hardest things to do in pixel art and even more if you want to do it in isometric style. Main reason behind this is that you got to have a right angle for it to look like isometric. And making a round object is different every time, depending on how big you want it to have.


