Contents
Guide
Mini Patchwork Projects
6 sewing projects for the contemporary crafter
Beth Studley

Introduction
A little of what you fancy
Sometimes I find I am in the mood to sew but dont want to work on a big project. Its great, every now and then, to start and finish a project before you even need a break. Mini projects such as the ones in this book are perfect as handmade gifts and all useful sewing accessories that you can just make for yourself. There is somewhere to keep your pins, and your needles, somewhere to hang up all your inspiration, a place to keep your notes and designs, storage for your bits and bobs and even somewhere to put your cup down.
The fabrics used are designed by me and are from my fourth collection for Makower, which is called Radiance. This is a collection that took its inspiration from antique lace and trimmings. You will be able to buy it in shops or online if you would like to use the same ones or there are a variety of pre-cut fabric sizes that would be ideal for many of the projects.
Each project uses patchwork or quilting or both, and ranges in difficulty from beginner to advanced. There are a variety of techniques throughout the projects, from basic patchwork, paper piecing, quilting, sewing darts, making binding and hand sewing. Each is in small doses so nothing will be too much to take on just get on and enjoy yourself!
Materials
The basic three
The main components of all quilting projects are your fabric, wadding and thread.
Fabric all the following projects use quilting weight cotton. This is generally available in a width of 44in (115cm). Mini projects such as these, that dont require large quantities, are fantastic for using pre-cuts. These are a way of buying fabric in smaller quantities that are pre-cut into shapes that are useful for quilting. For example strips or squares. Where relevant, projects in this book will state when standard pre-cuts, such as charm packs (5in squares) or Layer Cakes (10in squares), could be used.
Wadding (batting) natural fibre waddings are best. Select 100% cotton or a cotton-bamboo mix.
Thread use 100% cotton and select a good quality thread. This is particularly important for quilting where the stitches are visible and decorative.
Extras
Self-cover buttons these come in a variety of sizes and the back can vary between brands. They will always require you to cut a circle of fabric to cover a slightly curved base. Follow the instructions provided with the particular brand you have.
Standard buttons the choices here are endless so it is up to you which style you choose for your project. Pick one that compliments the fabric you are using and does not over power it.
Magnets the size used in the Picture Gardland project is in (2cm). You could use different sized or shaped magnets but you may need to adjust the width of the holders accordingly.
Embroidery thread I use 100% cotton thread in my work. There are many brands of embroidery thread these days that vary in price and are available in hundreds of colours.
Felt I have used a lightweight acrylic felt as I happened to have some of this in my craft room! It comes in a wide variety of colours. Wool felt which is slightly heavier and more natural looking would also look great.
Sewing Kit
Pins you will need to use pins for most of the projects in this book. I really recommend you invest in some good quality ones. Often cheap pins are not completely smooth. Even the slightest irregularity can cause a snag in the fabric or just simply make it hard to insert. Specialist quilting pins tend to be longer, sharper and smooth. You also want to choose glass headed ones as they will not melt if you go over them with the iron.
Scissors you will need both fabric and paper scissors.
Rotary cutting equipment rotary cutter, self-healing mat and ruler. Rotary cutting is a quick and accurate way of cutting fabric. It is the most common way of cutting strips and shapes in quilting. It allows you to cut more than one layer of fabric at a time with ease, and also to cut a variety of shapes and angles easily. There are many tutorials to be found online if you would like more instruction on how to do this.
Iron You don't need a special iron but do always make sure its clean if you are going to use it for your sewing projects. I always use steam to help press things neatly.
Sewing machine all the projects are written assuming a sewing machine will be used. If you are sewing by hand some aspects of the projects will need to be adapted accordingly.
Seam ripper this is helpful if you make a mistake and need to unpick a seam. But it can also be a useful tool to cut threads.
Turning tool you will need a blunt pointed tool like a knitting needle or BBQ skewer to help you when turning things right side out.
Picture Garland
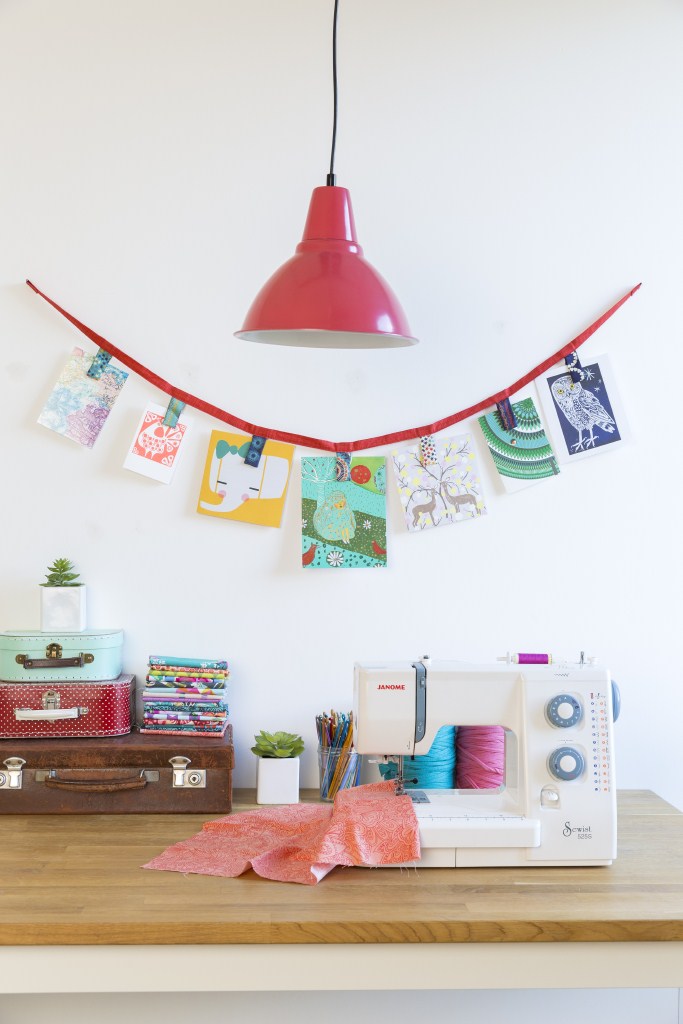
Heres a neat little trick for displaying some of your favourite images so that you can have them festooning your creative corner, to inspire you or just cheer you up. Its a great way to keep notes or fabric samples in reach too, and its really easy to make. You will wonder why you hadnt thought of it already!
Experience level: beginner
Techniques needed: rotary cutting
You will need
- Fabric 1, 3 x 6in (7.5 x 15cm)
- Fabric 2, 3 x 6in (7.5 x 15cm)
- Fabric 3, 3 x 6in (7.5 x 15cm)
- Fabric 4, 3 x 6in (7.5 x 15cm)
- Fabric 5, 3 x 6in (7.5 x 15cm)
- Fabric 6, 3 x 6in (7.5 x 15cm)
- Fabric 7, 3 x 6in (7.5 x 15cm)
- Fabric 8, 27 x 4in (69 x 10cm)
- 14 magnets, 2cm (in) You could use different size or shape magnets but you may need to adjust the width of the holders accordingly.
- Co-ordinating thread
- Sewing kit (see Materials)
- Turning tool (such as a knitting needle)
Notes
All seam allowances are in (5mm) unless otherwise stated.
WS = wrong side(s)
RS = right side(s)
Make the magnetic holders
1. Cut each of the 3 x 6in (7.5 x 15cm) pieces into four pieces measuring 3 x 1in. Separate them into pairs and place RS together, lining up the edges. You will have 14 pairs.
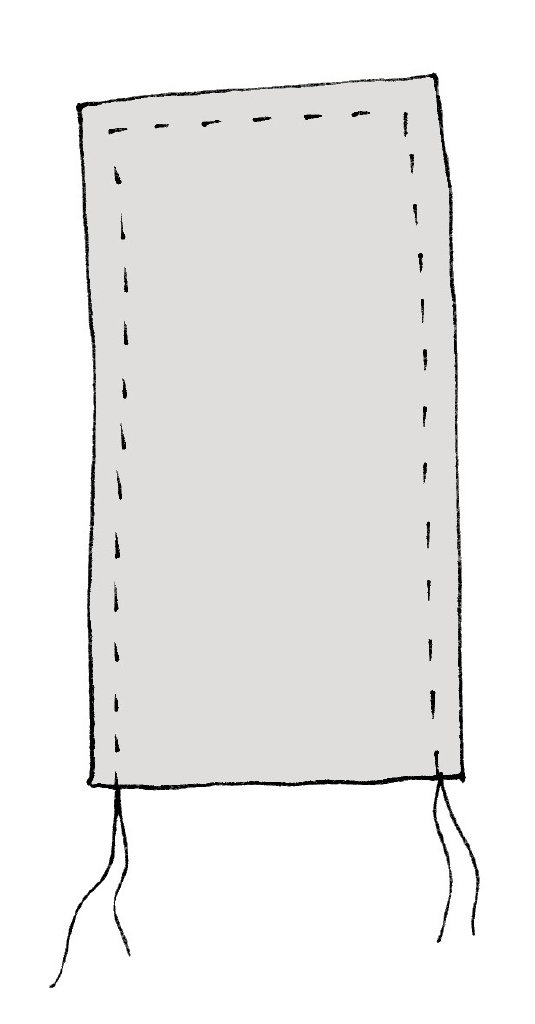
2. Sew each pair together around three sides to create a pocket (see fig 1).
Figure 1
3. Trim the seams back to in (3mm) and turn RS out. Use a blunt pointy tool like a knitting needle to push right into the corners and press well. When all pieces have been sewn, insert a magnet into each pocket.
4. Pair them up, allowing the magnets to stick together, so you now have seven sets. Neaten them up so the edges match and trim any excess threads from the openings.


