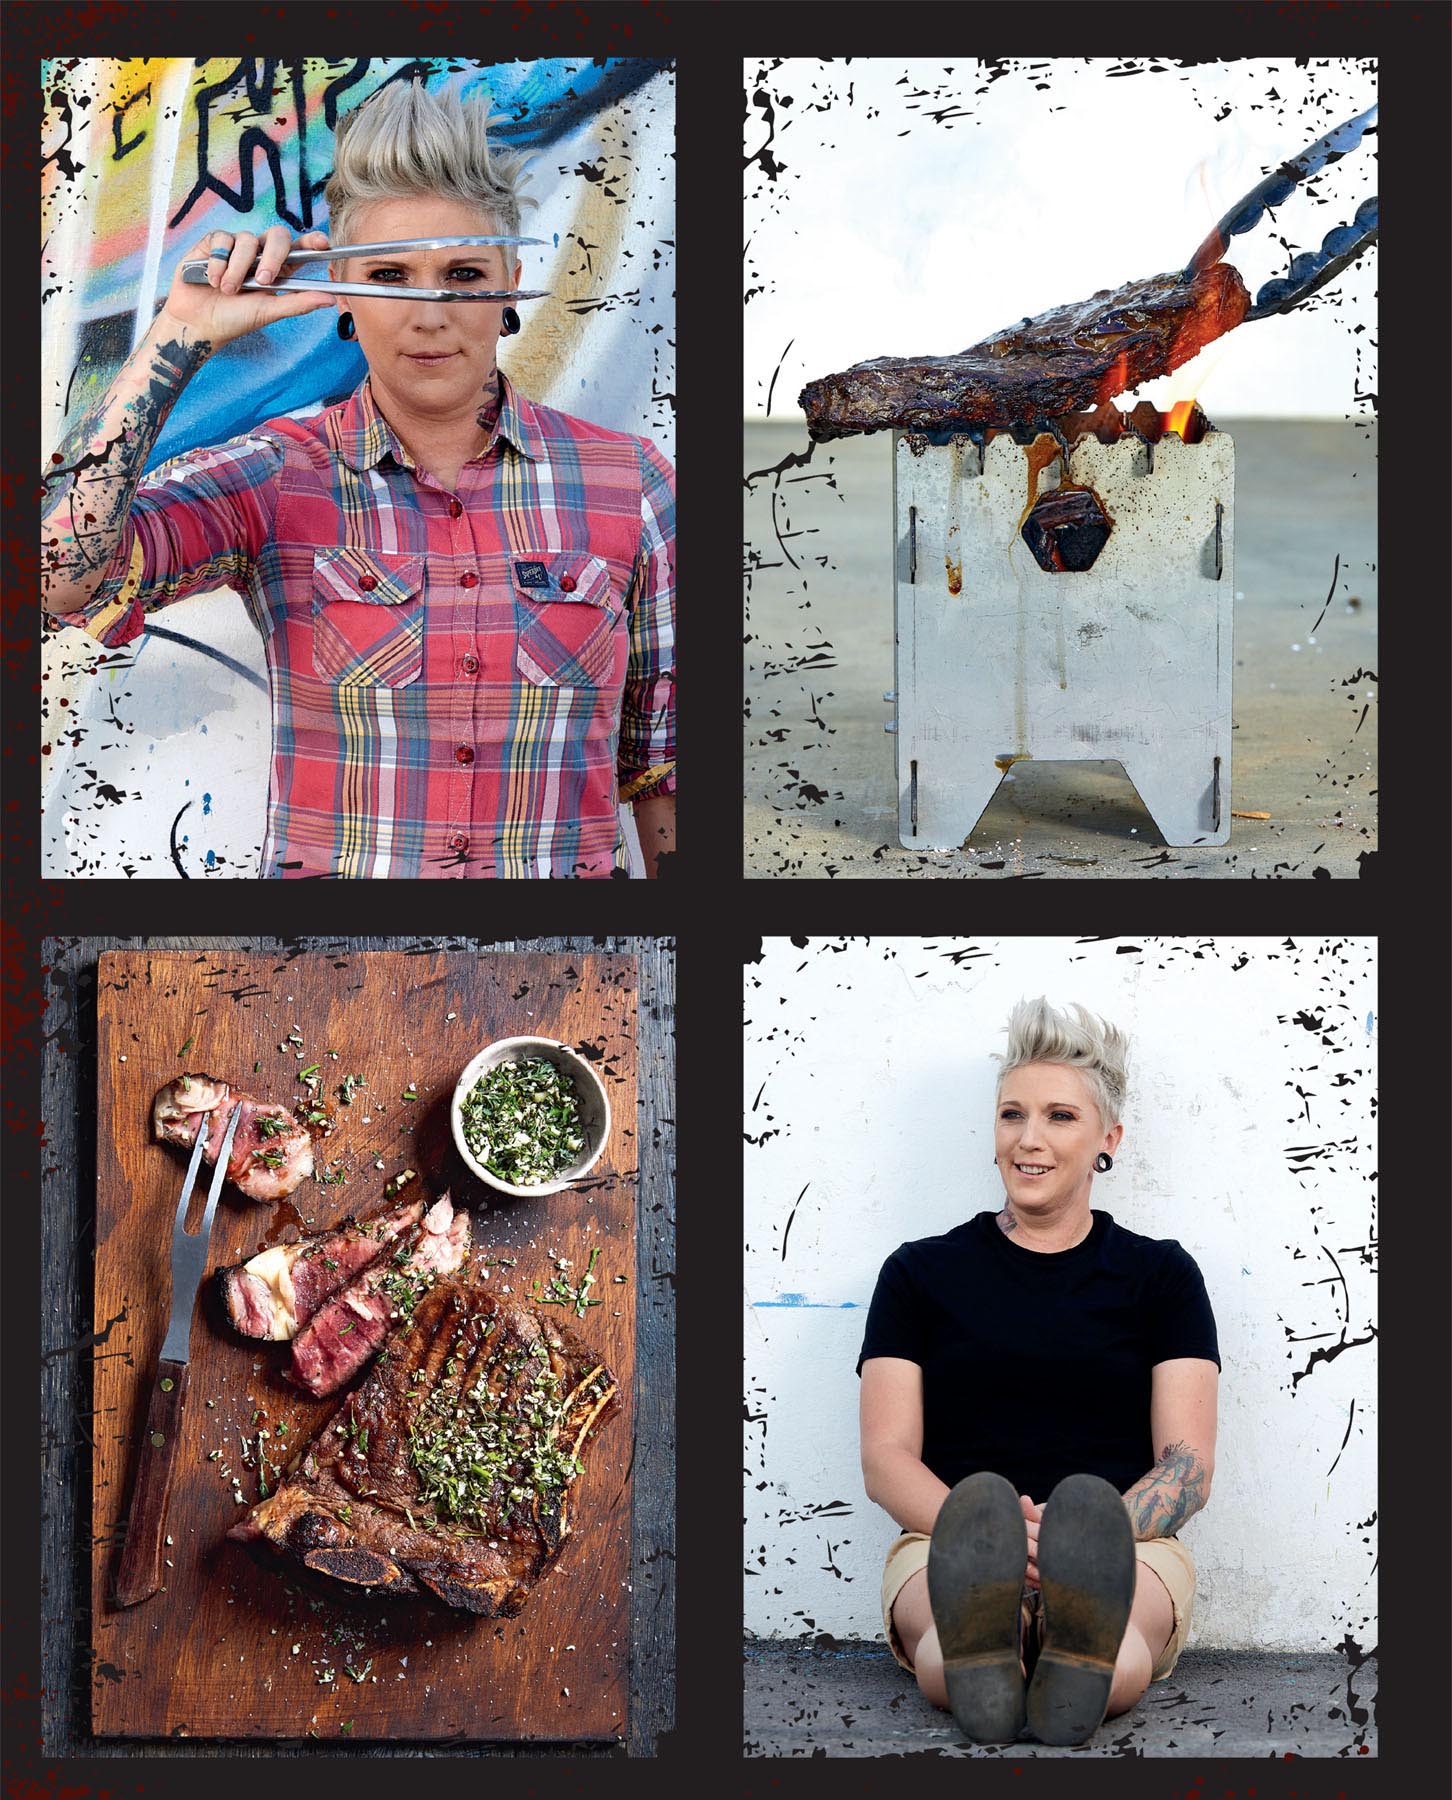
Contents
Guide
Thanks & acknowledgements Sarah, for taste-testing all the recipes and your unconditional support. Penny Newton-King for letting us use her beautiful home for the photos. Thanks to our main sponsor: Olof Bergh Thanks to the product sponsors: Made in the Karoo Thanks to the amazing team at Penguin: Bev, Randall, Cecilia, Sandra. The food stylists: Lisa Clark and Hayley for making my food look pretty. Photography team: Henk Hattingh and Leah for making the photos looks pretty. Mariaan Louw for making my face look pretty.
Thanks to the roosterkoek, I dont know where I would be without you. CONTENTS
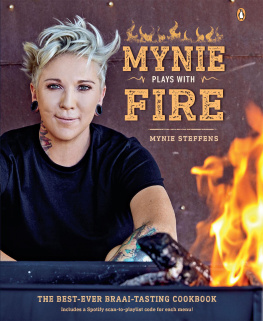
I am a self-proclaimed braai addict! To me, everything tastes so much better when its cooked over fire. Being outdoors and lighting a fire under the African sun equals happiness! Needless to say, I find any reason possible to organise an epic, all-day braai. My mum taught me how to cook
alikreukel (common periwinkle) in its shell on the fire at the age of eight. And as a 10-year-old, I spent holidays on my best friends farm. His dad would buy pork sausages and allow us to braai them ourselves.
Looking back, I suppose it was inevitable that Id develop this lifelong obsession with cooking on fire. In 2017 I did a travel and braai cooking show called Speel met Vuur, in the course of which I travelled to small South African towns, met quirky locals and braaied up a storm. Currently I cater for private braai events and I also host a braai experience on Airbnb in which international guests enjoy a braai-tasting menu extravaganza (although locals are just as welcome). Whenever I visit other countries, I love to try new foods. This is usually followed by thoughts of how I could recreate the dishes on the braai. Naturally a very active person, I get bored quickly.
Im not a big fan of tradition in general, and dislike some of the traditional methods of braaiing food; theres nothing worse than having to work your way through a huge plate of overcooked, tough and reheated meat. All of these factors combined to inspire me to write this book. I hope you enjoy it as much as I enjoyed creating it. NAVIGATING THIS BOOK Each chapter represents a tasting menu of seven courses. The recipes are sufficient for six people (unless otherwise stated), as tasting portions, so if you want to make a full meal out of a recipe, I suggest tripling the ingredients. Each menu is carefully planned in terms of variety, different colours, textures, flavours and plating.
If there is a recipe that you find less appealing (although Im sure youll want to make them all), simply swop it for another or just leave it out. There are no rules other than having an epic, fun, enjoyable braai experience! And to round off the menu, I have included dedicated music playlists to ensure that your hearing sense isnt neglected either. To access the playlists, download the Spotify app. Once you have registered, go to the search option. To the right of the search bar is the camera icon; click on it. Allow the app access to your camera.
Now scan the playlist code icon. At the beginning of each menu I share tips on preparation to keep things as simple and seamless as possible. Always start your fire at least one hour before guests arrive, unless stated otherwise. Ensure that there are two small plates and two sets of knives and forks per person; this way you wont need to clean cutlery midway through the braai. Ill give an indication on the amount of charcoal necessary; its best to have two extra bags on hand, just in case the party goes on longer than expected. Usually, the entire braai tasting experience takes about four hours, if courses are served 30 minutes apart.
But dont get too hung up on timing. Your guests are going to be blown away, so theyll probably want to drag the experience out for as long as possible. Many of the recipes can be prepped in advance, allowing you time with your guests. But if you need a handy escape occasionally from tricky or boring conversations, save some prep work for later to give yourself an excuse to slip away. Try to find the most eco-friendly containers and recyclable wrapping, but be warned, aluminium foil isnt as environmentally friendly as you may think. Do some research on this.
Support local, free-range farmers and sustainable fish products. And if preparation isnt your favourite thing, involve the guests in the prep. Its a great ice breaker. WOOD, CHARCOAL AND BRIQUETTES Personally, I keep all wood, charcoal and briquettes at the ready when I braai, because sometimes it may be difficult to find proper braai wood. Wood-sellers on the street might sell you wet wood, promising that its as dry as the Sahara desert, so a few bags of charcoal or briquettes will save the day in case this happens. Wood is great for giving everything that smoky flavour and aroma (including my hair).
A steak tastes so much better if it has been kissed by the flames instead of just being cooked on coals. Wood creates a wonderful ambience, is a source of light if the party carries on into the night and serves as a quick fire-starter for charcoal and briquettes. Hardwood creates the best coals for braaiing and can reach and retain a high temperature. Typically, hardwood is a heavy wood with a dark brown or reddish colour. The lighter the wood in weight and colour, the faster it will burn out, which makes it less desirable for braaiing. Briquettes are basically wood offcuts or by-products, mixed with additives and tightly compressed.
They take a bit longer to get up to temperature than charcoal, but retain the heat much longer. Briquettes are perfect for use with a Weber-type braai when doing indirect cooking with the lid on. For the purposes of this book, briquettes will mostly be used as a steady, reliable heat source throughout the braai. Charcoal is formed by burning small pieces of wood slowly until all the moisture in them is gone. It lights faster and burns hotter than briquettes. I like to braai steak on a combination of charcoal and wood.
Consider charcoal as your get-out-of-jail-free card if you have been too focused on the wine and forgotten to keep the fire going. Youll notice that many of the stated braai temperatures in this book are for medium-hot or very hot coals. So, each time you complete a course, add another layer (approximately a quarter of a bag) of charcoal to maintain sufficient heat for the next course. Its always useful to keep an additional fire going (whether its in one of those small cheapies for flat balconies, a Weber, or on the side of your 7-metre self-built braai) because theres nothing worse than running out of coals with hungry guests waiting. BUILDING A FIRE Wood: Use a combination of the blockhouse and tepee method. Place two pieces of firelighter (such as Blitz, but there are other brands) on the braai area.
Find six to eight small pieces of wood of similar size and shape, and pack two pieces of wood lengthwise, then place another two pieces over them crosswise, to create a square, box shape, with the firelighters in the middle. Repeat with the rest of the wood. Light the firelighters. Place four more pieces of firelighter at the corners of your box and light them. Now place six larger pieces of wood against the box, to create a tepee tent shape. This will provide enough ventilation and ensure even flame distribution to get the fire going.
Next page
