Publisher: Amy Marson Creative Director: Gailen Runge Acquisitions Editor: Roxane Cerda Managing/Developmental Editor: Liz Aneloski Pattern Writer: Debbie Rodgers Technical Editor: Julie Waldman Cover/Book Designer: April Mostek Production Coordinator/Illustrator: Tim Manibusan Production Editor: Alice Mace Nakanishi Photo Assistant: Rachel Holmes Photography by Kelly Burgoyne of C&T Publishing, Inc., unless otherwise noted Published by C&T Publishing, Inc., P.O. Box 1456, Lafayette, CA 94549 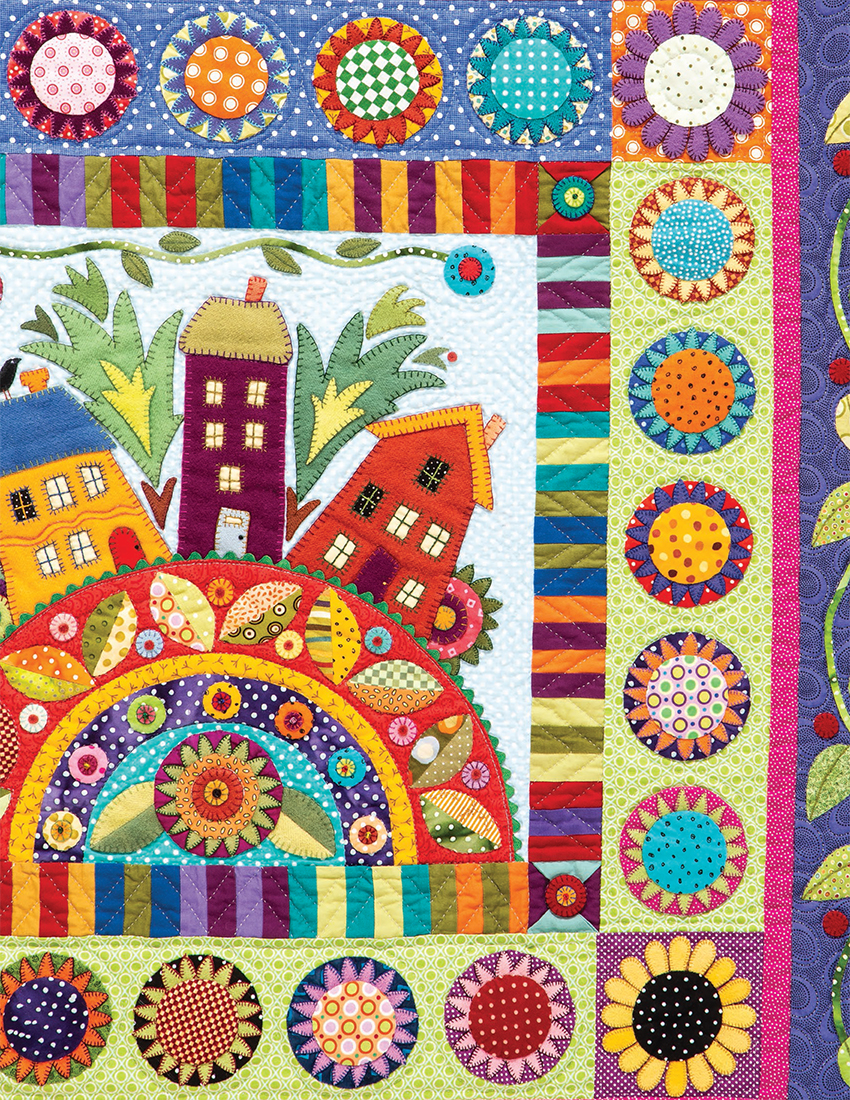 Just a Guide I call this just a guide because I know there are many ways to achieve the same effect. This is the way that I do it. I dye most of my own wool, but I also like the challenge of finding a great wool skirt at a thrift store or a garage sale and giving it a new purpose. Make sure the garment has a 100% wool tag on it. You can easily find felted wool on the internet and in local quilt shops.
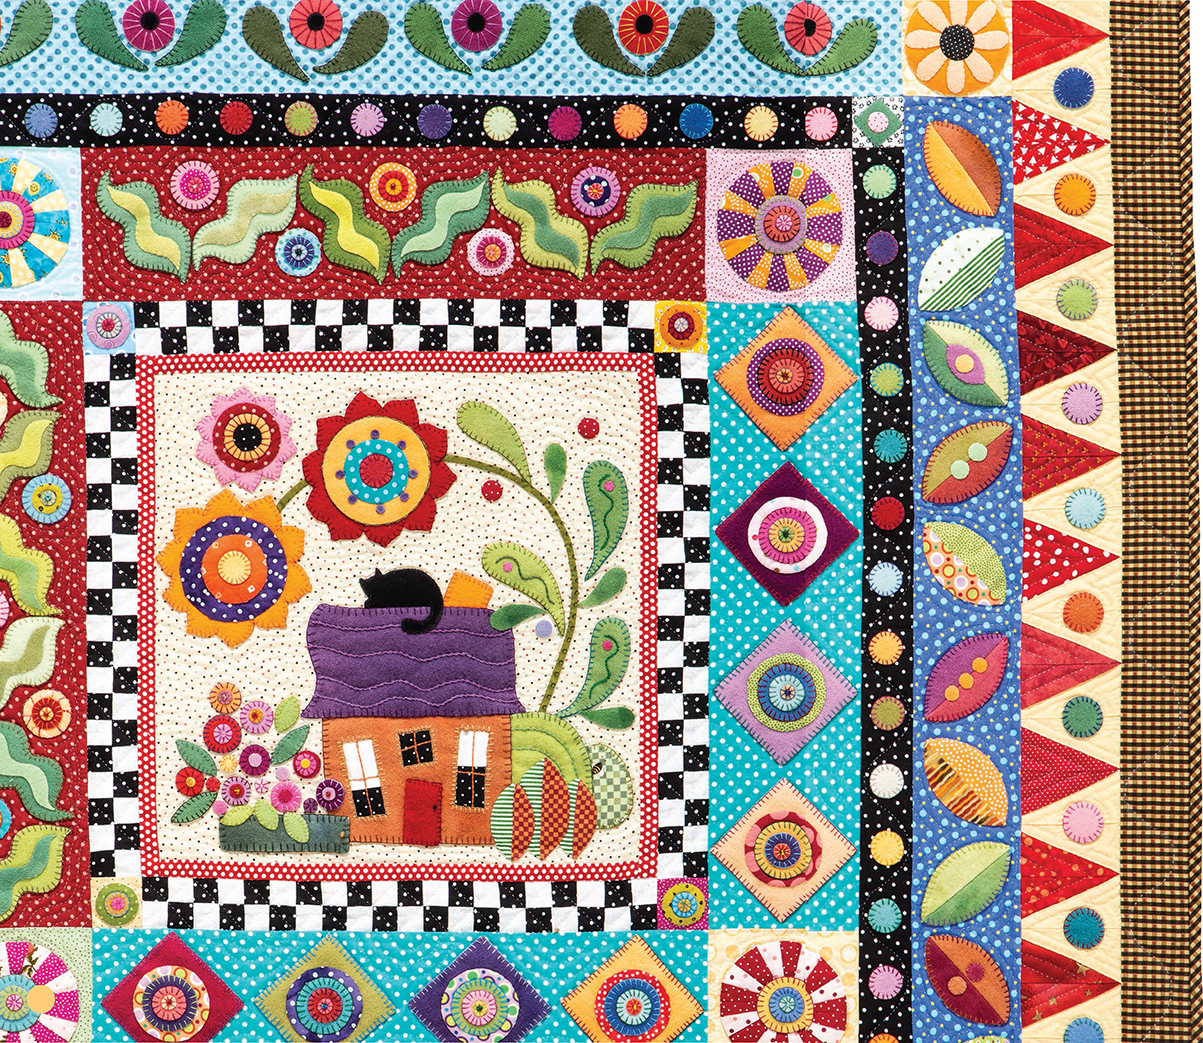
For the cotton fabrics, I use all sorts of quilting-weight prints and solids. If you dont have your own scrap bins, make friends with some quilters who have a surplus! 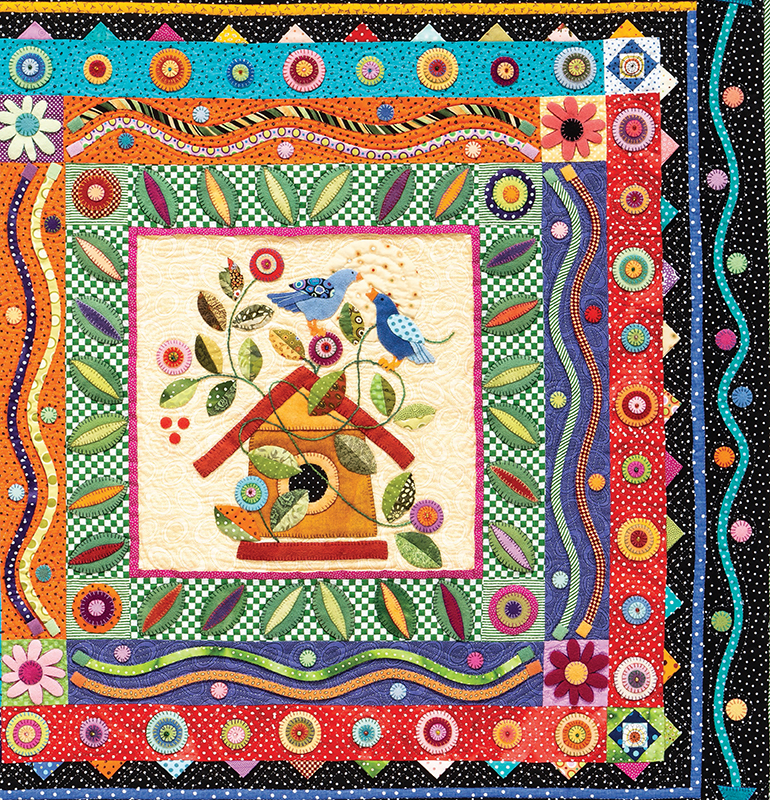 NOTESOverlapping patterns I drew the patterns as the appliqu appears, not showing the hidden layers. If one shape appears to end under the edge of another, then add an extension to the shape thats behind the other, so it will underlap it. If the pieces appear layered, such as a flower center, dont cut away the area behind the top pieces. When you stack the shapes, the layering will add depth to your finished appliqu. Making the Center Block
 Tape the center block pattern sections together if needed. Making the Center Block
 Tape the center block pattern sections together if needed.
With a black permanent-ink pen (I like Sharpies.), trace the design in each block on something that you can see through (such as Premium Clear Vinyl, by C&T Publishing; transparency film; clear sheet protectors; or whatever works). A rough tracing is fine. Its just to help you with the placement of pieces later on. To help organize the pieces, label each shape with a letter. Set this tracing aside. Trace the image again, on a lightbox or a sunny window, with a disappearing-ink pen, onto the fabric that you want to use as background for the center block.
Cut the fabric 12 bigger than the image. (I use a Dritz disappearing-ink marking pen.) 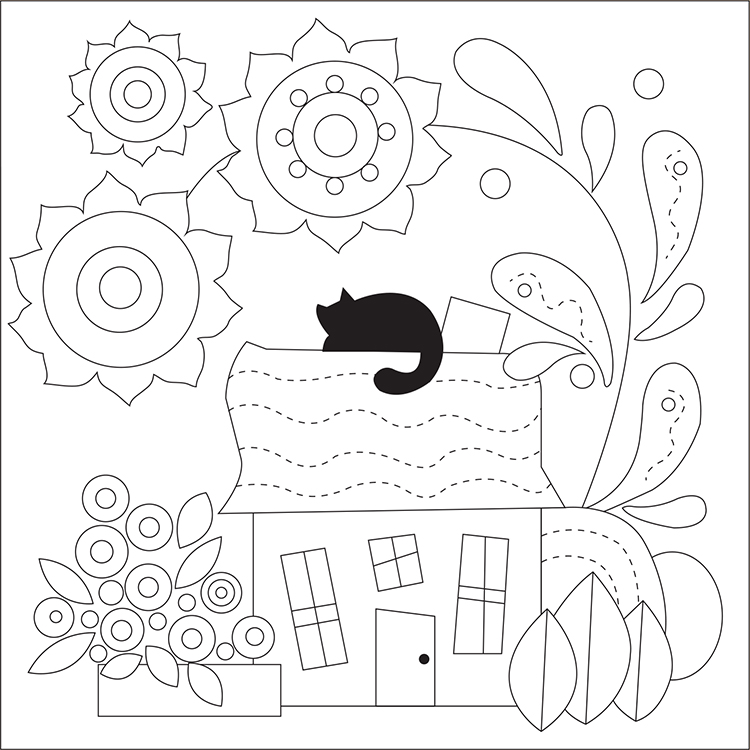 Transparent overlay Go back to the original pattern and trace each shape onto freezer paper, spacing them about 1 apart . Give each shape the same letter that you gave it on the clear overlay. Now youre ready to iron each shape onto a wool or cotton square or scrap.
 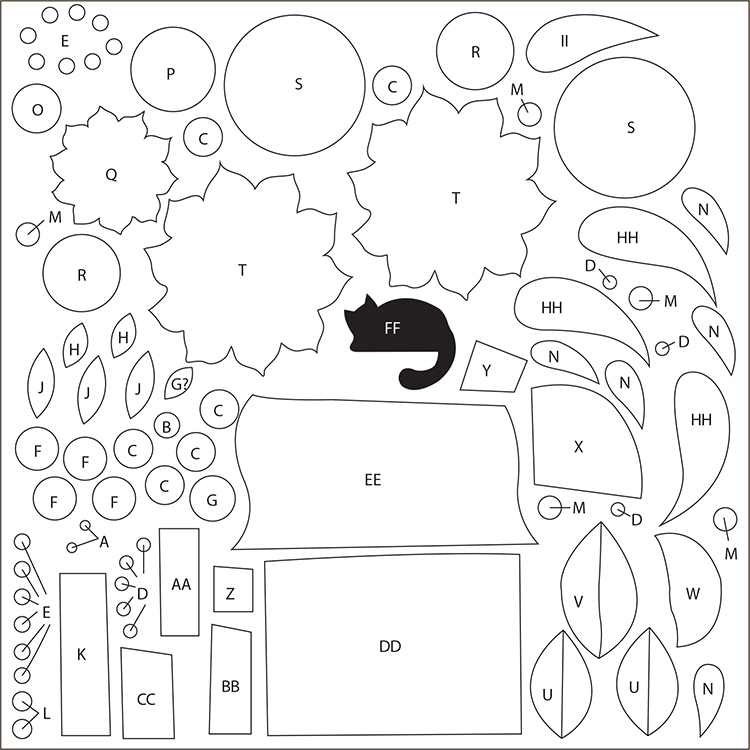 Freezer paper Cut out a freezer-paper shape, about outside the drawn line, and iron it to the fabric you want to use. (I baste through the freezer paper and fabric, iron it all down, and then take the basting stitches out before I appliqu the piece down.) For wool, cut the freezer paper and wool together, on the line you drew. (I baste through the freezer paper and fabric, iron it all down, and then take the basting stitches out before I appliqu the piece down.) For wool, cut the freezer paper and wool together, on the line you drew.
Keep the freezer paper in place until youve completed Step 6. 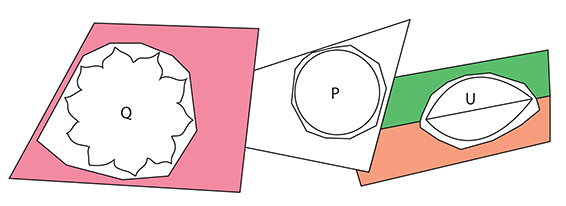 Cut pieces. Place the cut piece on the background under the overlay, where indicated. Staple or pin the piece to the background. Continue until each shape is in place.
 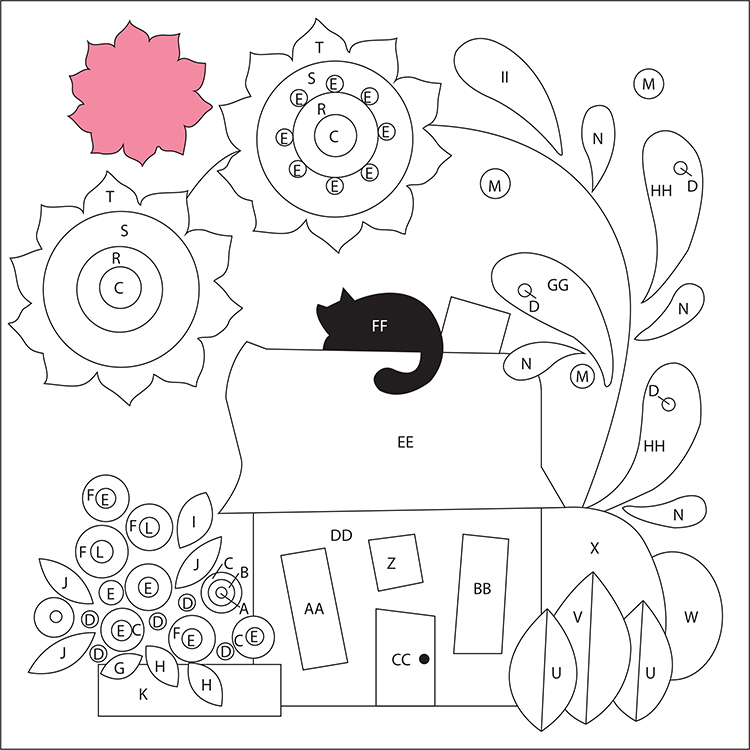 Check placement.
After all the pieces are stapled or pinned in place, remove the overlay and trace around each raw edge of wool with Fray Check. Let the Fray Check dry completely it will take about an hour. The edges will be stiff when they dry, making them easier to stitch around. The Fray Check irons out. Work from the bottom layer of appliqu pieces to the top. Stitch each cotton piece, turning under the seam allowance and using a small blind hem stitch.
Stitch each wool piece to the background with 1 strand of matching embroidery floss or thread, using a whipstitch. Remove the staple or pin, and then blanket stitch around the edges of the wool pieces with 2 strands of contrasting-color embroidery floss. 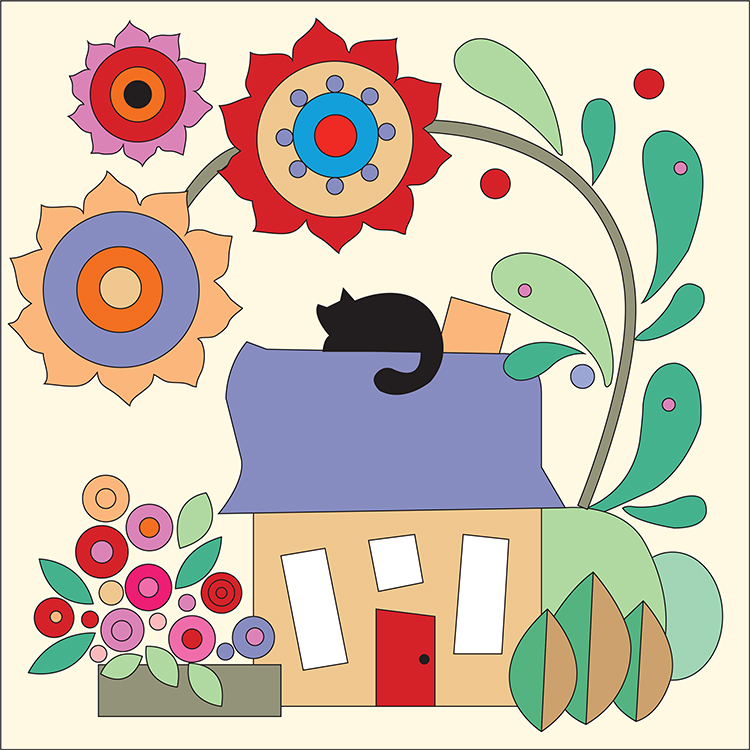 Completed block
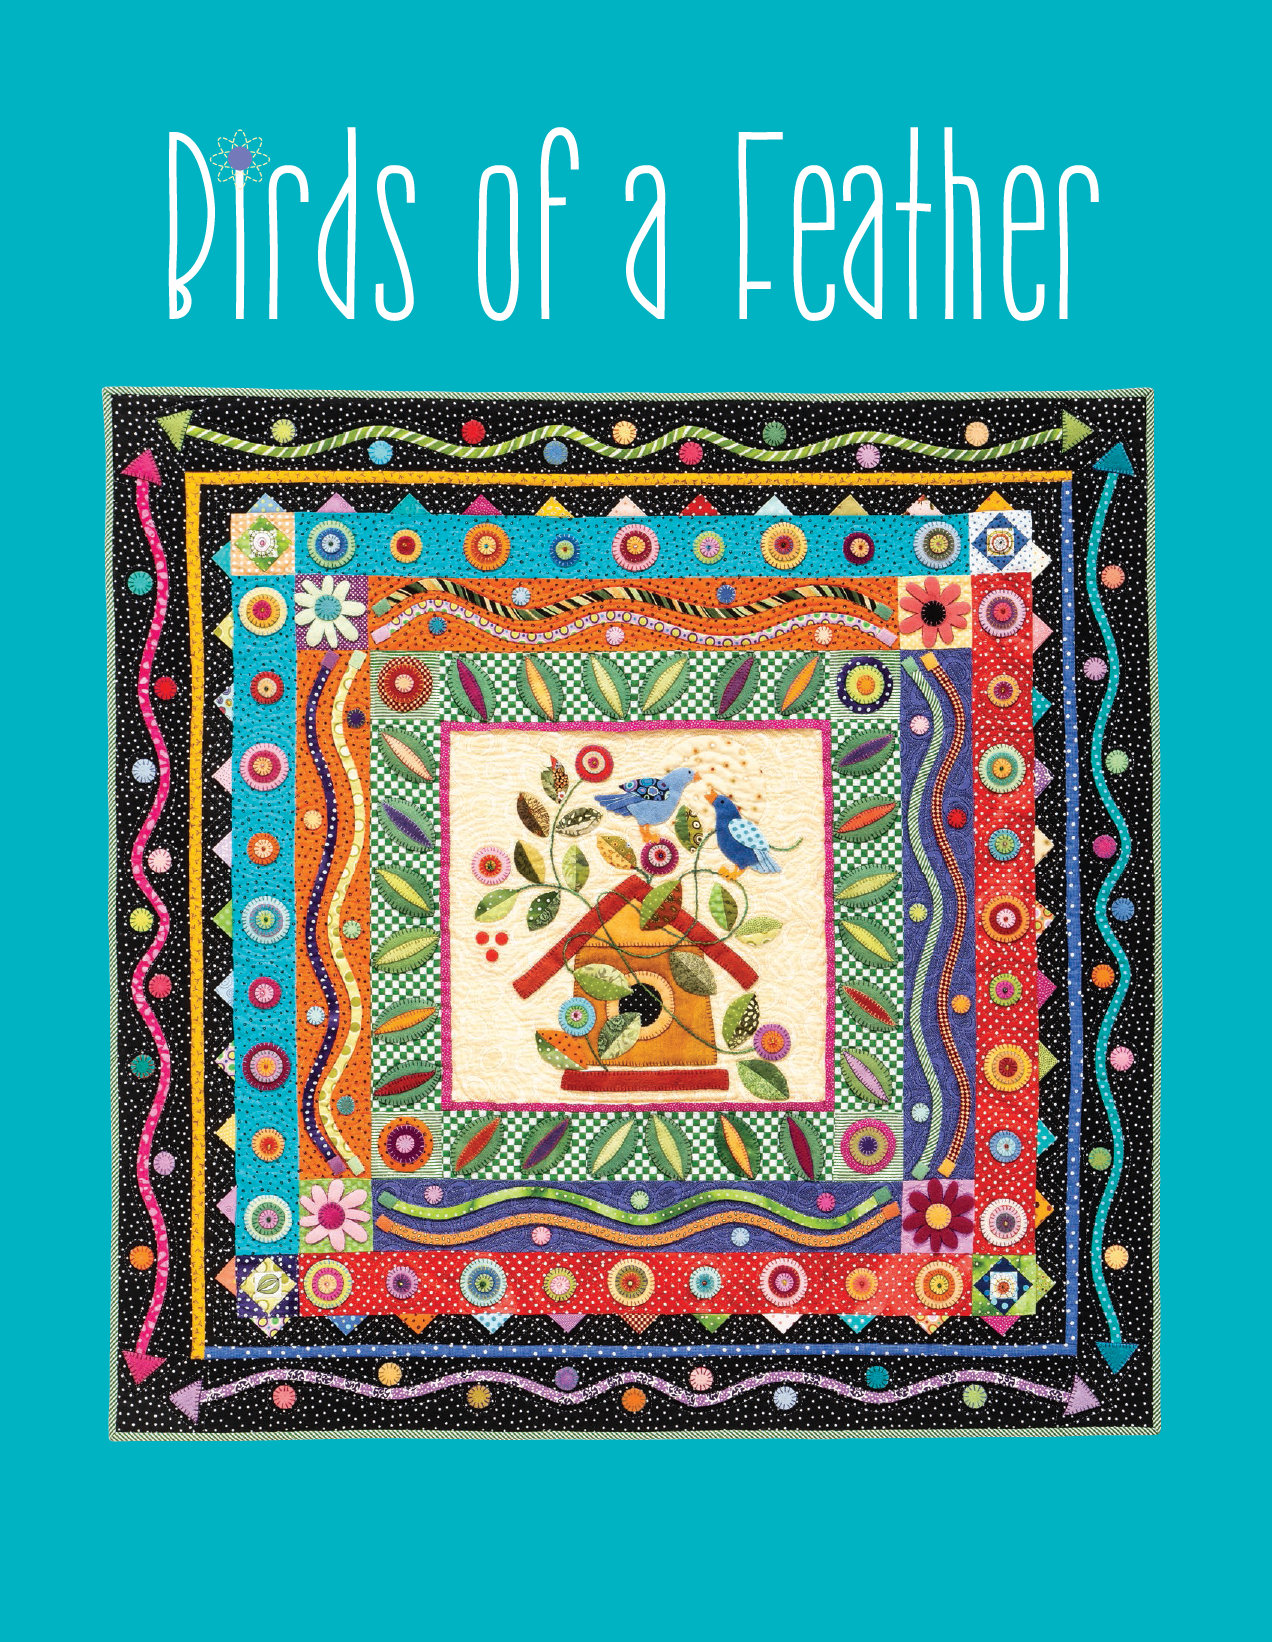 Making the QuiltHeres What Youll Need to Know The finished size of the quilt is 42 42. The center block is 16 16. MaterialsAll fabric is 100% cotton unless otherwise noted. Fabric amounts are based on 40-wide fabric. yard yellow for center yard magenta for flat piping yard green checkerboard for border 1 1 yard green stripe for border 1 cornerstones and bias binding yard each of orange and purple for border 2 yard each of turquoise and red for border 3 yard black dot for borders 4 and 6 yard each of blue and gold for border 5 1 yards cotton scraps for birds, flowers, leaves, cornerstones, circles, prairie points, and vines yard 100% wool scraps for birdhouse, flowers, leaves, and circles 2 yards for backing Perle cotton needlework thread Embroidery floss Size 08/0 seed beads Freezer paper Fray Check Stapler and staples, or pins 50 50 batting
 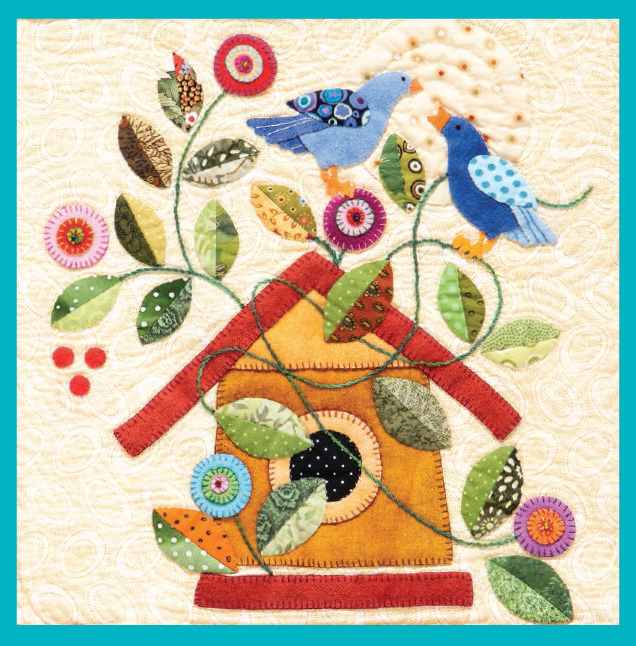 APPLIQU NOTESCenter The birdhouse, flowers, bird bodies, beaks, and legs are wool.
The leaves and bird wings are cotton prints. Each leaf is 2 different fabrics. The circle in the birdhouse is cut out and black cotton fabric is behind it. The flowers have a bead in the center. The stems are done in perle cotton needlework thread with a stem stitch. Border 2 The vines are cotton with wool ends. Border 2 The vines are cotton with wool ends.
The dots and the cornerstone flowers are wool. Border 3 The circles are wool and include a bead in the center. Border 6 The vines are cotton. The arrowheads and circles are wool. CuttingYellow Cut 1 square 18 18 for center block. Green checkerboard Cut 4 strips 3 16 for border 1. Green stripe Cut bias strips to make 2 180 for binding. Green stripe Cut bias strips to make 2 180 for binding.
Cut 4 squares 3 3 for border 1 cornerstones. Orange Cut 2 strips 3 22 for top and left side border 2.
Next page
 Just a Guide I call this just a guide because I know there are many ways to achieve the same effect. This is the way that I do it. I dye most of my own wool, but I also like the challenge of finding a great wool skirt at a thrift store or a garage sale and giving it a new purpose. Make sure the garment has a 100% wool tag on it. You can easily find felted wool on the internet and in local quilt shops.
 NOTESOverlapping patterns I drew the patterns as the appliqu appears, not showing the hidden layers. If one shape appears to end under the edge of another, then add an extension to the shape thats behind the other, so it will underlap it. If the pieces appear layered, such as a flower center, dont cut away the area behind the top pieces. When you stack the shapes, the layering will add depth to your finished appliqu. Making the Center Block
 Tape the center block pattern sections together if needed. Making the Center Block
 Transparent overlay Go back to the original pattern and trace each shape onto freezer paper, spacing them about 1 apart . Give each shape the same letter that you gave it on the clear overlay. Now youre ready to iron each shape onto a wool or cotton square or scrap.
  Freezer paper Cut out a freezer-paper shape, about outside the drawn line, and iron it to the fabric you want to use. (I baste through the freezer paper and fabric, iron it all down, and then take the basting stitches out before I appliqu the piece down.) For wool, cut the freezer paper and wool together, on the line you drew. (I baste through the freezer paper and fabric, iron it all down, and then take the basting stitches out before I appliqu the piece down.) For wool, cut the freezer paper and wool together, on the line you drew.
 Cut pieces. Place the cut piece on the background under the overlay, where indicated. Staple or pin the piece to the background. Continue until each shape is in place.
  Check placement.
 Completed block
 Making the QuiltHeres What Youll Need to Know The finished size of the quilt is 42 42. The center block is 16 16. MaterialsAll fabric is 100% cotton unless otherwise noted. Fabric amounts are based on 40-wide fabric. yard yellow for center yard magenta for flat piping yard green checkerboard for border 1 1 yard green stripe for border 1 cornerstones and bias binding yard each of orange and purple for border 2 yard each of turquoise and red for border 3 yard black dot for borders 4 and 6 yard each of blue and gold for border 5 1 yards cotton scraps for birds, flowers, leaves, cornerstones, circles, prairie points, and vines yard 100% wool scraps for birdhouse, flowers, leaves, and circles 2 yards for backing Perle cotton needlework thread Embroidery floss Size 08/0 seed beads Freezer paper Fray Check Stapler and staples, or pins 50 50 batting
  APPLIQU NOTESCenter The birdhouse, flowers, bird bodies, beaks, and legs are wool.