Publisher: Amy Barrett-Daffin Creative Director: Gailen Runge Acquisitions Editor: Roxane Cerda Managing/Developmental Editor: Liz Aneloski Technical Editor: Helen Frost Cover/Book Designer: April Mostek Production Coordinator/Illustrator: Tim Manibusan Production Editor: Jennifer Warren Photo Assistant: Rachel Holmes Photography by Kelly Burgoyne of C&T Publishing, Inc., unless otherwise noted Published by C&T Publishing, Inc., P.O. Box 1456, Lafayette, CA 94549 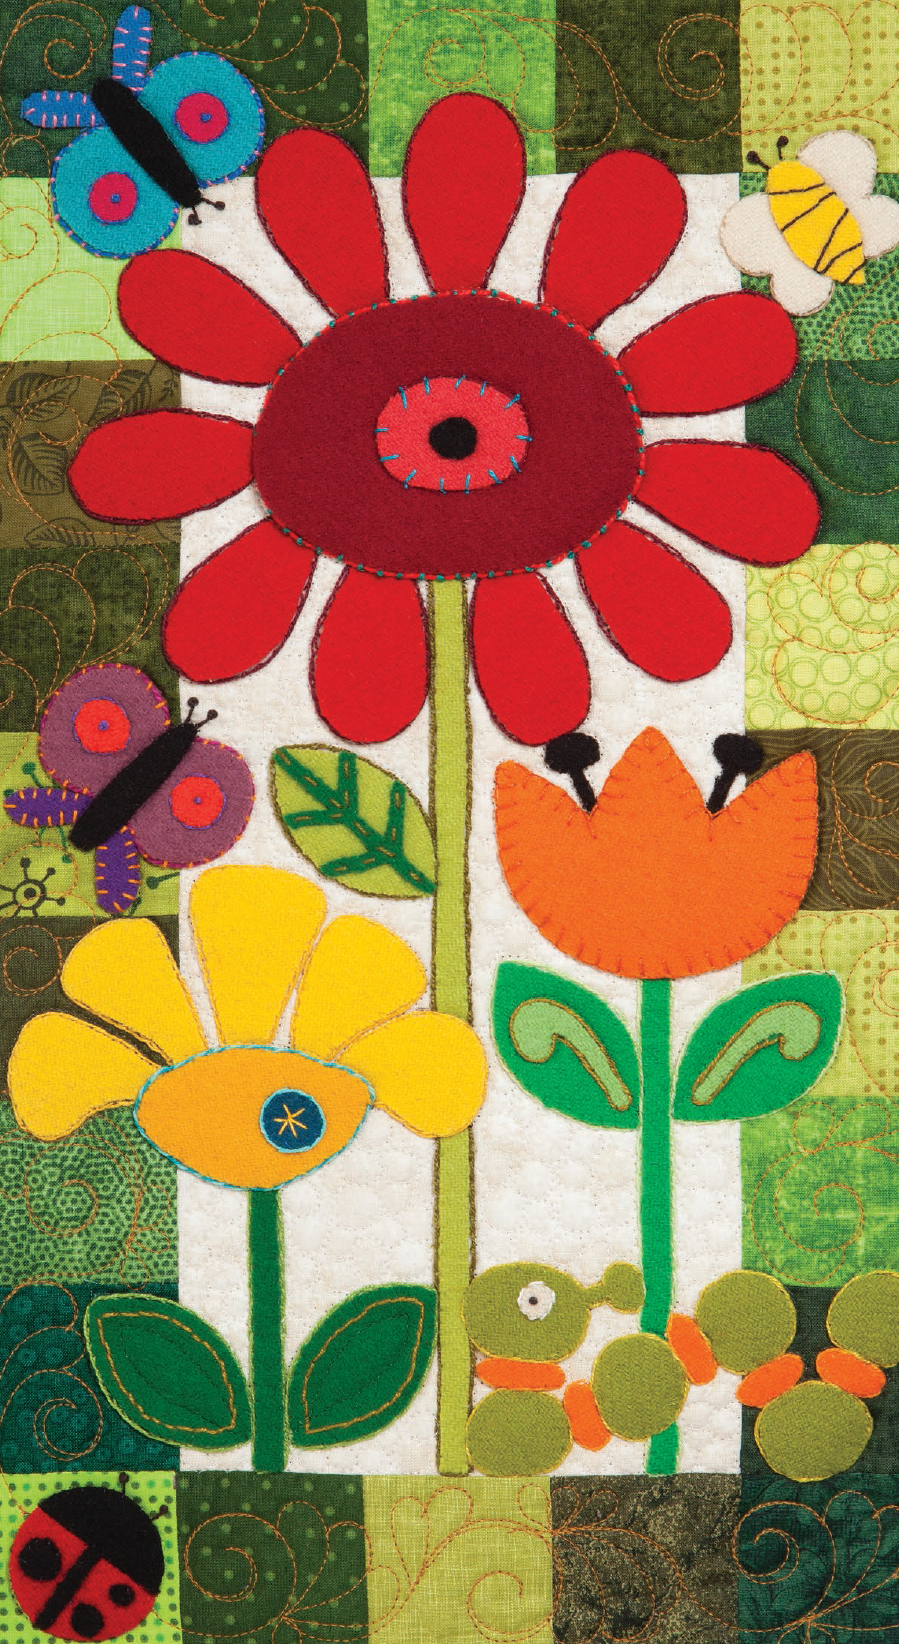 General Instructions for All Quilts Cut the appliqu background 6 14. Arrange and sew together 2 rows of 7 squares 2 2 for the 2 side borders. Press. Sew the 2 side borders to the background. Press toward the borders.
Arrange and sew together 2 rows of 5 squares 2 2 for the top and bottom borders. Press. Sew the top and bottom borders to the background. Press toward the borders. Note: See individual project instructions for any exception to the above. 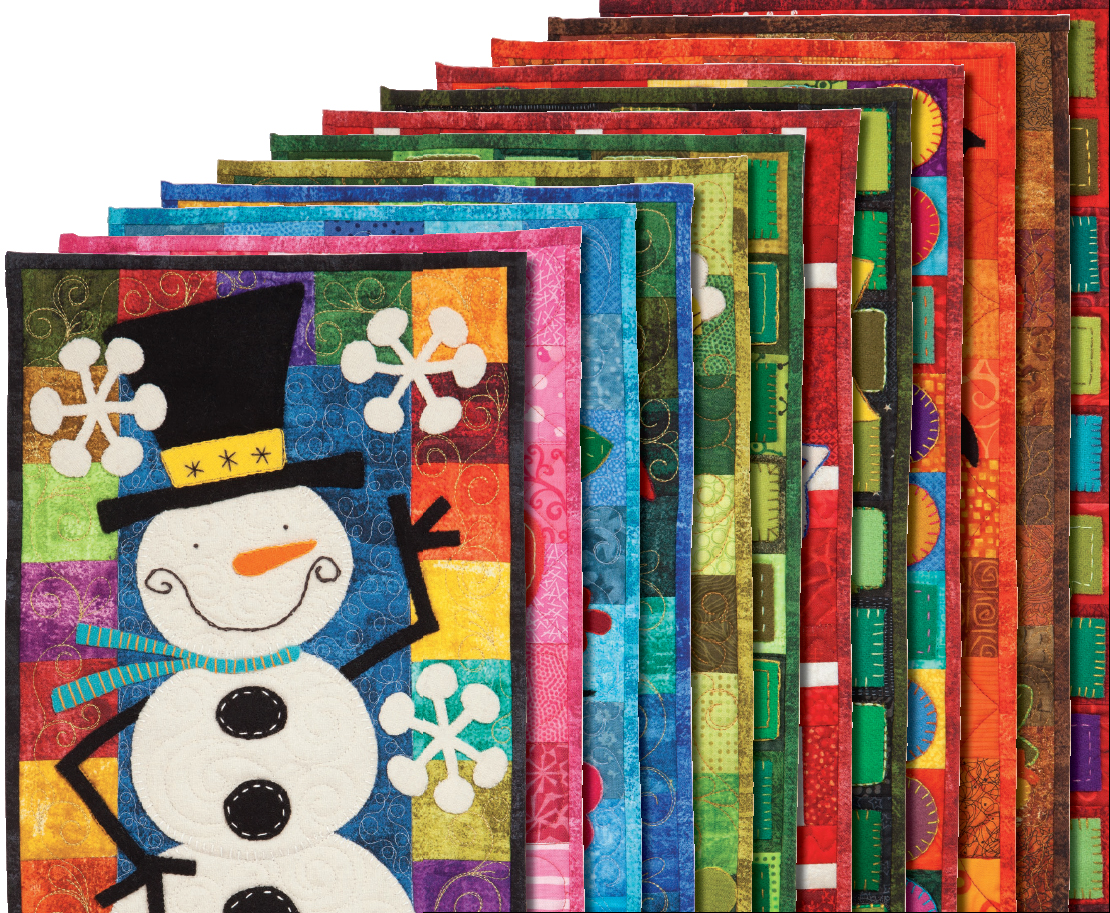 Appliqu All appliqu instructions are for paper-backed fusible web with hand stitching.
  Appliqu All appliqu instructions are for paper-backed fusible web with hand stitching.
All the projects could be done with machine appliqu as well, if you prefer. A lightweight paper-backed fusible web works best. Choose your favorite fusible web and follow the manufacturers directions. The patterns, with the exception of the symmetrical Sweet Hearts project, are reversed for tracing. General Appliqu Instructions Trace all parts of the appliqu design on the paper side of the fusible web. Trace each layer of the design separately.
Whenever 2 shapes in the design butt together, overlap them by about to help prevent the potential of a gap between them. When tracing the shapes, extend the underlapped edge beyond the drawn edge in the pattern. Write the pattern number on each traced shape. Some pieces are cut as a connected shape, with dotted lines showing where they connect under another shape. Cut around the appliqu shapes, leaving a margin around each piece. Iron each fusible-web shape to the wrong side of the appropriate fabric following the manufacturers instructions for fusing.
Cut on the traced lines and peel off the paper backing. A thin layer of fusible web will remain on the wrong side of the fabric; this layer will adhere the appliqu pieces to the backgrounds. Position the pieces on the backgrounds. Press to fuse them in place. When hand stitching around and on the appliqu pieces, choose the stitch of your choice. As a beginner to hand stitching, I chose the most basic of stitches.
Dashed lines show suggested embroidery placement. Add additional stitched details as shown in the photos if desired. To transfer embroidery designs or lettering to the wool appliqu shapes, trace or draw the design on tissue paper. Stitch through the tissue and then tear it away when the stitching is completed. If you are an experienced stitcher, I hope the blocks will inspire you to create some beautiful work. Layering the Quilt Cut the batting and backing pieces 23 larger than the quilt top. Layering the Quilt Cut the batting and backing pieces 23 larger than the quilt top.
Place the pressed backing right side down. Place the batting over the backing and the quilt top on top, right side up. Make sure all the layers are flat and smooth and the quilt top is centered over the batting and backing. Pin or baste the quilt.  Quilting Quilting is a personal choice; you may prefer hand or machine quilting. My favorite method is to send the quilt top to a longarm quilter.
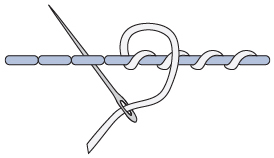
This method keeps my number of unfinished tops low and the number of finished quilts high. The Threads There are a variety of beautiful threads available to hand stitchers. The following are the ones I have used: 100% cotton 80-weight thread by Aurifil for whipstitching the wool appliqu pieces to the background Perle cotton #8 for the backstitch, blanket stitch, fly stitch, French knot, running stitch, stem stitch, whipstitch, and wrapped backstitch Perle cotton #3 and #5 for couching The NeedlesMilliners size 1 for French knots Chenille size 24 for the backstitch, blanket stitch, running stitch, stem stitch, and whipstitch Chenille size 18 for the wrapped backstitch Appliqu or sharps size 10 for the whipstitch  The StitchesBackstitch
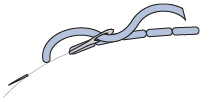 Couching
 Stem Stitch
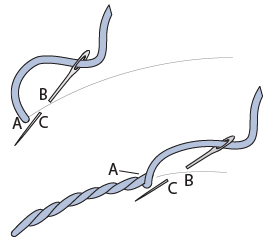 Blanket Stitch
 French Knot
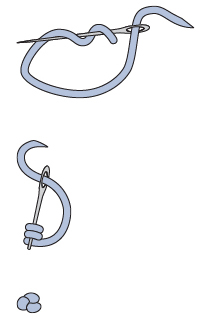 Whipstitch
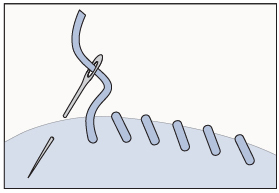 Running Stitch
 Wrapped Backstitch
 JanuaryMaterials yard of blue for background yard total of assorted brights for pieced border 1 rectangle 9 13 of off-white felted wool for snowman and snowflakes 1 square 10 10 of black felted wool for hat, arms, and buttons Scrap of yellow felted wool for hatband Scrap of teal felted wool for scarf Scrap of orange felted wool for nose 13 21 batting yard for backing and binding 1 yard of paper-backed fusible web Assorted threads for appliqu and embroidery CuttingRefer to the pattern (sheet P1) and General Instructions for All Quilts for preparing the appliqu. Cut 1 rectangle 6 14 from the blue for the background. Cut 24 squares 2 2 from the assorted brights for the pieced border. Cut 1 each of appliqu pieces 110.
 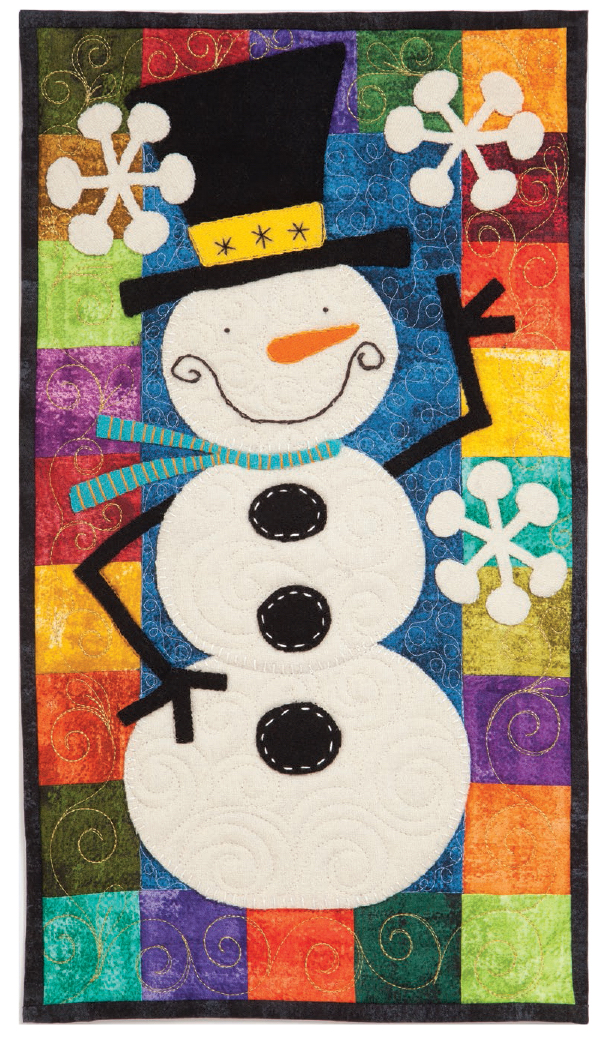 Sammy Snowman Quilt, 10 18, made by Kim Schaefer, quilted by Susan Lawson of Seamingly Slawson Quilts Putting It All TogetherRefer to General Instructions for All Quilts for general piecing and appliqu instructions. Make the pieced borders and sew them to the background. Press. Press.
Fuse the appliqu pieces to the quilt top. Stitch as desired. Layer, quilt, and bind the quilt. 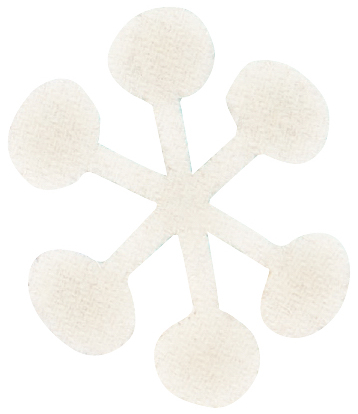 February
Next page


 General Instructions for All Quilts Cut the appliqu background 6 14. Arrange and sew together 2 rows of 7 squares 2 2 for the 2 side borders. Press. Sew the 2 side borders to the background. Press toward the borders.
 Appliqu All appliqu instructions are for paper-backed fusible web with hand stitching.
  Quilting Quilting is a personal choice; you may prefer hand or machine quilting. My favorite method is to send the quilt top to a longarm quilter.
 The StitchesBackstitch
 Couching
 Stem Stitch
 Blanket Stitch
 French Knot
 Whipstitch
 Running Stitch
 Wrapped Backstitch
 JanuaryMaterials yard of blue for background yard total of assorted brights for pieced border 1 rectangle 9 13 of off-white felted wool for snowman and snowflakes 1 square 10 10 of black felted wool for hat, arms, and buttons Scrap of yellow felted wool for hatband Scrap of teal felted wool for scarf Scrap of orange felted wool for nose 13 21 batting yard for backing and binding 1 yard of paper-backed fusible web Assorted threads for appliqu and embroidery CuttingRefer to the pattern (sheet P1) and General Instructions for All Quilts for preparing the appliqu. Cut 1 rectangle 6 14 from the blue for the background. Cut 24 squares 2 2 from the assorted brights for the pieced border. Cut 1 each of appliqu pieces 110.
  Sammy Snowman Quilt, 10 18, made by Kim Schaefer, quilted by Susan Lawson of Seamingly Slawson Quilts Putting It All TogetherRefer to General Instructions for All Quilts for general piecing and appliqu instructions. Make the pieced borders and sew them to the background. Press. Press.
 February