Penguin supports copyright. Copyright fuels creativity, encourages diverse voices, promotes free speech, and creates a vibrant culture. Thank you for buying an authorized edition of this book and for complying with copyright laws by not reproducing, scanning, or distributing any part of it in any form without permission. You are supporting writers and allowing Penguin to continue to publish books for every reader.
This book is dedicated to my wife, Miki, who took me by the hand and led me into a happier life
What You Need
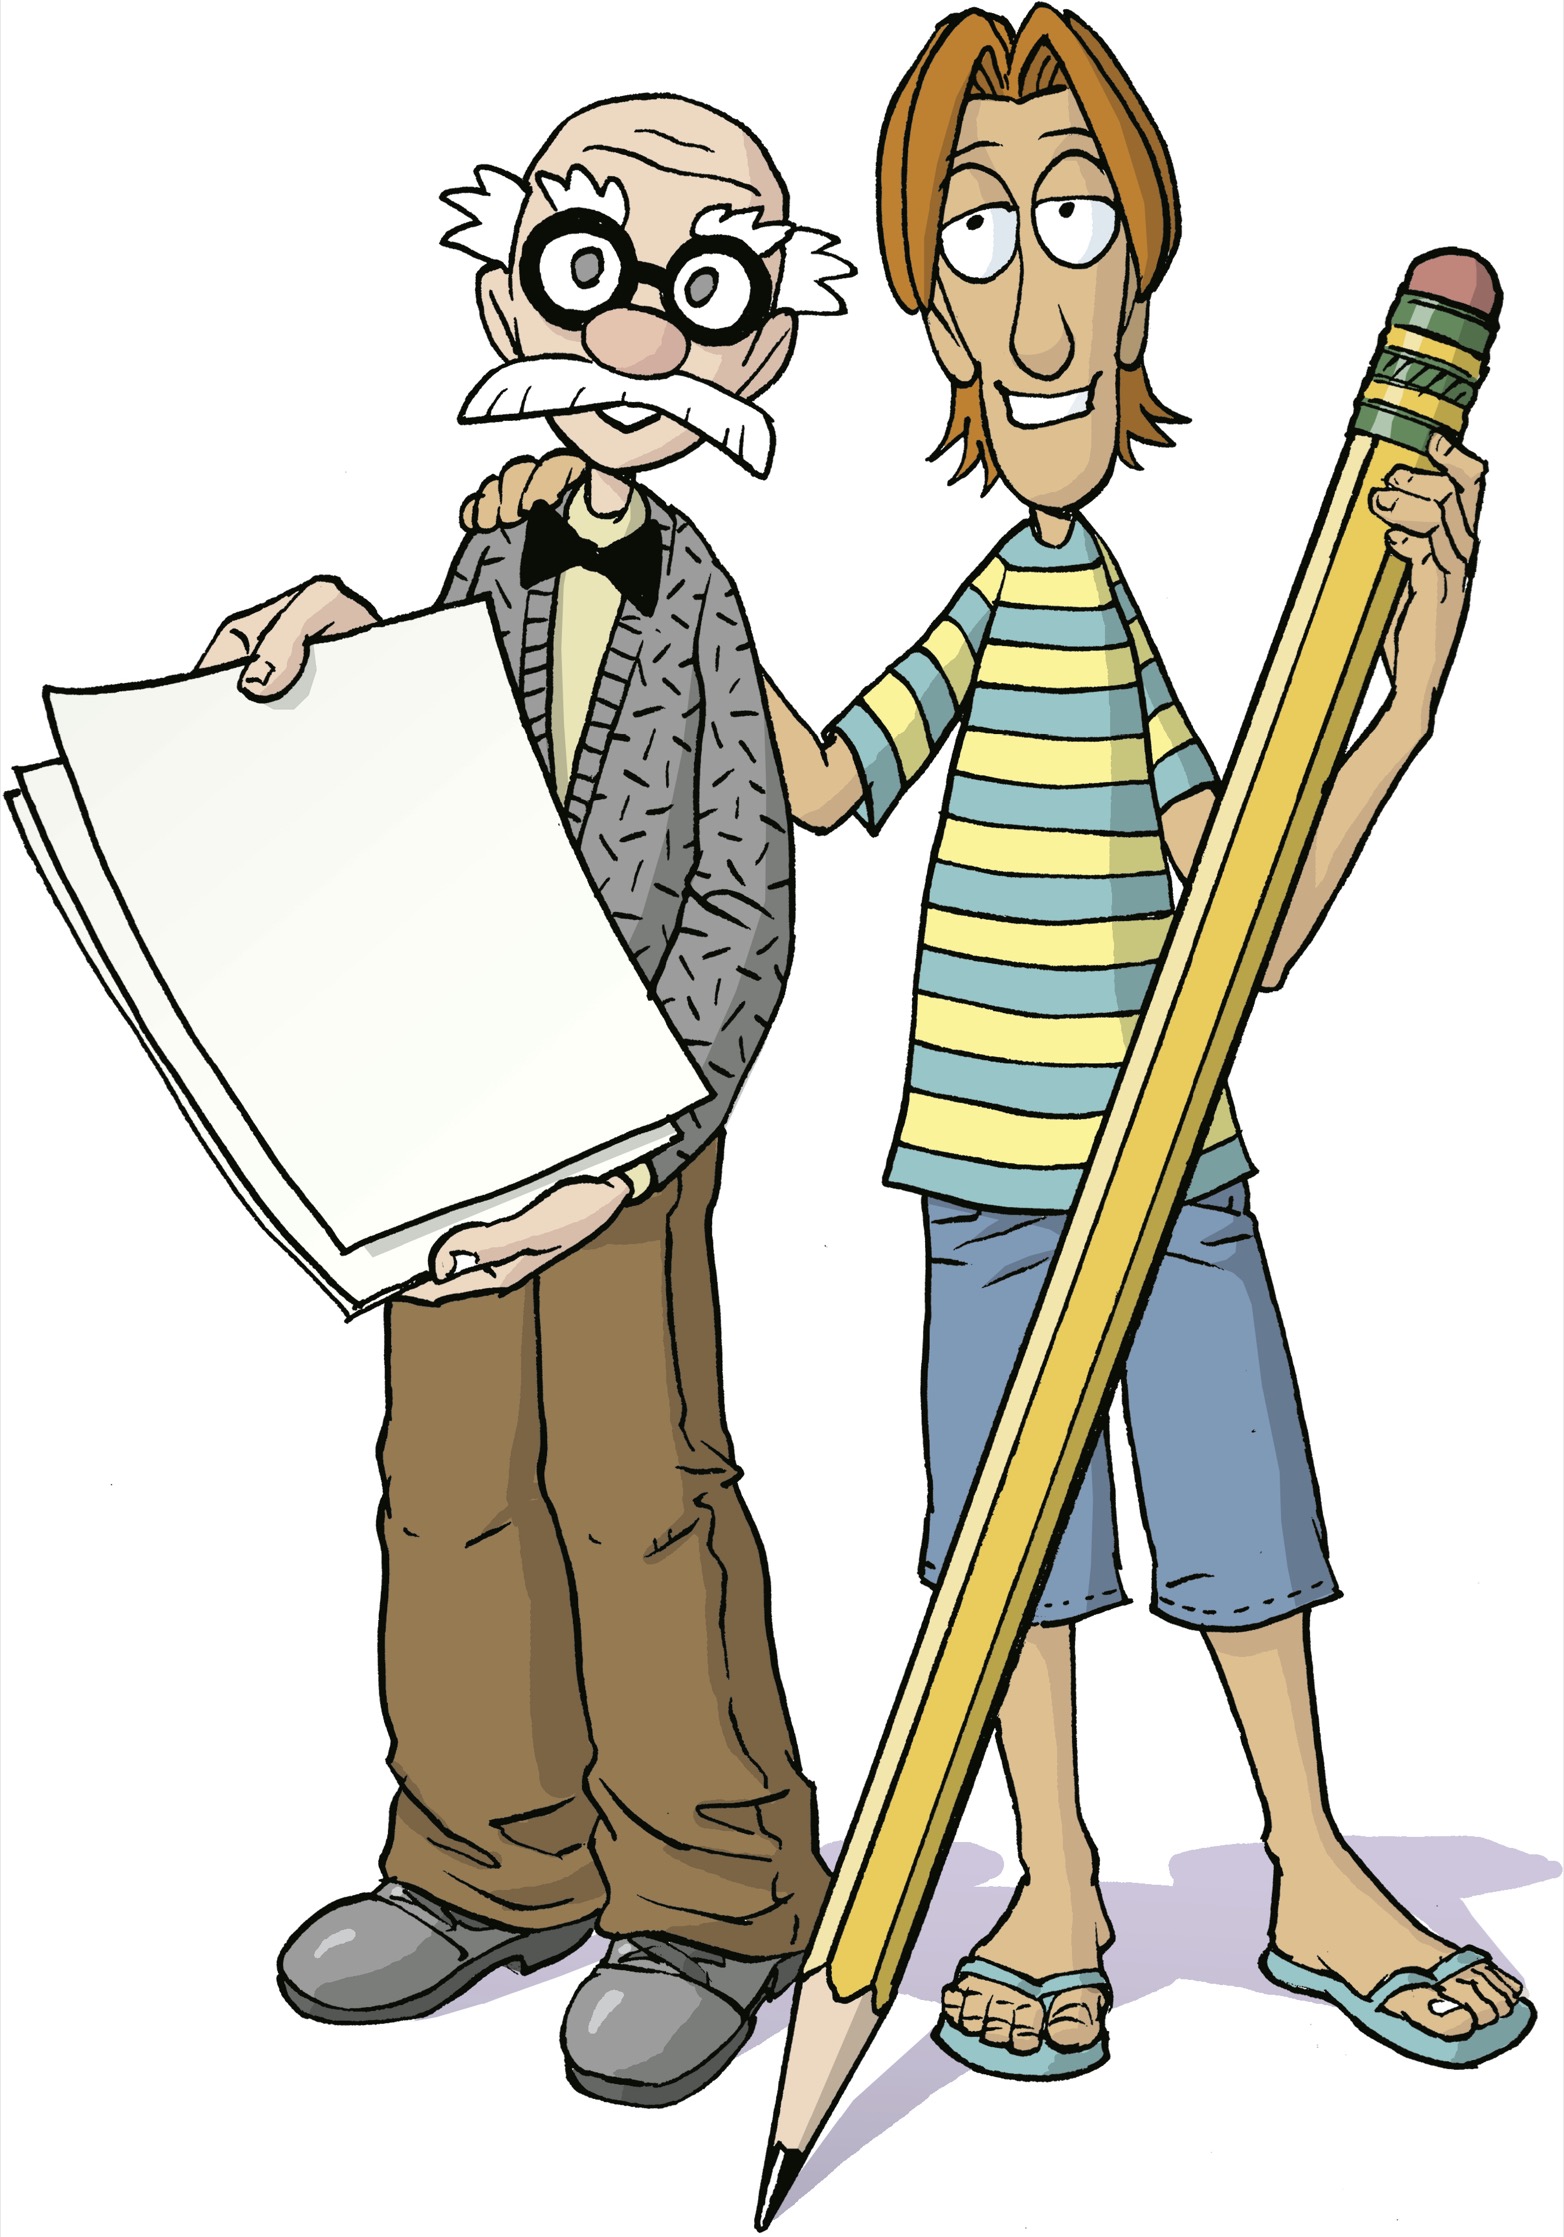
Many instructional art books begin with a laundry list of art supplies you need to buy before you can begin following any lessons. Not so with this book. All you need to get the most out of these lessons is three simple things, and you may well already have them in your home right now: paper, a pencil and an eraser.
Paper
This is not a book about creating finished pieces of art that can be displayed in a museum. Its all about practicing: gaining knowledge that can be applied later on to any art form in which drawing hands is a necessity. Pretty much any paper you have on hand is good enough for the job.
Indeed, some of you may prefer drawing on a computer tablet. If that is the case, then go for it. The virtual paper of an iPad or similar device is just as good as real paper when it comes to following this books lessons.
Pencil
I recommend using a pencil for these lessons rather than a pen, simply because most of the step-by-step lessons require a bit of erasing, here and there. As for which type of pencil you should use, my advice is to try a number of different pencils and find the one that works best for you. A pencil with super-soft graphite is easily smeared, while a pencil with super-hard graphite may produce only a faint line on the paper. Find a pencil that you feel is a good balance between these two extremes.
Eraser
Many writing pencils have a small eraser attached to the opposite end, and I find this is more than sufficient for drawing practice. That being said, these sorts of erasers age over time, eventually becoming hard and dry. Make sure that the eraser youre using is fresh enough that it erases lines cleanly without leaving any marks behind.
If you prefer using a large eraser that is separate from your pencil, by all means do. When it comes to drawing practice, my advice is to use the tools that you are comfortable with, and only you can say for sure what those materials are.
LESSON
Drawing a Thumb
Lets get started with a little practice lesson. This will help you get used to the step-by-step method Ill be using for the rest of the book.
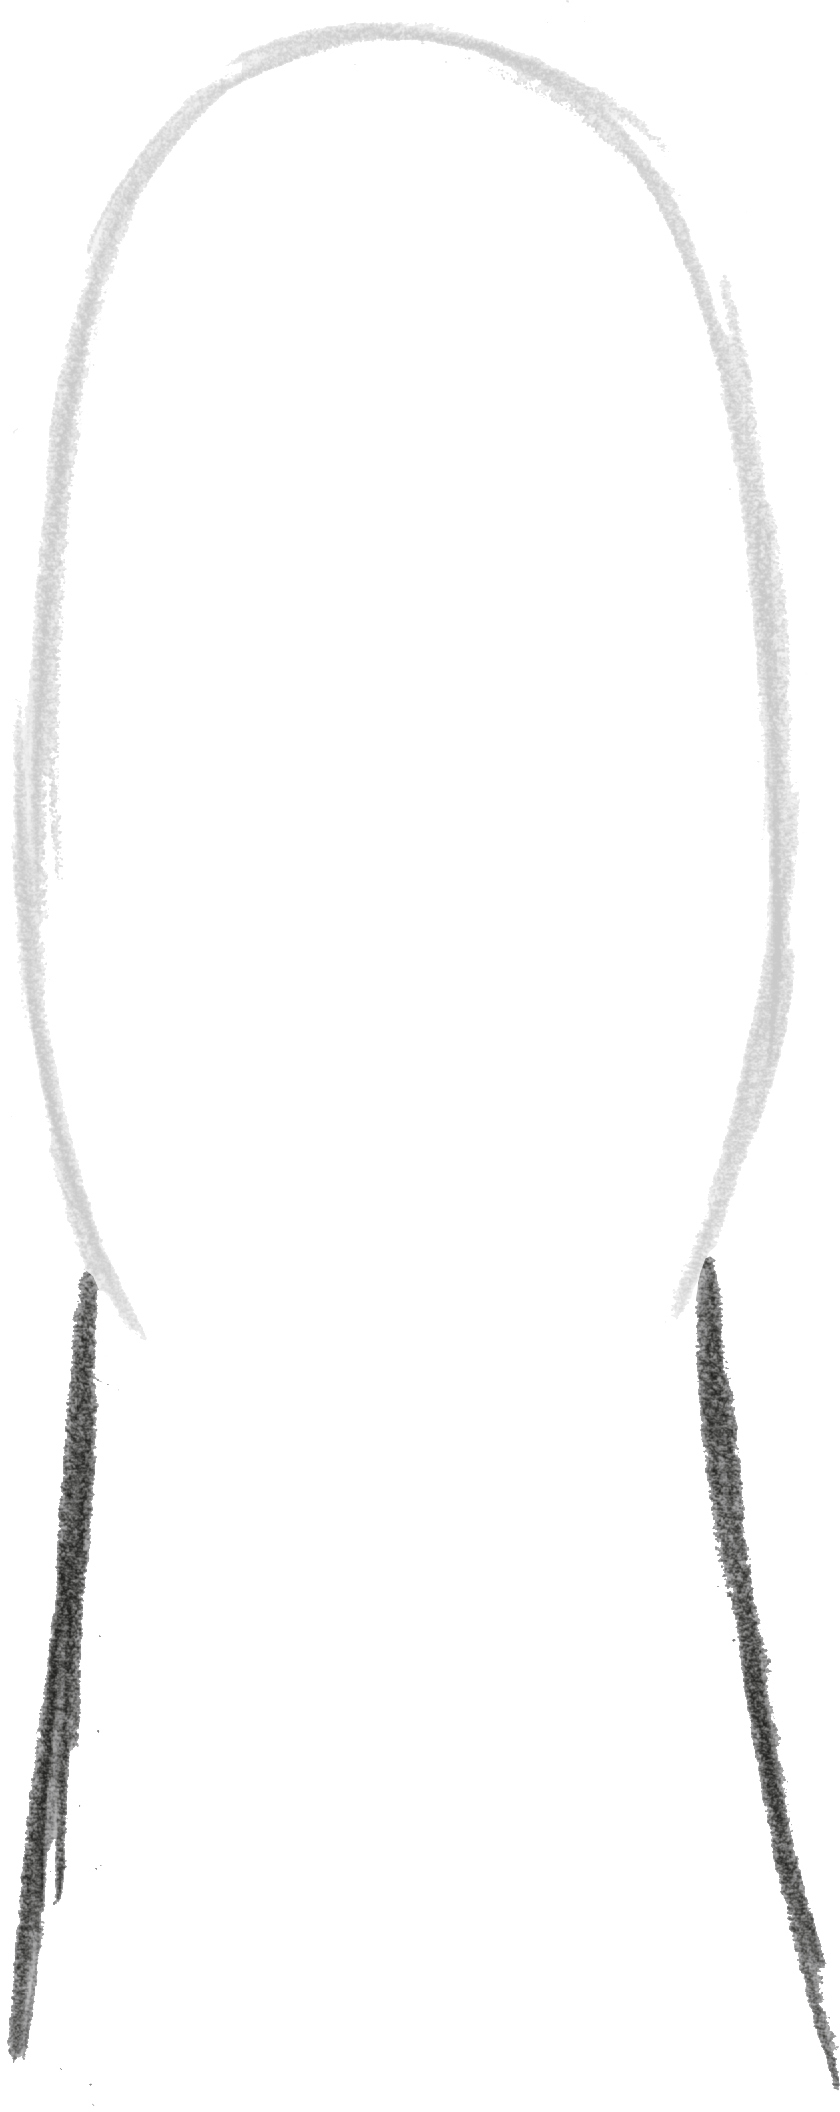
1 The Tip of the Thumb
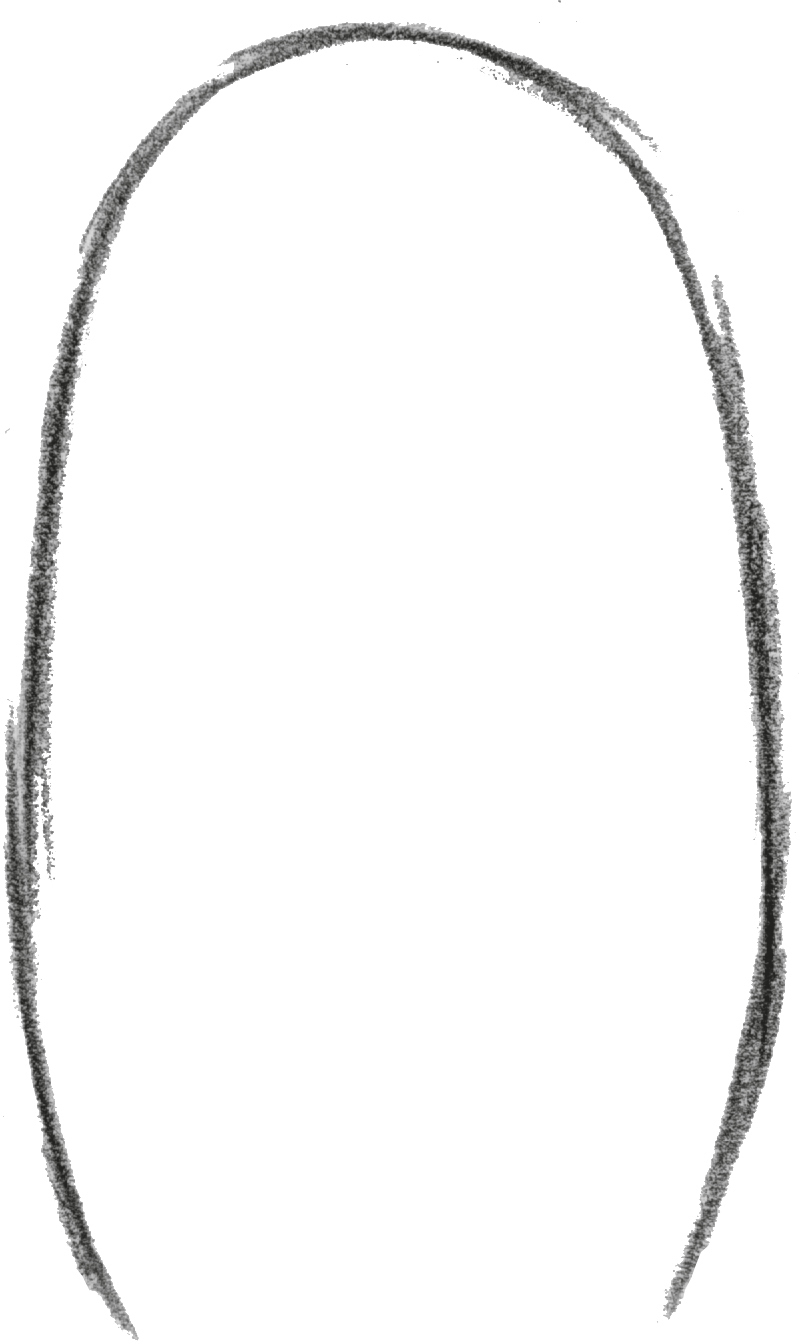
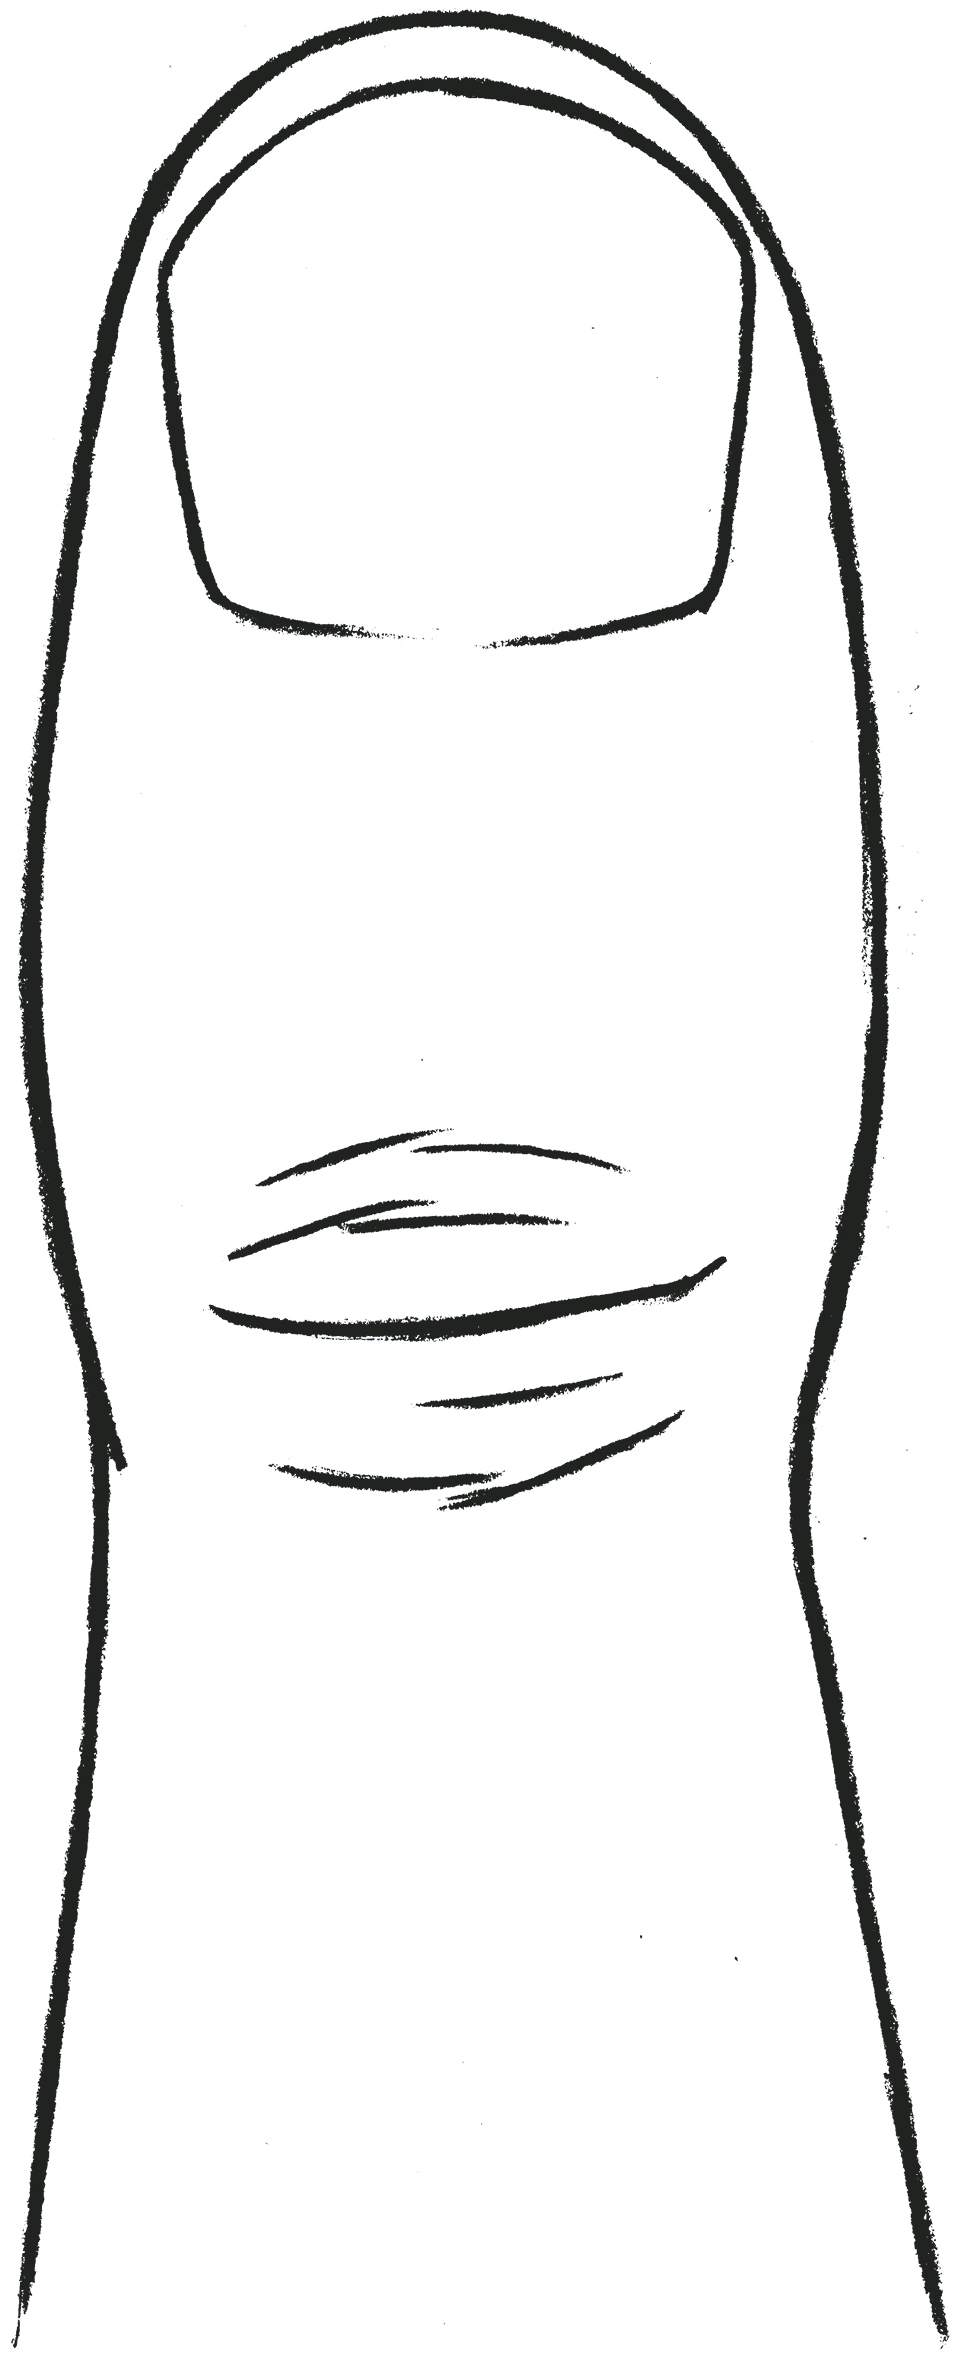
Begin by drawing the tip of the thumb using a single curved line that looks a little like an upside-down letter U. Pay attention to how tall it is compared to how wide it is.
2 The Base of the Thumb
Add two vertical lines to serve as the contours of the base of the thumb. Note that they have a slight diagonal tilt to them, resulting in the two lines being more widely spaced at the bottom than at the top.
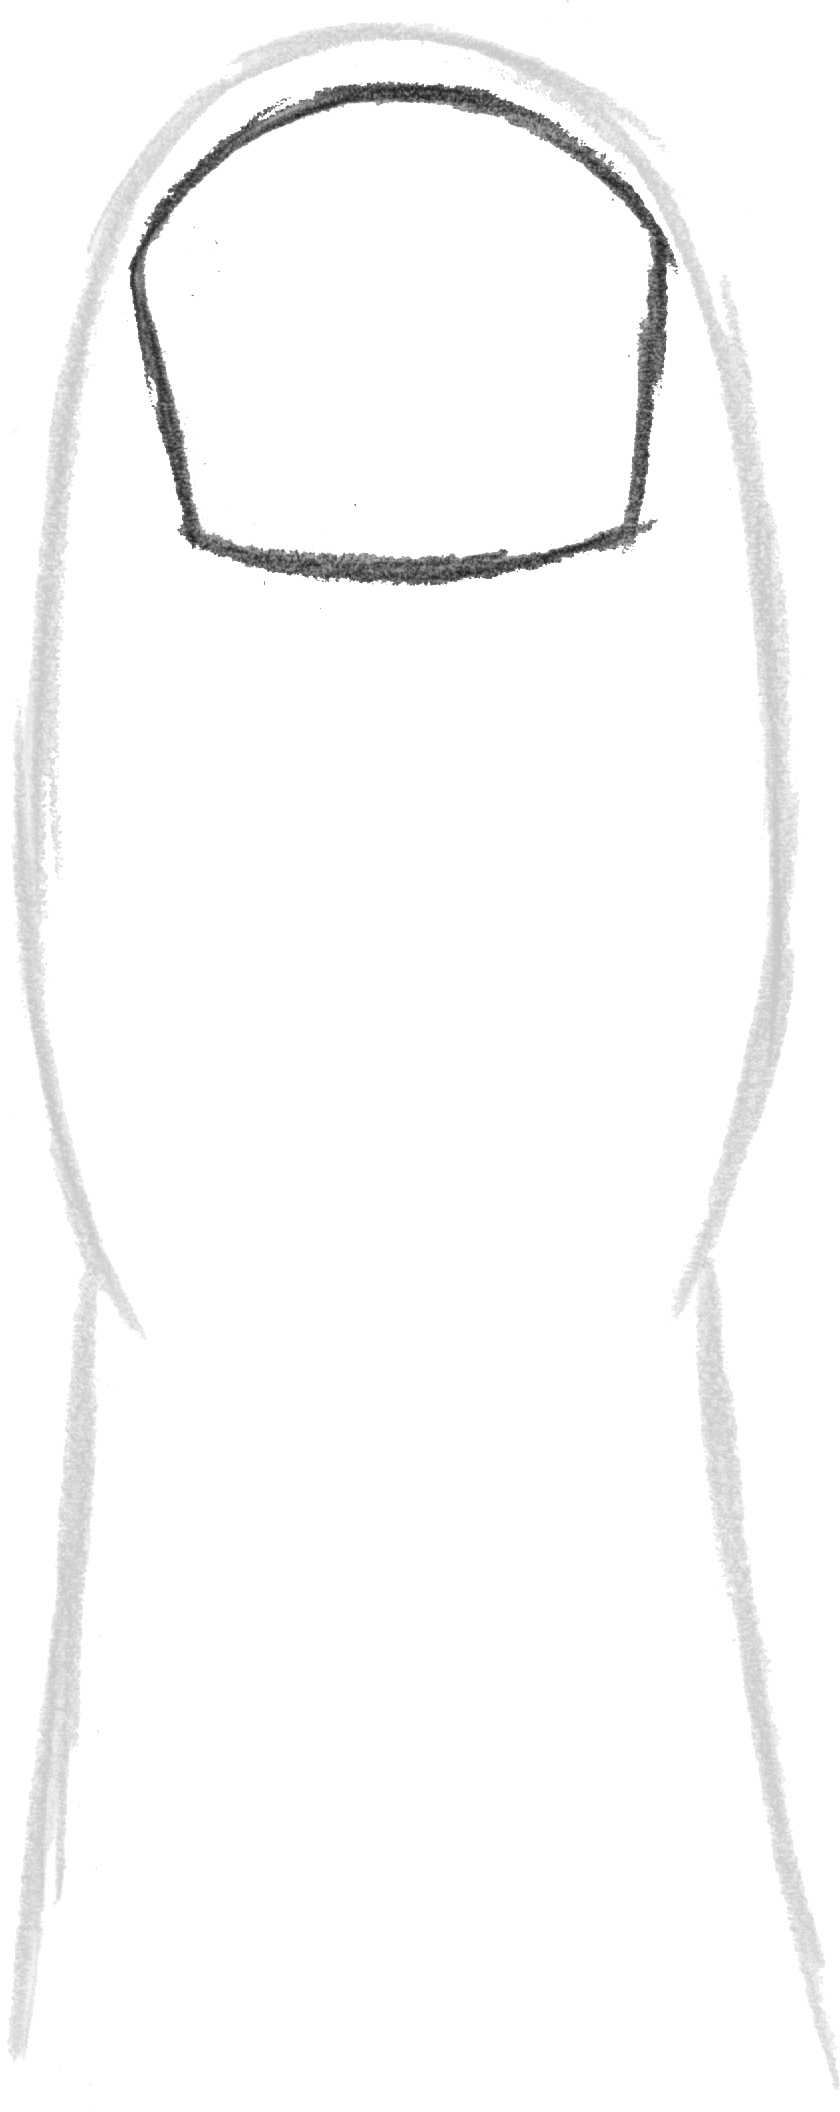
3 The Thumbnail
Draw the thumbnail near the tip of the thumb. The top of this shape is quite rounded, while the line along the bottom is almost a simple horizontal line. The lines on the right and left tilt outward as they reach the tip of the thumb.
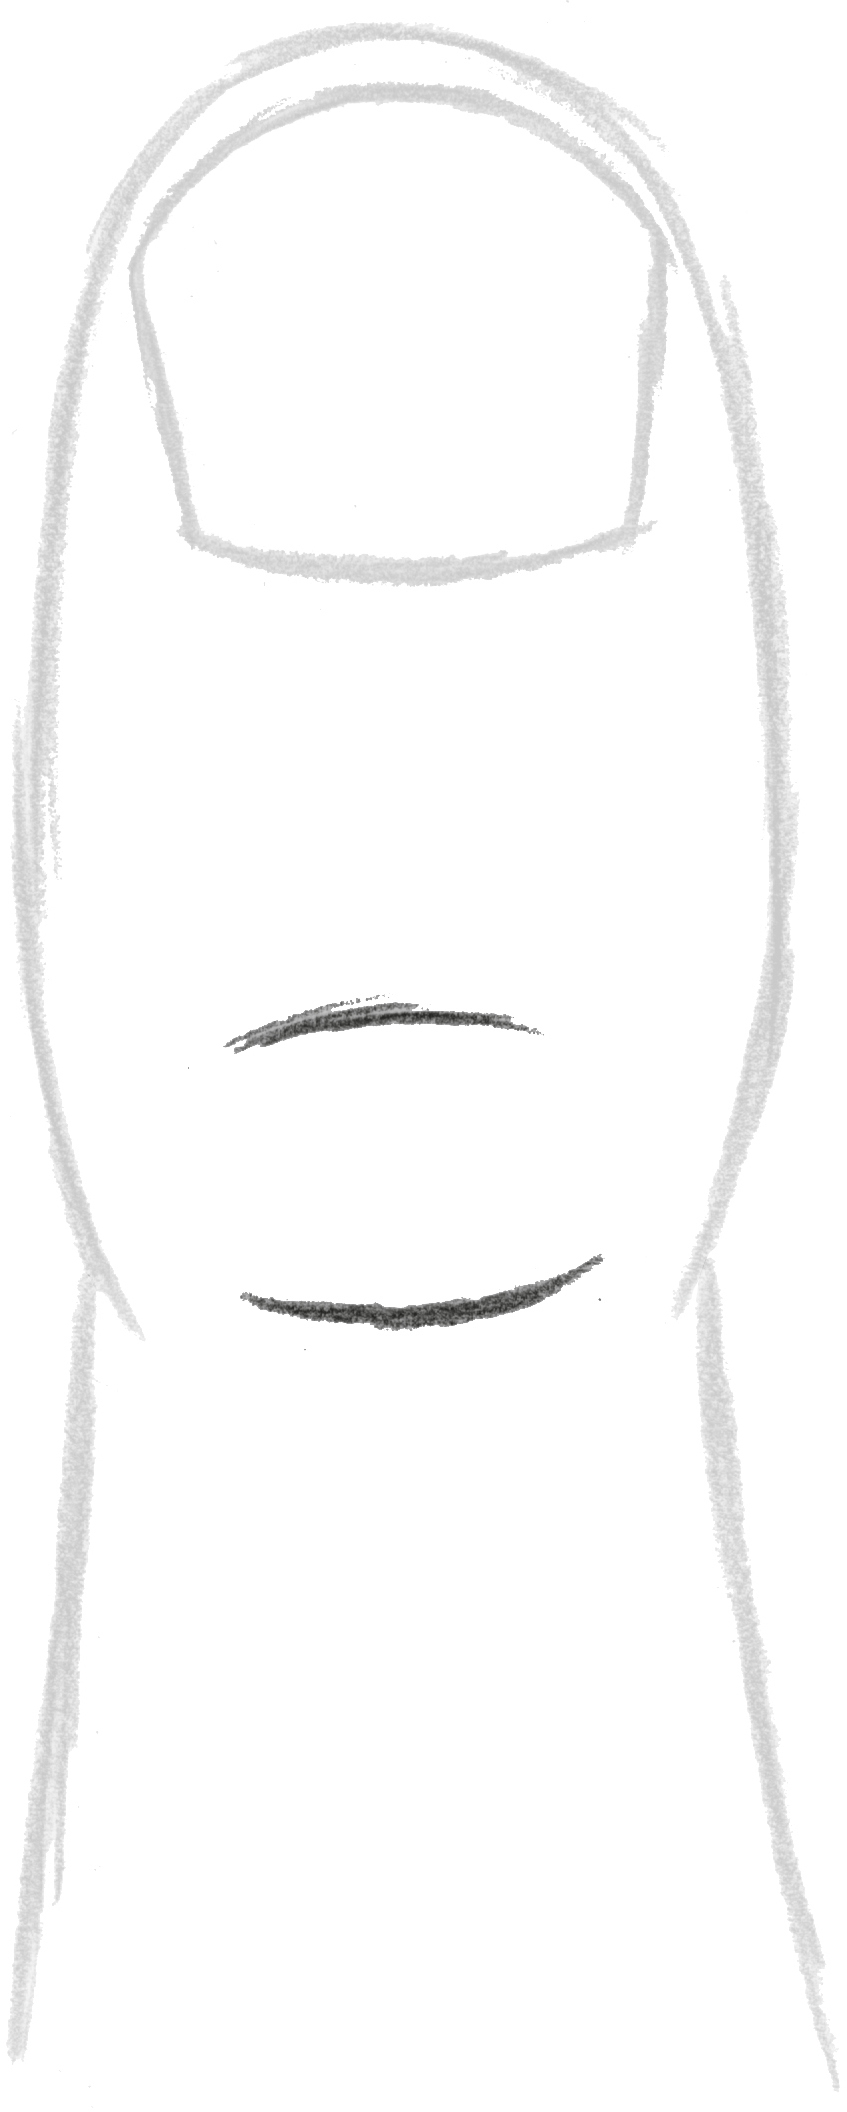
4 The Knuckle Guidelines
Draw two curving horizontal lines to indicate the area of the wrinkle. When drawing these two lines, pay attention to how far apart they are, as well as how much blank space there is between the top line and the bottom of the thumbnail.
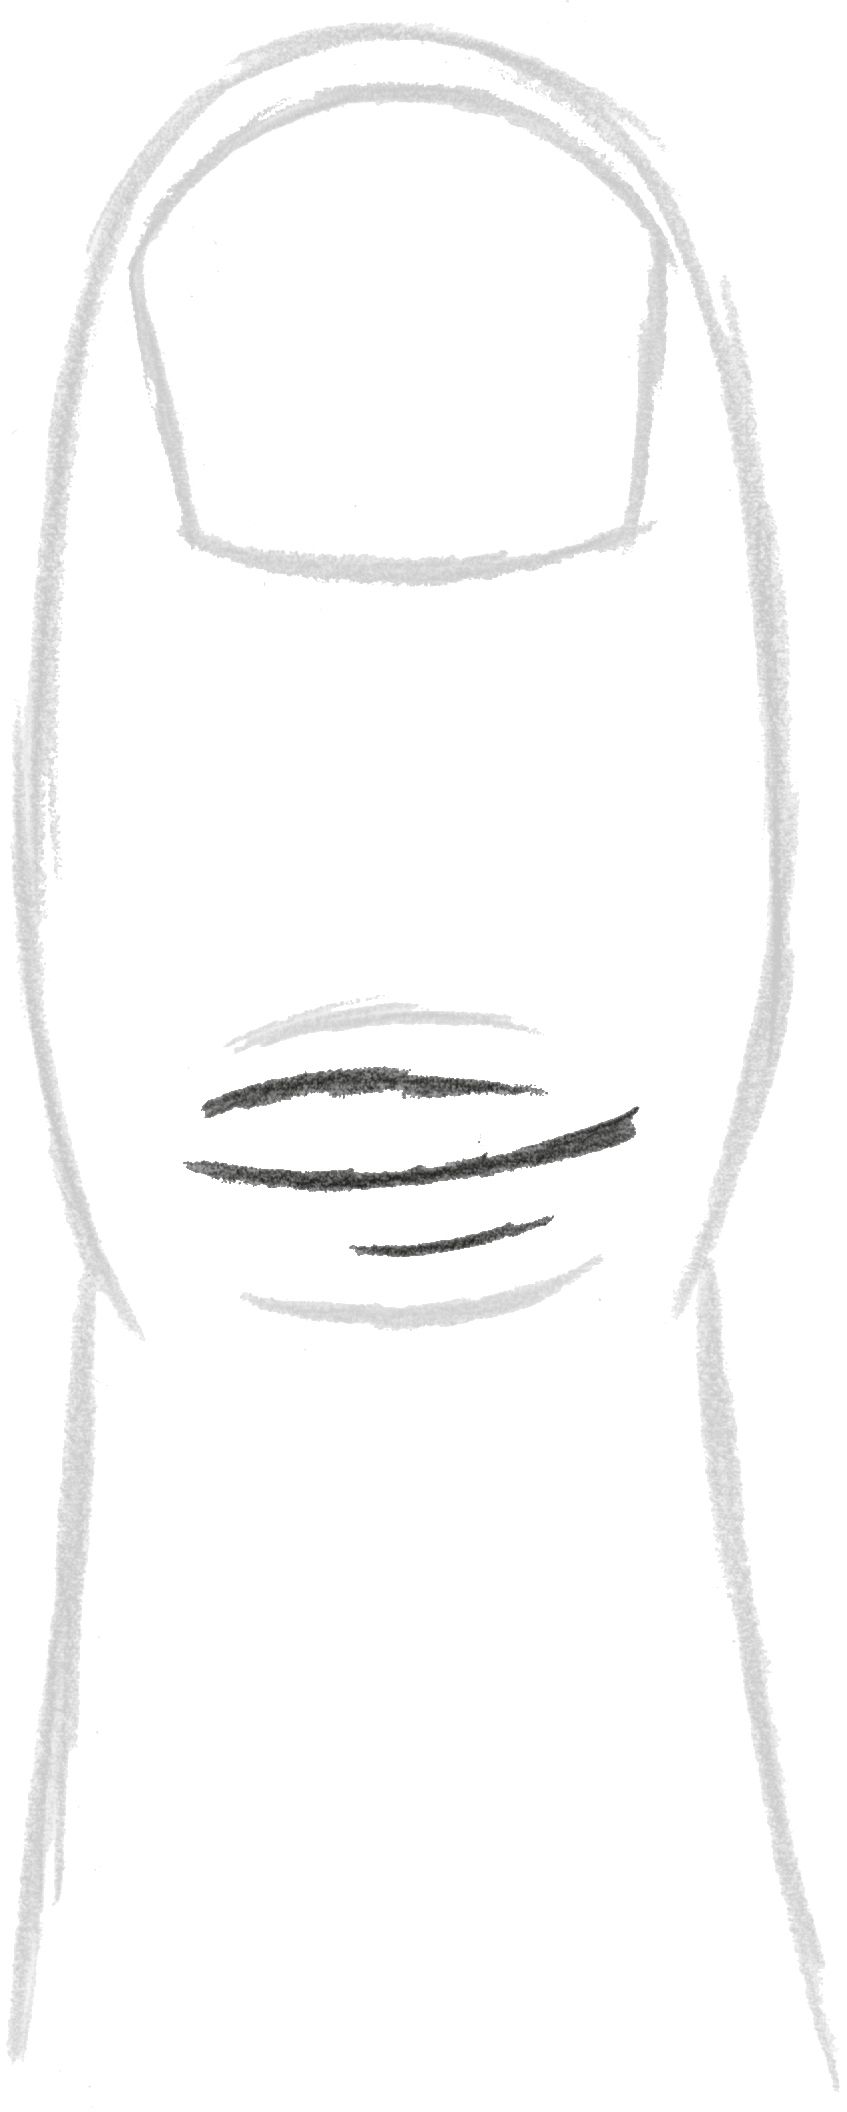
5 The Knuckle Wrinkles
If youd like a bit more detail, try adding two or three more wrinkle lines to the knuckle. Take care to keep all these wrinkle lines a bit light, as such lines are quite subtle in real life.

