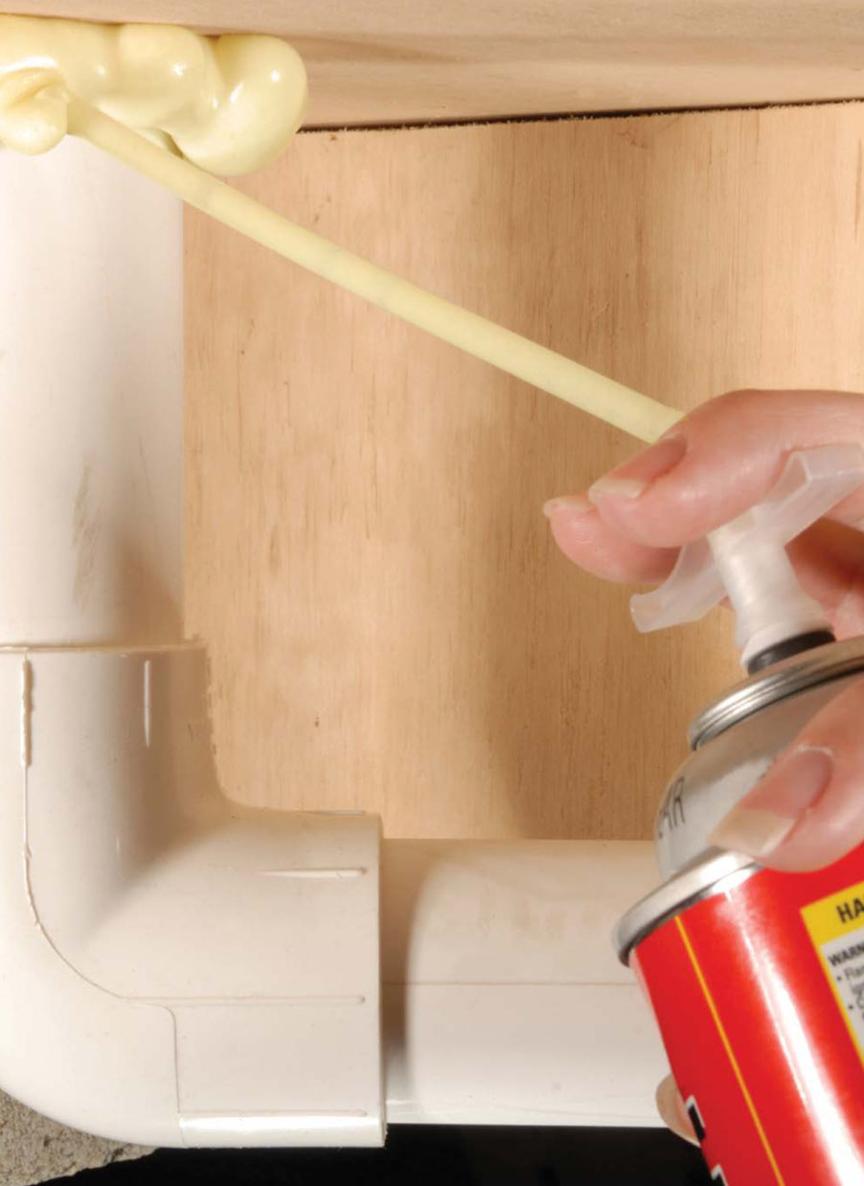
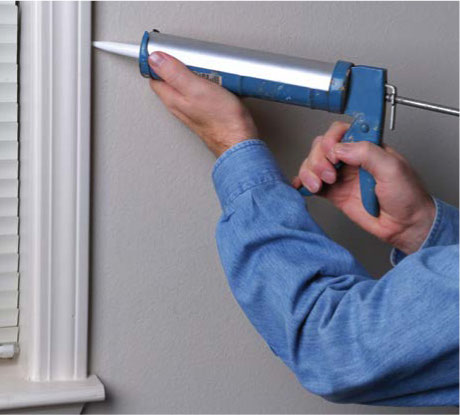
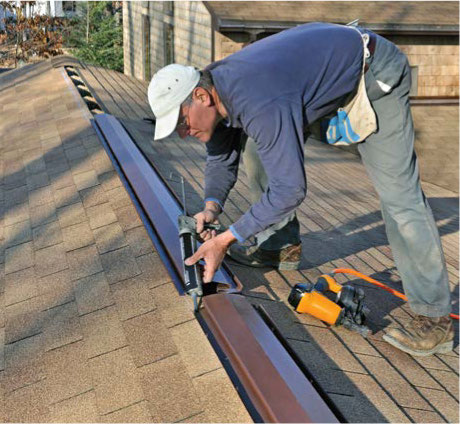
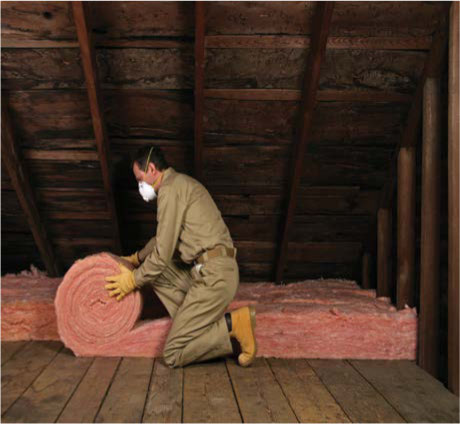
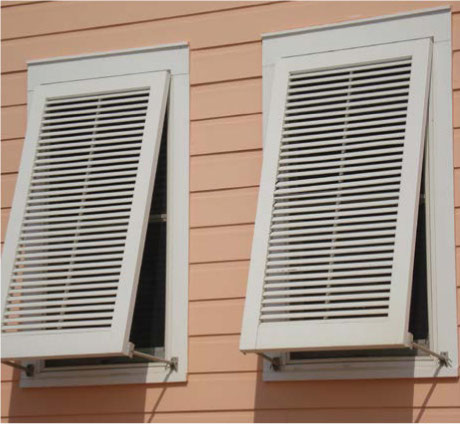
Seal the air leaks around plumbing penetrations underneath a home with an insulating expandable foam sealant.
Table of Contents
Chapter 1: Keeping a House Snug and Tight
Blocking Drafts Around Windows
Weather-Stripping Doors
Plugging Up Cracks
Chapter 2: Battling Moisture
Channeling Water with Gutters and Downspouts
Laying Underground Drains
Diverting Water from Foundations
Plugging Leaks in a Damp Basement
Expelling Water with a Sump Pump
Indispensable Openings: Vents for Airflow
Chapter 3: Shielding Against Heat and Cold
Key Areas for Potential Heat Loss
Checking for Adequate Insulation
Deciding How Much to Add
Choosing the Right Materials
AtticsWhere Insulation Pays Off Most
Getting Insulation Into Exterior Walls
Solving the Special Problems of Unheated Areas
Shielding Heated Basements and Crawl Spaces
An Array of Storm Windows
Installing a Storm Door
Blocking Out the Sun
Chapter 4: Protecting Your Home from Disaster
Windproofing a Picture Window
Chimney Ties for Earth Tremors
Coping with the Chaos of Floods
Index
What You Can Learn
Keeping a House Snug and Tight, page
A few dollars spent to seal leaks around windows and doors will come back to you many times over.
Battling page
Water is more likely to cause damage to your home than any other element unless steps are taken to prevent it.
Shielding Against Heat and page
Keeping your home properly insulated will keep it warm in winter and cool in the summer.
Protecting Your Home from Disaster, page
Since no area of the country is truly immune to natural disasters, it is important to protect your home ahead of time.
CHAPTER
Keeping a House Snug and Tight
Weatherproofing a home is a matter of establishing priorities. Its best to focus your efforts where they will do the most goodand save you the most money. The first areas to address are leaky doors and windows. For most homes, this means finding and filling small openings all over the house. A few dollars spent applying weather stripping and sealing gaps will be repaid many times over.
Blocking Drafts Around Windows
Applying Gaskets and Strips
Attaching Spring Strips
Covering a Window with an Insulator Kit
Strategies for Casement Windows
Horizontal Sliding Windows
Weather-Stripping Doors
Sealing Door Openings
Adding a Door Sweep
Installing a Weatherproof Threshold
Strips for a Garage Door
Plugging Up Cracks
Sealing Exterior Gaps
Plugging Large Openings
Reglazing Windows

Blocking Drafts Around Windows
Gaps around doors and windows are the main causes of air leakage in most homes. Sealing these gaps with weather stripping can reduce heating and air-conditioning costs by as much as percent.
PREPARING WINDOWS
Before applying stripping, make sure the windows work properly. Try scraping or sanding paint or dirt off the sashes and their channels.
A RANGE OF SOLUTIONS
One of the simplest ways to block window drafts in winter is with an inexpensive window insulator kit A plastic membrane is hung over the window and secured with double-faced tape. It can then be shrunk, forming a nearly invisible seal.
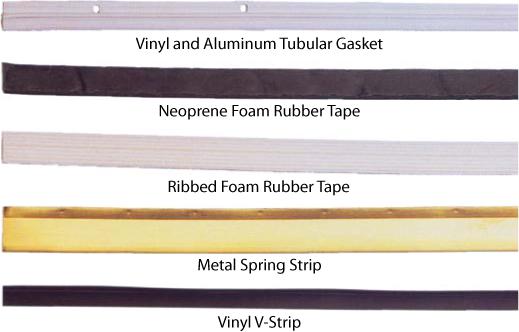
More permanent and versatile products include metal, plastic, rubber, and vinyl weather stripping For double-hung and sliding windows, spring-metal or vinyl flanges work well. Invisible when the window is shut, these products are secured along only one edge; the other edge springs out to block leaks. Tubular gaskets seal better than spring strips, but are not as durable. Adhesive-backed foam tapes are a good choice for casement windows.
SAFETY TIP
Protect your eyes with goggles when driving nails.
nails.
nails. nails. nails.
nails. nails. nails. nails.
nails. nails. nails.
nails. nails. nails. nails.
nails. nails. nails.
nails. nails. nails. nails.
WEATHER STRIPPING FOR WINDOWS
With the vast array of products available, there is probably one for every need. Its a good idea to spend some time browsing the offerings at your hardware store. Here is a sample of some of the most popular types. Most packages contain enough material to cover at least one window, and include nails or screws. Weather stripping with adhesive backing is popular because it is much easier to attach than the type requiring fasteners.
APPLYING GASKETS AND STRIPS
Nailing on tubular gaskets
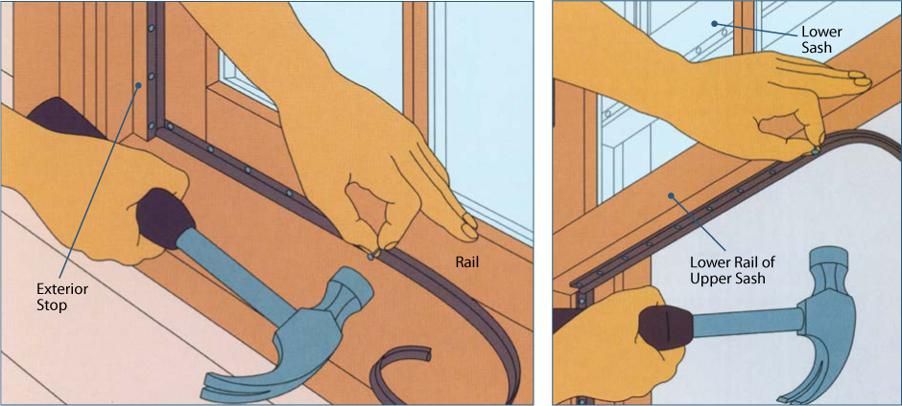
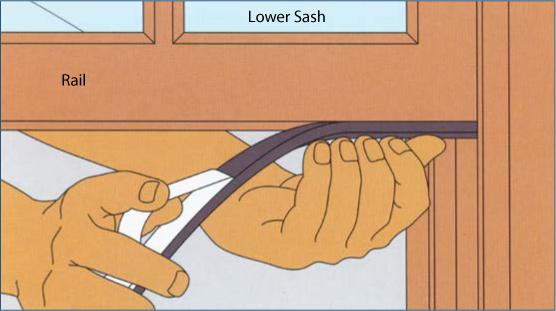
Close the sashes. From outside the house, measure and cut lengths of tubular gaskets to fit the top, bottom, and sides of the upper sash; and the bottom and sides of the lower sash. Nail gaskets to the exterior stops, stretching the strip slightly so the tube-shaped part of the strip is tight and straight against the sash. Nail a strip along the bottom edge of the lower sash rail (above, left) and the top edge of the upper sash rail so the gaskets press tightly against the frame when the window is shut. Raise the lower sash out of the way and pull down the upper sash, then secure a strip to the underside of the upper sashs bottom rail flush with the inside edge (above, right). This strip will seal the gap between the upper and lower sashes when the window is shut.


