Carter - Tapestry Weaving for Beginners and Beyond
Here you can read online Carter - Tapestry Weaving for Beginners and Beyond full text of the book (entire story) in english for free. Download pdf and epub, get meaning, cover and reviews about this ebook. year: 2022, publisher: David & Charles, genre: Home and family. Description of the work, (preface) as well as reviews are available. Best literature library LitArk.com created for fans of good reading and offers a wide selection of genres:
Romance novel
Science fiction
Adventure
Detective
Science
History
Home and family
Prose
Art
Politics
Computer
Non-fiction
Religion
Business
Children
Humor
Choose a favorite category and find really read worthwhile books. Enjoy immersion in the world of imagination, feel the emotions of the characters or learn something new for yourself, make an fascinating discovery.

- Book:Tapestry Weaving for Beginners and Beyond
- Author:
- Publisher:David & Charles
- Genre:
- Year:2022
- Rating:4 / 5
- Favourites:Add to favourites
- Your mark:
- 80
- 1
- 2
- 3
- 4
- 5
Tapestry Weaving for Beginners and Beyond: summary, description and annotation
We offer to read an annotation, description, summary or preface (depends on what the author of the book "Tapestry Weaving for Beginners and Beyond" wrote himself). If you haven't found the necessary information about the book — write in the comments, we will try to find it.
Tapestry Weaving for Beginners and Beyond — read online for free the complete book (whole text) full work
Below is the text of the book, divided by pages. System saving the place of the last page read, allows you to conveniently read the book "Tapestry Weaving for Beginners and Beyond" online for free, without having to search again every time where you left off. Put a bookmark, and you can go to the page where you finished reading at any time.
Font size:
Interval:
Bookmark:
for beginners and beyond
CREATE GRAPHIC WOVEN ART WITH THIS GUIDE TO PAINTING WITH YARN
KRISTIN CARTER

www.davidandcharles.com
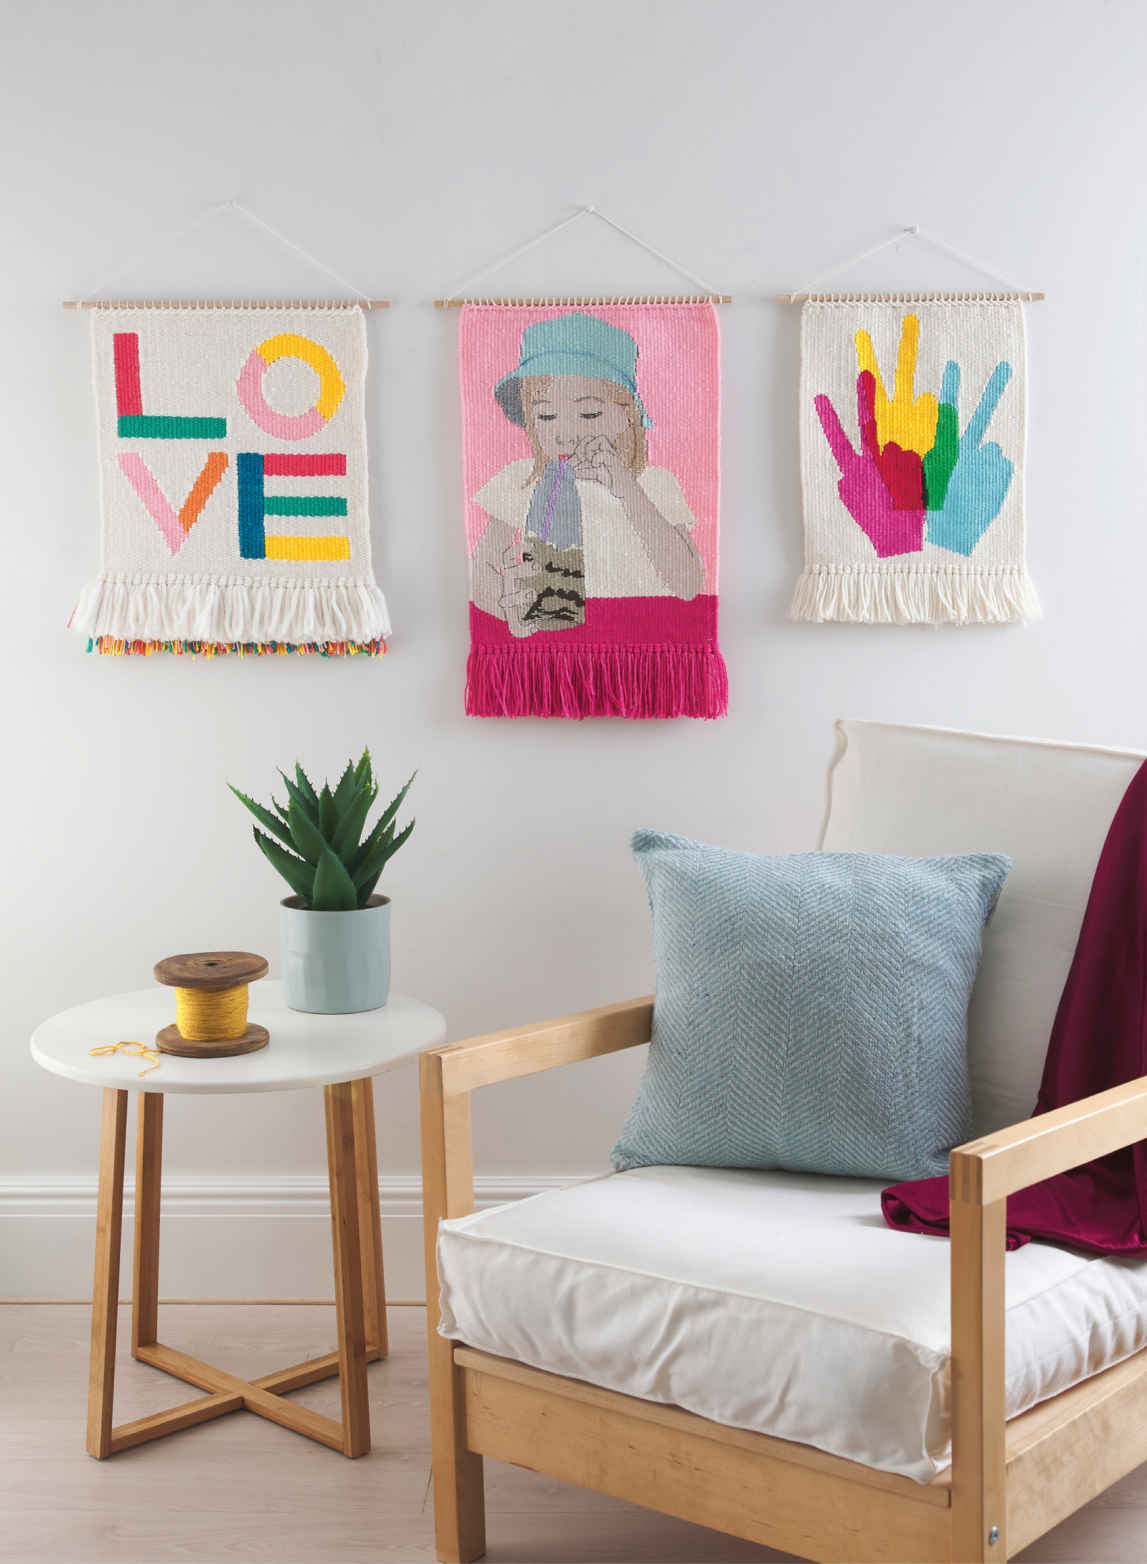

Woohoo! And welcome to the introduction. Many different crafters may hold this book in their hot little hands so heres what Ive got for you: perhaps this is your first try at weaving, and to that I say welcome! This book will start you off with the basics, giving you an idea how to dip your toe into the world of weaving without having to invest hundreds in a fancy loom, bespoke tools etc. I think I used a fork from the kitchen drawer for my first year of weaving, so there is no shame in starting low tech and ramping up as your interest grows. Theres also no shame in discount store acrylic yarn while youre getting a handle on things, and no shame in copying projects while you find your own style. This book is about not taking things too seriously. The overarching message: if thats what you like it, go for it.
If youve already had a go at this weaving caper and are looking to add some new skills to your repertoire, this book can help you there too. After learning the basic steps of weaving from tutorials and websites, I felt like the standard weaving pieces that you see around just werent doing it for me, so I experimented with different ways to create pieces that I liked bold graphic illustrations, detailed intricate images, chunky relaxed textures. There are always new places to take this artform, and I hope you will be able to learn a few here and transpose them into your work.
Finally, please dont expect this book to be your typical make this piece for yourself craft book. There are a few projects that you can copy straight from the page, but Im much more interested in holding your hand while you learn how to create your own pieces for your own space. Translate what is in this book to what suits your style. If youre anything like me, youve tried a thousand different mediums and have a craft drawer or cupboard that is a roadmap of creativity. Weaving is one artform with so much flexibility and where a bunch of different mediums converge into one. Youll get to illustrate and sketch up ideas for your designs, play with balancing colour and matching the feel to your home, youll dive into the wonderful world of yarn and fibre and get the chance to embrace the textures and finishes that feel right to you. And at the end of the day, youre making things for you, so GO FOR IT! Good luck and happy making.

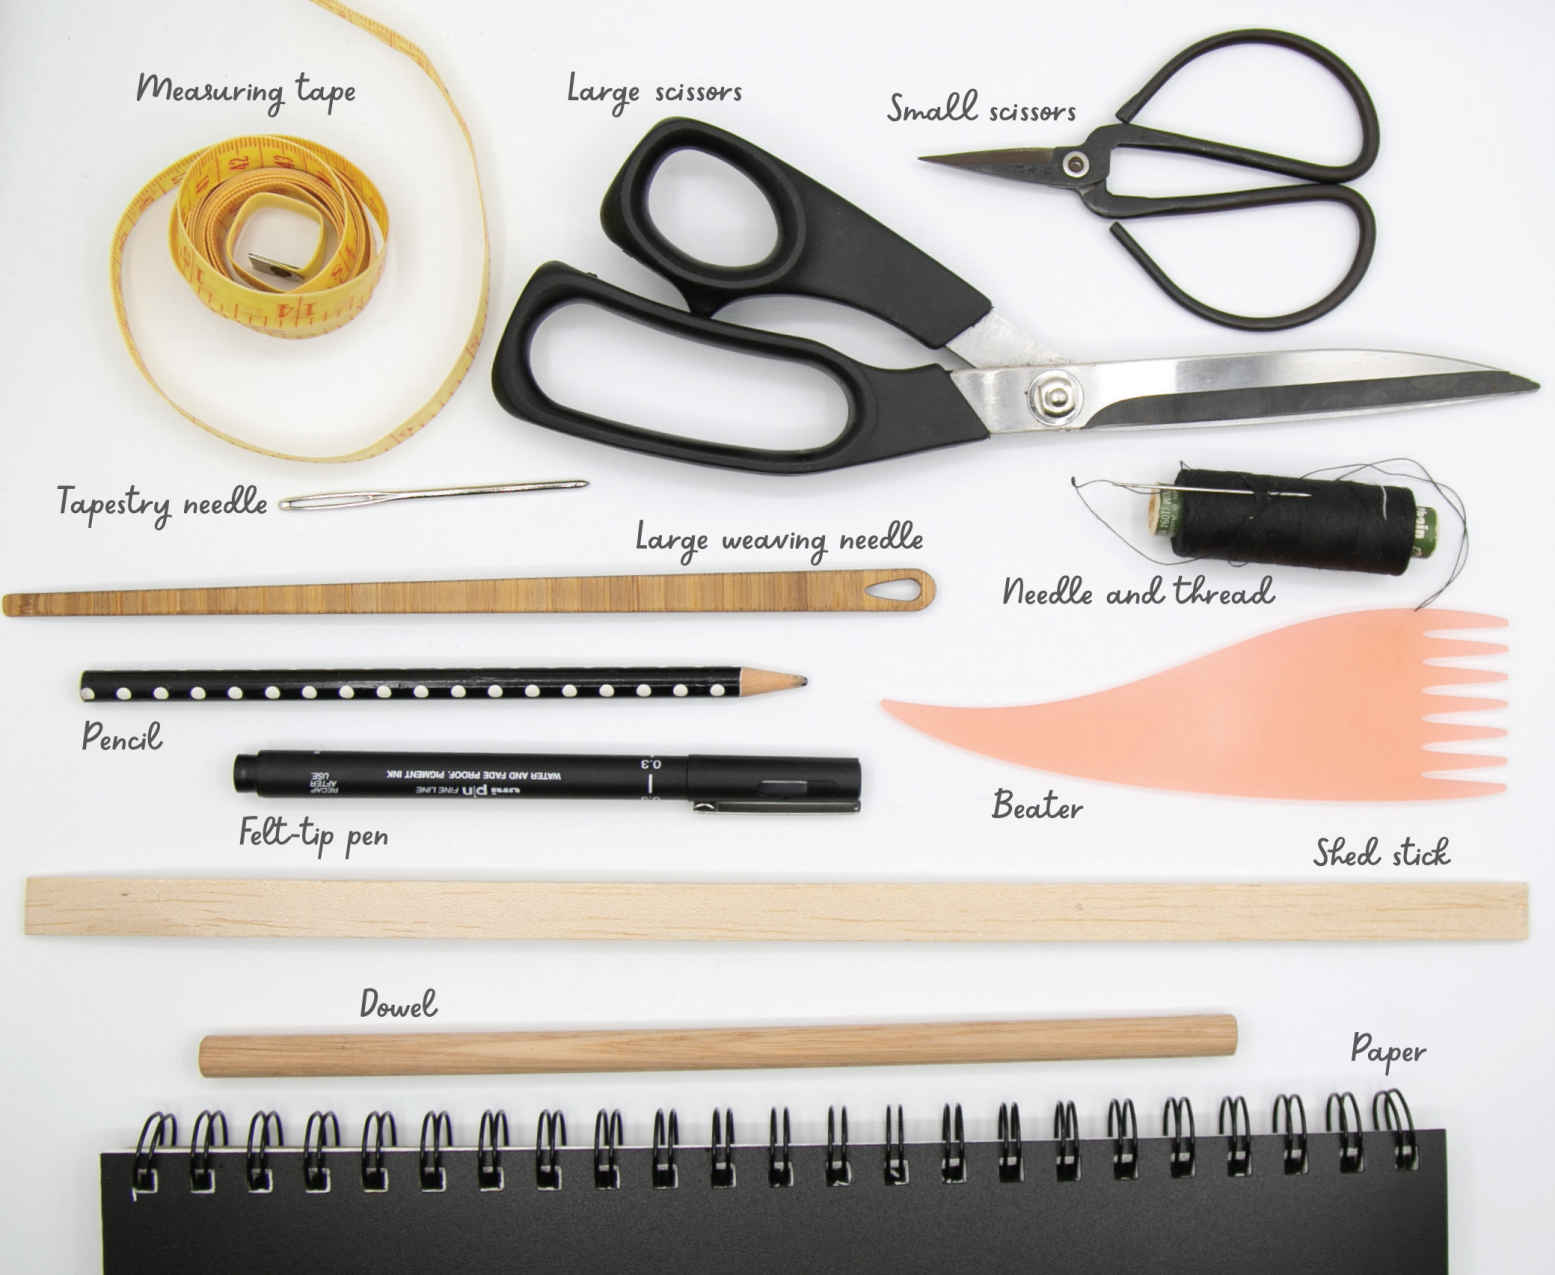
The old proverb a bad carpenter blames his tools is one thing, but with weaving theres a little more forgiveness. The beauty is that much of your current tool stash can be pressed into use, many items will already be familiar, with a few exceptions. That strange comb thing is called a beater. Sure, purchase one if you want, but I used a kitchen fork to start with and I survived. Youll need a thick weaving needle (I prefer metal over plastic), and an extra-long tapestry needle is handy too. Large and small scissors have their place, but if it can snip through a piece of yarn, theyll be fine. Dowel is great for hanging your pieces, but driftwood or scavenged branches work too. I use balsa wood as my shed stick, but for that first year, a ruler was my friend. So you see you can make weaving fit you. And I hope you do.
The first step on this weaving journey is to make yourself a loom. If youre one of the lucky ducks that has their own, hurray for you, but these designs rely heavily on keeping a piece of paper adhered right behind your warp strings, so if your loom doesnt let you do that, perhaps you might want to get a little handy and make your own. To those loomless wanderers out there youre obviously keen enough on weaving to buy a book about it, so I assume youd like a loom that will last.
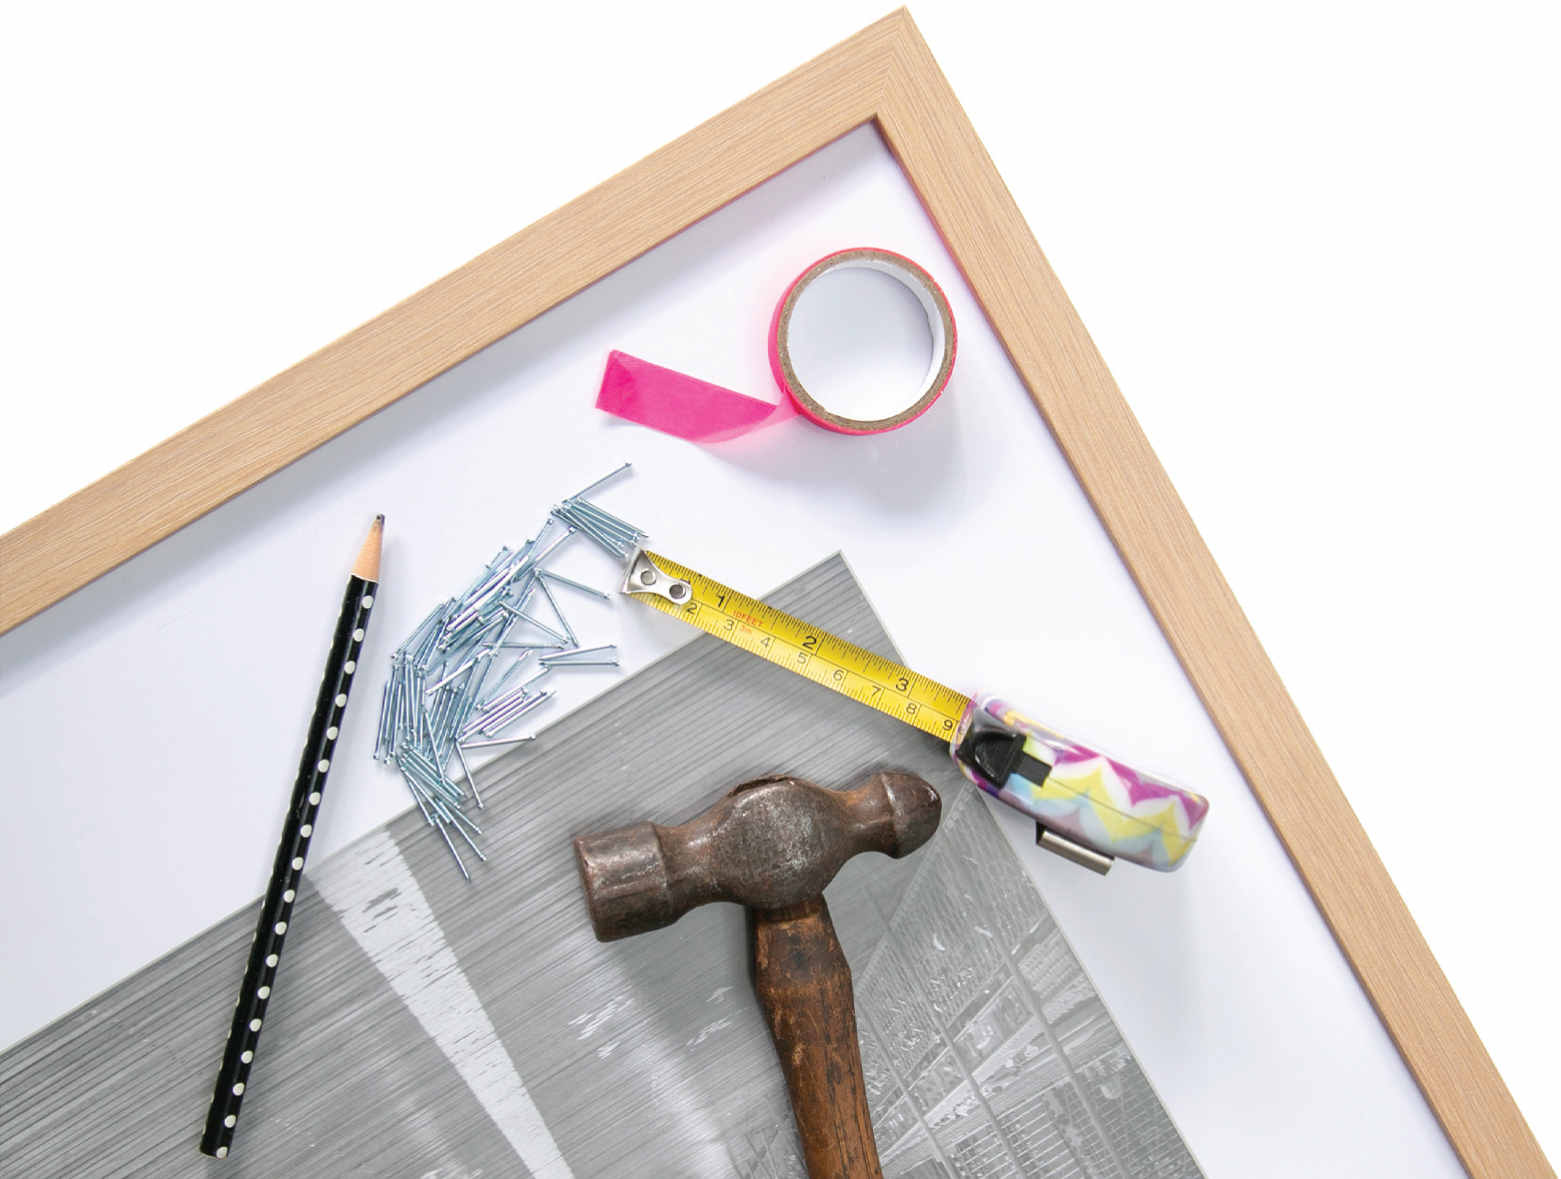
This design will transition with you from template guided weaving as shown in this book, to freehand weaving, and can be re-made into different sizes as you catch the weaver fever.
The choice of nail is the clincher in this, as you want something with a bullet or pin head, not a wide, flat head. When it comes time to take your work off the loom, you want something that isnt going to snag and pull the tension out of all your hard work. That said lets begin.
- The templates in this book are set to an A3 paper size, so find an A2-size picture frame or an A3-size poster frame
- Make sure the frame surround is timber, not plastic
- Make sure the frame width is wide enough so that the nails will have enough room tobe staggered
- A chunky frame that sits deep off the glass will make it harder to follow your templates, so find something relatively shallow
- A2-size timber picture frame, 44 x 61cm (17 x 24in)
- Approx 200 bullet head nails with a smooth shank, 2025mm (11in) length, 1.25mm (4D) diameter, I used a pack of 460 nails for this project and had plenty left over
- Small hammer
- Masking/washi tape (optional)
- Tape measure
- Pencil
Remove the backing and glass from your picture frame, and turn it over to check out the reverse. Measure the height of the bottom edge of the frame (portrait orientation). Divide that into three and you have your increments for the top and bottom line of nails ( ).
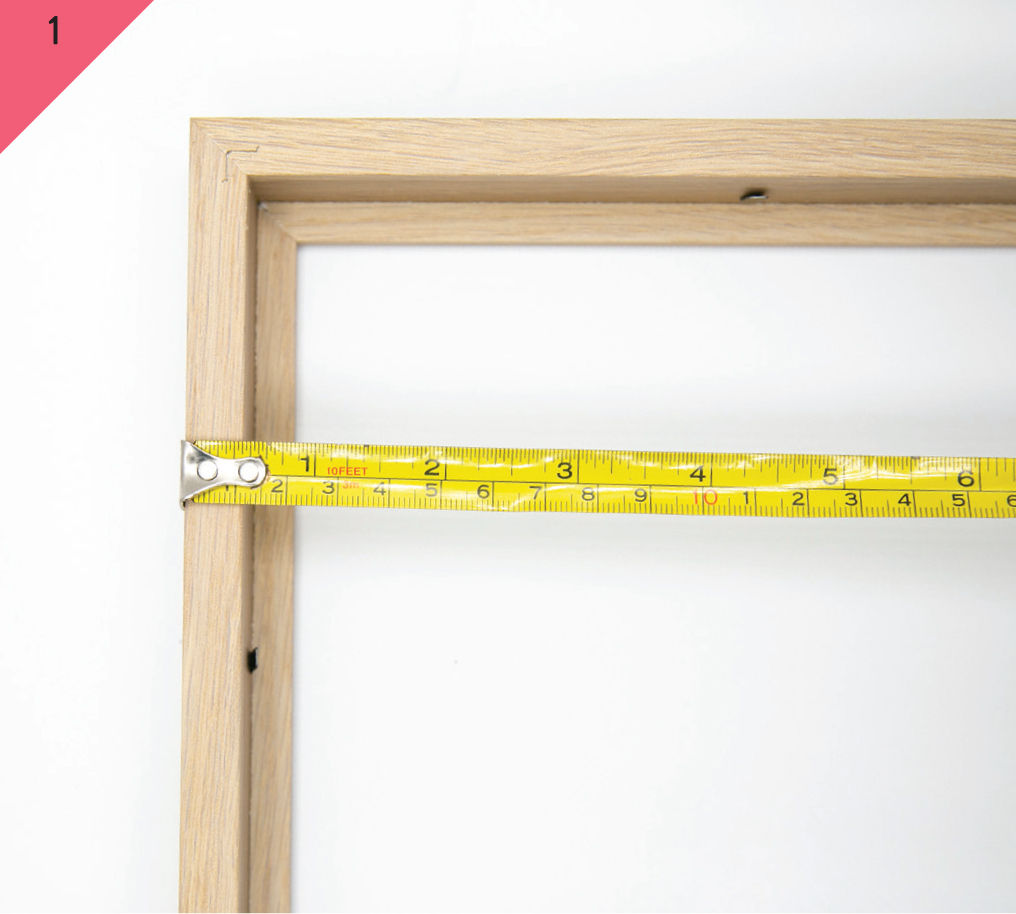
Working now on the front side of the frame, I like to put a line of tape along the sides Im working on so the pencil marks are nice and obvious. Working on the bottom side of the frame, measure and mark the one third and two thirds distance from the bottom of the frame at the right, centre and left of the frame ( ). Draw a line at these marks along the length of the side of the frame. Do the same from the top edge.
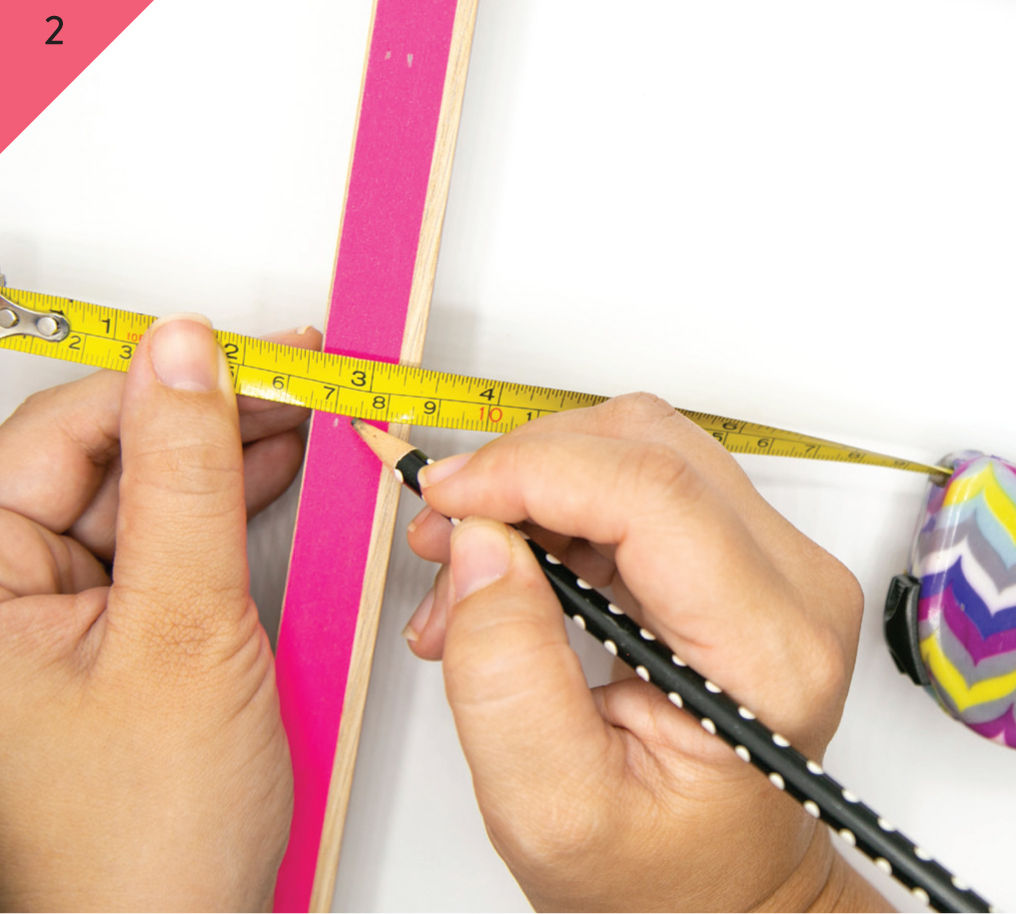
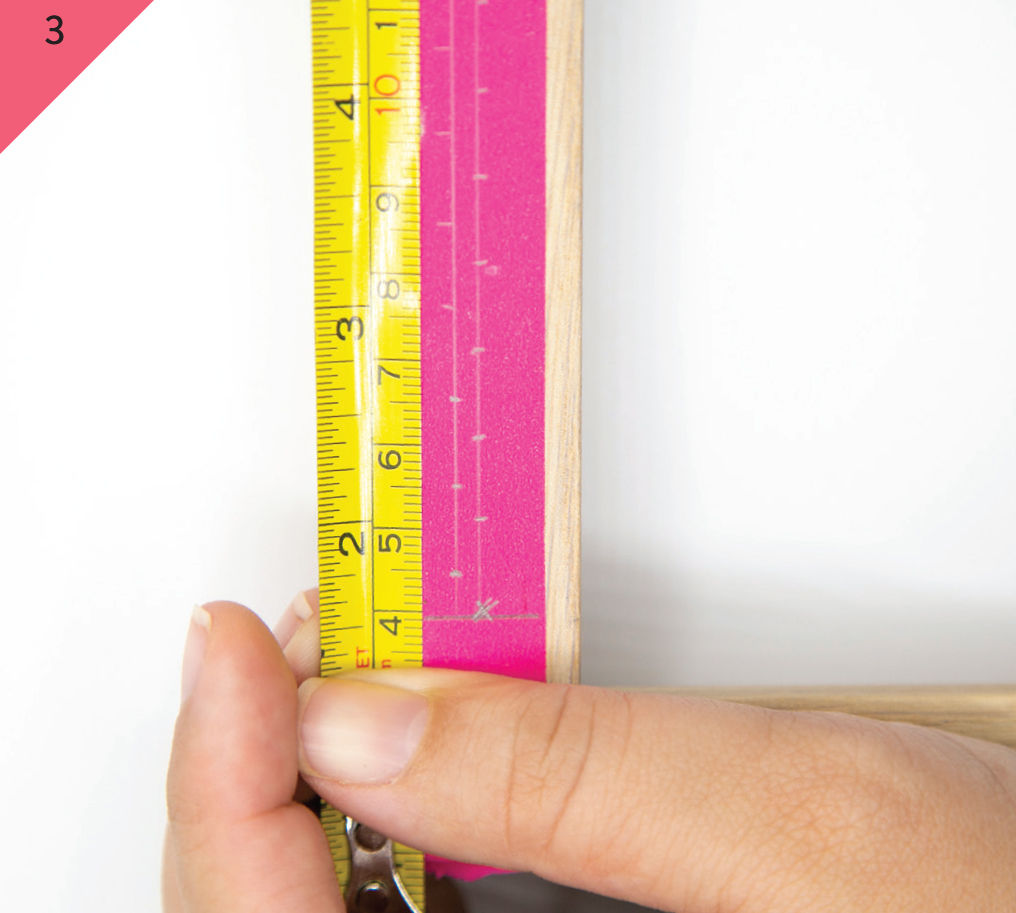
Starting 1cm (in) in from the side of the frame, put a mark on the top drawn line every 1cm (in) along the frame ( ). On the bottom line, start 1.5cm (in) in from the opening of the frame, and put a mark every 1cm (in). Do the same on the bottom side of the frame.
Font size:
Interval:
Bookmark:
Similar books «Tapestry Weaving for Beginners and Beyond»
Look at similar books to Tapestry Weaving for Beginners and Beyond. We have selected literature similar in name and meaning in the hope of providing readers with more options to find new, interesting, not yet read works.
Discussion, reviews of the book Tapestry Weaving for Beginners and Beyond and just readers' own opinions. Leave your comments, write what you think about the work, its meaning or the main characters. Specify what exactly you liked and what you didn't like, and why you think so.


