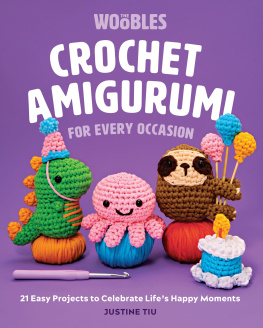
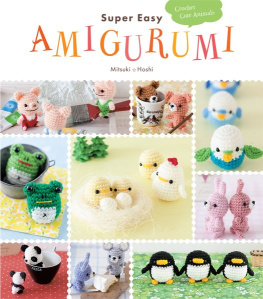
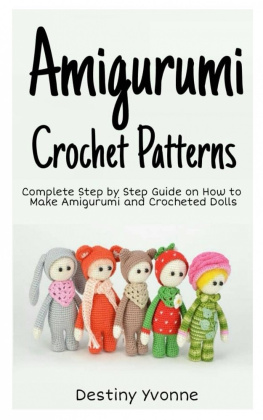
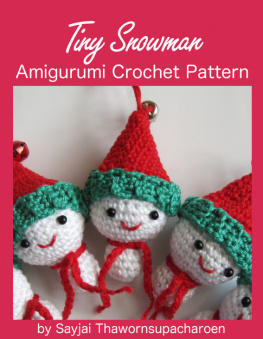
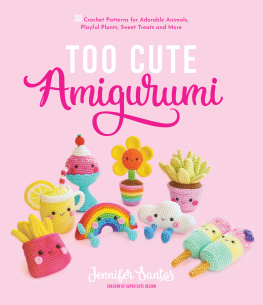
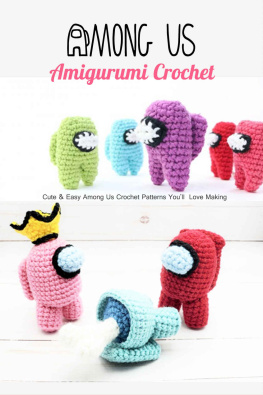
AMIGURUMI
CROCHET
Farm & Forest
ANIMALS
Kristen Rask

Introduction
Welcome to
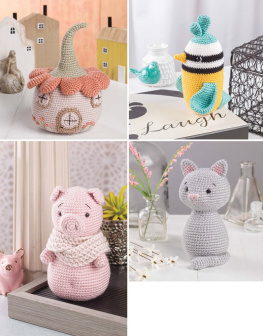
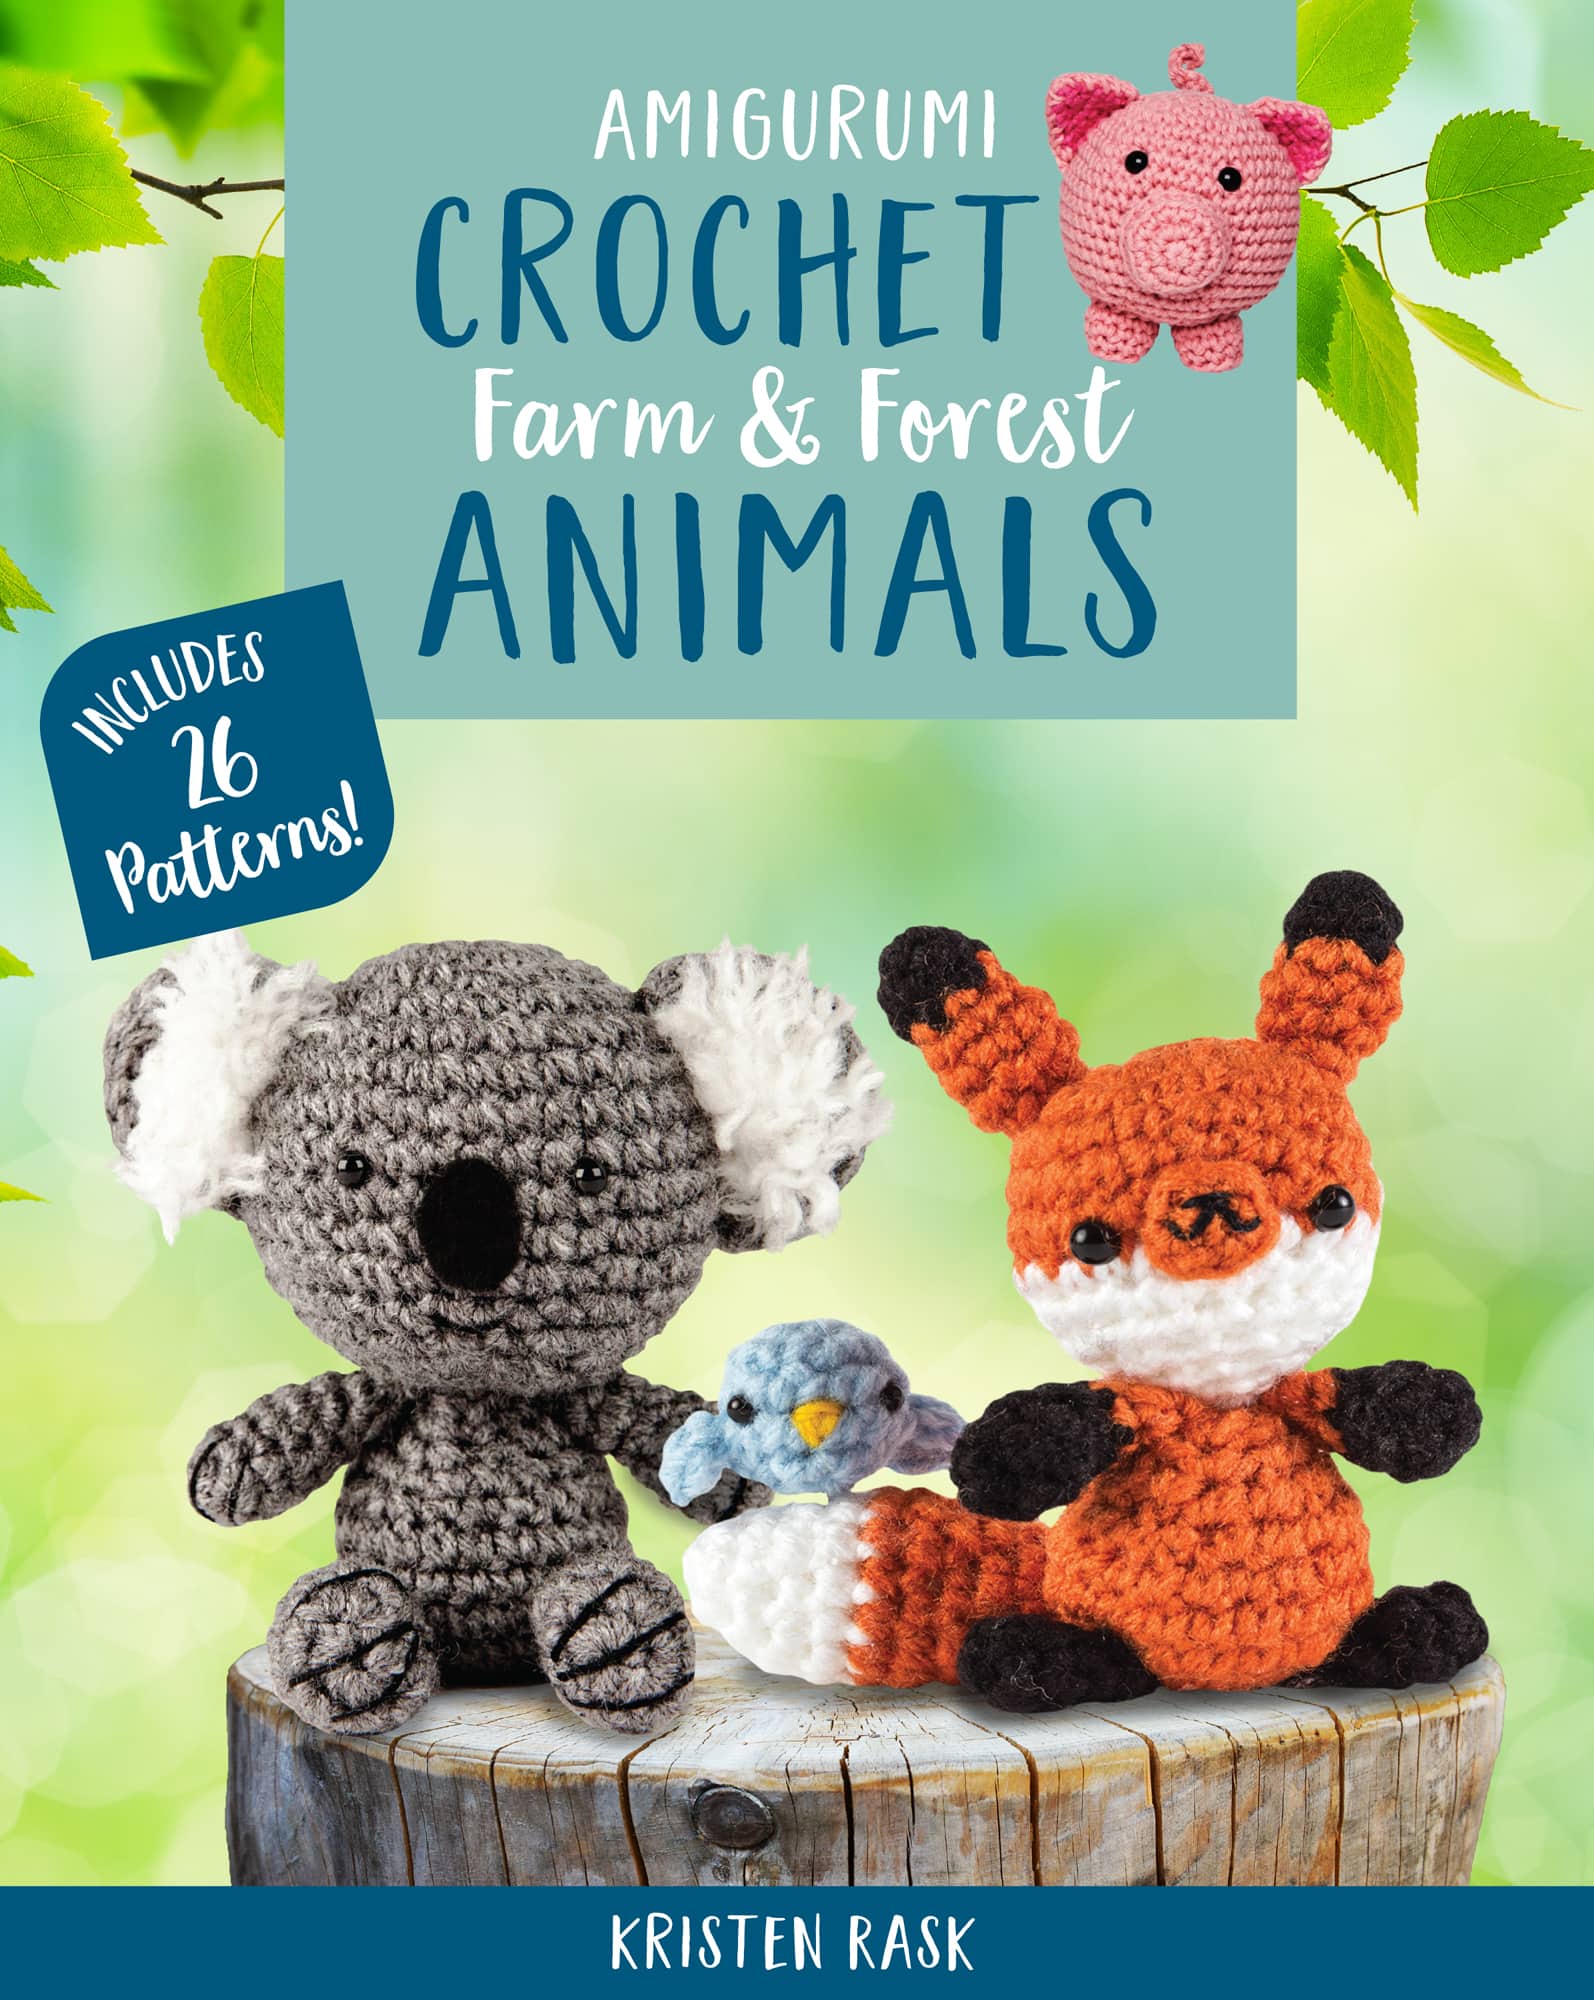
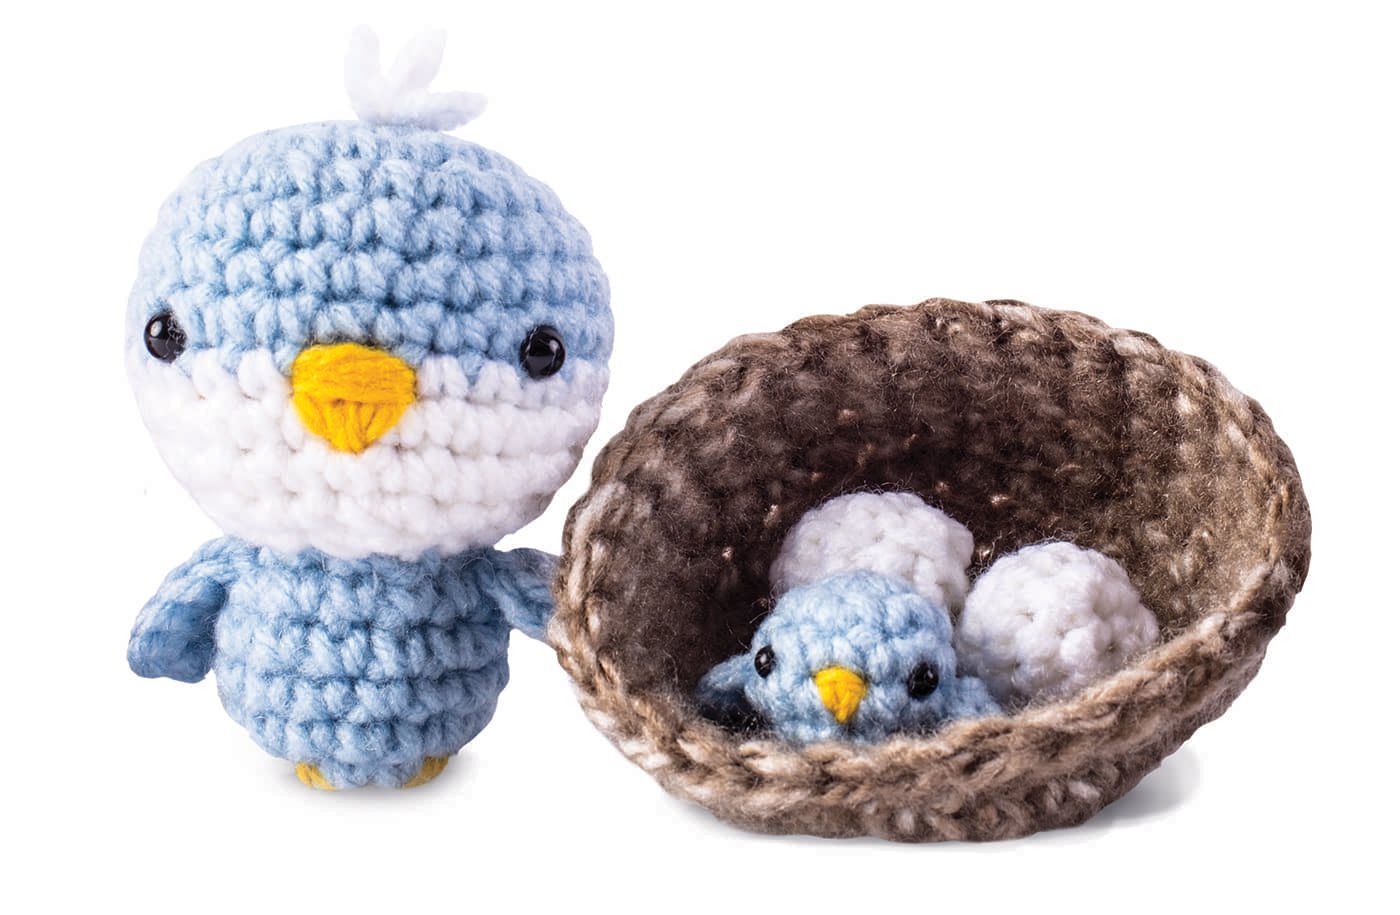
Amigurumi Crochet: Farm and Forest Animals! This book will show you how to make adorable stuffed animal projects in the popular Japanese style of amigurumi, with bright colors and big, exaggerated features. Fun for beginners and experts alike, these projects require very little material and take only a couple hours. In the following pages youll get an introduction to the essential terminology and techniques youll need to crochet them. Then its on to twenty-six animal patterns developed by talented craft artists from all over the world, complete with full-color photographs to help you follow along. Step-by-step instructions will teach you how to make a spotted cow, a curly-tailed pig, a prickly porcupine, and much, much more. Happy hooking!
Notes on Tools and Materials
Yarn I prefer to use acrylics for amigurumi (the Japanese word, now used worldwide, for knitted or crocheted stuffed figures), because they are easily available, come in a wide range of colors, and they work up into sturdy, machine-washable pieces.
The patterns in this book were designed with DK (light worsted) yarn, but you could use any yarn thickness: as long as you stick to it throughout, your dolls will turn out fine, just slightly smaller or bigger than the original.
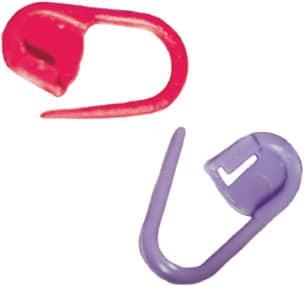
Stitch Markers These are sometimes necessary to mark specific stitches for orientation later. Also, because most amigurumi is worked in a continuous spiral without joining, you will need a stitch marker to keep track of your rounds. There are special split-ring markers for crochet, but safety pins or paper clips work just as well.
Stuffing I recommend polyester fiberfill, as it is easily available and economical, and makes resilient, washable toys. Stuffing settles over time, so (unless instructed otherwise) stuff pieces firmly so they will maintain their appearance for a long time.
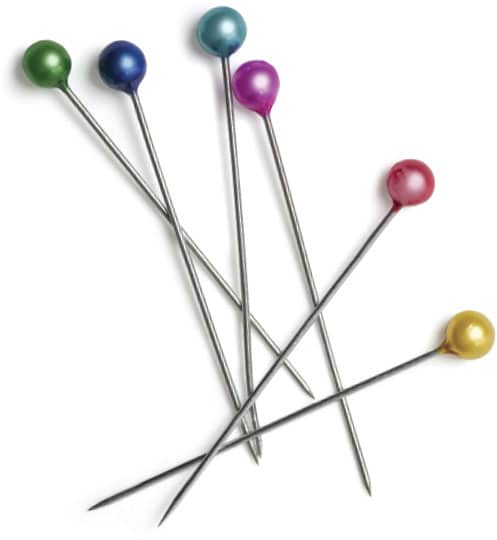
A pair of tweezers will come in handy when you need to stuff narrow pieces or fill parts through small openings. Needles and Pins Blunt tapestry needles are usually recommended for sewing knit and crochet pieces, but for amigurumi, I prefer a chenille needle (large embroidery needle) because its sharp point can pierce through yarn if necessary for a neat join. Though not an absolute necessity, a small embroidery needle gives you better control when creating fine details like a mouth. Craft pins are used to hold pieces in place while you sew them together.
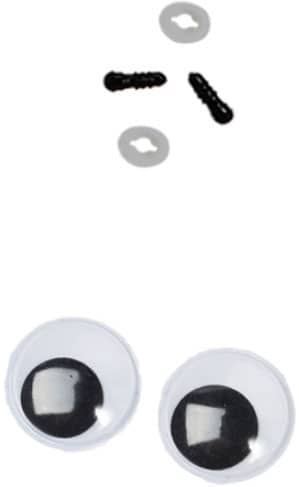
Plastic Eyes The eye sizes in this book are applicable for DK yarn; if you use a different yarn thickness, you will need to adjust the eye size accordingly. The instructions for eye placement always refer to the distance between the eye shafts/center of the eyes, which remains constant regardless of yarn weight and eye size.
For perfectly placed eyes, stuff the head, and then use pins to find the right position. Stick the eyes in place, then remove the stuffing so you can attach the washers (washers should be pushed onto the eye stems with the bulge pointing away from the eye). Please note that small plastic parts should always be considered a choking hazard for babies, so even safety eyes should be avoided. If making dolls for a young recipient, use embroidery to create the eyes.
Hook size: At the beginning of each pattern, a desired hook size is listed. Hook sizes range, from small at the beginning of the alphabet (nothing in this book is smaller than a C/2) to larger as the letters go on.
The hook size affects the gauge, the number of stitches in a square inch, and the finished project size. Tighter stitches will ensure that stuffing wont emerge through gaps, although they should be loose enough to work through them with the hook.
Reading a pattern: The patterns in this book are mostly in rounds (Rnd), meaning instead of being made in flat rows of stitches, theyre worked in circular rows of stitches, or rounds. Some crochet makers use a stitch marker to keep track of the start of each round. Asterisks surrounding instructions indicate to repeat that set of steps.
Example: *1sc, sc2tog, 1sc* (12) Translation: Single crochet in the first stitch, decrease over the next two stitches, and then single crochet in the next stitch.
Example: *1sc, sc2tog, 1sc* (12) Translation: Single crochet in the first stitch, decrease over the next two stitches, and then single crochet in the next stitch.
Repeat this process until the round is finished, giving you 12 stitches in that round. Parentheses inside asterisks are separate steps that need to be repeated in addition to repeating the entire asterisked set. In this book, an x should be read as times. Example: *2sc in next stitch, (1sc) 4x* (12) Translation: Single crochet twice in the next stitch, then single crochet into the next four stitches, and repeat.
Crochet Techniques
Before you start any of the twenty-six cute patterns in this book, practice the various stitches and learn their abbreviations.
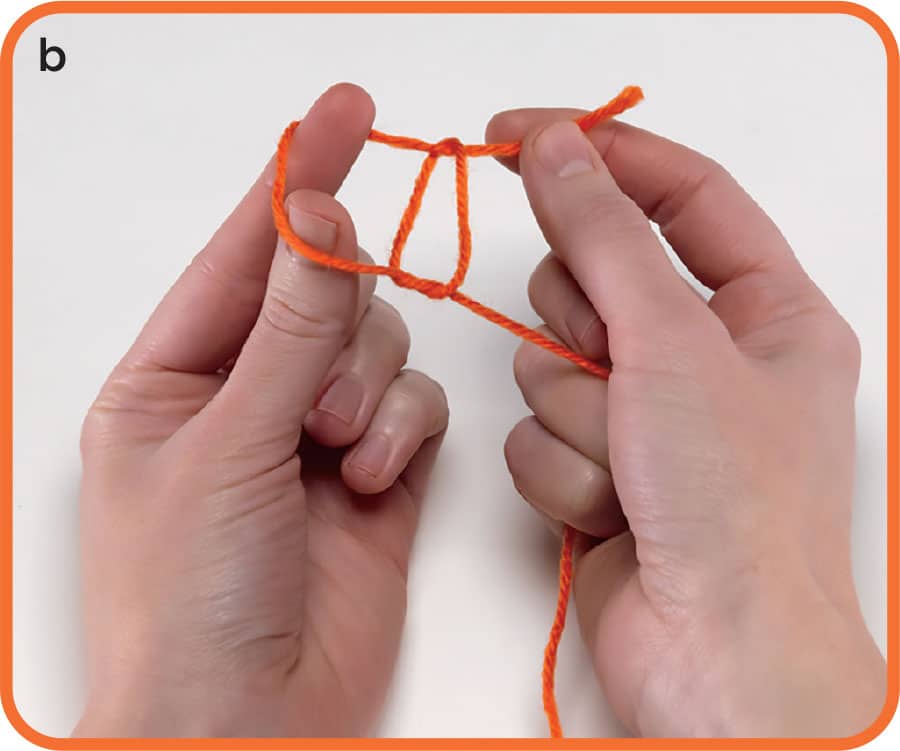
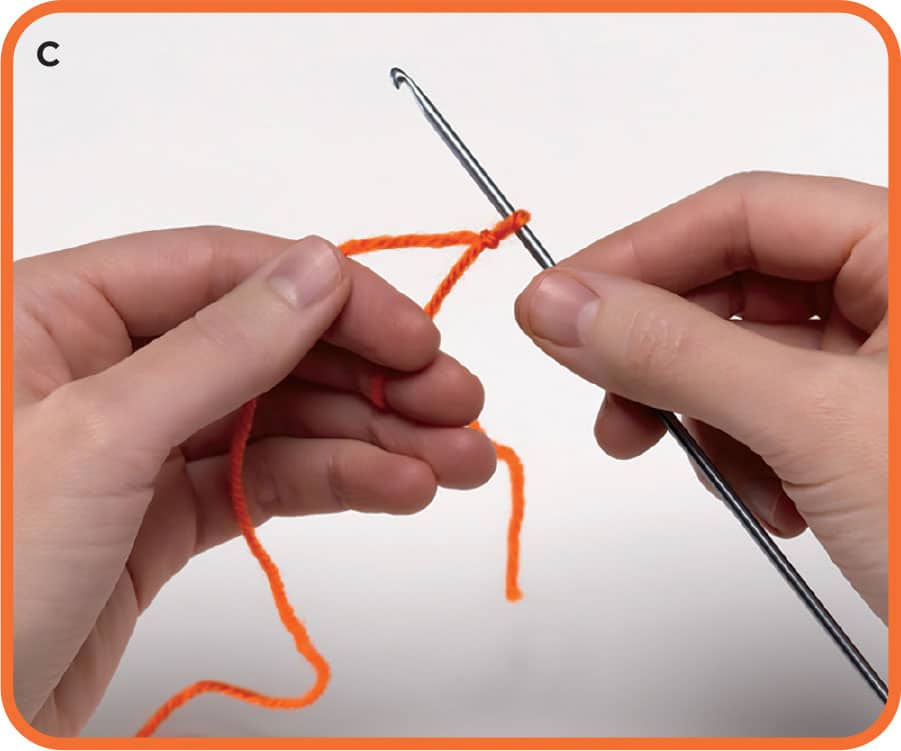
Slip Knot: Every crochet project begins with a slip knot.
Wrap the yarn around your finger, creating a loop with a 6 tail. (fig. a)
Pull one end of the yarn through the loop to create a knot. The knot should be taut, but not too tight to slip your hook through.
(figs. b and c)

