Introduction
There is enough to draw in the natural world to keep you busy for the rest of your life. Nature is easy enough to find, wherever you are, because even in the centre of a city, you can usually see the sky or find some form of vegetation. Even a small suburban garden can hugely increase your store of knowledge about nature.
The world of plants, upon which both humans and animals rely so greatly for their existence, constitutes a vast area of work for the artist, which might be said to culminate in the execution of an entire landscape. However, before you get around to landscapes, you must first take a good hard look at a range of plants and flowers, in order to understand the rules of growth patterns and how they are repeated. Once you have observed these at close quarters, it is much easier to draw the plants so they actually look as though they are growing. In the first chapter of this book we shall start by focusing on plants, flowers and small areas of vegetation, honing your observation skills and your drawing technique.
Another aspect of nature drawing that you can practise without leaving the comfort of your own home is still life, which is the focus of the second chapter in this book. For centuries, artists have been studying the forms of fruit, flowers, stones, shells and other natural objects, and arranging them into pleasing compositions.
Returning to the outside world, we shall look at the many wonderful shapes and seasonal displays of trees and how you can render them convincingly. Some elements of the natural world are difficult to draw and you will have to study them over and over again in order to understand how they could work as drawings. One example is the element of water, which produces myriad visual effects for you to try to capture. We shall be looking in depth at how to draw stones, rock formations and water in its various guises, as well as the sky, sun and clouds.
In the final two chapters of the book, we shall focus on drawing landscapes, from exploring a location and choosing a viewpoint for your own drawing, to studying the compositions of master artists. Producing landscapes, in any medium, is an excellent pursuit. Apart from getting you out into the world and helping you to appreciate its beauties and structure, it calms the mind and soothes the emotions. As you draw and observe, observe and draw, a certain detached acceptance of what is there in front of you takes over. It is also fascinating to discover ways of translating impressions of an outside scene into a two-dimensional set of marks on paper. Whether or not you share some of your experience of your observation with others, it is a truly beneficial activity.
Drawing Materials
The first thing to consider before you start drawing is your choice of materials. There are many possibilities and good specialist art shops will be able to supply you with all sorts of materials and advice. However, here are some of the basics to start with.
Pencils, graphite and charcoal
Good pencils are an absolute necessity, and you will need several grades of blackness or softness. You will find a B (soft) pencil to be your basic drawing instrument, and I would suggest a 2B, 4B, and a 6B for all your normal drawing requirements. Then a propelling or clutch pencil will be useful for any fine drawing that you do, because the lead maintains a consistently thin line. A 0.5mm or 0.3mm does very well.
Another useful tool is a graphite stick, which is a thick length of graphite that can be sharpened to a point. The edge of the point can also be used for making thicker, more textured, marks.
An historic drawing medium is, of course, charcoal, which is basically a length of carbonized willow twig. This will give you marvellous smoky texture, as well as dark heavy lines and thin grey ones. It is also very easy to smudge, which helps you to produce areas of tone quickly.

B (soft) pencil

propelling or clutch pencil

graphite stick

charcoal

stump
Now for an instrument called a stump, which is just paper rolled up into a solid stump and sharpened at both ends. Use this to blend tones in a drawing it produces very gradual changes of tone quite easily.
Pen and ink
Next, take a look at the various pens available for ink drawing, a satisfying medium for many artists. There is the ordinary dip and push pen, which requires liquid ink and can produce lines both of great delicacy and boldness just by varying the pressure on the nib. With this you will need a bottle of Indian ink, perhaps waterproof, or a bottle of liquid watercolour.
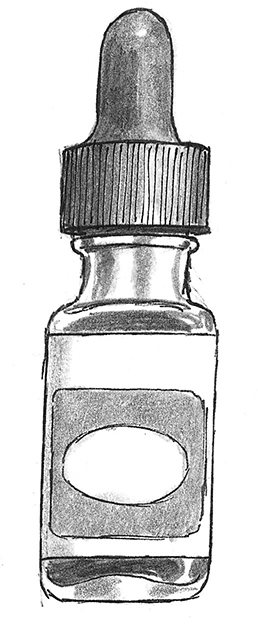
liquid concentrated watercolour

dip or push pen
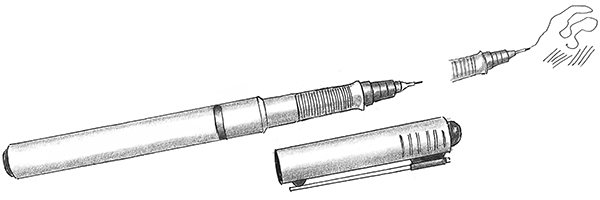
graphic pen
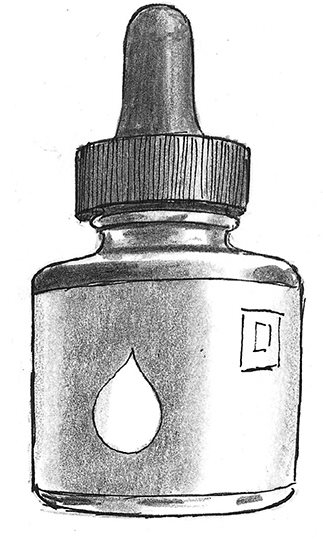
Indian ink
Modern graphic pens or fineliners are available in a range of thicknesses and produce a consistent fine line. They are less messy than the dip pen described above, but not as versatile.
Felt tips and markers
There are also felt tips, which are thicker than the graphic pens, and permanent markers, which produce very thick lines in indelible colours.

felt tip
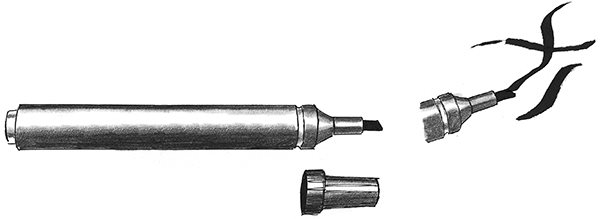
permanent marker
Brushes
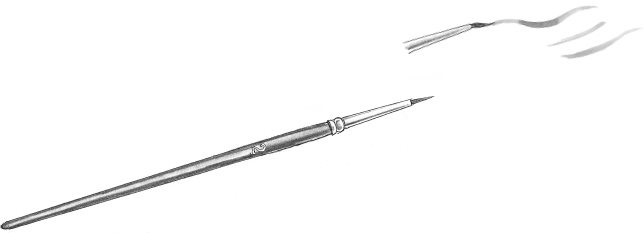
If you wish to work in brush and wash, you will need a couple of brushes of different thicknesses; I find that Nos 2 and 8 are the most useful. The best brushes are sable hair, but some nylon brushes are quite adequate. Use your brushes with a liquid watercolour as shown on .
Next page
