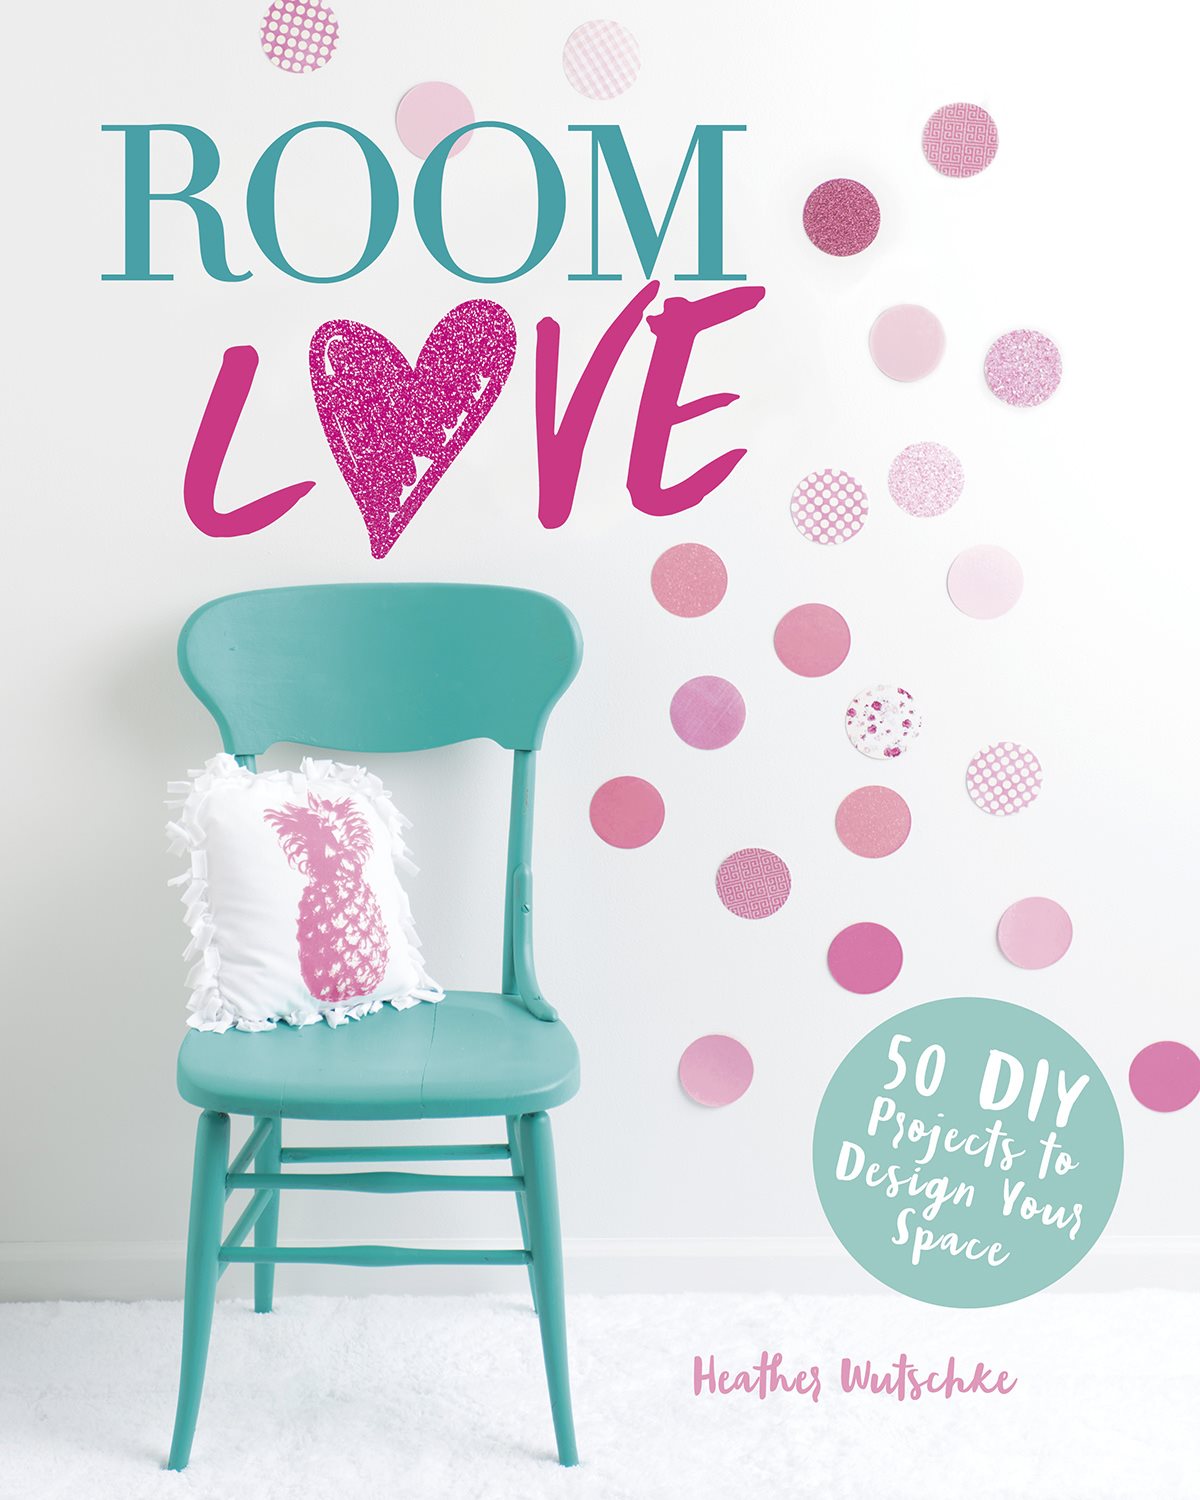
Welcome to Room Love
Statistics say you will spend at least one third of your life in your bedroom ONE THIRD! So why not make it the most amazing place you can imagine and fill it with things that make you happy? Your bedroom should reflect your personality. It should be a room where you cant wait to curl up with a good book, an inspiring space for you to get ready to face the world, and the place where your friends all want to hang out. Show your room a little love and it will become a place where you love to be!
This project guide is designed to help you develop your own personal style and make your room into a happier, cozier space that celebrates you. ROOM LOVE will help you achieve high style on any budget with upcycled, recycled, or made-from-scratch projects and crafts that you can do yourself. Each one is designed to help you develop and embrace your unique style. Happy DIY! And remember: Everything in your room should bring you joy!
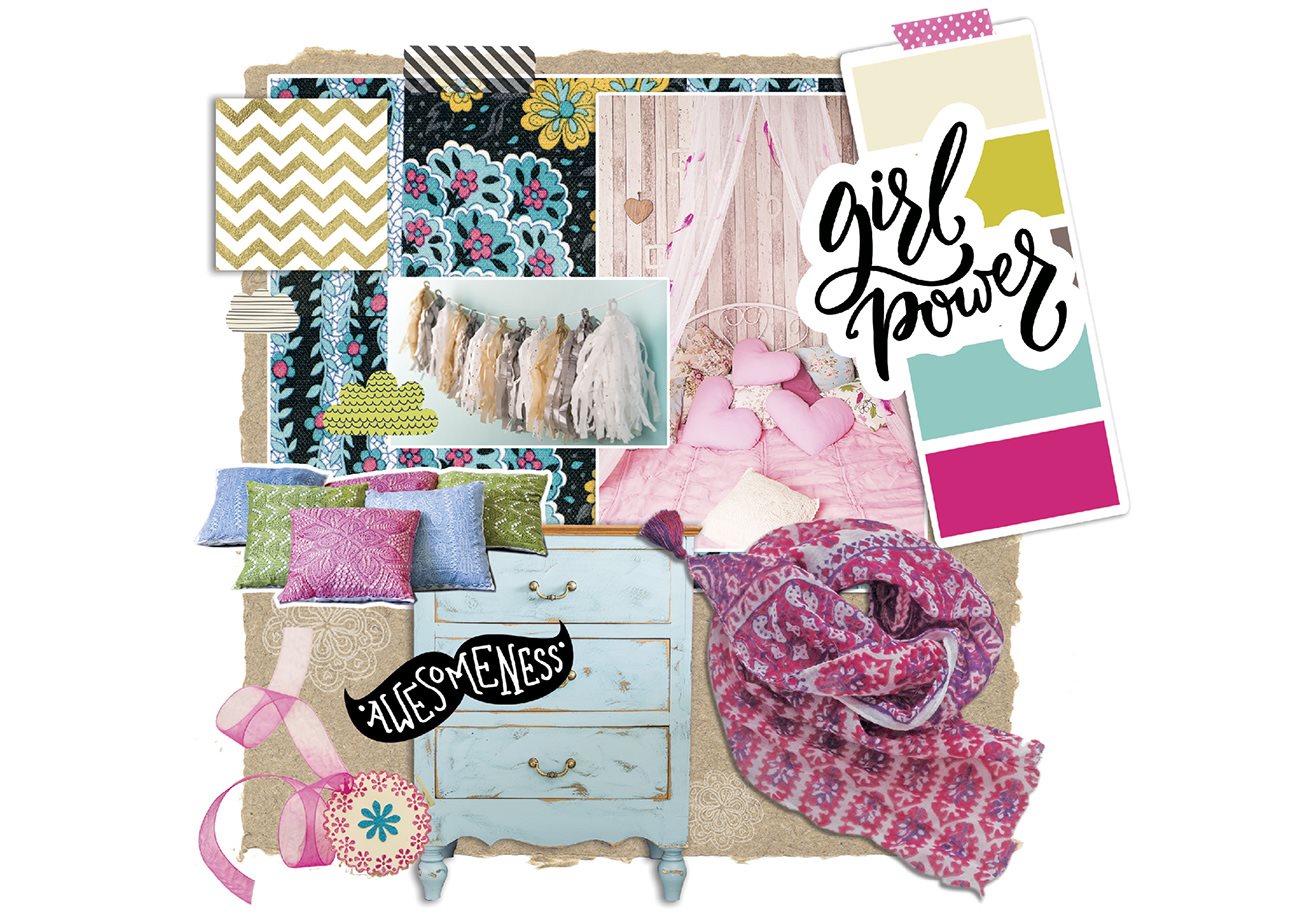
Create a Mood Board
Visualize your ideal room. Is it girly and pink? Soft and modern? Edgy and cool? Eclectic and full of different patterns? A great way to form a strong vision is to create a mood board.
Start gathering images and objects you are drawn to patterns, color combinations, textures, furniture styles, clothing and jewelry, words that reflect your personality anything that evokes emotion and screams YOU!
Supplies
- photos, printed pictures, fabric scraps, scrapbook paper, paint swatches, quotes, etc.
- scissors
- canvas, board, or cardboard
- glue or washi tape
Steps
- Research: Look through photos, magazines, Pinterest, postcards, etc. Print or cut out images that inspire you. Include snips of scrap fabric, patterned paper, or paint swatches to capture color schemes you like.
- Pull it all together: Position images on the board in an arrangement you like. Adhere each with glue or washi tape. Add textures, color swatches, notes, favorite words, and anything else that defines your style.
- Place the mood board in your room to help inspire you as you make design decisions. This mood board can help you determine the overall look and feel of your new space.
Declutter and Rearrange
Before you get creative, youve got to get decluttered! Most of us have more stuff than we know what to do with (and definitely more than we need). All that clutter adds stress to your life! Eliminating extra stuff from your room will clear the canvas and allow you to create a space that rejuvenates you instead of distracting you.
Tips to Declutter
- Work your way around your room. Every area should get a thorough inspection. Dont forget the closet and under the bed!
- Check with a parent before throwing anything away. Ask about giving away items of value or putting them into storage if theyre not working in your room.
- Set up three piles: one for KEEP, one for GIVE AWAY, and one for THROW AWAY. Throw out anything torn, stained, or broken. Sell or donate anything that someone else can use. Keep only the items that you love or really need. Say goodbye to anything you havent used in a year.
- Consolidate and eliminate! Why do you have four jewelry boxes or five black sweaters that all look the same? Pick your favorites to keep and give the others away.
- Sort like things together: All your books should be in one area, all your art supplies in another spot, etc. Every shelf and drawer should have a purpose.
- Before putting away the things youre keeping, clean every surface. Clean as if your snoopiest relative were coming for a visit. Utilize those weird vacuum nozzle attachments that have never been used!

After youve decluttered, making efficient and creative use of your space will set you on the path to transforming your room into your happy place. Take a look around. Is your bed too close to a chilly window? Is there good lighting for your study area? Do you have places to store everything? Experiment with different layouts on paper before you start moving furniture around.
Supplies
- tape measure
- ruler
- pencil (and eraser!)
- paper
- scissors
Steps
- Measure your room. Draw the outline of your room on a piece of paper. (Eg., for an 8 x 10-foot room, draw a box 8 x 10 inches.) Dont forget the closet!
- Mark doors, windows, outlets, etc., on the paper.
- Measure your furniture. Cut smaller pieces of paper to represent furniture using the foot-to-inch ratio again. (If your bed is 6 x 4 feet, cut out a rectangle that is 6 x 4 inches.)
- Get creative! Move furniture pieces around the paper until you find the best arrangement.
Tip
- Want to try a digital layout? Check out these free apps: RoomSketcher, Floorplanner, Sweet Home 3D, Floor Plan Creator, and MagicPlan.
SECTION ONE
Fab Furniture & Fabrics
Add warmth and shine to your room with reinvented furniture and cozy fabrics. Create a sanctuary where you can feel calm, nurtured, and recharged.
Dresser Makeover
This project is a great hand-me-down furniture solution! Take something outdated or boring and turn it into something beautiful and unique.
Supplies
- dresser or any piece of furniture you want to stencil
- drop cloth
- medium-grade sandpaper
- slightly damp paper towels
- paint with primer for base color (satin finish)
- paint tray


