Roxan Obrien - Colored Pencil on Copper Jewelry: Enhance Your Metalwork the Easy Way
Here you can read online Roxan Obrien - Colored Pencil on Copper Jewelry: Enhance Your Metalwork the Easy Way full text of the book (entire story) in english for free. Download pdf and epub, get meaning, cover and reviews about this ebook. year: 2018, publisher: Stackpole Books, genre: Home and family. Description of the work, (preface) as well as reviews are available. Best literature library LitArk.com created for fans of good reading and offers a wide selection of genres:
Romance novel
Science fiction
Adventure
Detective
Science
History
Home and family
Prose
Art
Politics
Computer
Non-fiction
Religion
Business
Children
Humor
Choose a favorite category and find really read worthwhile books. Enjoy immersion in the world of imagination, feel the emotions of the characters or learn something new for yourself, make an fascinating discovery.

- Book:Colored Pencil on Copper Jewelry: Enhance Your Metalwork the Easy Way
- Author:
- Publisher:Stackpole Books
- Genre:
- Year:2018
- Rating:5 / 5
- Favourites:Add to favourites
- Your mark:
Colored Pencil on Copper Jewelry: Enhance Your Metalwork the Easy Way: summary, description and annotation
We offer to read an annotation, description, summary or preface (depends on what the author of the book "Colored Pencil on Copper Jewelry: Enhance Your Metalwork the Easy Way" wrote himself). If you haven't found the necessary information about the book — write in the comments, we will try to find it.
Copper is an affordable option for metalwork, and with the techniques in this book, you can add endless colorful designs to your necklaces, bracelets, earrings, and brooches. By following the illustrated instructions, you will be able to draw and color any design you like onto your jewelry with just a few easy-to-find tools. Give coloring a try on the 10 included projects, or branch out with your own ideas. Once you have mastered the basics, you will have opened a whole new realm of creative options for your jewelry designs.
Roxan Obrien: author's other books
Who wrote Colored Pencil on Copper Jewelry: Enhance Your Metalwork the Easy Way? Find out the surname, the name of the author of the book and a list of all author's works by series.


Colored Pencil on Copper Jewelry: Enhance Your Metalwork the Easy Way — read online for free the complete book (whole text) full work
Below is the text of the book, divided by pages. System saving the place of the last page read, allows you to conveniently read the book "Colored Pencil on Copper Jewelry: Enhance Your Metalwork the Easy Way" online for free, without having to search again every time where you left off. Put a bookmark, and you can go to the page where you finished reading at any time.
Font size:
Interval:
Bookmark:
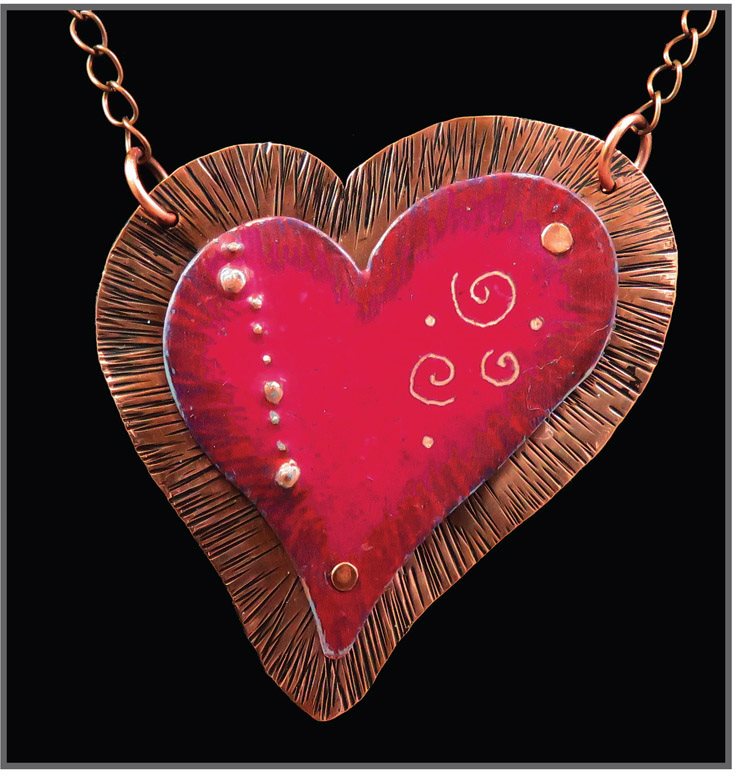
This heart is done without shaping on a hydraulic press and is easy for anyone to do with few tools. Using a single color allows you to learn how to blend and work the colored pencils before moving on to more complicated designs.
Supplies
Two 3 3-inch pieces of 22- or 24-gauge copper sheet
Jewelry saw or metal shears
Chasing hammer
Riveting hammer
Medium and fine sandpaper
Fine steel wool
Two .05-inch or 1.27 mm copper rivets (available from Rio Grande)
Flush cutters
Safety glasses
1.25 mm hole punch or drill bit to fit the rivets and 1.80 mm punch for jump ring holes
PrismaColor Premier colored pencils
Tracing paper
Gesso
Turpentine
Acrylic spray
Scribe or engraver
Small #1 and #8 flat brushes
1 mm or 2 mm dimple pliers or punch
Two 16-gauge round jump rings, 9 mm (OD)
Novacan Black Patina
ProtectaClear or a sealer made for metal
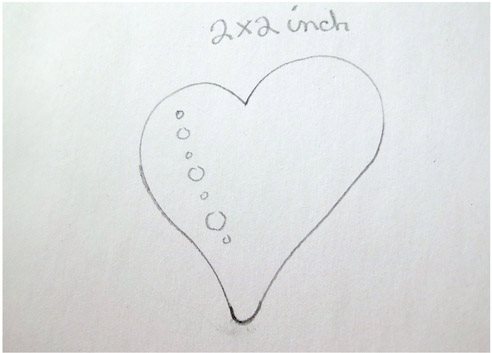
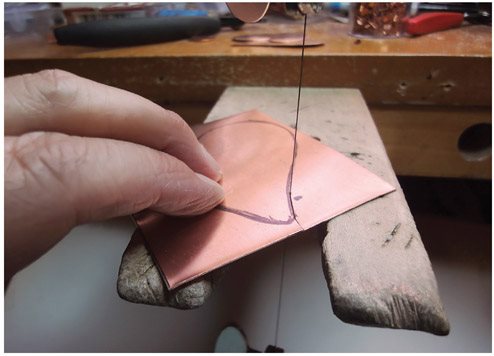
Draw a 2 2-inch heart on a piece of paper and use this to make your heart by copying the heart onto a piece of tracing paper and gluing the tracing paper to one of the 3 3 sheets of copper.
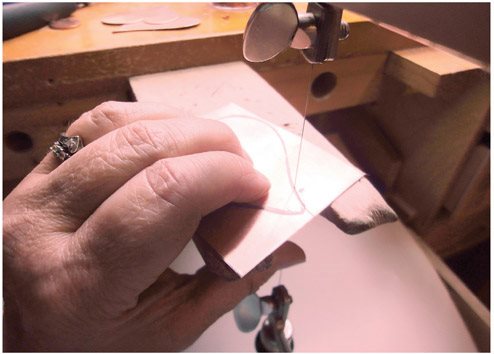
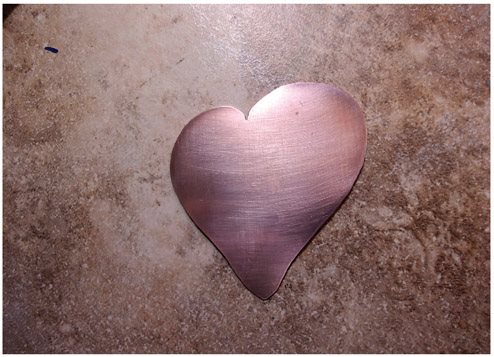
Using a saw or metal shears, cut out your heart (or use a pancake die to cut a heart). File and sand the edges till they are smooth. Rough up the surface on the front of the heart with medium sandpaper, then use dimple pliers or punch to place the design down the left side of your heart as shown on the finished heart. Clean the piece to remove any oils or dirt from your hands, and let it dry.
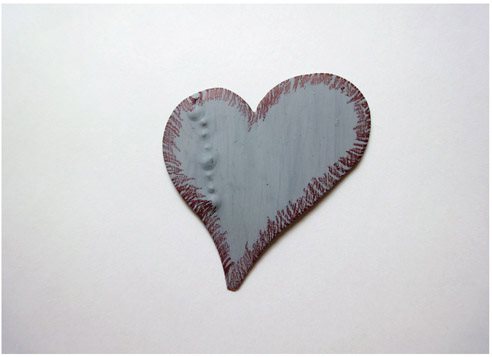
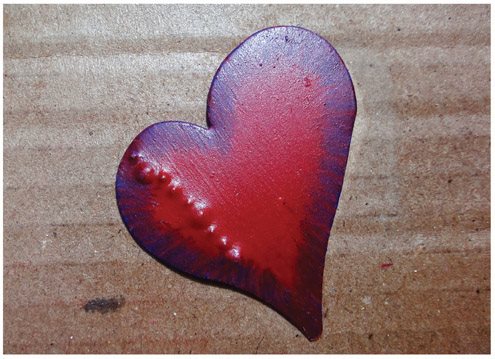
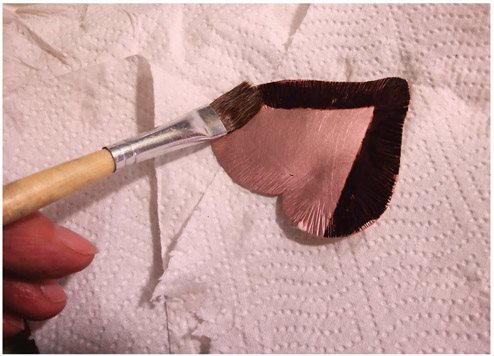
Apply two coats of gesso to the heart and dry with a heat gun or hair dryer. Using a dark red or maroon pencil, color the edges of the heart as shown. Use a lighter red to color the whole heart. Dont worry if it doesnt look completely covered, since this is only the first coat. Apply a very small amount of turpentine to a brush and dab it onto the heart, pushing the color into the gesso.

This is what it looks like after the first coloring and application of turpentine. Once it is dry, apply another coat of color to the heart.
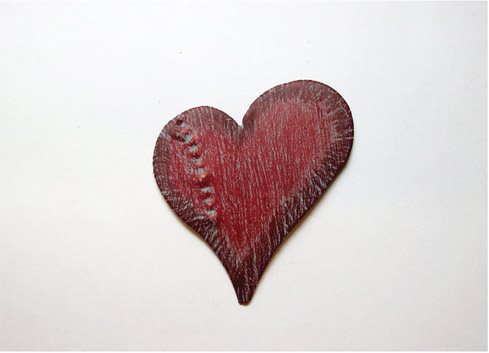
The second coat of color should cover all the gesso. Allow the piece to dry thoroughly before spraying with acrylic.
Put your heart on a piece of paper or cardboard and spray outdoors. Spray a light coat of acrylic on the heart and let dry.

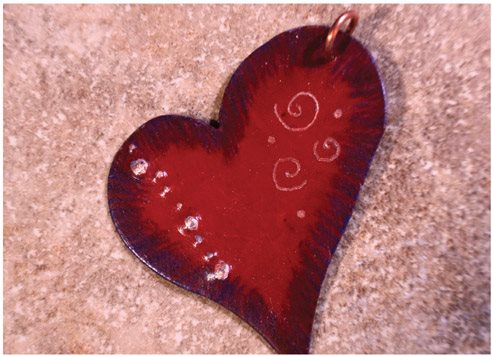
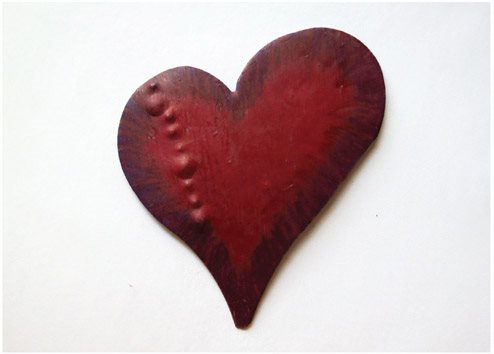
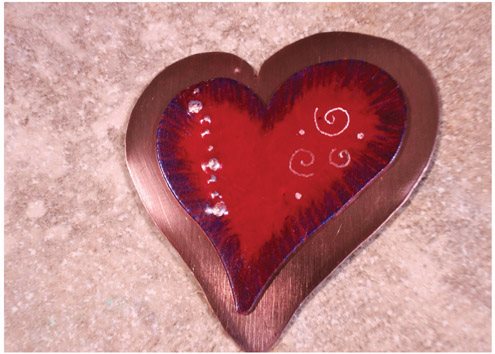
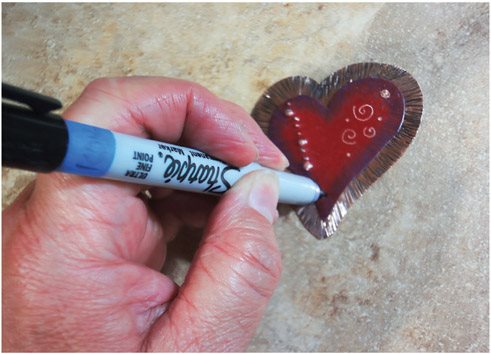
Using an engraver or metal scribe, highlight the dimpled areas and add spirals and dots. Punch a hole in the upper right-hand side of the heart as shown. If this is your completed piece, put a jump ring in the hole and add a chain.
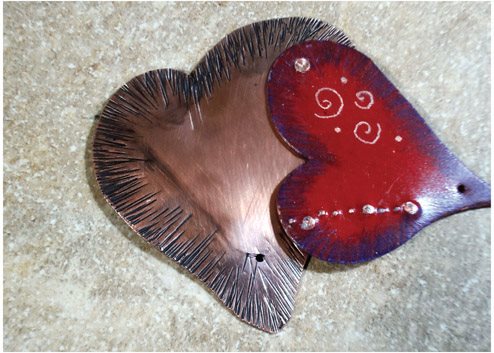
If you want to add the background piece, draw and cut another heartthis one 2 2 incheson the second 3 3-inch sheet of copper. This will create a -inch edge around the colored heart that you just finished. File and sand the edges.
Place your colored heart on the second heart to check the size. It should have a fairly even -inch edge around all sides.

Using a texturing or riveting hammer, hammer all around the outside of the heart. While hammering, the heart may buckle. Turn it over and use a mallet to flatten the metal as you go.
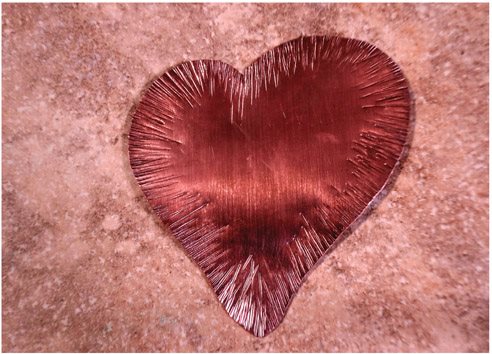
Check to make sure that the finished heart will cover the inside ends of the marks when done hammering.
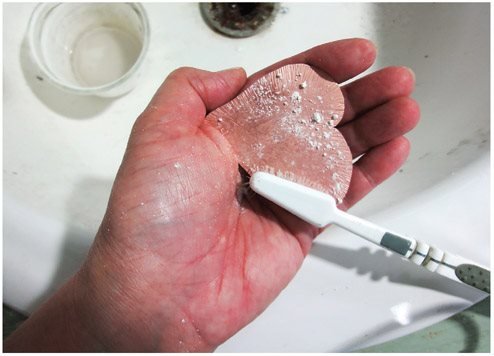
Clean your heart with a cleanser such as Bar Keepers Friend. Once water runs off without beading up on the surface of the heart, it is clean and ready for patina. Be careful not to touch anything but the edges so you dont get any oil on your piece.
Use a clean brush to apply whatever dark patina solution you want around the hammered edge. I used Novacan Black Patina. Once the piece turns black, rinse in water and dry. Highlight your piece by cleaning off the excess patina with fine sandpaper or fine steel wool.
Center your colored heart over the bigger heart and mark the hole on the top with a Sharpie pen using the hole created on the first heart. This will become the hole for the first rivet. Mark the hole for the second rivet as shown. Punch the second hole on the mark where the second rivet will go.
Punch the top hole that you marked on the second heart. Wearing safety glasses place the rivet in the holes on both hearts from the front, then cut the rivet on the back with the flush cutters to 2 mm and set the rivet from the back of the piece using a chasing hammer. Mark the second hole and move the heart to the side so you can punch the second hole on the bottom piece. Do not punch the bottom hole till the first rivet is set.
Font size:
Interval:
Bookmark:
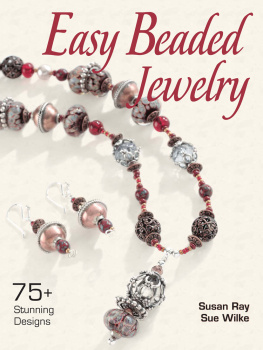
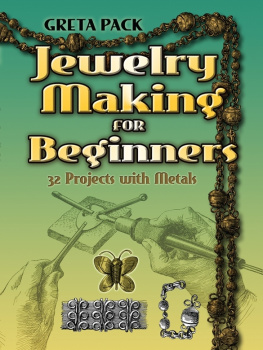
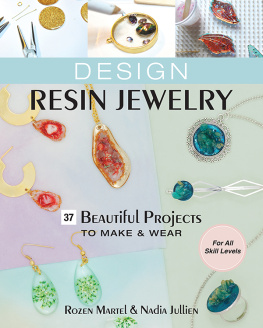
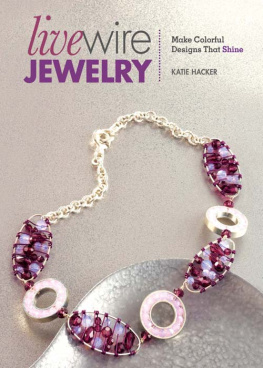
Similar books «Colored Pencil on Copper Jewelry: Enhance Your Metalwork the Easy Way»
Look at similar books to Colored Pencil on Copper Jewelry: Enhance Your Metalwork the Easy Way. We have selected literature similar in name and meaning in the hope of providing readers with more options to find new, interesting, not yet read works.
Discussion, reviews of the book Colored Pencil on Copper Jewelry: Enhance Your Metalwork the Easy Way and just readers' own opinions. Leave your comments, write what you think about the work, its meaning or the main characters. Specify what exactly you liked and what you didn't like, and why you think so.