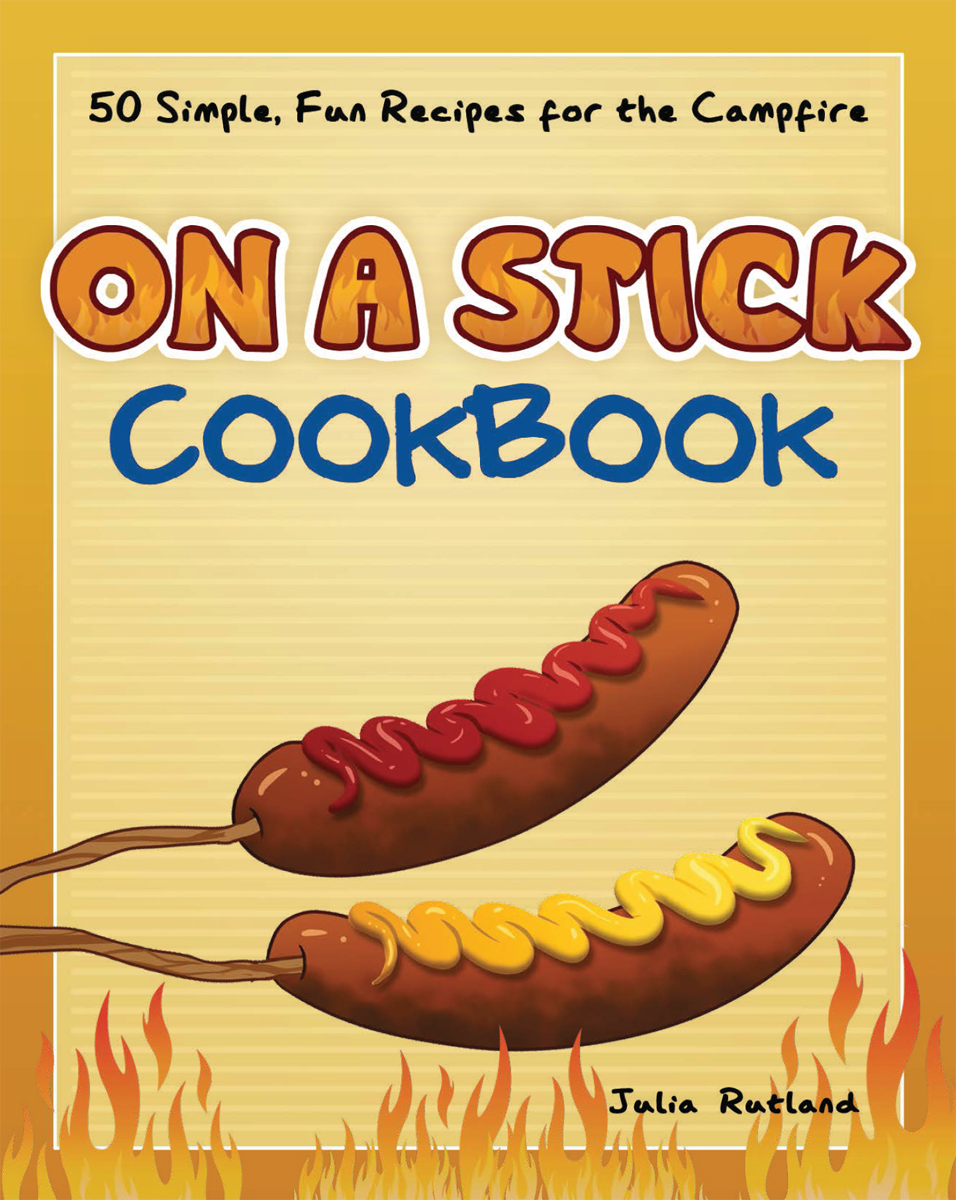
 Cover and book design by Jonathan Norberg Edited by Emily Beaumont Illustrations by Emily Rutland unless otherwise noted All images copyrighted. Used under license from Shutterstock.com: Cover image: hugolascasse: fire image GraphicsRF: stick under recipe names; Juliana Million: page number flame; Lana_Samcorp: hot dog on a stick under recipe names; vectorisland: marshmallow on divider pages 10 9 8 7 6 5 4 3 2 1 On A Stick Cookbook: 50 Simple, Fun Recipes for the Campfire Copyright 2019 by Julia Rutland Published by Adventure Publications An imprint of AdventureKEEN 330 Garfield Street South Cambridge, Minnesota 55008 (800) 678-7006 www.adventurepublications.net All rights reserved Printed in China ISBN 978-1-59193-821-7 (pbk.); ISBN 978-1-59193-822-4 (ebook) To my favorite camping campanions, Dit, Emily, and Corinne Table of Contents Cooking on a Stick Campfire cooking purists use a slender branch to hold food over hot coals. This old-school method is charming and creates a fun activity as your family and friends search for the ideal cooking sticks. Choose a branch or stick long enough to reach the fire. The stick should be sturdy enough to hold food without breaking, yet slim enough that food can easily slide on. Green wood will be more resistant to catching fire than old, dry sticks.
Whittle the end of the stick into a point with a pocket knife. While branches are authentic, metal and make campfire cooking easy and convenient. Some recipes require a longer cooking time over the fire, and you may not want to hold a heavy skewer or stand near the heat for more than a few minutes. To give yourself a break, here are few techniques to try.
- Use very long skewers, and prop them up against the rocks that form the perimeter of the fire ring.
- Place skewers on a grill grate over the fire; turn as needed.
- Use long barbecue tongs to hold the skewer; this will lengthen the distance between your hand and the fire.
Tips for Campfire Cooking Cooking over an open wood fire is the ultimate experience.
- Only make a campfire where its allowed and always be aware of burn restrictions in your area, especially in areas where forest fires are a risk.
If possible, use an established fire pit. If creating your own, look for a large, flat rock or a layer of sand as a base, making sure roots and leaves are well out of the way to prevent errant fires. Avoid overhanging branches. Pile rocks around the outside as a windbreak and to contain flames and sparks.
- Have firewood and lots of tinder (dry leaves, grass, wood shavings) and kindling (small twigs and branches) in piles ready to use. If gathering, look for dry wood that snaps easily. Try to use logs no larger than your wrist or forearm because large logs take a while to get started.
- Keep a bucket of water, fire extinguisher, or shovel for tossing sand and dirt to put out the fire.
After youre done, scatter ashes and embers and sprinkle with water, stirring occasionally, until smoldering stops.
- If youre camping, be sure to familiarize yourself with bear safety tips before cooking at your campsite or storing food outdoors.
How to Build a Campfire Tapee-style campfire Arrange kindling in a cone shape around a small pile of tinder. Once lit, add logs a few at a time. Log cabin-style campfire Place two equal-size logs side by side, leaving a few inches in between. Add two logs on top, perpendicular to the first two, to form a square. Repeat for a few more layers, using the largest logs on the bottom. Leave space between logs so the fire can get oxygen.
Place tinder in the center, and top with kindling and more tinder. Pyramid-style campfire Place four of the largest logs side by side. Place another layer on top, perpendicular to the first logs. Continue to alternate logs, using the smallest on top to form a pyramid shape. Place kindling and tinder on top. Types of Skewers Wood Skewers Often made from bamboo, this inexpensive option comes in sizes from 6 to 12 inches.
They must be soaked in water at least 30 minutes before cooking to avoid burning. Thin wood skewers should not be overloaded with food or the weight may cause them to snap. Use a barbecue mitt or oven mitt to protect your hands. Or place skewers on a greased grill rack over the coals. Tip: Specialty campfire skewers are about 3 feet long and as thick as dowels. These can take more heat before burning up.
For foods requiring more than 5 minutes of cooking time, soaking is recommended. Place skewers, pointed side down, in a tall beverage pitcher filled with water. Tip: Short, round, or flat bamboo skewers are ideal for uncooked appetizers, but they arent long enough to safely use around a campfire. Metal Skewers Strong in relation to their thickness, metal skewers are reusable and are sold in a variety of lengths. Twisted metal skewers are designed to hold food securely but can cause smaller fruits and vegetables to split apart. Metal skewers wont burn, but the handles can get hot, so use potholders or towels to protect hands from heat.
This heat is useful, however, as it helps to cook dense vegetables and meat from the inside. Making Biscuit Dough Cups Called a Biscuit Cup Roaster, Wolfem Stick, or Cobbler Stick, this gadget can create a cooked dough cup that can be used to hold savory or sweet fillings. When using refrigerated dough, regular-size biscuit dough is easier to shape into a cup than the triangular crescent roll dough. Extra-large biscuits will occasionally stay raw near the center. If the outside is done to the point of overcooking but the interior is raw, pull the dough cup off of the form and cook the inside of the cup over a grill grate. Or hold the dough cup over the heat with tongs or by skewering the top.
Keep refrigerated biscuit dough chilled as long as possible. If warm, the dough will stretch and tear around the form. Cooking the biscuit cups can take up to 10 minutes, depending on the heat of the fire. Thats a long time for hungry campers to wait, so prepare several at a time. Cooking Techniques and Kebab Tips Food cooks best over a bed of hot coals. For the hottest and most evenly cooked food, first allow the fire to burn until white-hot coals are visible.
High, yellow flames will warm small foods, but they will only char the outside of dense foods. Without a specialty thermometer, its difficult to know the temperature of the campfire. Use the hand test to determine if fire and coals are hot enough to cook over. Hold your palm 3 to 4 inches above the heat. If you can only hold it for 1 to 2 seconds, thats high heat, which is good for searing meat but will probably burn other foods. If you can hold it for 4 to 5 seconds, that is medium, which is good for most foods; any longer is medium-low to low, good for warming cooked foods and breads.
Cut ingredients into equal-size pieces for even cooking. Otherwise, the small pieces may burn up before the larger pieces are done in the center. Remember food safety. Keep meat and cut fruits and veggies chilled on ice before prep and cooking. To avoid cross contamination, cut meats on one side of the cutting board with fruits and veggies on the other, making sure the knife is washed or sanitized in between. Or cut fruits and vegetables first, and then cut meats.
Once cooked, wrap leftovers after 2 hours and keep them iced or refrigerated. Cook ground meats and poultry until they are completely done. As long as the outside of steaks are seared (the cut surfaces are where bacteria lurk), then its okay to enjoy a medium-rare inside bite. Space ingredients along skewers so that the heat can circulate around the pieces. If ingredients spin on the skewer, food on the heavy side can overcook while the lighter side remains uncooked. To solve this problem, double up and use two parallel skewers per kebab.
Next page


 Cover and book design by Jonathan Norberg Edited by Emily Beaumont Illustrations by Emily Rutland unless otherwise noted All images copyrighted. Used under license from Shutterstock.com: Cover image: hugolascasse: fire image GraphicsRF: stick under recipe names; Juliana Million: page number flame; Lana_Samcorp: hot dog on a stick under recipe names; vectorisland: marshmallow on divider pages 10 9 8 7 6 5 4 3 2 1 On A Stick Cookbook: 50 Simple, Fun Recipes for the Campfire Copyright 2019 by Julia Rutland Published by Adventure Publications An imprint of AdventureKEEN 330 Garfield Street South Cambridge, Minnesota 55008 (800) 678-7006 www.adventurepublications.net All rights reserved Printed in China ISBN 978-1-59193-821-7 (pbk.); ISBN 978-1-59193-822-4 (ebook) To my favorite camping campanions, Dit, Emily, and Corinne Table of Contents Cooking on a Stick Campfire cooking purists use a slender branch to hold food over hot coals. This old-school method is charming and creates a fun activity as your family and friends search for the ideal cooking sticks. Choose a branch or stick long enough to reach the fire. The stick should be sturdy enough to hold food without breaking, yet slim enough that food can easily slide on. Green wood will be more resistant to catching fire than old, dry sticks.