Contents
DRAWING BASICS FOR BEGINNERS
MARK AND MARY WILLENBRINK

Introduction
Do you remember when you got out your crayons and drew pictures as a child? Now maybe you are proudly displaying your childrens artwork on the refrigerator door. You love their pictures because you can see their unique expression in the art, even if it looks more like a Picasso than a Rembrandt. You were just as proud of your own artwork at one time but somewhere along the road of life you began to doubt your artistic abilities. Our belief is that everyone is an artist, and that includes you!
We hope you will regain that childlike passion for doing art and learning without critiquing yourself harshly. We wont make you hang it on the fridge, but we do suggest you save your artwork because it will show your progress and increase your confidence as you go.
You Need Only a Few Materials to Draw
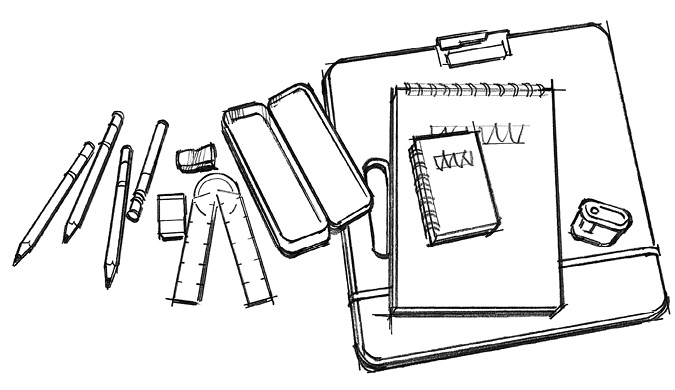
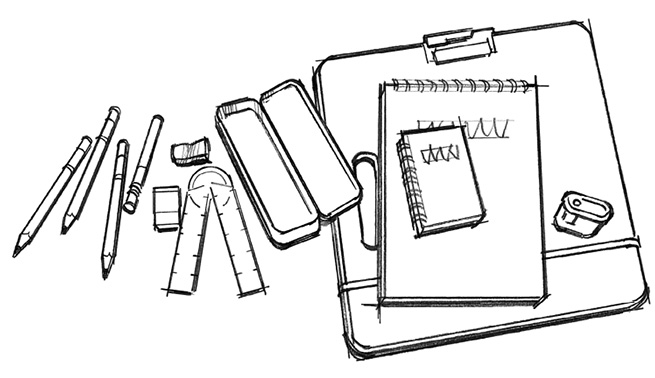
All you really need is a pencil and some paper, but a few other tools will make drawing easier wherever you go.
- Pencils
- Pencil extender
- Erasers
- Angle ruler
- Pencil box
- Small sketch pad
- Large drawing pad
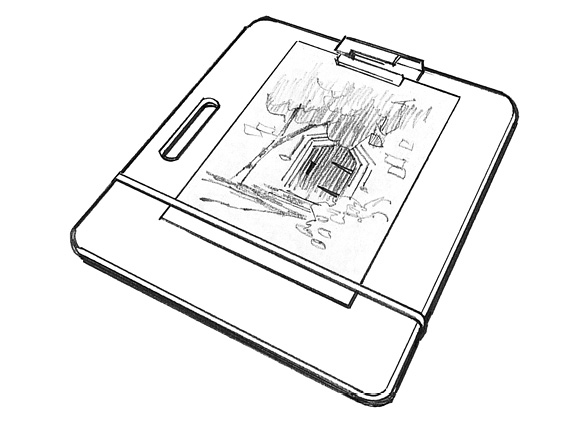
- Drawing board
- Pencil sharpener
Must-Have Materials
- 4H, HB and 4B graphite pencils
- Pencil sharpener
- Sketch pad
- 11" 14" (28cm 26cm) medium-tooth drawing paper
- Drawing board
- Kneaded eraser
- White vinyl eraser
Optional, But Not to Be Overlooked
- Straightedge, triangle or angle ruler
- Light box
- Dividers, proportional dividers or sewing gauge
- Small mirror
- Erasing shield
- Pencil extender
- Craft knife
- Sandpaper pad
- T-square
- Fixative
- Tracing paper
- Masking tape
Pencils
There are many different types of pencils to choose from. One difference among pencils is the core, which may be made of graphite, carbon or charcoal. I especially like the graphite (commonly mislabeled lead) pencil because it can easily be erased, it comes in many degrees of firmness and it does not easily smear. Carbon and charcoal pencils provide rich, dark colors but they dont erase as well, smear easily and have a very soft feel. Black colored pencils dont smear, but they dont erase well and have a firm but waxy feel.
Pencil Hardness
Hardness is another important quality to consider. Ratings, usually stamped on the pencils, range from H (hard) to B (soft), with F and HB in the middle.
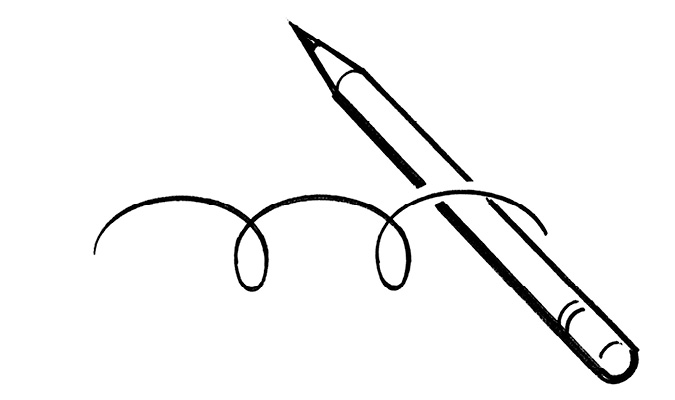
Runaway Pencils!
Use hex-shaped pencils instead of round pencils because round pencils roll and can get away from you.
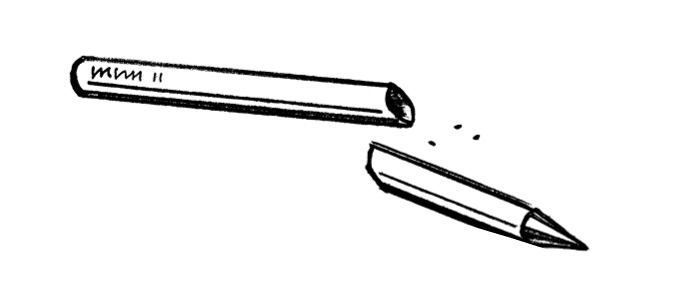
Woodless Pencils
Woodless pencils have only a thin coating over their thick cores. This is a novel idea, but woodless pencils are prone to breaking, especially when carried in a pocket! Use pencils with wood surrounding the core instead.

Pencil Extender
To get more miles out of your pencils, use a pencil extender on the end of a pencil that has been shortened by use.
Keeping Your Pencil Sharp
If you want to draw a thin line, you will need a sharp point on the tip of your pencil. You can sharpen your pencils in two ways: with a pencil sharpener or by hand, using a craft knife and a sandpaper pad.
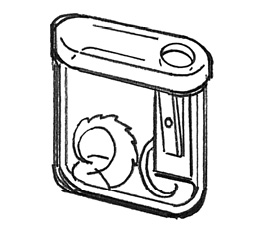
Pencil Sharpeners Are the Simplest Way to Keep Pencils Sharp
A pencil sharpener is the quickest and easiest way to keep the tips of your pencils sharp.
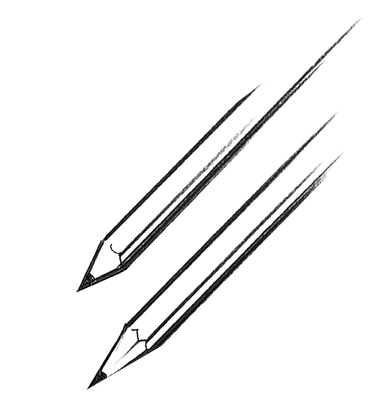
Left: Sharpened with a pencil sharpener
Right: Sharpened with a craft knife and sandpaper pad
A Craft Knife and Sandpaper Pad Reveal More of the Pencils Core
For a controlled point that exposes more of the core, sharpen your pencil with a craft knife and sandpaper pad.
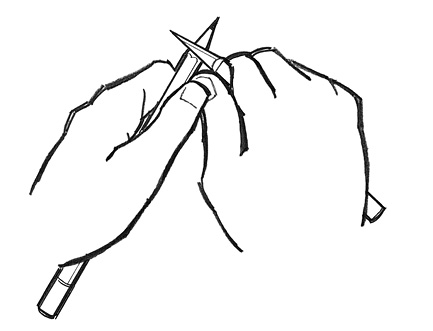
First Shape the Pencil With a Craft Knife
Grip the pencil in one hand, with the point away from you, and the craft knife in the other. Push the thumb holding the pencil against the thumb holding the knife to create leverage so the blade cuts into the pencil. Cut, then turn the pencil and repeat the process until youve worked the area into a point.
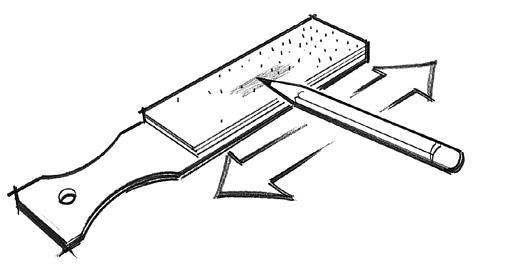
Then Sharpen the Core With a Sandpaper Pad
Sand the core back and forth on the sanding pad for a sharp point.
Paper and Drawing Board
When choosing drawing paper, always choose an acid-free paper, or the paper may yellow over time. Sketch paper, as the name implies, is for sketching and usually has a paper weight of 50 to 70 lbs. (105gsm to 150gsm). Drawing paper, which is for more finished art, usually comes in 90-lb. (190gsm) weight. A small 6" 4" (15cm 10cm) pocket sketch pad is great for quick studies and ideas, while larger sketch pads are obviously needed for bigger sketches. Any drawing you begin may be completed as a keeper, so you may prefer to begin all your drawings using an 11" 14" (28cm 36cm) medium-tooth, acid-free, 90-lb. (190gsm) drawing paper.
The lights and darks in a drawing are achieved by varying the amount of pressure applied to the pencil. Because of this, it is necessary to have a hard surface beneath the paper, ideally a drawing board. It offers a smooth, solid surface without surprise ruts or nicks, and it wont bend or give with pressure the way the cardboard back of a drawing pad can.
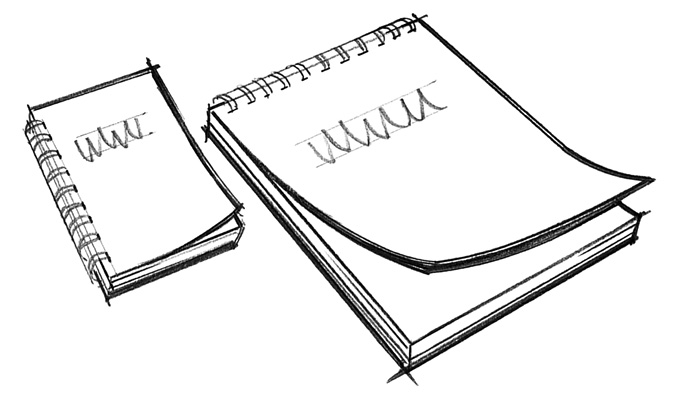
Sketching and Drawing Paper
Use both a small sketch pad and a larger drawing pad. Tear out the individual drawing pad sheets and use them on a drawing board.
