• Complain

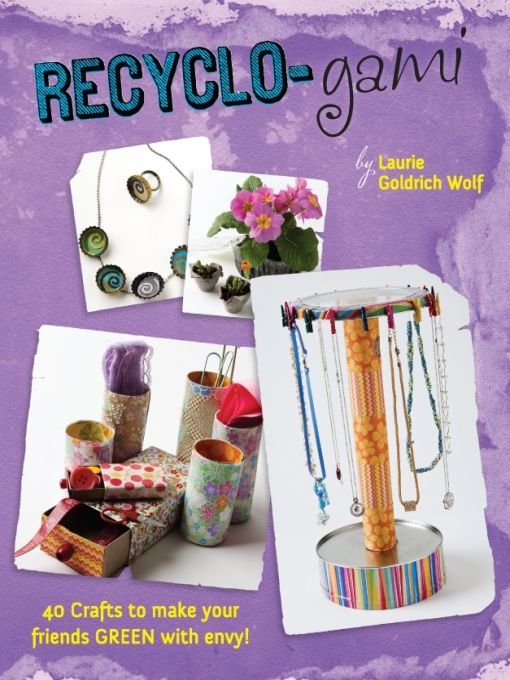
Laurie Goldrich Wolf - Recyclo-gami: 40 Crafts to Make your Friends GREEN with Envy!

Here you can read online Laurie Goldrich Wolf - Recyclo-gami: 40 Crafts to Make your Friends GREEN with Envy! full text of the book (entire story) in english for free. Download pdf and epub, get meaning, cover and reviews about this ebook. year: 2011, publisher: Running Press, genre: Home and family. Description of the work, (preface) as well as reviews are available. Best literature library LitArk.com created for fans of good reading and offers a wide selection of genres:

Romance novel Science fiction Adventure Detective Science History Home and family Prose Art Politics Computer Non-fiction Religion Business Children Humor

Choose a favorite category and find really read worthwhile books. Enjoy immersion in the world of imagination, feel the emotions of the characters or learn something new for yourself, make an fascinating discovery.

No cover
  • Book:
    Recyclo-gami: 40 Crafts to Make your Friends GREEN with Envy!
  • Author:
  • Publisher:
    Running Press
  • Genre:
  • Year:
    2011
  • Rating:
    5 / 5
  • Favourites:
    Add to favourites
  • Your mark:
    • 100
    • 1
    • 2
    • 3
    • 4
    • 5

Recyclo-gami: 40 Crafts to Make your Friends GREEN with Envy!: summary, description and annotation

We offer to read an annotation, description, summary or preface (depends on what the author of the book "Recyclo-gami: 40 Crafts to Make your Friends GREEN with Envy!" wrote himself). If you haven't found the necessary information about the book — write in the comments, we will try to find it.

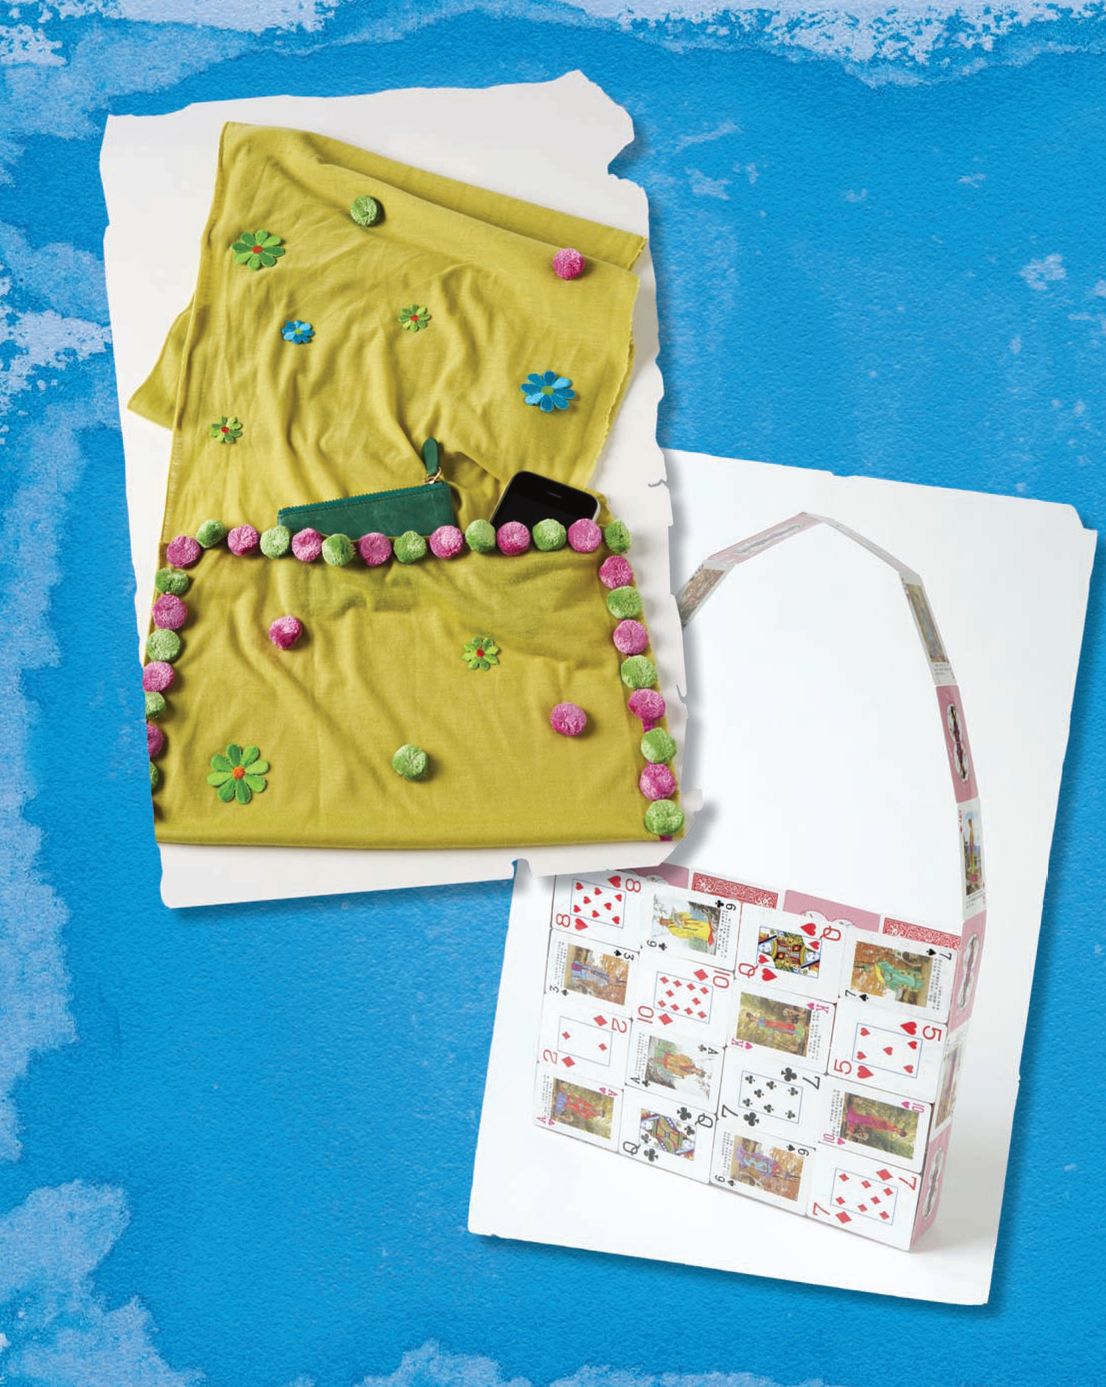
What can you make out of your old bits of paper, leftover pieces of yarn, or not-so-brand-new cartons and containers? Craft your own purse out of playing cards, whip up a scrapbook made of cereal boxes, or a dollhouse from an empty juice carton! Tweens and teens can start crafting using the easy to follow instructions and photographic directions the smart way. All crafts are made out of materials that many of us find just lying around the house or sitting on the curb waiting to be tossed in a landfill. Overpriced dr, fashion, and gifts are out, and recyclable crafts are in!

Laurie Goldrich Wolf: author's other books


Who wrote Recyclo-gami: 40 Crafts to Make your Friends GREEN with Envy!? Find out the surname, the name of the author of the book and a list of all author's works by series.

Recyclo-gami: 40 Crafts to Make your Friends GREEN with Envy! — read online for free the complete book (whole text) full work

Below is the text of the book, divided by pages. System saving the place of the last page read, allows you to conveniently read the book "Recyclo-gami: 40 Crafts to Make your Friends GREEN with Envy!" online for free, without having to search again every time where you left off. Put a bookmark, and you can go to the page where you finished reading at any time.

Light

Font size:

Reset

Interval:

Bookmark:

Make
Table of Contents - photo 1
Table of Contents ACCESSORIZE With Style Simple - photo 2
Table of Contents

ACCESSORIZE With Style Simple Chic Decorated Babby Pins Buttons and other - photo 3
ACCESSORIZE With Style Simple Chic Decorated Babby Pins Buttons and other - photo 4
ACCESSORIZEWith Style
Simple, Chic Decorated Babby Pins
Buttons and other brightly colored round objects are easy to reuse in this project.
They can also add bursts of color or shine.

WHAT YOULL NEED:
bobby pins
buttons, beads, bolts, and other round objects
glue
Gather together bobby pins as well as buttons beads and other small round - photo 5
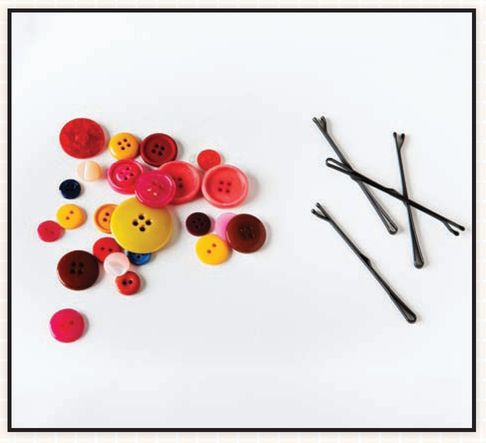
Gather together bobby pins, as well as buttons, beads, and other small round trinkets. Objects with a flat side are the easiest to work with.
Glue the undersides of your buttons to the curved side of the bobby pins Use - photo 6
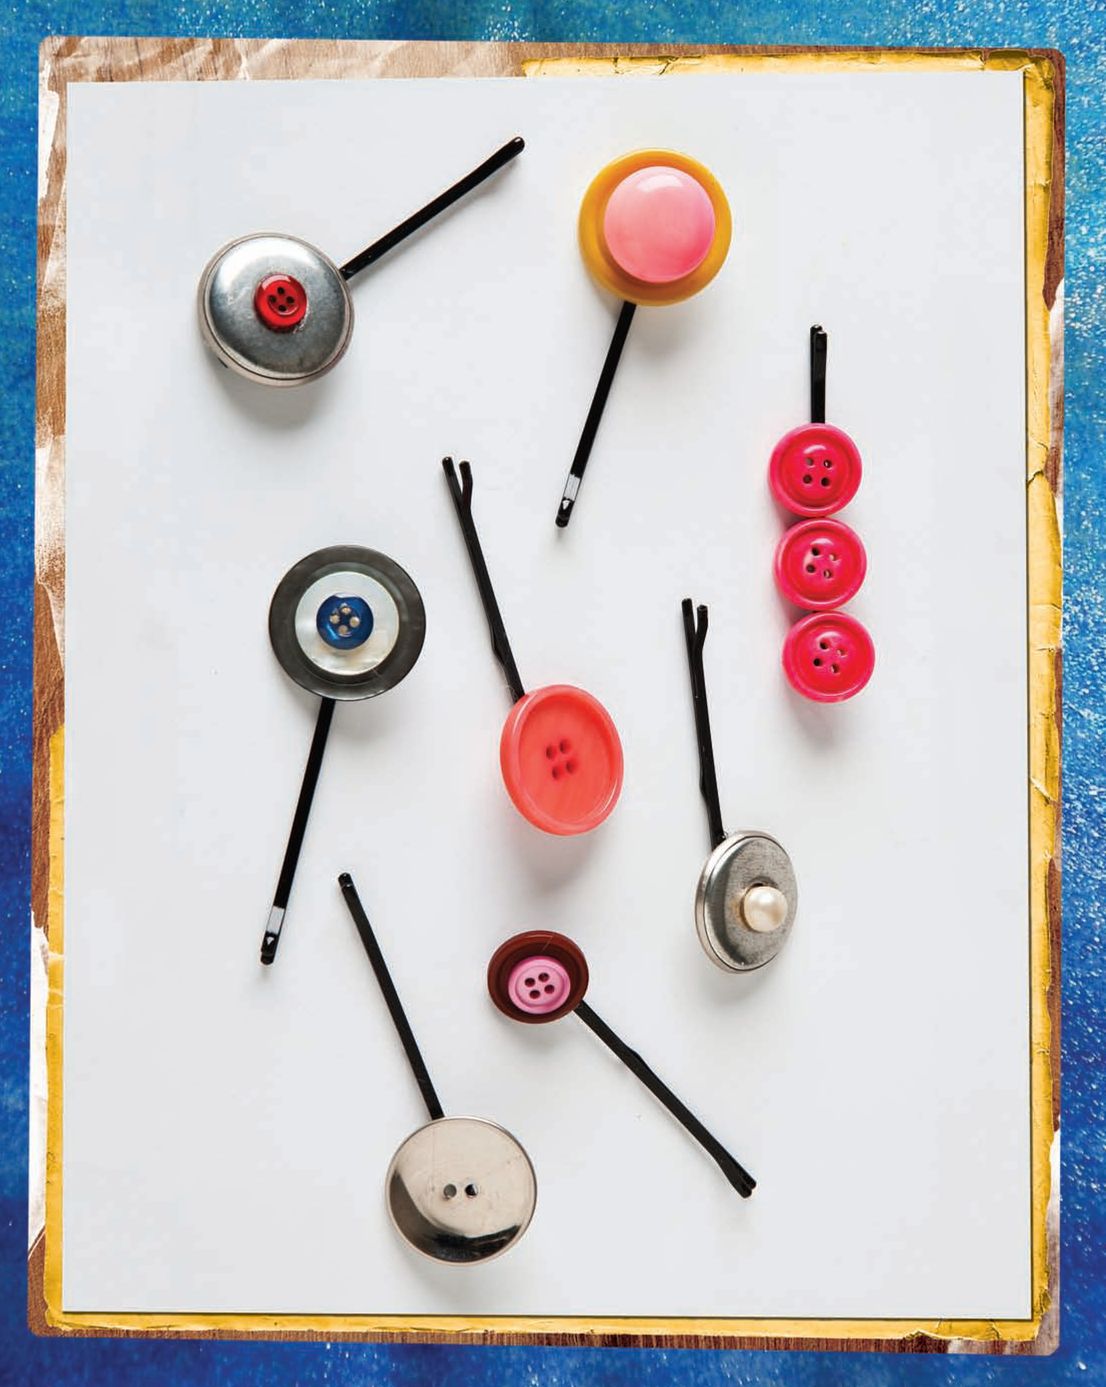
Glue the undersides of your buttons to the curved side of the bobby pins. Use as many or as few buttons as you like. You can line them up, stack them, or pair them with beads. Be creative! Bolts, grommets, and shiny silver washers are usually found in the toolbox, but they can add a metallic sparkle to any bobby pin creation.
Babby Pins Galore !
There is no limit to the wild bobby pins you can create The decorations on - photo 7
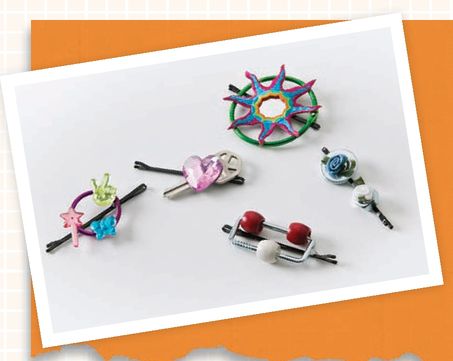
There is no limit to the wild bobby pins you can create. The decorations on these pins include tiny ribbon roses plucked from a dolls dress and paired with a metal bolt and washer, and a star-shaped mirror patch from an outgrown jean jacket glued to an old key ring, as well as jewels, keys, and other cool stuff.
Wonderfully Warm Bed Sheet Scarf
Old jersey sheets are incredibly soft and cuddly. What could be better to keep you warm on a cool day? Just add pockets and pom-poms for a personalized look.

WHAT YOULL NEED:
old bedsheet (preferably jersey cotton)
scissors or pinking shears
ribbon
fabric glue or needle and thread
pom-poms, appliques, or other fun decorations
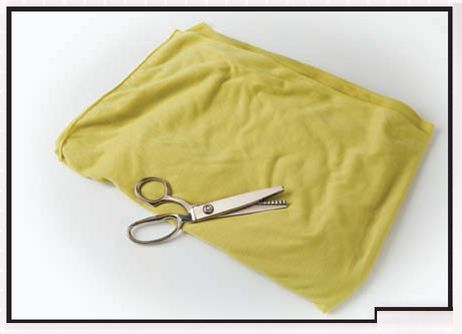
Cut the sheet into a long strip in a width you like Decide how long you want - photo 8
Cut the sheet into a long strip in a width you like. Decide how long you want your scarf to be, then make sure to add another 12 to 16 inches for the pockets. This scarf was made from a piece of a bed sheet approximately 12 inches wide and 76 inches long.
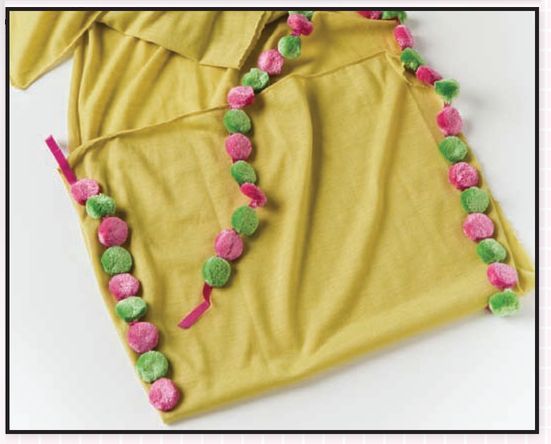
On each end of the scarf fold the end of the sheet in to form a pocket 6 to 8 - photo 9
On each end of the scarf, fold the end of the sheet in to form a pocket 6 to 8 inches deep. Glue or sew the edges of the pocket together. To outline the pocket, glue colorful pom-poms to pieces of ribbon. When they are dry, glue the ribbon pieces around the edges of the pocket.
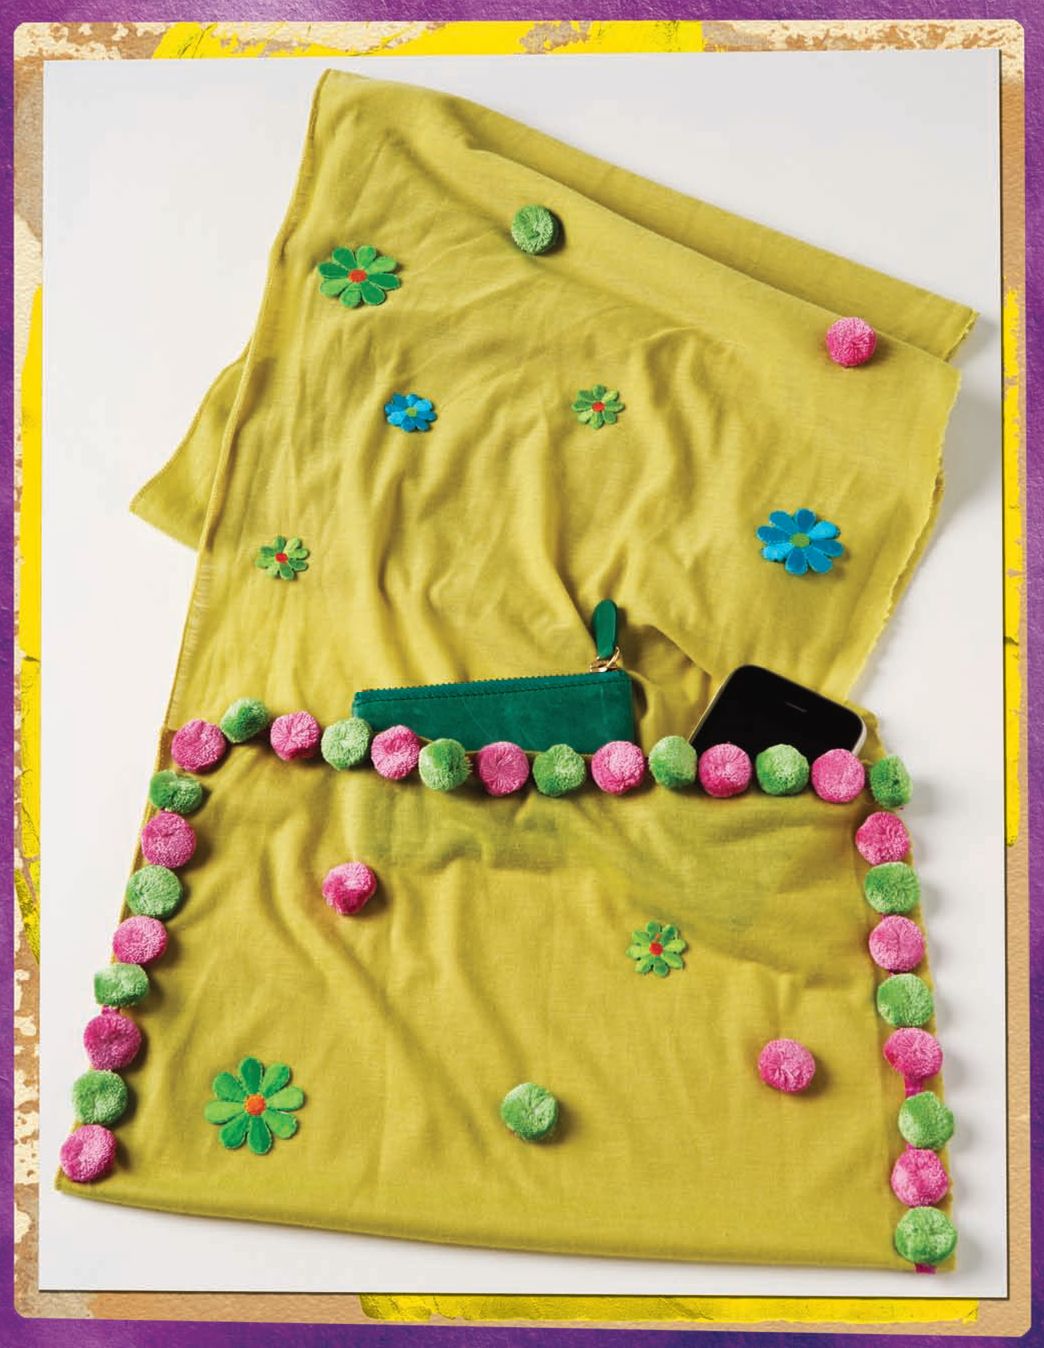
Glue or sew more pom-poms appliqus felt pieces or other decorations to your - photo 10
Glue or sew more pom-poms, appliqus, felt pieces, or other decorations to your scarf. When all the glue has dried, show off your new and improved bedsheet scarf. And dont forget to use those handy pockets!
Indestructible Wallet
Remake an old wallet with some tape and a little creative spark.
The variety of looks you can achieve is astounding!

WHAT YOULL NEED:
wallet
duct tape, electrical tape, or other strong tape
ribbons, buttons, beads, or other embellishments
craft glue (optional)
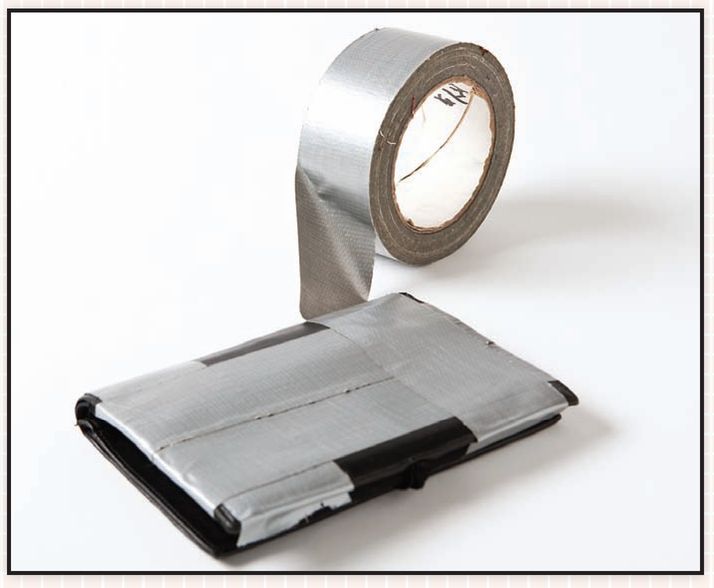
Cover an old wallet in a layer of tape You can place the strips of tape on the - photo 11
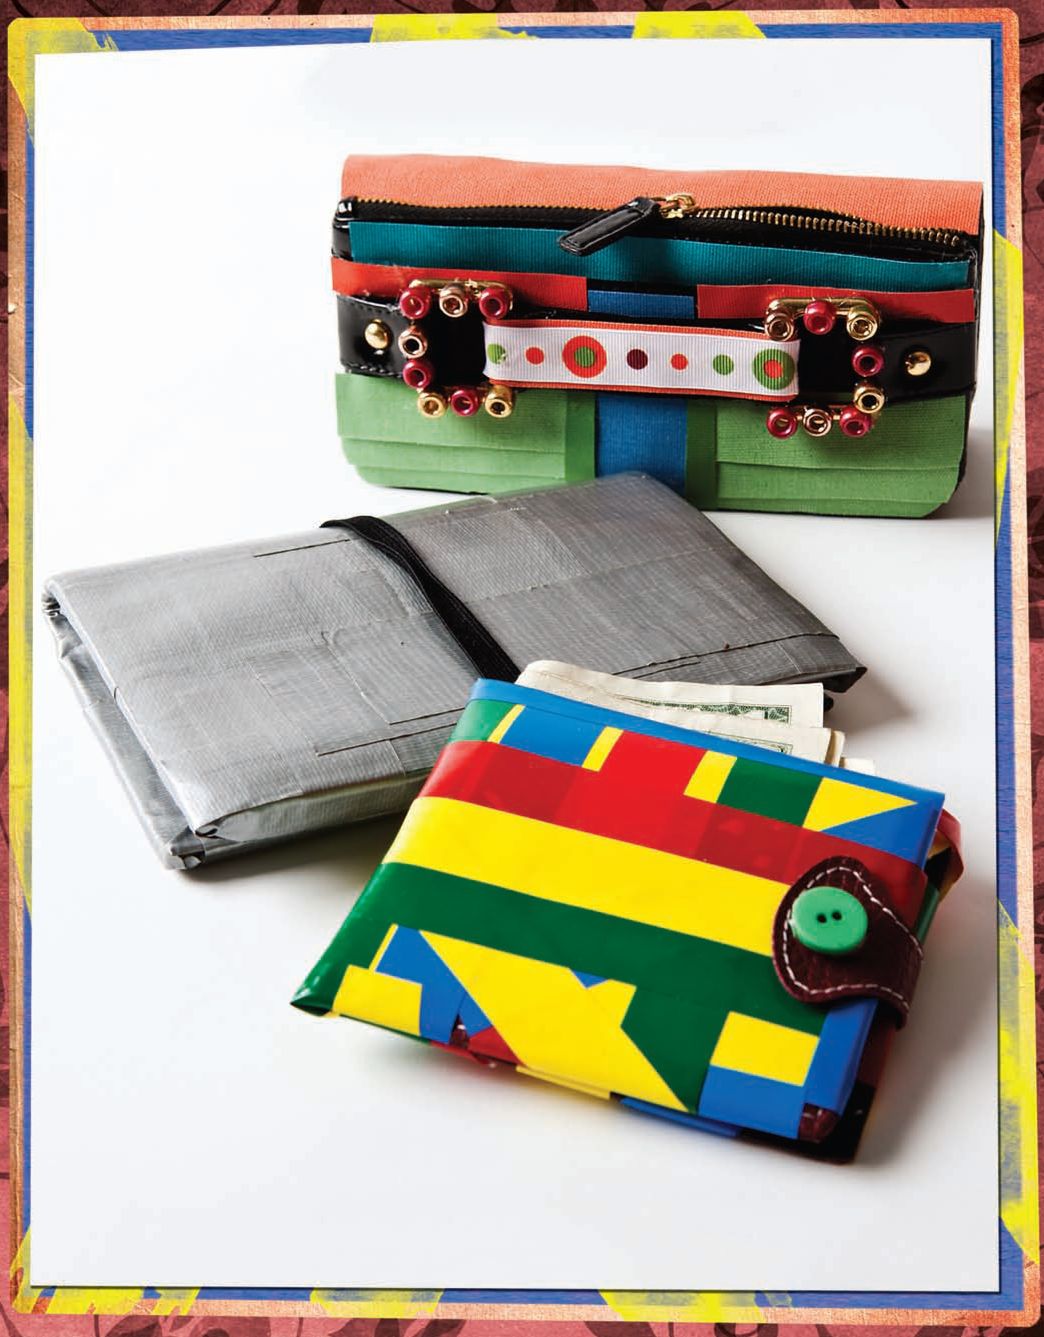
Cover an old wallet in a layer of tape. You can place the strips of tape on the wallet in the same direction or create pattern lines by switching it up.
To add color to your wallet use colorful tape to build bold patterns You can - photo 12
To add color to your wallet, use colorful tape to build bold patterns. You can even cut the tape into eye-catching shapes before pressing it onto your wallet. Use craft glue to attach ribbons, beads, buttons, or other embellishments. You will never need to throw away a wallet again!
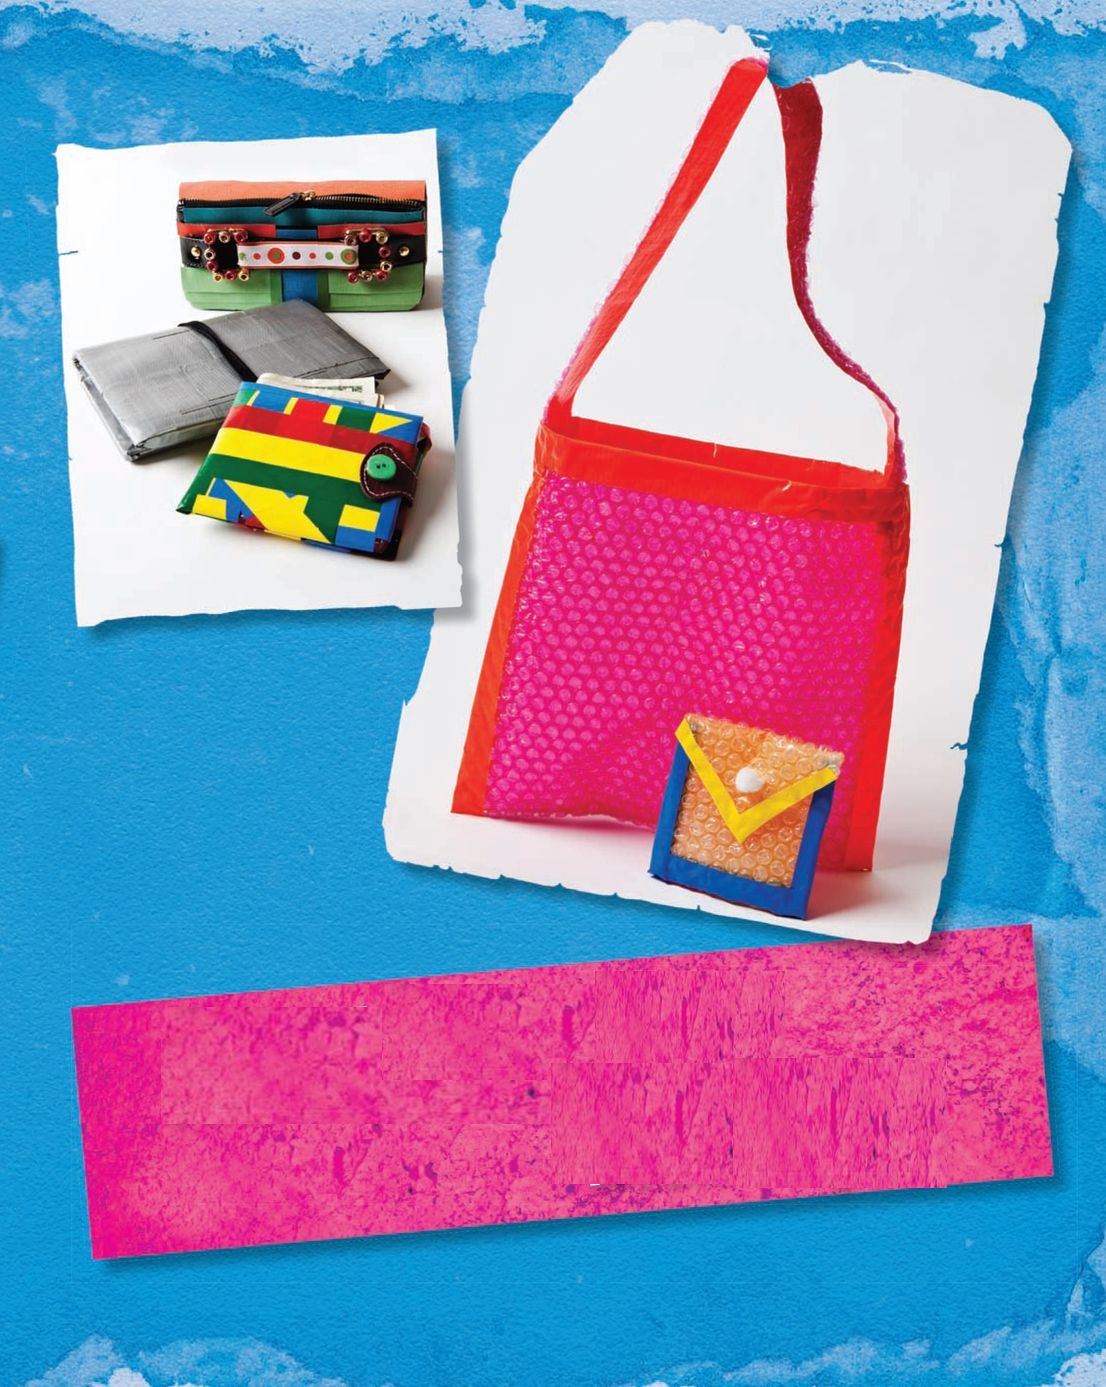
Irresistible Bubble-Wrap Purse and Wallet If you have bubble wrap left over - photo 13
Irresistible Bubble-Wrap Purse and Wallet
If you have bubble wrap left over from moving or from receiving a package, dont throw it away! Use it to make perky yet practical accessories.
Packing materials have never been so fashionable.

WHAT YOULL NEED:
bubble wrap
scissors
duct tape or electrical tape
glue
fabric (optional)
pom-pom, button, bead, or small ornament
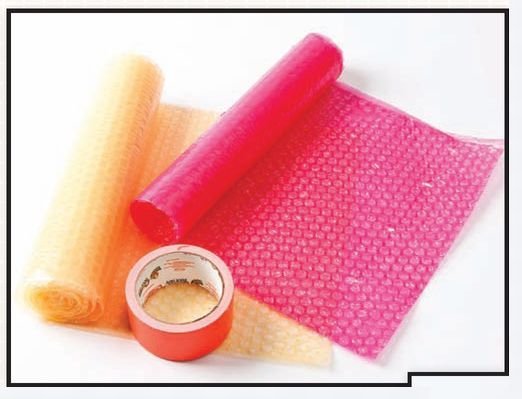
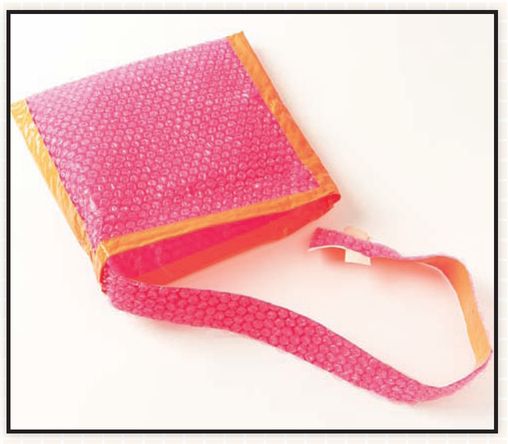
Bubble wrap now comes in eye-catching colors If your bubble wrap is clear - photo 14
Bubble wrap now comes in eye-catching colors. If your bubble wrap is clear, simply use tape or glue to attach colorful fabric to the back of the bubble wrap and it will show through.
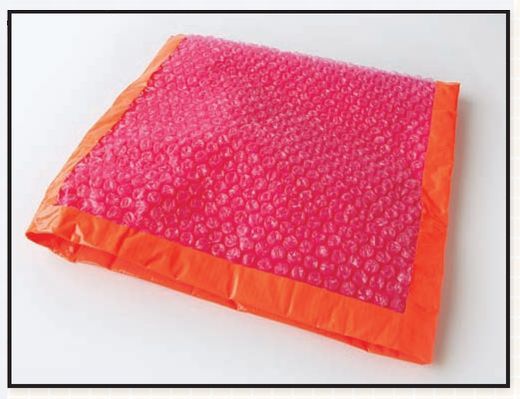
Cut a long rectangular piece of bubble wrap Fold it in half and tape the two - photo 15
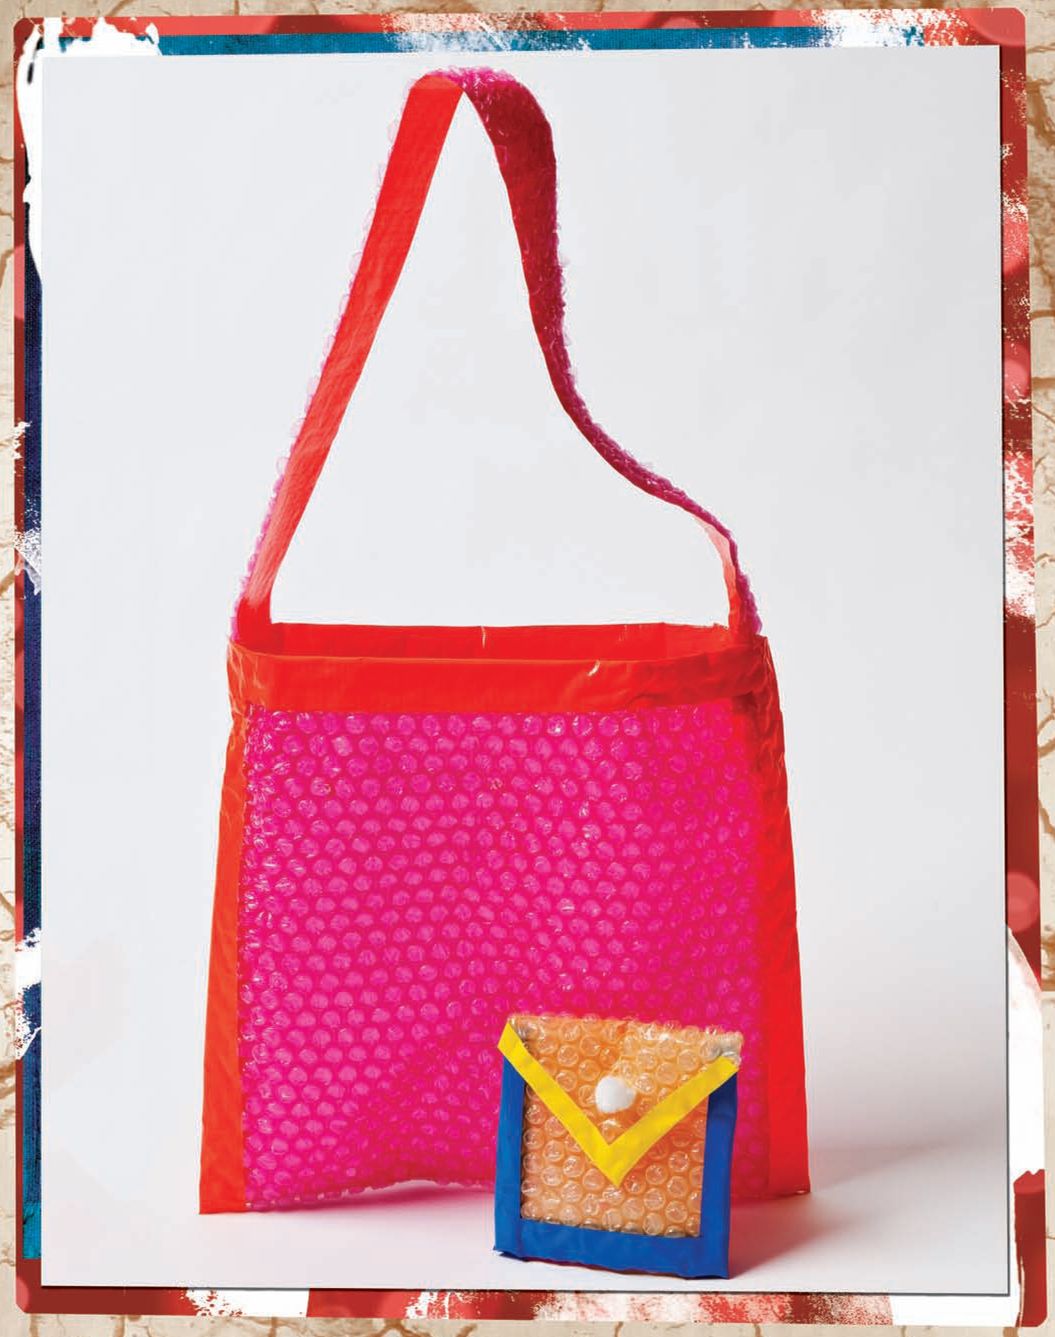
Cut a long rectangular piece of bubble wrap. Fold it in half and tape the two sides closed. Then wrap a piece of tape over the top edges of both sides of the purse to reinforce the edges and keep them from tearing.
Cut a long thin piece of bubble wrap for the purse strap Line the entire - photo 16
Cut a long, thin piece of bubble wrap for the purse strap. Line the entire underside of the strap with tape to make it stronger. Tape both ends of the strap to opposite spots on the inside of the purse.
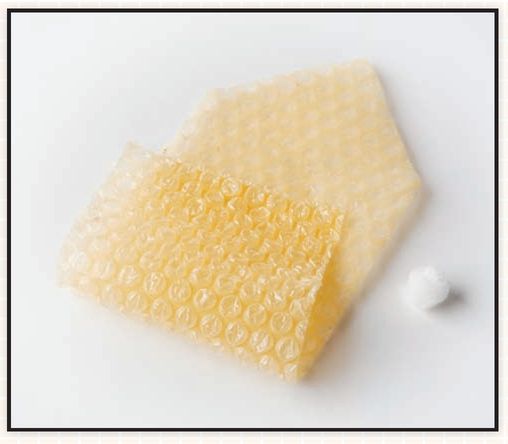
To make a small wallet or purse pouch using bubble wrap cut a rectangle that - photo 17
To make a small wallet or purse pouch using bubble wrap, cut a rectangle that is 8 to 10 inches long and 3 to 4 inches wide. Fold it so one end is about 2 inches from the other end. Tape both sides of the bubble wrap together to make a pocket. Using the scissors, make two cuts in the extra 2 inches of bubble wrap to form a triangular flap. Place tape around the edges of the flap. Fold the flap over. A pom-pom, button, bead, or other small ornament makes the perfect finishing touch for your sassy little wallet.
Next page
Light

Font size:

Reset

Interval:

Bookmark:

Make

Similar books «Recyclo-gami: 40 Crafts to Make your Friends GREEN with Envy!»

Look at similar books to Recyclo-gami: 40 Crafts to Make your Friends GREEN with Envy!. We have selected literature similar in name and meaning in the hope of providing readers with more options to find new, interesting, not yet read works.


Reviews about «Recyclo-gami: 40 Crafts to Make your Friends GREEN with Envy!»

Discussion, reviews of the book Recyclo-gami: 40 Crafts to Make your Friends GREEN with Envy! and just readers' own opinions. Leave your comments, write what you think about the work, its meaning or the main characters. Specify what exactly you liked and what you didn't like, and why you think so.