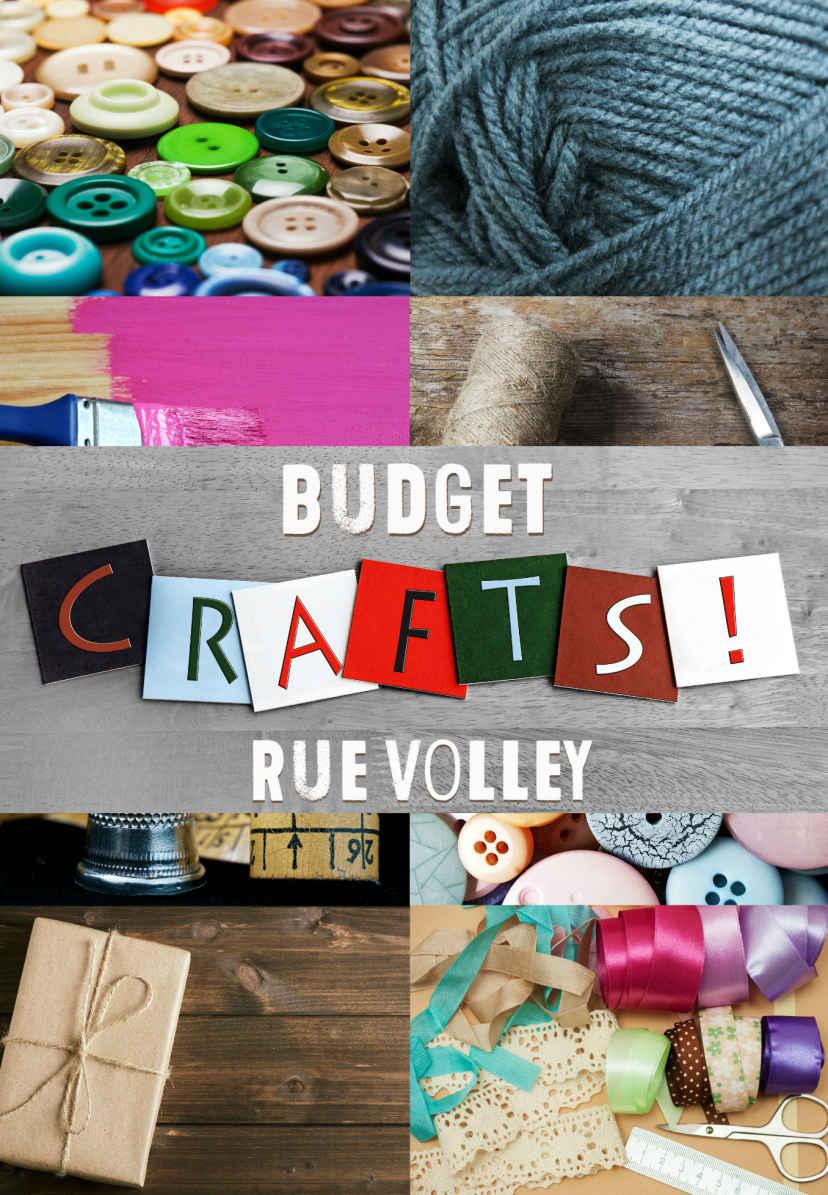
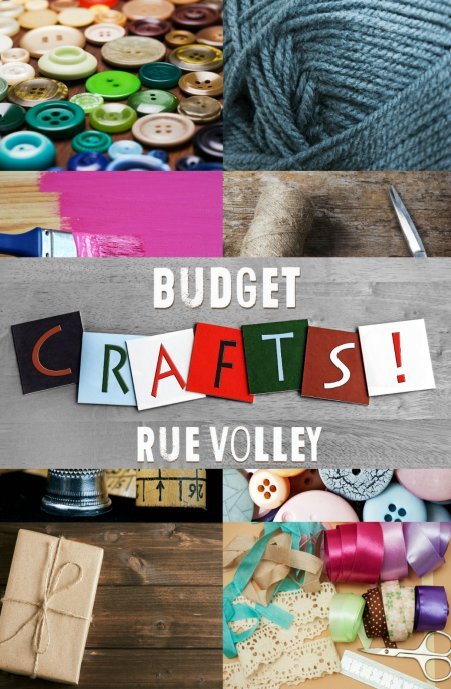
Rue Volley - Budget Crafts
Here you can read online Rue Volley - Budget Crafts full text of the book (entire story) in english for free. Download pdf and epub, get meaning, cover and reviews about this ebook. year: 2015, publisher: Crushing Hearts and Black Butterfly Publishing, genre: Children. Description of the work, (preface) as well as reviews are available. Best literature library LitArk.com created for fans of good reading and offers a wide selection of genres:
Romance novel
Science fiction
Adventure
Detective
Science
History
Home and family
Prose
Art
Politics
Computer
Non-fiction
Religion
Business
Children
Humor
Choose a favorite category and find really read worthwhile books. Enjoy immersion in the world of imagination, feel the emotions of the characters or learn something new for yourself, make an fascinating discovery.
- Book:Budget Crafts
- Author:
- Publisher:Crushing Hearts and Black Butterfly Publishing
- Genre:
- Year:2015
- Rating:4 / 5
- Favourites:Add to favourites
- Your mark:
Budget Crafts: summary, description and annotation
We offer to read an annotation, description, summary or preface (depends on what the author of the book "Budget Crafts" wrote himself). If you haven't found the necessary information about the book — write in the comments, we will try to find it.
Rue Volley: author's other books
Who wrote Budget Crafts? Find out the surname, the name of the author of the book and a list of all author's works by series.


Budget Crafts — read online for free the complete book (whole text) full work
Below is the text of the book, divided by pages. System saving the place of the last page read, allows you to conveniently read the book "Budget Crafts" online for free, without having to search again every time where you left off. Put a bookmark, and you can go to the page where you finished reading at any time.
Font size:
Interval:
Bookmark:
 Preface Living on a budget is something I know a lot about. When I was growing up, my mom worked three jobs. Not necessarily because she wanted to, it was because she was a single mother and we had very little money. Funny thing was, we never knew it. We didnt know that we were poor. She always made sure we had plenty of everything that we needed, including clothes, food, and tons of fun things to do.
The furniture was all thrift store and sanded down by her, repainted, and loved on. The dishes were plain white, but she had hand painted small flowers on the outer edges of them to pop them with color. My clothes had no tags in them, because she made all of them by hand. Every picture on the wall was painted by her, or it was a family photo, in frames that she had redone to make them her own. And so, she passed this down to me. My love for crafts is very simple.
It reminds me of my mom and how she filled our home with her spirit, her creativity, and a love for art in all forms. I went on to become a musician, a graphic artist, and an author, because of her. It was her ability to take anything and make it into something beautiful that drives me to this day. So, I have compiled a book of some of my favorite crafts. Some are very easy and some will take you longer to make, but the one thing that they all have in common is very simple. It is all for the love of creating something that you can share with your friends and family while not breaking your budget.
I do hope that you enjoy this book as much as I enjoyed making it. ~ For you mom. Im sure that youre redecorating heaven. ~Small Planter~ 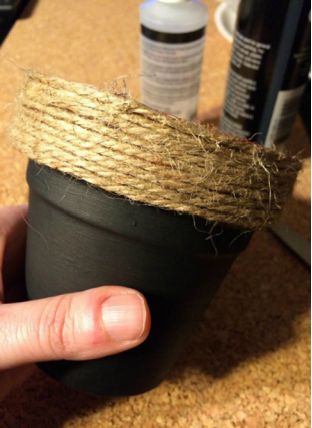 What you will need: Small planter (The one I used here was .74) Twine Scissors Tacky glue Paint Brush
 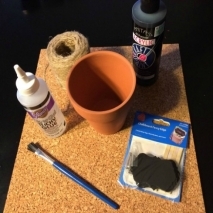 T he fun part about this project is that you can use whatever color paint you would like. Here I am using black. I also purchased these fun little chalkboard stakes at Walmart for under $2 for four of them in the package.
You simply glue the back of the post on the small chalkboard piece. When you are done with the planter you place the stake in it and you can use chalk to write on it to mark what you are growing in the planter. This makes a great gift for someone who likes to grow their own herbs in the kitchen like I do. The total cost here was under $9.00 for materials, and as you can see, I have plenty to make more planters. Step one: Paint your planter. I painted up to the top section of the planter.
Some people may prefer to paint the whole thing, but I only painted a little above the edge. 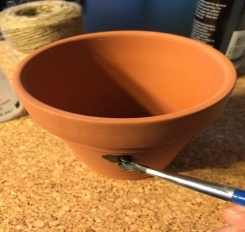 Step two: After your paint has dried (I did two coats) then youwill Wantto apply the tacky glue in Oneline at the base of theupper part of the planter.
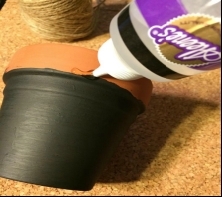
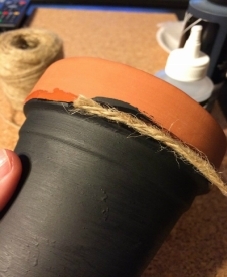 Step Three: Wrap your twine, starting on the first line of glue that you placed on the planter. Once your twine reaches where you started just do another line of glue and repeat the process. Tacky glue is pliable so I pressed the twine together to eliminate gapping as I went along.
 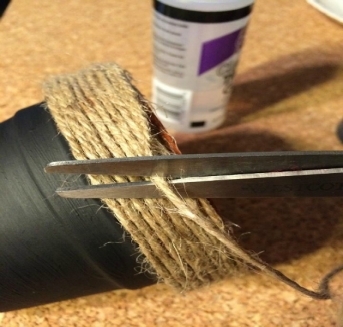 Once done just allow your planter to dry overnight.
Alternative materials: -Wide ribbon in place of the twine. -Instead of regular paint you could use chalkboard paint and write on the planter instead of using the chalkboard stakes. -Glue buttons on the upper edge instead of using twine.  ~Finished Planter~ ~Embellished Notepad~ What you will need: Notepads (I bought these 3 for .97) Stamp pad (I purchased this at the dollar store for $1) Stamp (I purchased this one at Walmart for $1)
 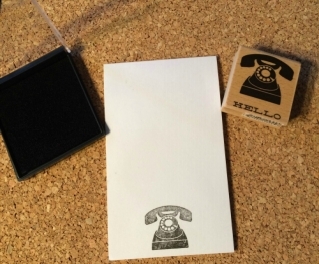 T his project is so simple, although a bit time consuming. All that you have to do is buy blank notepads, stamp the bottom of each piece of paper and you have created a personalized and fun notepad for someone. Use whatever stamp you like and whatever color of ink.
Here I used a telephone and black ink. Letters are also fun because you can place a different word at the bottom of each page, for example; Love, Faith, Hope, Believe and so on. You could also stamp the persons name on the bottom of each page to personalize it even more. Later on in this book I show you how to make the rose pen pictured below. You can simply wrapped a small piece of ribbon around the notepad and the pen to make a unique handmade gift for someone. ~Small Octopus~ What you will need; One handkerchief Tacky glue Scissors Plastic eyes Black string 3 inch piece of ribbon 1 ping pong ball 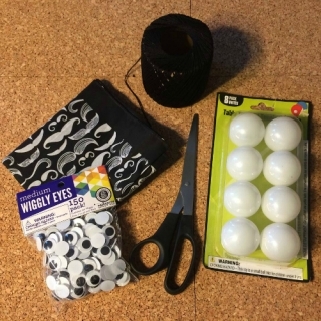 Step one: Open the handkerchief and lay it flat. ~Small Octopus~ What you will need; One handkerchief Tacky glue Scissors Plastic eyes Black string 3 inch piece of ribbon 1 ping pong ball Step one: Open the handkerchief and lay it flat.
The natural fold already marks the cloth into four sections. You are going to cut one square out of it.  Step Two: After you have cut out your square you will need to trim the edge (if it has a border in another color) If not then no trimming is needed. On this one it has a black border and I trimmed it off. Now you will have one perfect square with no border on it. Now you will place the ping pong ball in the middle of the square and wrap the fabric around it.
It does not matter if it is perfectly flat. We are not looking for perfection, it just needs to be as tight as it can be against the ball. 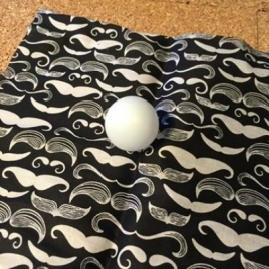
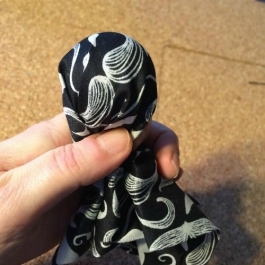 Step three:
  You will need to tie a Three inch piece of the black string at the base of the ball to keep the fabric in place on the ball. Tie it in a couple of knots and then trim off the excess string. Step Four: Now you will open the material on the bottom and start to cut around the edges of the fabric. You will cut a line straight up to the neck of the Octopus (but not all of the way).
Font size:
Interval:
Bookmark:
Similar books «Budget Crafts»
Look at similar books to Budget Crafts. We have selected literature similar in name and meaning in the hope of providing readers with more options to find new, interesting, not yet read works.
Discussion, reviews of the book Budget Crafts and just readers' own opinions. Leave your comments, write what you think about the work, its meaning or the main characters. Specify what exactly you liked and what you didn't like, and why you think so.