Contents
INTRODUCTION
Hello, and welcome to Craft Bomb Your Bike. We have always loved to cycle and craft so it seems natural to let the two go hand in hand. Inspired by the number of blogs and Pinterest boards online from crafty cyclists, we sought to include contributions from eleven of our favourite crafty bicycle bloggers.
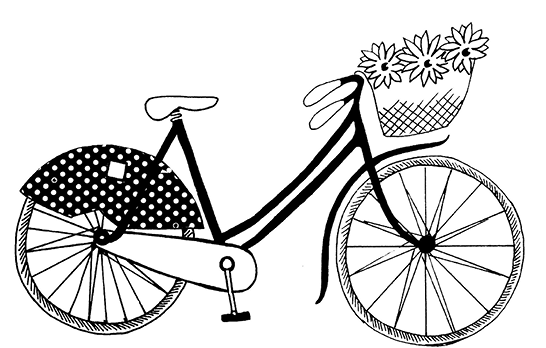
We have put together twenty quirky and crafty bike projects that will ensure your bike wont blend into the bike rack. Including a variety of handmade projects to decorate your bike or wear when cycling. Why not try your hand at creating a cute ? Youll be the chicest cyclist on the road.
This multi craft book includes knitting, crochet and sewing projects; all the projects are beginner friendly and simple to create. There is also a handy techniques chapter offering advice on all the crochet, knitting and sewing skills you need to know to help you complete these easy-to-make projects and brighten up your bicycle.
Be inspired, get crafting for your bike and ride the prettiest pedals in town!
Knitted Toasty Ear Warmers
Carolyn Rice
Were all for advocating safety so a helmet is a must but in colder weather it doesnt mean you have to neglect your ears. These chunky ear flaps will fit any cyclists helmet and are double thickness for extra warmth without the need of a hat! Theyre quick and easy to make and are a thoughtful and practical gift idea too.
Materials
Chunky yarn, approx. 25g (1oz)
Knitting needles, 10mm (US 15)
2 Buttons
Tension
10 stitches x 11 rows = 10cm x 10cm (4 x 4in)
Abbreviations
See
For Fronts
Cast on 14 sts twice, with two separate balls of yarn, so you can knit two pieces in one go.
Row 1: P5, k4, p5. Rep with second set of stitches and second ball of yarn.
Row 2: K4, p4, k5.
Row 3: P5, C2B (A), p5.
Row 4: K5, p4, k5.
Row 5: (Decrease row) p2tog, p3, k4, p3, p2tog. [12 sts]
Row 6: K4, p4, k4.
Row 7: (Decrease row) p2tog, p2, C2B, p2, p2tog. [10 sts]
Row 8: K3, p4, k3.
Row 9: (Decrease row) p2tog, p1, k4, p1, p2tog. [8 sts]
Row 10: K2, p4, k2.
Row 11: (Decrease row) p2tog, C2B, p2tog. [6 sts]
Row 12: K6.
Row 13: P6.
For backs
Row 1: P14, Rep with second set of stitches and second ball of yarn.
Row 2: K14.
Row 3: P14.
Row 4: K14.
Row 5: (Decrease row) p2tog, p10, p2tog. [12 sts]
Row 6: K12.
Row 7: (Decrease row) p2tog, p8, p2tog. [10 sts]
Row 8: K10.
Row 9: (Decreased row) p2tog, p6, p2tog. [8 sts]
Row 10: K8.
Row 11: (Decrease row) p2tog, p4, p2tog. [6 sts]
Row 12: K6.
Row 13: P6.
Cast off.
To make up
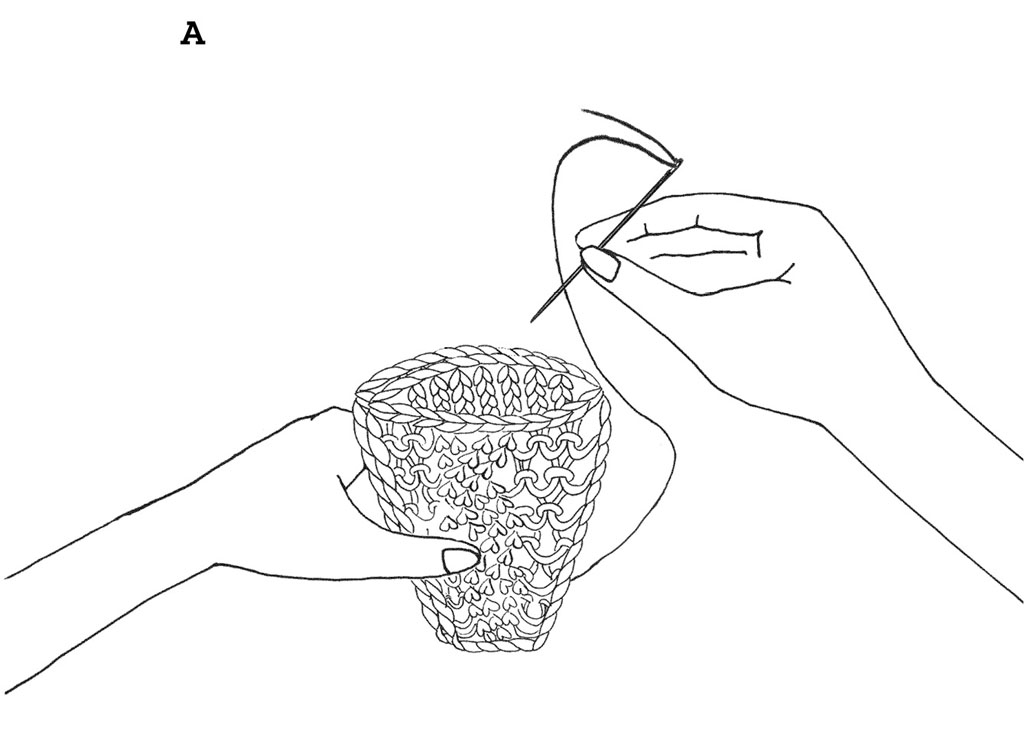
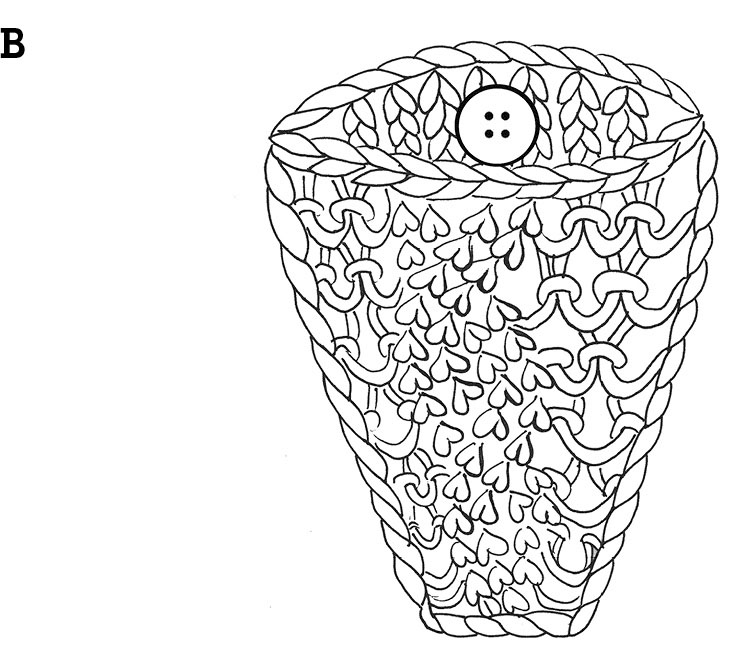
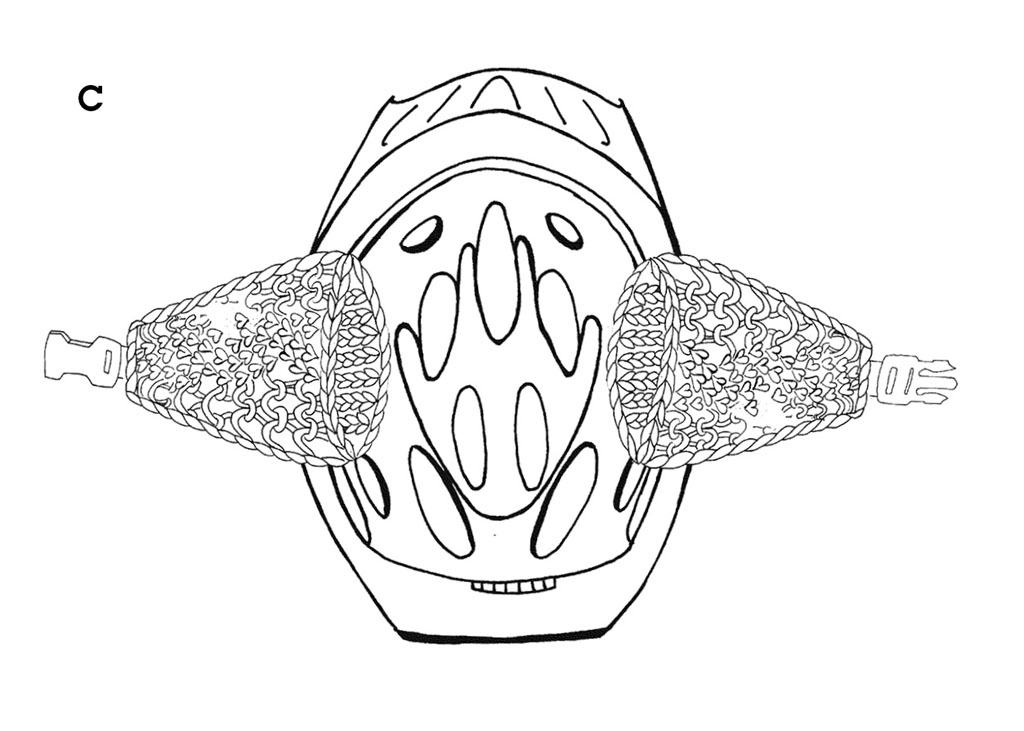
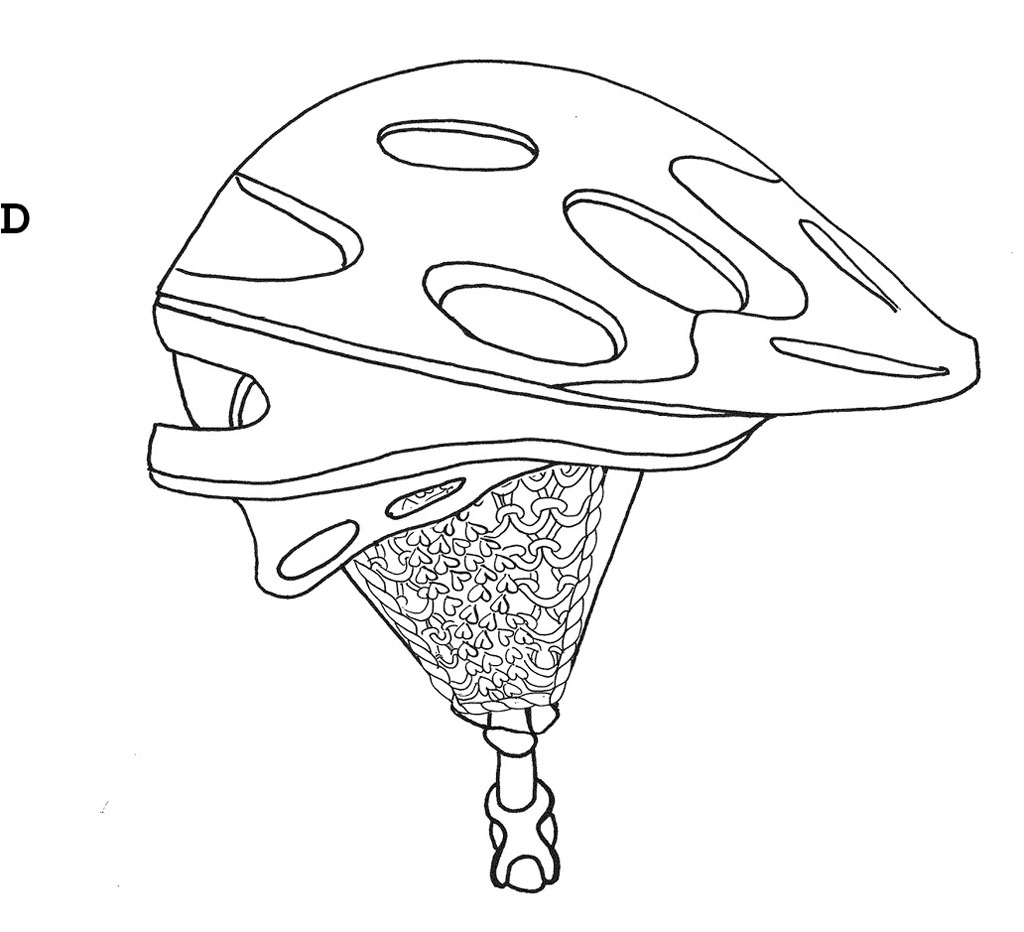
Place front and back right sides together and sew up the two sides, leaving top and bottom of triangles open (A). Turn right sides out and attach a button to the insides of the back piece in the centre of the top wide opening (B). Thread the web straps of your helmet through the triangles and secure the flaps with the button (C/D).
Bike Basket Bunting
Claire Wilson
Fabric bunting is a whimsical essential, but who says it has to be triangular? Decorate your bicycle basket with this circular bunting for a difference, giving a sweet scalloped edge and a fresh look to your bike. It wont be long before youre stringing bunting up everywhere!
Materials
Cotton, one fat quarter
Bias binding, 50cm (20in)
Sewing machine
Fabric scissors
Pins
Invisible thread
To make up
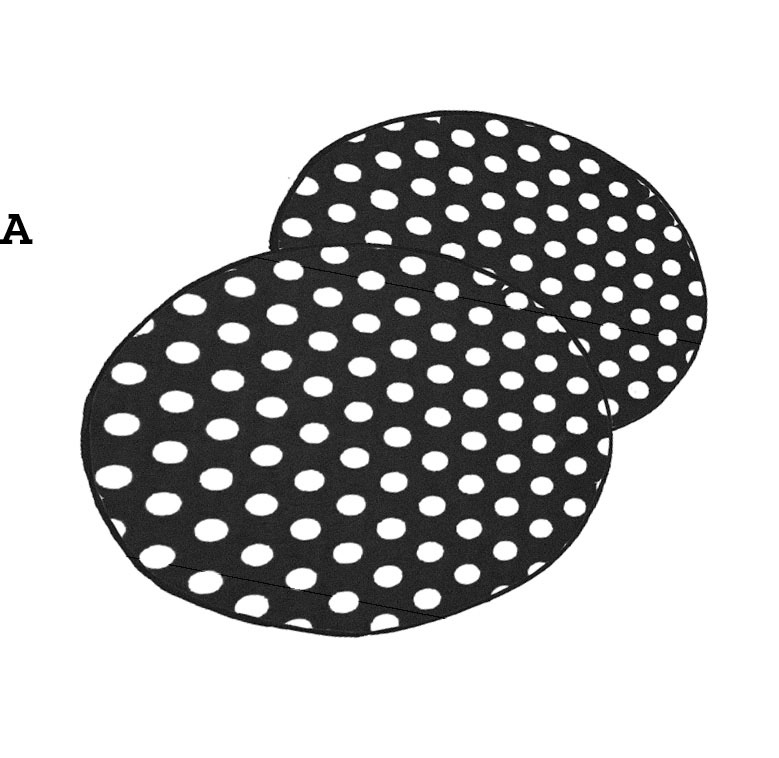
Take a small plate and draw around it on the wrong side of the fabric. Repeat until you have made four circles. Using your fabric scissors, cut the circles out as neatly as you can (A).
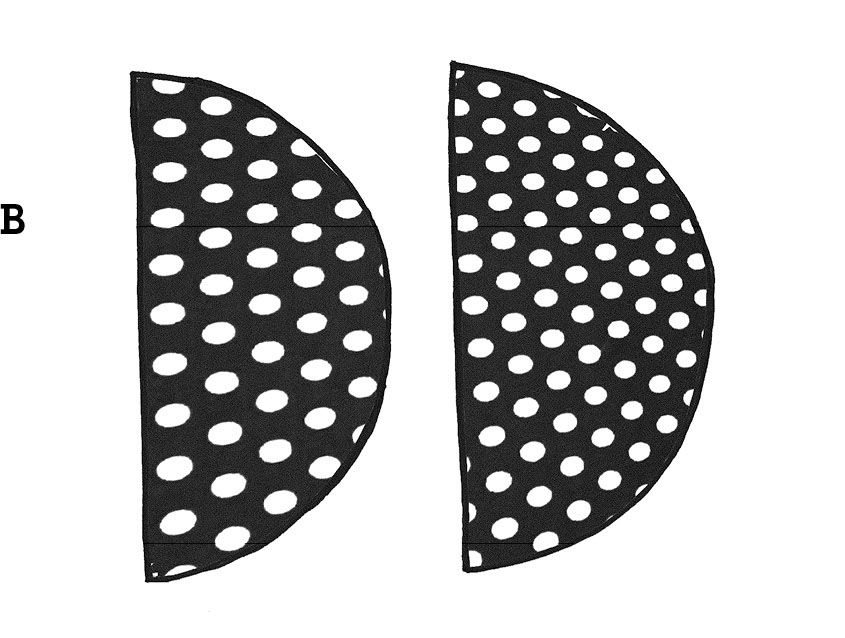
Fold each circle in half and cut along the straight edge, leaving you with two semi circles (B).
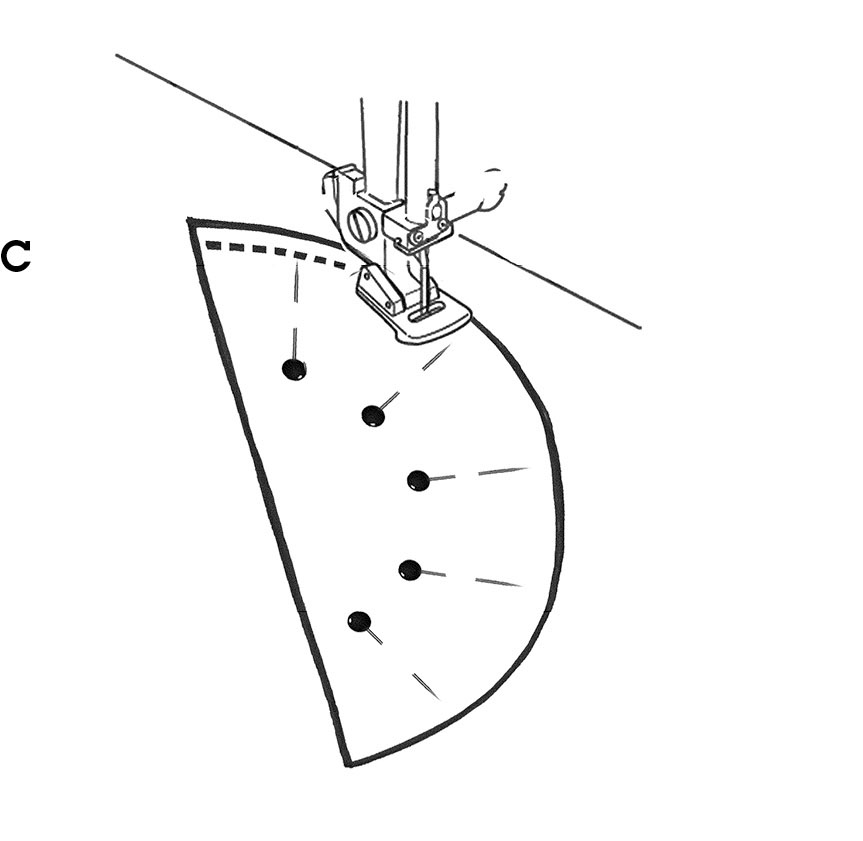
Pin your semi circles together with the right sides of the fabric facing one another. Keep your pins away from the circular edge as this is where you will sew. Using your sewing machine, stitch around the curved edge of the fabric leaving a 1cm (12in) seam allowance (C). Leave the straight edge unstitched. Repeat until you have completed all four semi circle sets.
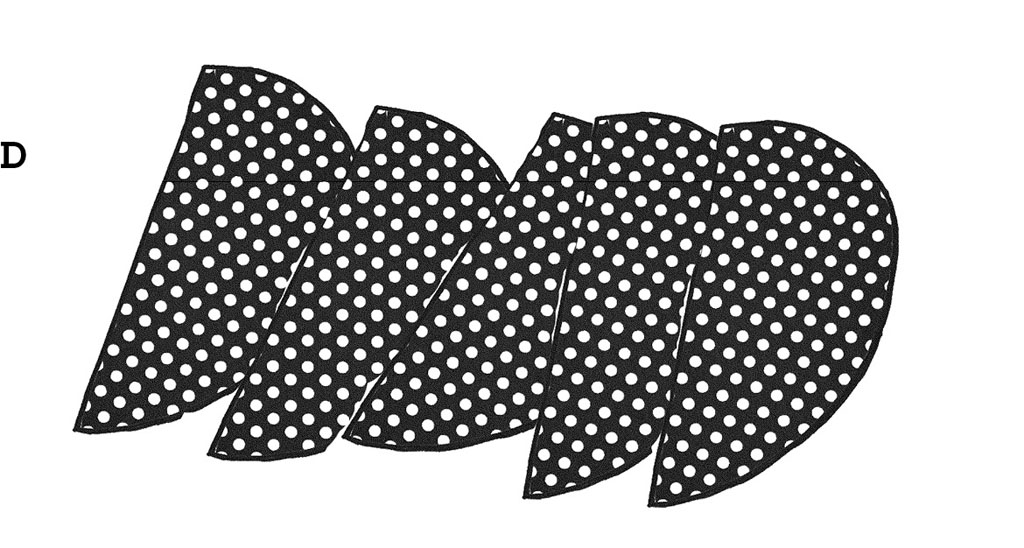
Cut notches in the fabric along the curved edge to remove excess fabric and allow for a smooth turn out. Turn the semi circle flags the right way out and press with an iron (D).
Lay a strip of bias binding out on the table and arrange your semi circle flags along it, evenly spaced. You should leave a small amount of binding at each end to allow for fixing to the basket.
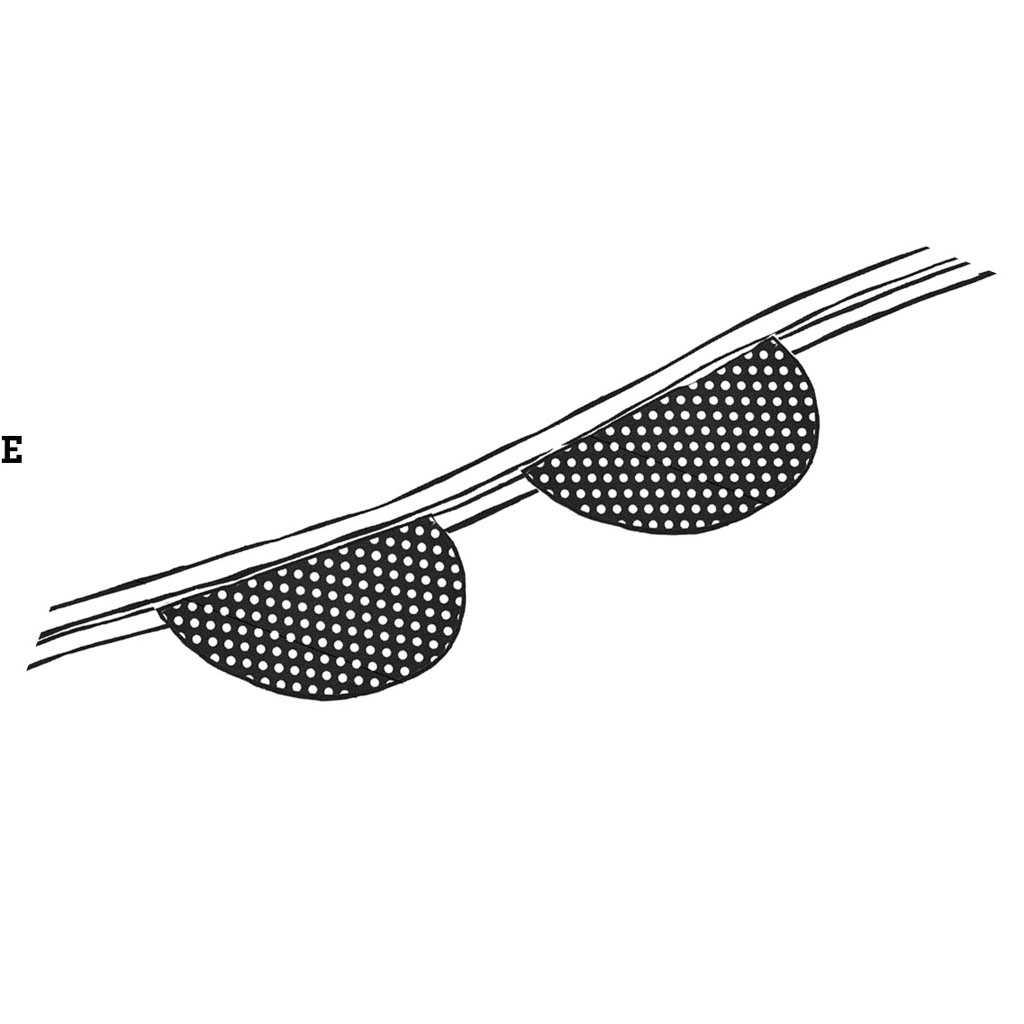
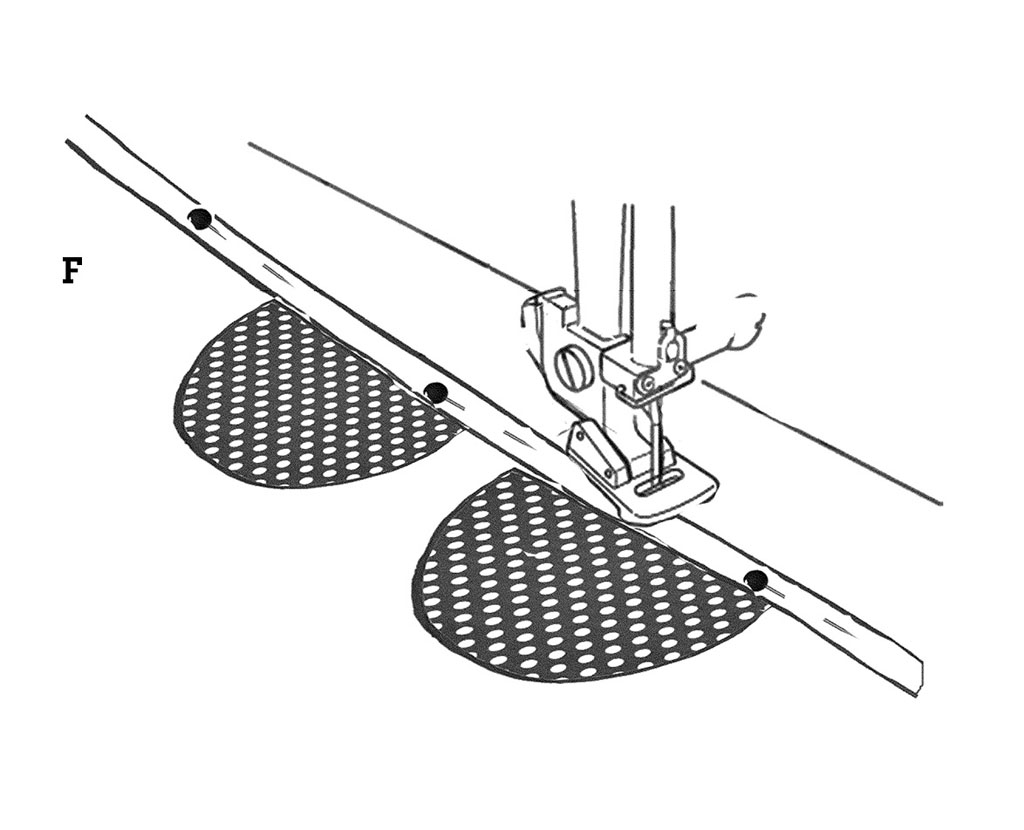
Fold the top edge of the bias binding over the straight edge of the bunting flag and pin in place (E). You should see no raw edges of the fabric at this point. Top stitch along the length of the bias binding, ensuring your flags are neatly tucked in (F).
Fix to your basket using invisible thread. You can adjust this pattern with different shaped flags and longer bunting depending on the size of your basket.

