Publisher: Amy Marson Creative Director: Gailen Runge Art Director: Kristy Zacharias Editors: Liz Aneloski and Lee Jonsson Technical Editors: Ann Haley and Susan Hendrickson Cover/Book Designer: April Mostek Production Coordinator: Rue Flaherty Production Editors: Joanna Burgarino and Katie Van Amburg Illustrator: Kirstie Pettersen Photo Assistant: Mary Peyton Peppo Flat Subject Photography by Diane Pedersen of C&T Publishing, Inc., unless otherwise noted; Style Photography by Christina Straw, unless otherwise noted; How-to Photography by Sue Kim, unless otherwise noted Published by Stash Books, an imprint of C&T Publishing, Inc., P.O. Box 1456, Lafayette, CA 94549 For all printable patterns or digital content: http://tinyurl.com/10936-patterns  Dedication To all my customers and sewing friends who have encouraged me to write this new book, thank you for the gratitude you have shown for my patterns and for letting me know of your heartfelt desire to craft handmade items. To you I dedicate this book. Acknowledgments During the process of writing this book, I was encouraged by my dear husband, who provided me with wise counsel; and by my three lovely children, Chan, Caleb, and Veronica, who are a source of much of my energy. I am grateful for my close and talented friend June, who helped me make all the samples for the book; for Calvin, who was always a tremendous help; and for Patrick, Betty, and Glenda, too.
 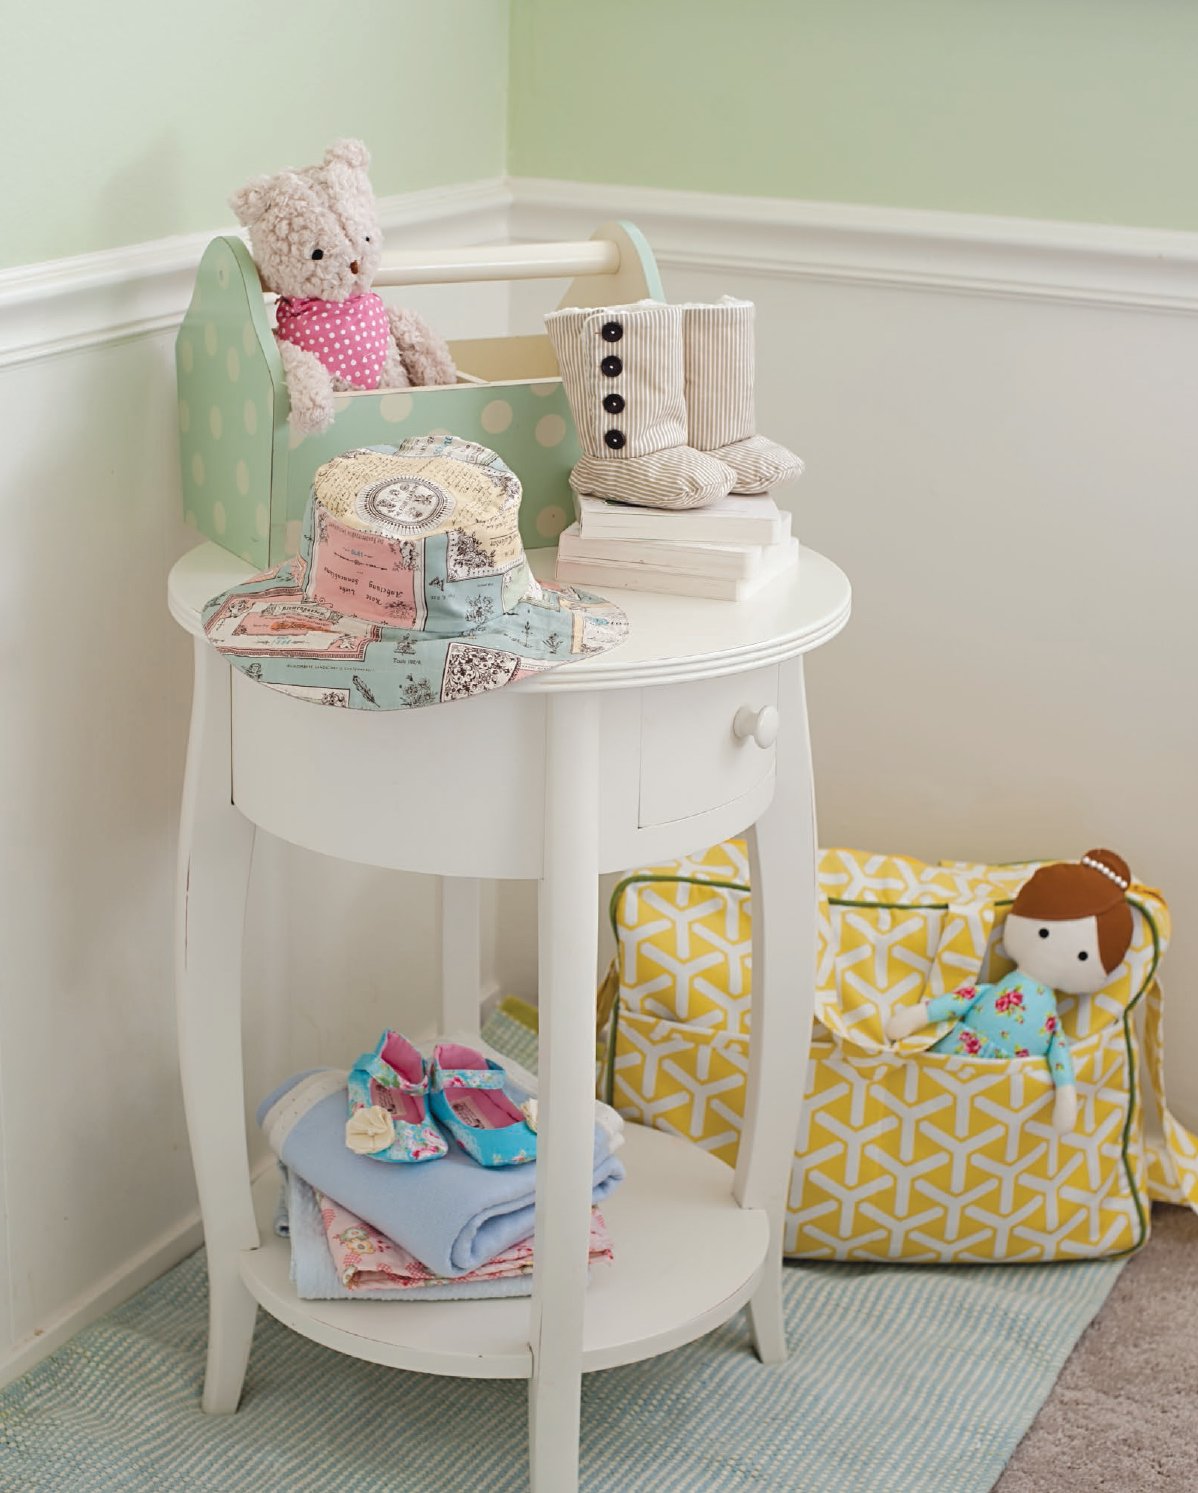 Introduction One of the most dramatic changes in a womans life is becoming a mother.
  Introduction One of the most dramatic changes in a womans life is becoming a mother.
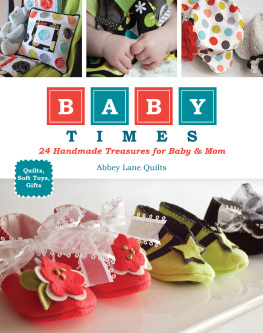
To remember, congratulate, and acknowledge this event with a handmade gift for the mother and the babywhat else could be more beautiful? The inspiration for this book came from emails by my customers, friends, and fellow sewists. I have often been asked the question, What is the best handmade gift to take to a baby shower? or, Are any good gift projects suitable for beginners? One thing that really surprised me was how many more people wanted to make and give handmade presents for baby showers than I had thought. I received many letters, emails, and comments on my website. Each and every one of these notes was precious to me. I felt the senders heartwarming love for the baby and the parents. Knowing that my designs were helping to bring happiness delighted me.
So, I wanted to do more. I often found myself imagining going to a baby shower. What would I make as a gift? What kind of card would I send? How would I wrap the gift? No doubt, these are questions you too would ask. I was getting more and more inspired, thinking of the many thoughtful souls who wanted to make handmade gifts for the baby and expectant mother. Baby booties, receiving blankets, dolls and toys, bibs, and more came to mindand finally, my answer: this book! But I couldnt stop with the handmade gifts. For me, when preparing a gift for someone, an equally important aspect is considering how to wrap it.
Ideally, the wrapping should complement the gift. I try to avoid store-bought, single-use gift wrap; homemade, reusable wrapping is ideal for homemade gifts! Because of this, I have included a drawstring pouch pattern, designed for wrapping and packaging small items. You could also use the diaper bags to wrap larger gifts. I hope you enjoy these projects. Basic Information Sewing and Quilting Terms BACKSTITCHING Sewing back and forth to secure the beginnings and ends of the sewing line. BASTING Long, loose stitches to temporarily hold two or more layers together before sewing.
The longer the stitch and the less tension between the stitches, the easier it is to remove the basting when necessary. BIAS A 45 angle to either the lengthwise or crosswise grain of a piece of fabric. It is the most elastic direction. GRAIN The lengthwise or crosswise direction of a piece of fabric. 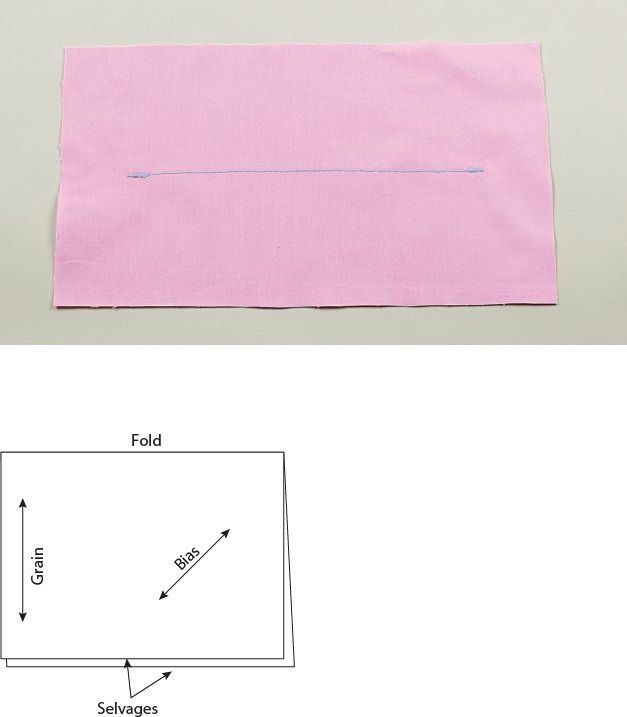 NOTCHING Making small V-shaped cuts on the inner (concave seams) or outer (convex seams) curves to help them lie flat when turned to the right side. Always clip within the seam allowance; do not cut the stitches.
SEAM ALLOWANCE The area between the raw edges of the layered fabric and the line of stitching. The width of the seam allowance may be different for each project. SELVAGE The finished edge of the fabric, usually printed with the designers name, the producers logo, and the colors used for the fabric represented in numbers. 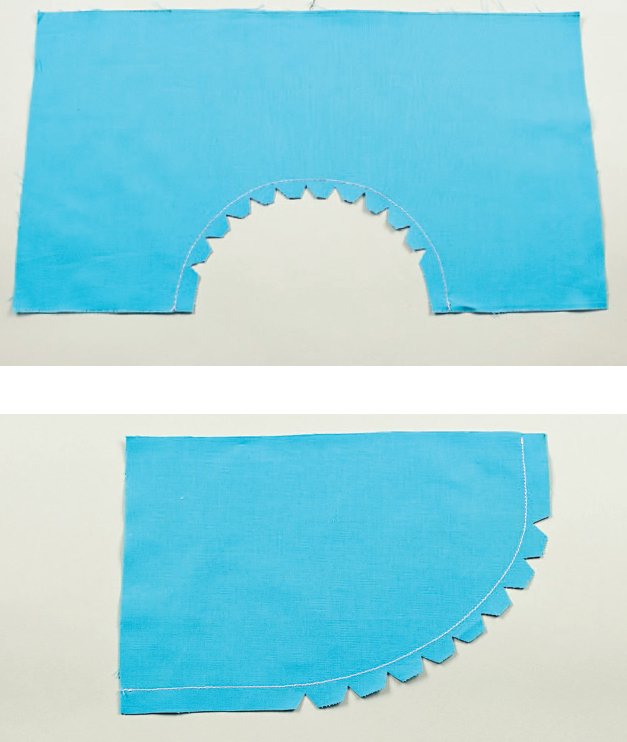 SLIP STITCH The hidden stitching used when sewing an opening closed. This type of stitching is used to secure layers together almost invisibly by hiding the stitches between the layers. I prefer to use a double thread.
Use a thread color that matches your fabric, or use thread that is a shade darker to hide your stitches better. Thread a needle and knot the end of the thread. Insert the needle into the fold of the fabric and pull the thread taut to hide the knot between the layers of the fabric. Put the needle into the folded area from the inside to the outside and then insert the needle into the other side of the folded opening. Insert the needle along the fold; it shouldnt be inserted in a diagonal manner as the thread will become visible later on. Pull the thread, then insert the needle into the fold of the opposite layer of fabric, and pull the thread taut.
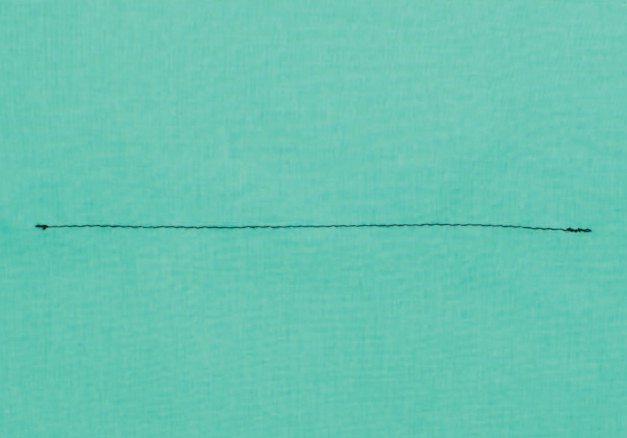
Repeat this process until the fabric is closed. Knot or secure with several stitches, and trim the thread. 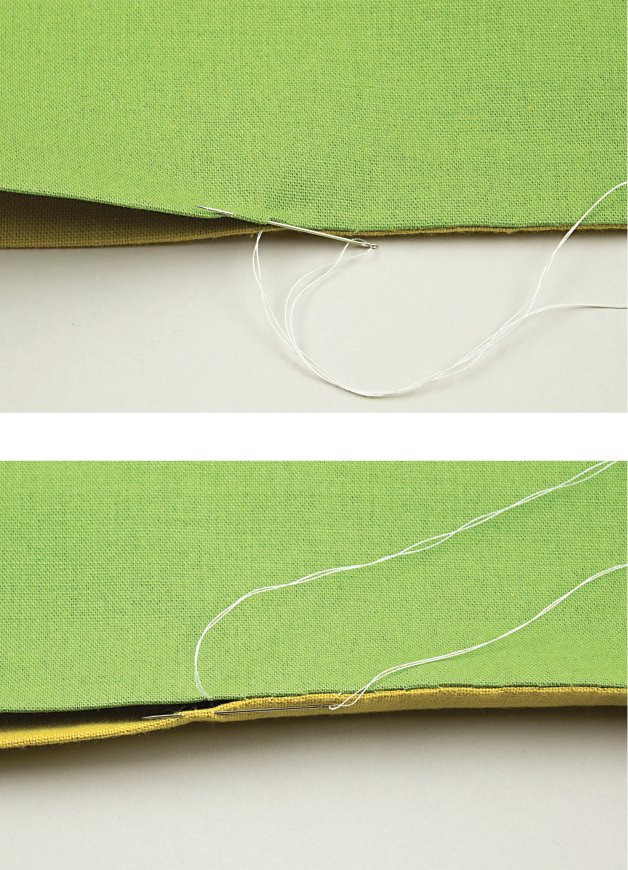 STRAIGHT STITCH This is the most simple and often-used form of stitching in sewing, also known as a running stitch.
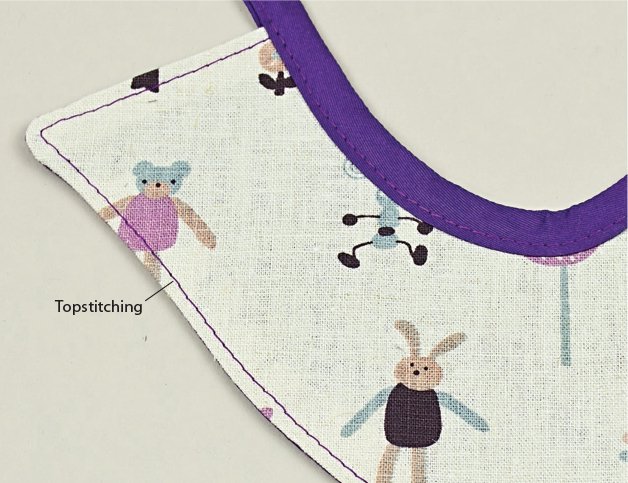
  TOPSTITCHING A line of machine stitching on the right side of the project used for reinforcement or decorative purposes. I like to use a fancy thread since it will show on the exposed side of the project.
  Techniques Applying Hook-and-Loop Tape Hook-and-loop tape can be used instead of magnetic or sew-on snaps.
Cut the hook-and-loop tape to the desired length. Separate the hook-and-loop tape and place one piece onto the fabric. Sew around the edge of the hook-and-loop tape, backstitching at the beginning and end. Sew the corresponding hook-and-loop piece where indicated. 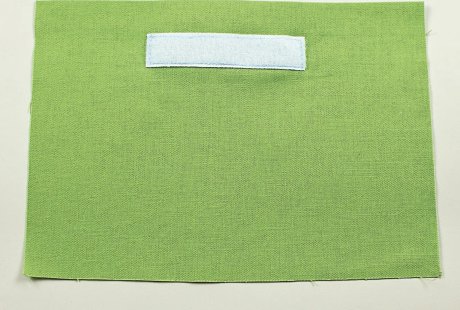 Attaching a Label Applying a sewing label will result in a more personal project. Most commercial labels indicating the item is handmade are made of leather or cotton.
If the label is cotton, it can generally be attached in either of two ways. One way is to fold the edges under and baste or pin the label to the lining or exterior before sewing it onto your project. The other method is to sew the label to the lining or exterior after the project is completed. In both cases, be sure to use the same color thread as the label when sewing it together. 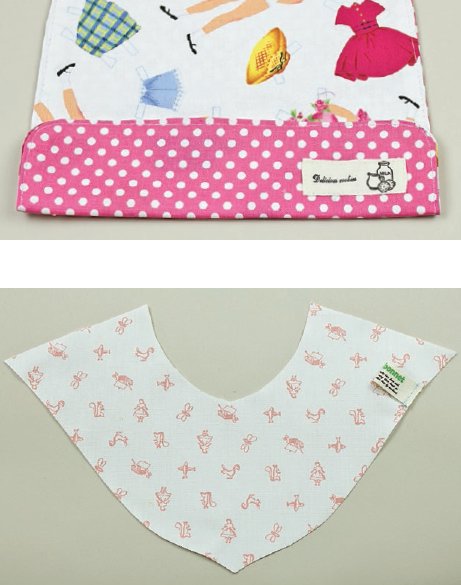
Next page

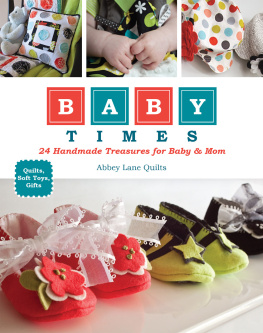
 Dedication To all my customers and sewing friends who have encouraged me to write this new book, thank you for the gratitude you have shown for my patterns and for letting me know of your heartfelt desire to craft handmade items. To you I dedicate this book. Acknowledgments During the process of writing this book, I was encouraged by my dear husband, who provided me with wise counsel; and by my three lovely children, Chan, Caleb, and Veronica, who are a source of much of my energy. I am grateful for my close and talented friend June, who helped me make all the samples for the book; for Calvin, who was always a tremendous help; and for Patrick, Betty, and Glenda, too.
  Introduction One of the most dramatic changes in a womans life is becoming a mother.
  NOTCHING Making small V-shaped cuts on the inner (concave seams) or outer (convex seams) curves to help them lie flat when turned to the right side. Always clip within the seam allowance; do not cut the stitches.
 SLIP STITCH The hidden stitching used when sewing an opening closed. This type of stitching is used to secure layers together almost invisibly by hiding the stitches between the layers. I prefer to use a double thread.
 STRAIGHT STITCH This is the most simple and often-used form of stitching in sewing, also known as a running stitch.
  TOPSTITCHING A line of machine stitching on the right side of the project used for reinforcement or decorative purposes. I like to use a fancy thread since it will show on the exposed side of the project.
  Techniques Applying Hook-and-Loop Tape Hook-and-loop tape can be used instead of magnetic or sew-on snaps.
 Attaching a Label Applying a sewing label will result in a more personal project. Most commercial labels indicating the item is handmade are made of leather or cotton.