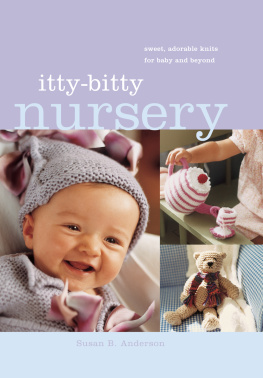
itty-bitty nursery
Susan B. Anderson
Photographs by Liz Banfield
ARTISAN NEW YORK

To my husband, Brian, and children, Evan, Ben, Holly, and Mary Kate. You make my house a home. And to my mom, Mary Ann Barrett. Thank you for a lifetime filled with love and support.

contents
introduction
When I shared a copy of Itty-Bitty Hats, my first book, with a dear friend of mine, she turned to me and said, You have a voice! I loved that reaction, and this comment has resonated in my thoughts for a long time. I know that I have always had a strong voice when it came to my own knitting, but I began thinking about every knitters voice. Each knitter has a distinct perspective about his or her knitting. Knitters share their viewpoints with others through the choices they make when working on a project.
These choices are initially fairly basic: which projects to make and which yarns to use. Adding a personal twist to a pattern through color choice or other variation can make a project different from anyone elses. Even if you dont make any changes to a pattern, no two handknitted items are the same. I thus want to encourage knitters to jump into Itty-Bitty Nursery with abandon. Dont hesitate to make these patterns your own through your choices. This wonderful act of baby knitting is an expression of your knitting voice. There is no better way to send a message of love to a baby.
I have dreamt about a fantastic knitted nursery forever, and so I let my imagination and needles run wild for this collection. Making lists of every baby-loving item I could think of, I then knitted them like a tornado until I had enough projects, and even some extras. The promise of Itty-Bitty Nursery is that you can knit up an entire nursery with clothes, toys, room adornments, blankets, pillows, and baby accessories, the type of nursery where we want every baby to live and grow. Now, even I know that not everyone has time to knit every project offered here, but this is where your own knitting voice comes into play. Pick the projects that speak to you, the ones you ooh and aah over, or simply the goodies you are just itching to start. These are the gifts that will best express your joy and love for the new baby in your life.
In this collection I have offered a variety of projects for every level of knitter, including the most inexperienced. There is a chapter that uses only garter stitch squares, the most basic starting point, to complete a wide variety of projects that are truly beautiful. For all levels of knitters there are toys for any age child (as well as adults), lovely blankets, a pure-white layette set, whimsical pillows that could be used anywhere in the house, a felted bag for Mom, and so much more. Even my older children are excited about many of these projects. When selecting the recipient of your next project from Itty-Bitty Nursery, keep all ages in mind. Many of these designs are not just for babies!
But, of course, all babies deserve a knitted nursery of their own, even if it contains only one or two knitted items. Knitting is an act of pure love, and who better to shower this love on than a baby?
Peace, love, and knit for beautiful babies everywhere!
abbreviations
| k | knit |
| k2tog | knit two stitches together as one stitch |
| ssk | slip two stitches separately as if to knit, knit these two stitches together through the back loops |
| p | purl |
| p2tog | purl two stitches together as one stitch |
| kfb | knit into the front loop and then into the back loop of the same stitch |
| pfb | purl into the front loop and then into the back loop of the same stitch |
| m1 | make one stitch by inserting the left needle from the front to the back under the bar in between the rightmost stitch on the left needle and the leftmost stitch on the right needle, making a loop on the left needle; knit the bar through the back loop |
| rs | right side |
| sl1 | slip one stitch as if to purl |
| yo | yarn over |
squares and rectangles
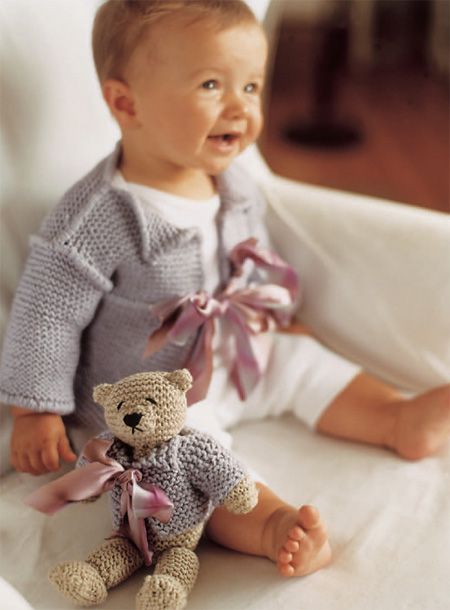
This entire chapter contains beautiful, one-of-a-kind projects made solely out of garter stitch squares and rectangles. Beginners, get ready for some serious fun. Experienced knitters, get ready for a few slick, easy projects to add to your gift repertoire! You might think that projects of this sort arent going to be shapely or sophisticated, but just take a look. The lavender sweater, hat, and bootie set, for example, has a lovely elegance created with a decorative whipstitch and some silk ribbon ties. The door hanger/sachet has an embroidered detail and is filled with lavender seeds for a soothing scent.
The patchwork blanket is a snap to knit on your own or with a group of friends. The pom-pom edging adds just the right touch of fun to this comfy blanket. Of course, there has to be a friendly bear whos just the right size to tag along wherever your baby goes. The bear even has a matching sweater.
No matter which project you select, any level of knitter can quickly and simply create these sweet, elegant, and fun projects in no time at all. Ive included an instructional section at the beginning of this chapter that includes the necessary skills to complete these projects. If you are a beginner, start here, and youll find out that the secret to knitting is just a little determination. Once you give your first handknit gift, you will race back to your needles to begin the next one!
basic skills
The following skills are all you will need to complete these projects out of garter stitch squares and rectangles. When you master them, you will be well on your way to becoming an accomplished knitter. More advanced techniques, which you will need to complete other projects later in Itty-Bitty Nursery, can be found in Special Techniques, starting on .
CASTING ON
slipknot The slipknot is the very first step in casting on to begin your project.
1. Measure out the length of yarn needed for the long-tail cast-on (which youll learn below). The pattern you are about to begin will tell you how many stitches you will need to cast on. You can figure out how long the tail of the yarn needs to be by wrapping the yarn around the needle once for every stitch called for. Then add about another 8 inches. At this point in the yarn, you will make a slipknot.
2. Make a loop, overlapping the yarn at the bottom of the loop.
Next page

