
TRIM & FINISH CARPENTRY
Techniques & Tips from the Pros

Contents
Trim & Finish Carpentry

Introduction
Trim moldings are installed primarily to decorate our houses by adding rich wood tones and creating ornamental effects that often feature light and shadow. Moldings do perform minor structural jobs, too, mainly to conceal gaps between walls, floor, and ceilings, and around doors and windows.
Decorative trim has a long history. Ancient Greeks used molding in their buildings to divide surfaces into smaller parts to create visual interest, generally basing their profiles on the ellipse, parabola, or hyperbola. Romans simplified the moldings of the Greeks, basing their profiles instead on the circle. These two styles of molding evolved into eight classical shapes of molding, derived from a combination of complex moldings that have irregular curvatures and simple moldings formed from a continuous curve, such as the arc of a circle.
Traditional trim molding has details and features that identify it as belonging to a particular architectural style. The most popular styles for millwork are Victorian, Federal, Arts & Crafts, Neoclassical, and modern. Some of these profiles have served as the building blocks of interior ornament for centuries. It should be noted that a large portion of the floor space given over to moldings at any building center these days is consumed by ranch moldinga style of trim that is so plain it has no real style classification. Ranch moldings are cheap and easy to install and thus have some value as a building material. But if your intent is to use trim as a significant decorative element in your home, you should investigate some of the more interesting profiles (see ).
Until the middle of the 1800s, most molding in America was made on the building site by carpenters who used hand planes, chisels, and gouges. Wide pieces of trim, such as crown molding, were made in woodworking shops where large planes were pulled by apprentices under the guidance of master artisans. Depending on the size and style of a building, molding could be used to ornament almost all the interior architectural elements.
By the late 1850s, planing machines had been developed to produce molding on a large scale, at a much lower cost than custom handmade molding. This made elaborate and sophisticated ornamentation available to all who wanted it in their homes. In todays market it would not be cost effective for carpenters to create molding profiles from lumber. Today, mass-production brings a whole range of molding possibilities to any home builder or remodeler, from re-creations of built-up cornices to replications of hand-carved plaster moldings made from a mold and cast polyurethane. Creative trim carpenters have learned to combine stock moldings to create a nearly infinite variety of complex profiles.
Before beginning your trim project, do plenty of planning and get to know your tools. Safety is paramount when working with any power tools. Make sure you use the correct tools for the project and that the tools are well maintained. Also use proper techniques and safety practices: Carelessness is not only dangerous; it can lead to inaccurate measurements, poor cuts, and loss of productivity.
 Victorian Trim Style
Victorian style began in the mid-nineteenth century and lasted approximately sixty years. Trimwork of this style is generally very ornate with large elaborate casings that emphasize curves and decoration rather than material. Moldings were built by stacking layers multiple times, rather than using a single piece.
Victorian style is generally seen in houses with higher ceilings. Due to the sheer size and nature of these moldings, they may tend to crowd a standard 8-ft.-tall room, especially if all types of trim elements are included from the floor up. However, the term Victorian encompasses many different variations and can be successfully installed in smaller homes by sizing down the scale of the trimwork.
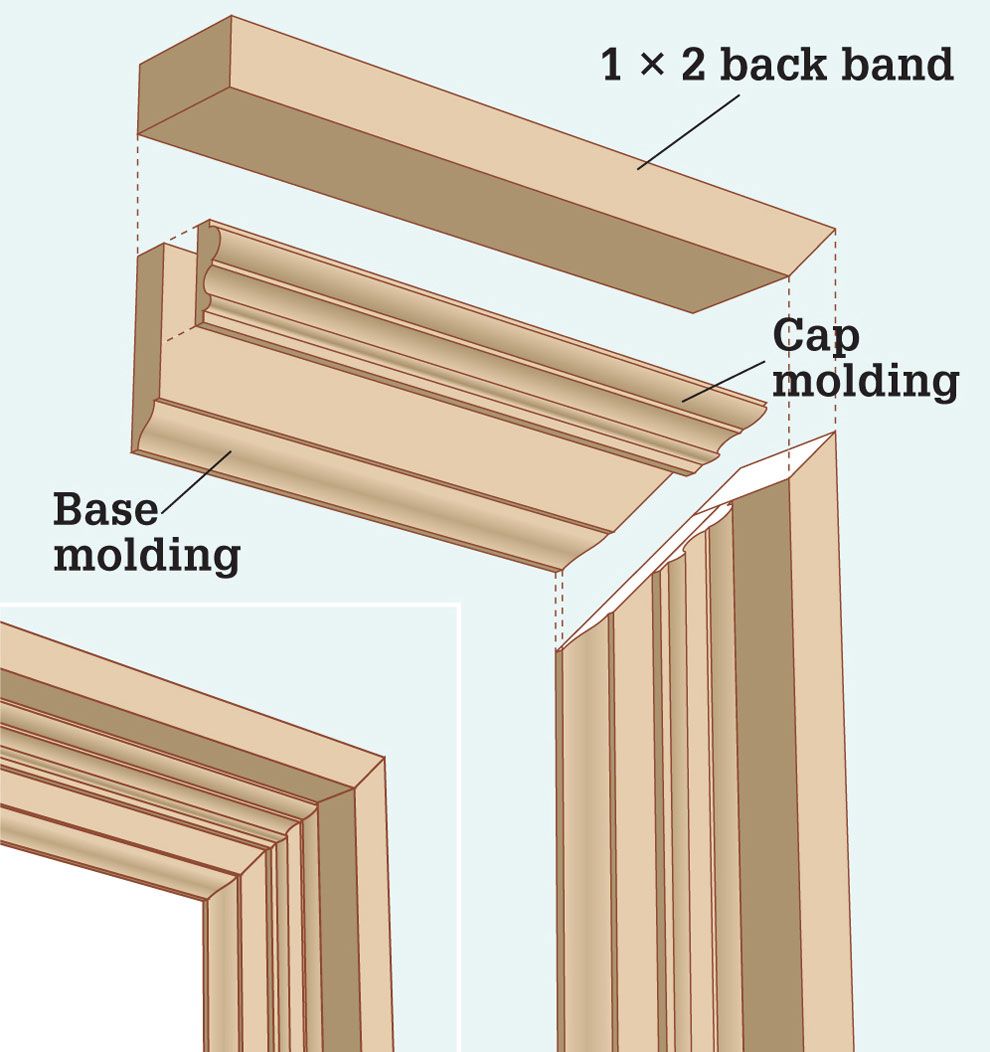
This Victorian door casing is not made up of casing at all, but actually a combination of baseboard and cap molding with 1 2 as a back band. The overall width of the casing is 4", creating a strong statement when compared to a single-piece stock molding.
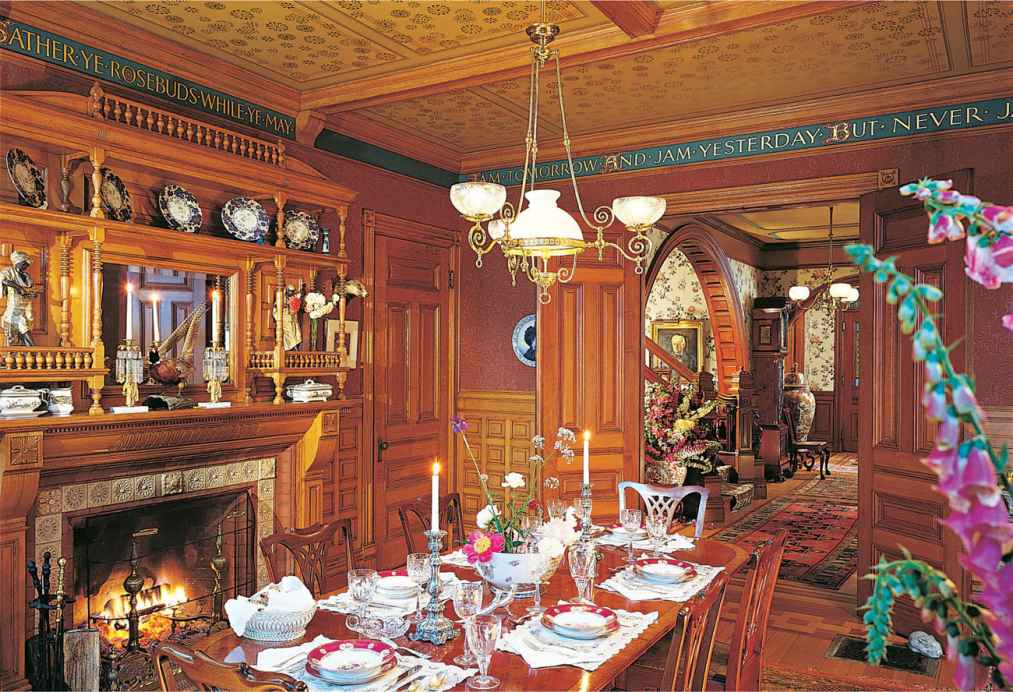
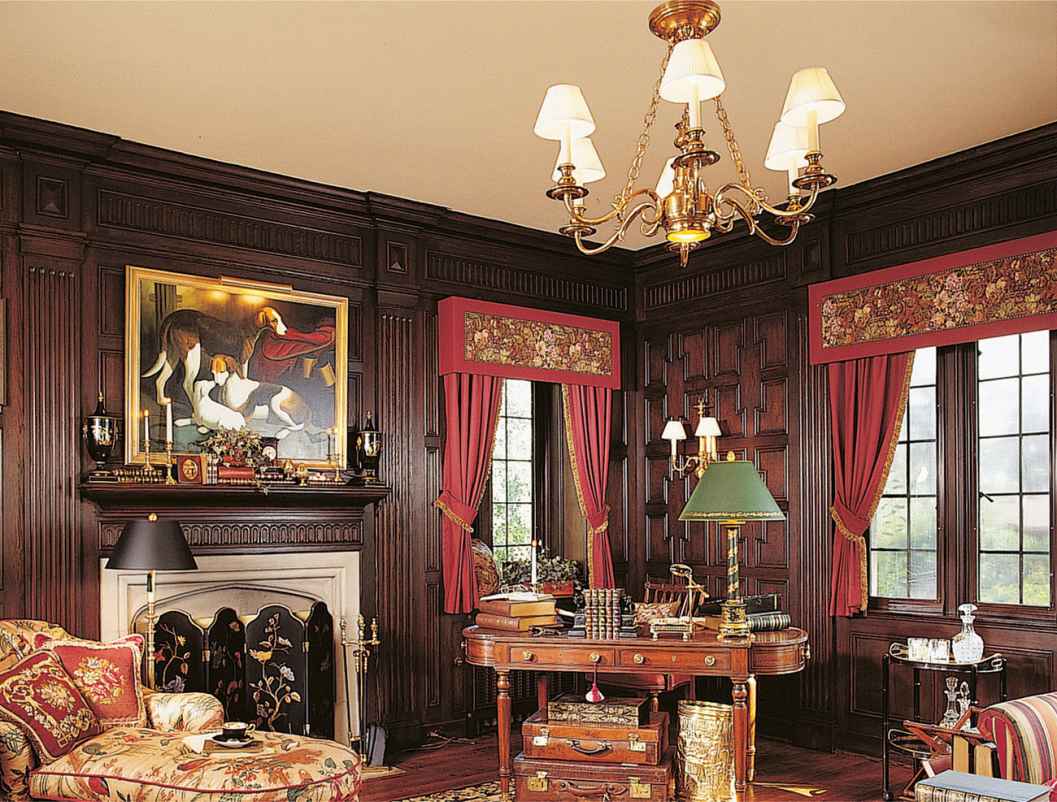
Victorian frame and panel walls were often so elaborate that they were constructed outside the home and brought in to be installed.
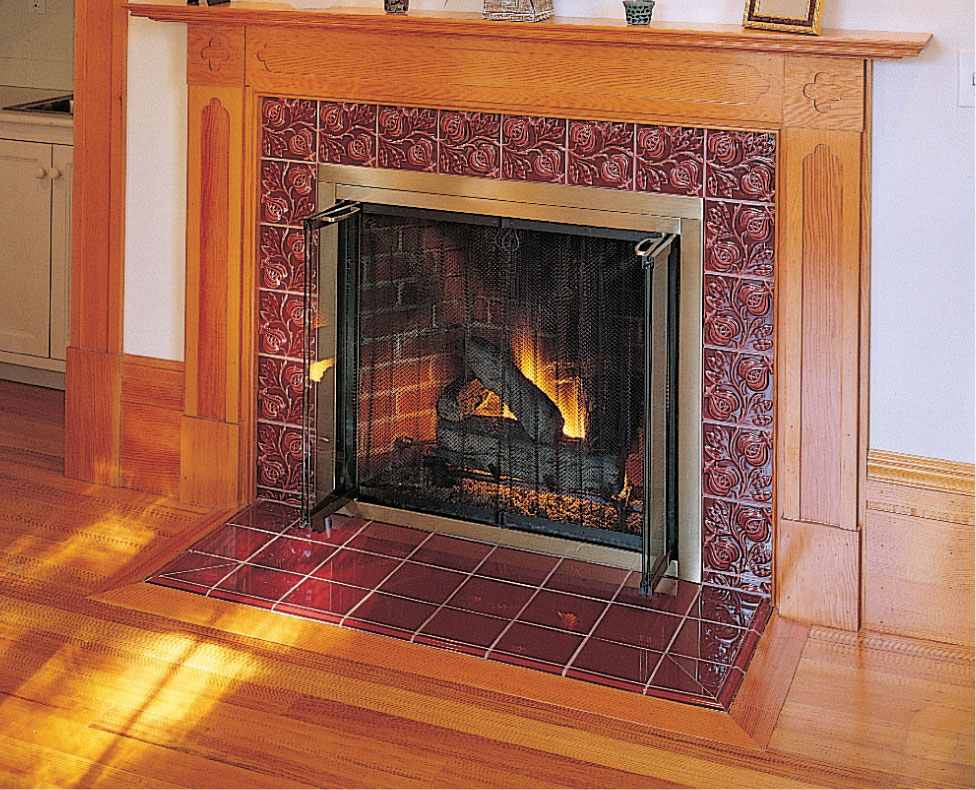
Baseboards were commonly 7" tall or greater, with plinth blocks at door openings rather than a straight casing to the floor.
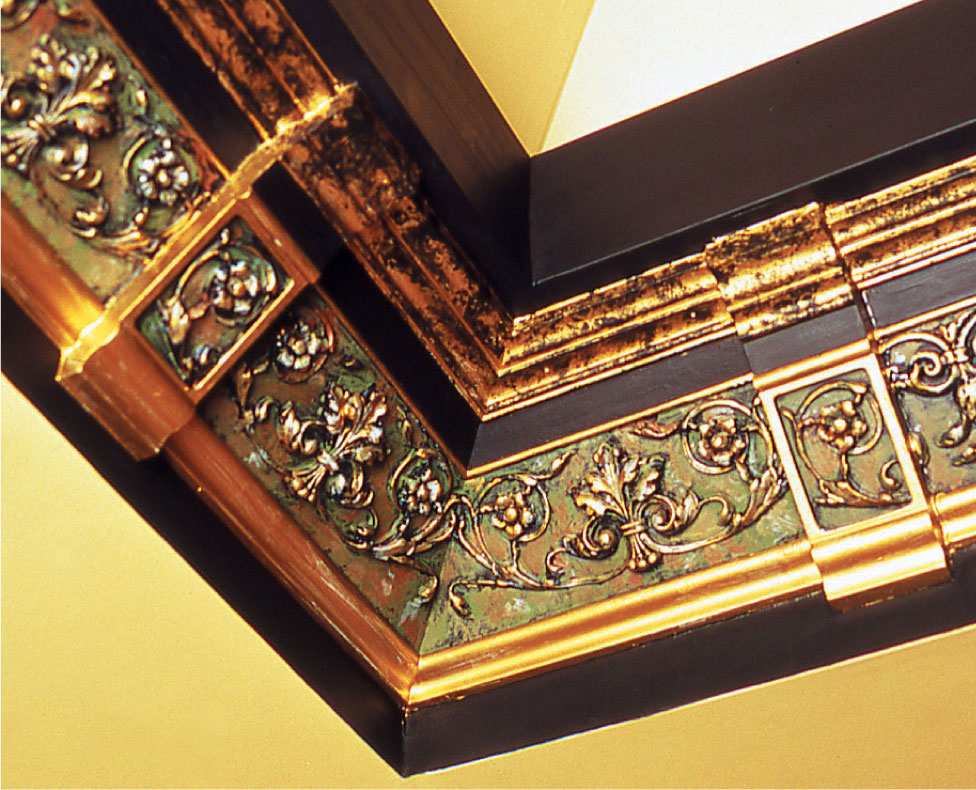
Victorian style cornice moldings were often very large and elaborate. Made up of multiple pieces of material, the decoration can sometimes be seen as out of proportion with current construction standards.
 Arts & Crafts Trim Style
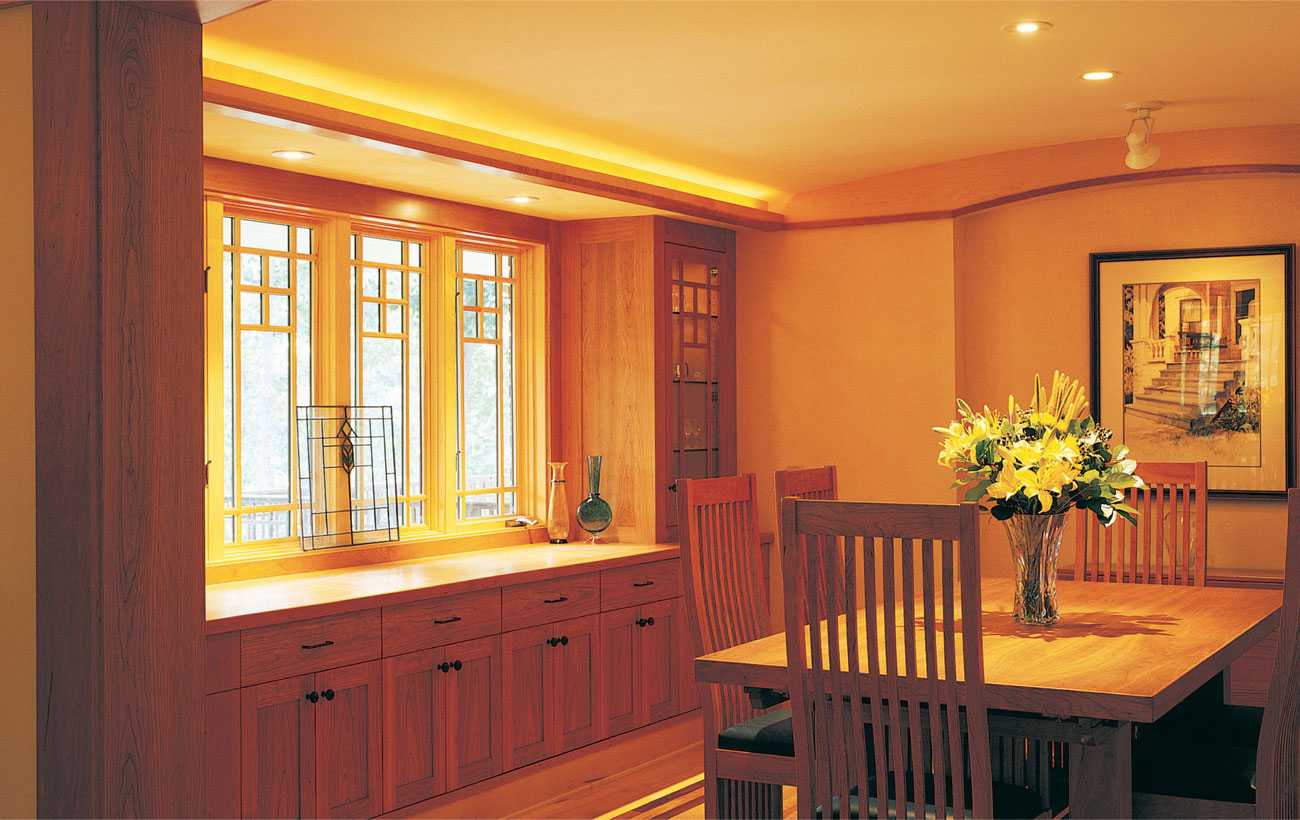
Arts & Crafts style originated near the turn of the twentieth century. Trim components of this style generally emphasize wood grain, function, and simplicity in design. Typical Arts & Crafts furnishings and trim are made from quartersawn white oak, but painted trim work is a less expensive alternative that still maintains the style.
There are many variations of Arts & Crafts style. The projects provided in this book illustrate only a few common trim techniques. Research the movement if you like the idea of wider, straight-line casings, but dont see exactly what you want. The installation techniques are the same, with variations in joinery and style elements.
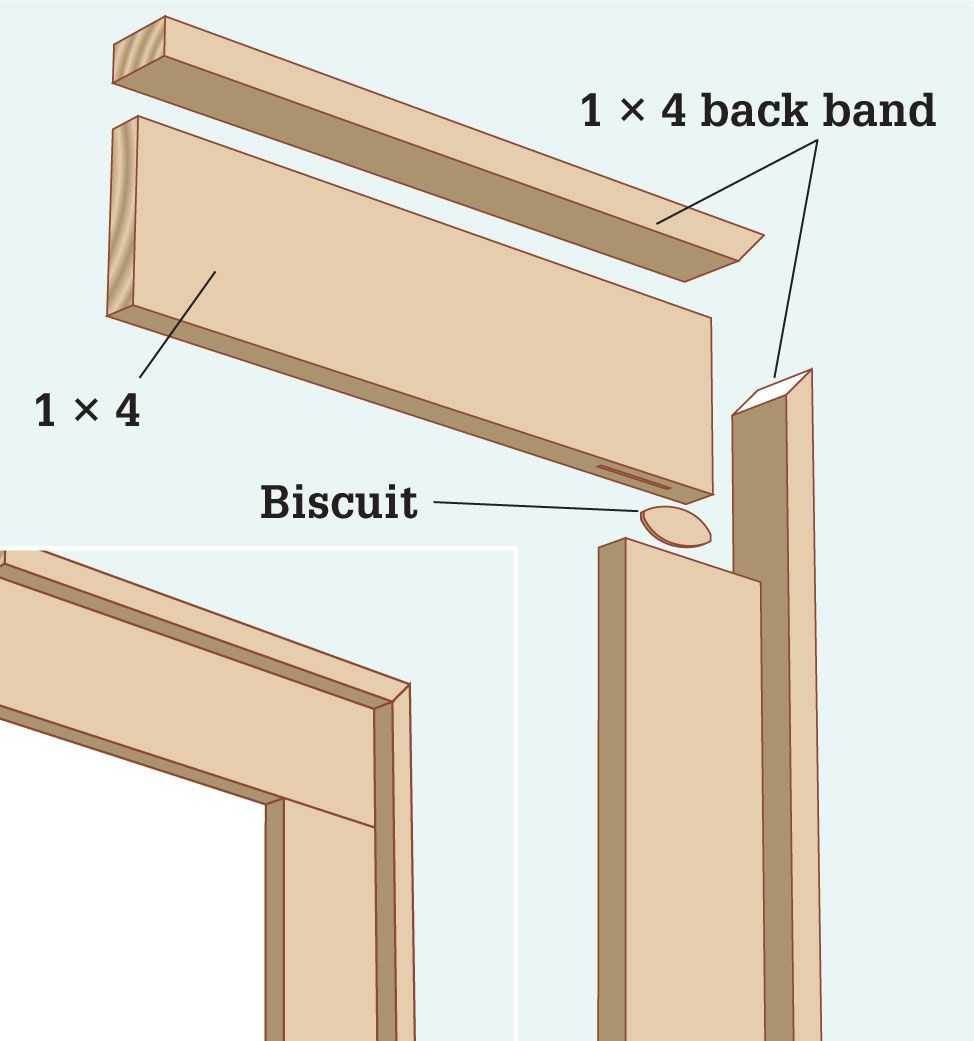
Use biscuits to join butted joints of an Arts & Crafts window or door treatment. Mitered corner molding wraps around the perimeter of the solid stock, to add depth to the casing.
Decorative elements
Next page



 Victorian Trim Style


