Copyright 2006, 2014 by Sharon Kramis and Julie Kramis Hearne
All rights reserved. No portion of this book may be reproduced or utilized in any form, or by any electronic, mechanical, or other means, without the prior written permission of the publisher.
Published by Sasquatch Books
Trade paperback editor: Susan Roxborough
Trade paperback project editor: Em Gale
Trade paperback design: Anna Goldstein
Photographs: Charity Burggraaf
Food styling: Julie Hopper
Library of Congress Cataloging-in-Publication Data is available.
eBook ISBN: 978-1-57061-941-0
Trade Paperback ISBN: 978-1-57061-940-3
Sasquatch Books
1904 Third Avenue, Suite 710
Seattle, WA 98101
(206) 467-4300
www.sasquatchbooks.com
v3.1

CONTENTS
RECIPE LIST
Soups, Chilies & Chowders
Sides & Appetizers
Main Dishes
Accompaniments
Desserts
INTRODUCTION
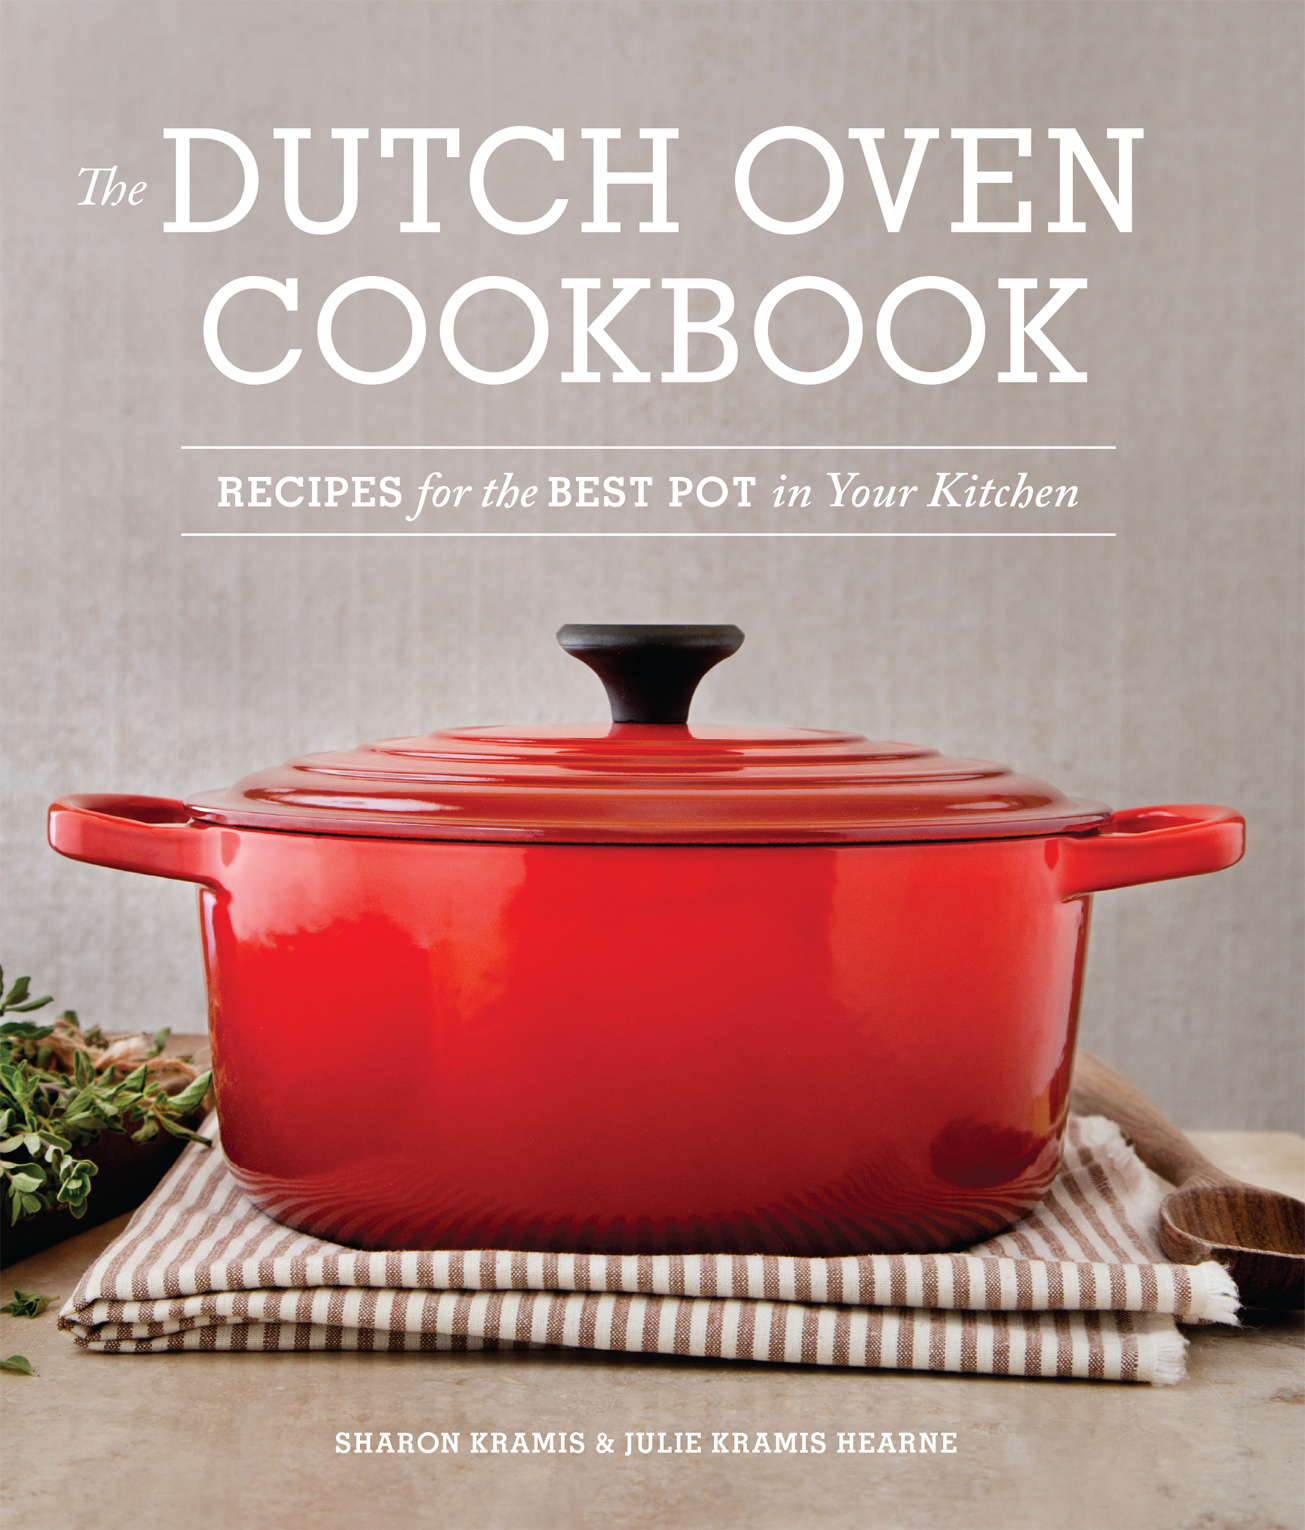
THE DUTCH OVEN IS OUR FAVORITE POT . Made of cast iron and often enamel coated, its the perfect partner to the cast iron skilletour favorite pan. Dutch ovens have loop handles and flat bottoms, and always come with lids. They are approximately four to five inches deep and range in capacity from two to thirteen quarts. The name Dutch oven is believed to have originated in the eighteenth century, when the cookware was manufactured in England and brought to the United States by Dutch traders.
Historically, the pot was used primarily outdoors. During the pioneer days in the western United States, for example, Dutch oven cooking was the most important cooking method used. Today, there is still a strong following around cooking with a Dutch oven over a campfire. Throughout the country, Dutch oven societies sponsor annual outdoor gatherings for recipe sharing and friendly but grueling competitions for a grand prize.
In our cookbooka collection of our favorite recipeswe are bringing the Dutch oven indoors. Here in the Northwest, after the first rainfall in September, the mushrooms pop up in the forests and the Dutch oven comes out of the cupboard to claim the back burner on the stove, where it remains until mid-April. At least three times a week in our kitchens, something is either stewing, braising, simmering, or roasting in the Dutch oven. A pot of soup on the stove, slowly simmering, was always a welcome-home treat after school.
A heavy pot, the Dutch oven slow-cooks tough meats and melds flavors together to produce melt-in-your-mouth tender bites. Use medium to low heat to attain the best results. We prefer the Dutch oven to Crock-Pot cookery because it slow-cooks without accumulating excess moisture. Some cuts of meat are often overlooked by consumers because of the longer cooking times (two to three hours), even though these cuts can be more flavorful and much less expensive than steaks and chops. Enter the Dutch oven: slow-cooked recipes simmered on the stovetop or oven-baked provide a delicious supper.
YOUR DUTCH OVEN
MANY PEOPLE HAVE DIFFERENT IDEAS of exactly what cooking in a Dutch oven is all about. For those who cook outdoors with their Dutch oven, there is only one type: the true cast iron pot that does not have an enamel coating and has been in the family forever. Our cookbook, however, is written for indoor cooking in the Dutch oven. For that purpose, there are two basic types of pots: enameled cast iron and nonenameled basic black preseasoned cast iron. We use both types, and each results in slow-cooking and great-tasting food.
Dutch ovens are heavy and they conduct even heat on the sides as well as on the bottom. Stainless-steel pots, Teflon-coated pots, and Crock-Pots dont give you the same delicious results. Those pots tend to accumulate extra moisture. A Dutch oven provides even heat and retains that heat for long periods of time.
Purchasing Dutch Ovens
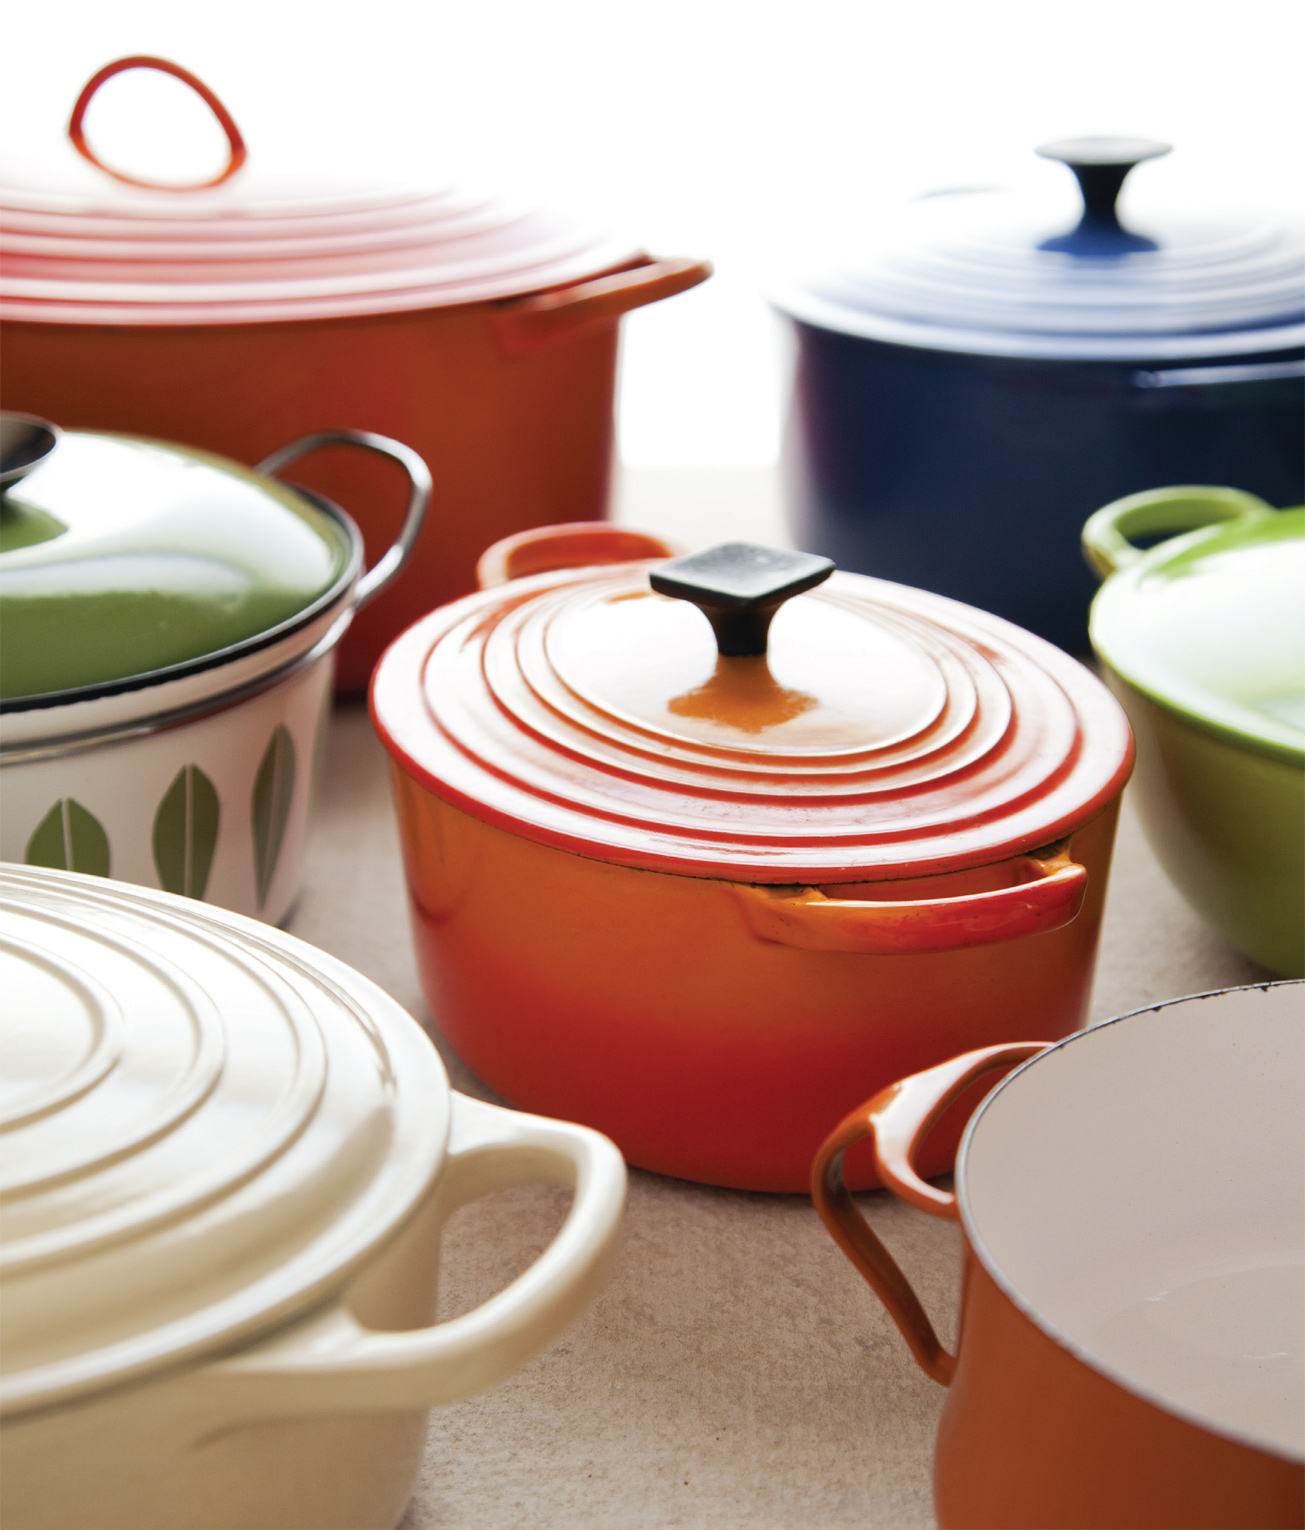
Our favorite Dutch oven for indoor cooking is an enameled five- to six-quart pot. The price range is anywhere from $50 to $250. Today the Lodge Manufacturing Company, a fourth-generation, family-run foundry in South Pittsburg, Tennessee, and the oldest manufacturer in the United States, is producing enamel-coated cast iron. Lodge, Le Creuset, Staub, and Mario Batali cookware all manufacture quality enamelware that can go from the stovetop directly into the oven (see ).
Care and Use of Your Dutch Oven
To ensure a long life for your pot, remember these basic guidelines:
Rinse it out with a little soapy water and a soft sponge. To remove any stuck particles from your Dutch oven, soak the pot in hot soapy water and scrub with a plastic scouring pad. Never use heavy abrasives or metal scouring pads.
On the stovetop, cook over low to medium heat. Never use your Dutch oven over high heat for searing, or the enamel will crack and chip. However, chipping does not make it unsafe to use.
Dont leave an empty pot on a hot burnerthe enamel will crack.
Take care not to drop or bang your Dutch oven, as the enamel coating can chip.
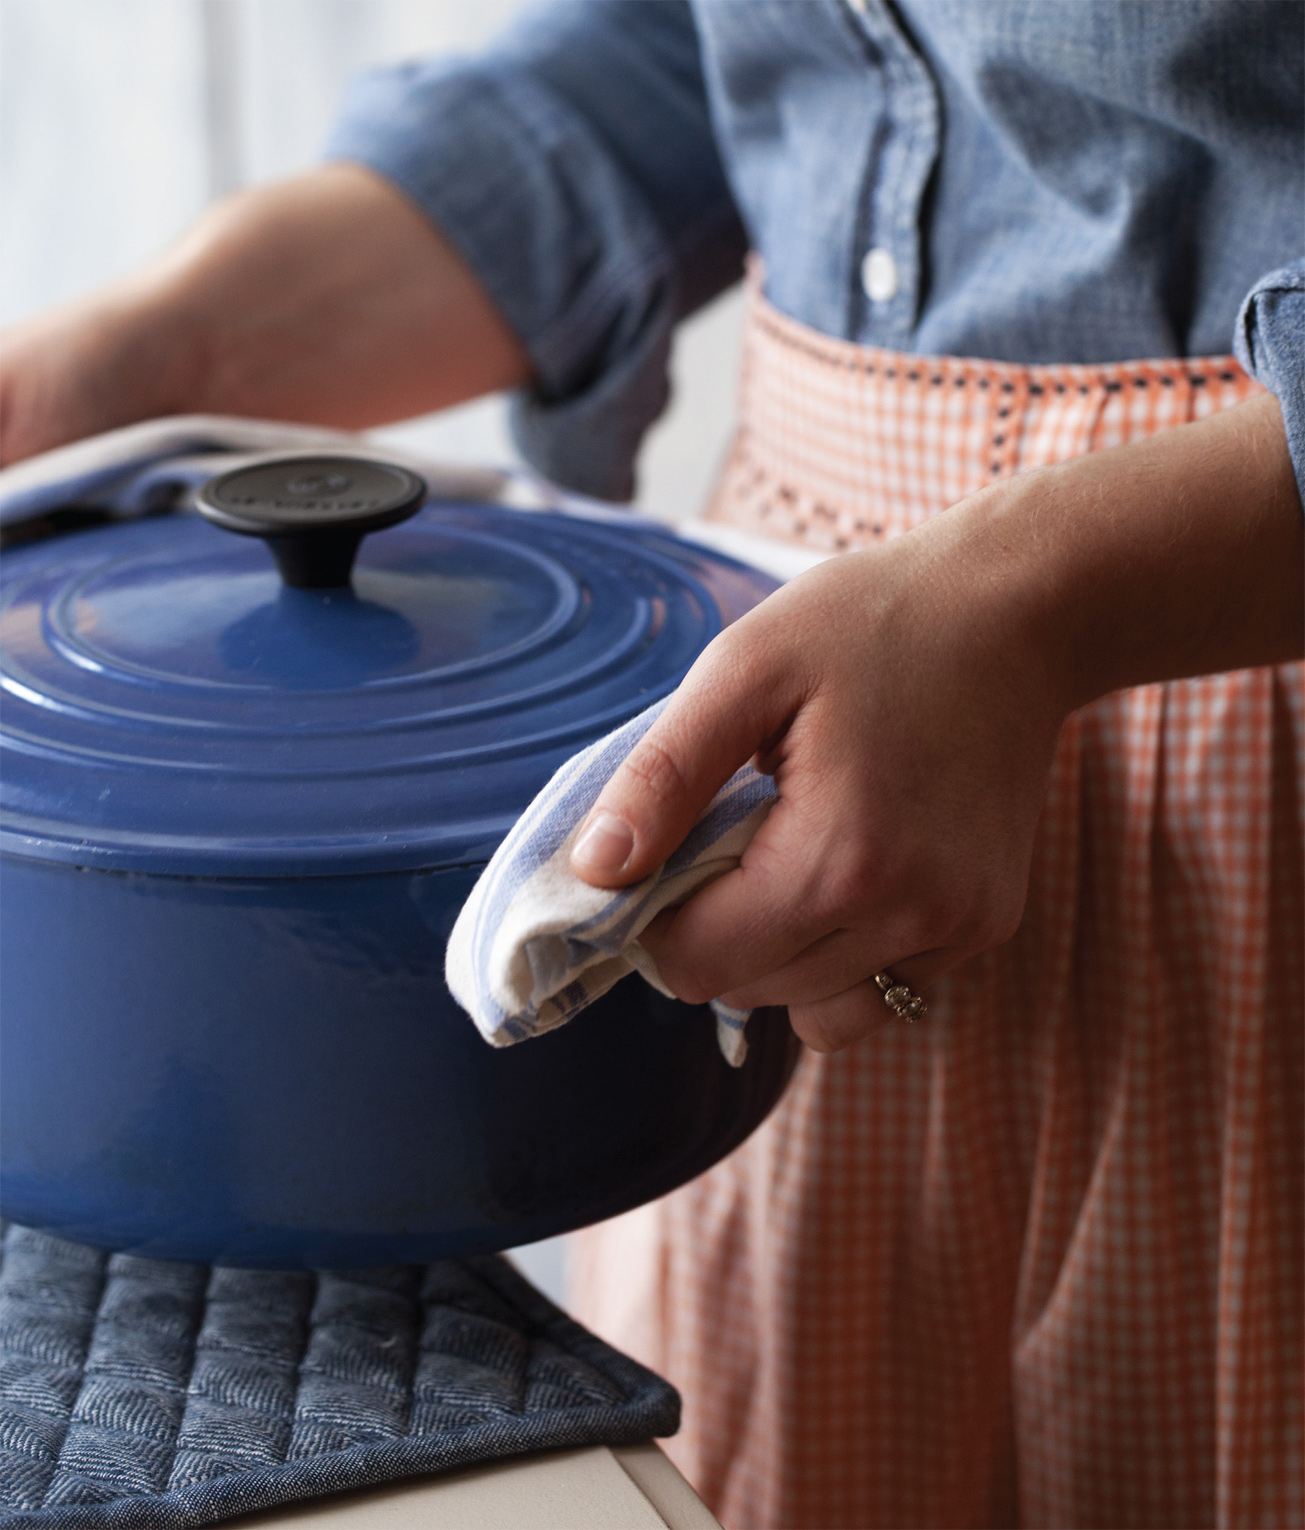
Dutch ovens are ovenproof; however, the knobs and handles get hot and stay hot! Be careful! Always use two thick oven mitts when handling your pot.
Cooking with a Dutch Oven
The primary use of the Dutch oven is for slow, even cooking. Its ability to evenly distribute heat on the sides as well as on the bottom makes it the perfect pot for tenderizing and braising tougher cuts of meat. The Dutch oven is easy to clean and compatible with electric, gas, ceramic, and induction ranges. There is something so wonderfully simple and satisfying about meals you cook in one pot. We hope you enjoy these recipes as much as we do!
O ur motto is low and slow and let it go. Simmering over low heat in your Dutch oven slowly combines flavors, so its no surprise that making soup is one of the most common uses for a Dutch oven.
Most soups and chowders share a simple beginning with three basic ingredientsdiced carrots, celery, and onionsknown as the classic mirepoix. Building on this, add liquid and presoaked dried beans, dried peas, or lentils and, by changing the seasonings, you can enjoy a different soup every day.
We keep chicken broth, dried legumes, and canned tomatoes in our cupboard as well as fresh celery, carrots, and onions in the refrigerator, so that we always have the ingredients for a delicious soup. After the ingredients have been assembled, bring the soup to a boil over medium-high heat. Immediately turn the heat down and simmer for forty-five minutes to one hour, until all of the ingredients are tender. We recommend simmering with the lid off to prevent excess moisture from dripping back into the soup or chowder, which will change the taste and color.


