| Osprey Modelling 9 |  |
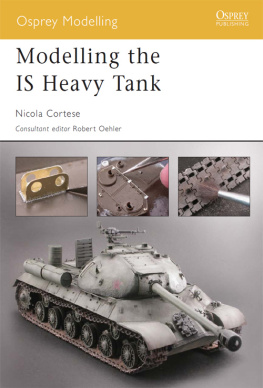
Modelling the IS Heavy Tank
Nicola Cortese
Consultant editor Robert Oehler
Series editors Marcus Cowper and Nikolai Bogdanovic
Contents
Introduction
You never get a second chance to make a first impression is a phrase that came to my mind many times when working on this project my first foray into the world of writing. For this reason, I can assure you that this volume has received all the love and care I can possibly muster! Ive been building scale armour models seriously for just over four years now, and from the outset I have focussed on doing everything to the best of my ability, be it learning about scratch-building or thinking of new ways of maximising the potential of simple tools. I have asked myself if this book will encourage or discourage modellers from tackling the often extensive building aspects of some of the projects here. Ultimately my humble goal, of course, is to encourage the reader to try things that they may not have done before, and hopefully inspire you to try out new techniques just as I have been, and still am, influenced and inspired by many other modellers. Some of the projects are best suited to intermediate modellers, while others will appeal to those wanting to sharpen their scratch-building and painting skills for large-scale projects. I also hope this book will act as a sort of reality check for modellers who want to start major build conversions without knowing what may be involved, and give some healthy insight into what to look for when building.
Modelling the Iosef Stalin tank
The Iosef Stalin tanks were some of the most widely used tanks ever produced by the Soviet Union. First developed in 1942, this series of heavy tanks went through World War II, the Cold War and the ArabIsraeli wars in the 1970s. Post-war IS-2s, and IS-3s, were exported to China, Cuba and North Korea. Some of the vehicles played a major role in the outcome of World War II, going head to head with some of the larger German heavy tanks such as the Panther, Tiger and King Tiger, and earned the Soviet Union engineering respect for having built these impressive war machines. The subject matter is thus an important one for modellers.
Another point of interest to modellers is the fact that there were many variants that used the same or similar chassis (the IS-1, IS-2, ISU-122, ISU-152 and IS-3, for example) giving us a variety of schemes, markings and models to work with. There are numerous kits available of almost every model variant, plus a plethora of accessories and replacement upgrades. Due to its strong appeal, Soviet armour still has manufacturers releasing many variants, new and old, keeping up with modellers demands.
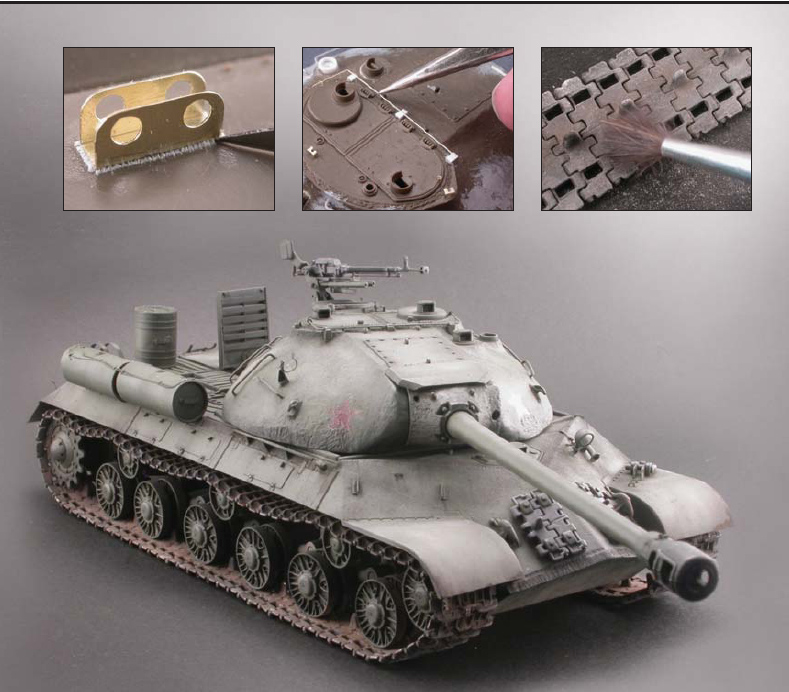
For this volume, Ive chosen to feature seven models, namely the early IS-2, the infamous IS-3 and IS-3m, the brutish IS-152 assault gun, and the rare ISU-152 (mod. 1945) self-propelled gun. There is also a special section featuring a pair of small-scale (1/76) versions of the IS-2, one featuring scratch-built fenders and added details, the other being an out of the box build. I hope this will add an interesting angle to the overall content, considering the tiny nature of these kits. Interestingly, each model is quite different to the others, yet they all feature the same type of building and painting techniques. Ive chosen to avoid extended historical discussions and precise timeframes, simply because I want to keep things focussed on the modelling. Most of the kits featured are not linked to specific units or battalions. Some will argue that both history and amour modelling should go hand in hand, and that one must be historically precise I agree wholeheartedly. However, in this particular volume I want to showcase my models and techniques on an artistic level first and foremost. Ultimately my goal is to concentrate on the specifics, and hopefully plant the odd seed of inspiration along the way. Ive also avoided adding figures and the like to the featured kits, again to help concentrate on the featured kits.
Some principles of building and detailing
First and foremost, Ive learnt from some of the finest modellers today that a system of building is vital for good end results indeed, it is the only way Ive found that one can achieve acceptable standards. Some differences are obvious between modellers, in terms of preferred techniques and methods. For me, reading Tony Greenlands seminal work Panzer Modelling Masterclass really blew me away: I was impressed by how great an all-round modeller he is. I was greatly inspired to go the extra step in terms of detailing: anyone serious about modelling should have this volume on their bookshelves!
Styrene is by far my favourite material for scratch-building. Before attempting any sort of scratch-building, my advice is to start small, adding a strap here, or a rod there. I can assure you that once youve tried this material and technique, you wont look back: its fun, and the only thing stopping you is your imagination. Check out your local hobby shop for Plastruct or Evergreen styrene plastic: these come in all shapes and sizes. I also highly recommend that any budding scratch-builder should check out the train department in their favourite hobby shop or even better, visit a hobby shop that specializes in train models. You will discover a great source of detailed accessories that train modellers have been using for years, and which are great for applying to armour modelling.
Tools
Equipping yourself with proper tools doesnt necessarily mean going out and buying the newest, hottest tools on the market. In fact, all the tools Ive used in this book are items that I acquired over four years ago, when I first got into armour modelling something that you can see in some of the photos! Youll find that most modellers have much the same tools and accessories in their arsenal as I do: here is a basic list of what I use.
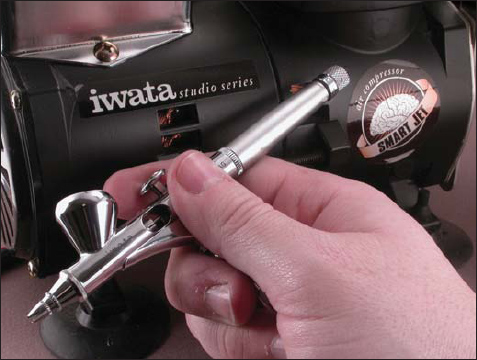
Iwata Custom Micron airbrush
Iwata studio series Smart Jet compressor
In my view, the Iwata Custom Micron is one of the best airbrushes on the market today, being easy to use and maintain.
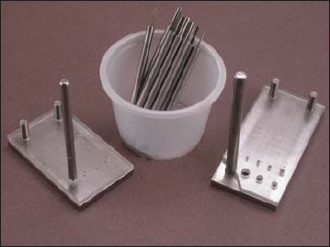
My punch set every modeller should have one of these, although I also use plastic train bolts and nuts.These tools are vital for scratch-building.
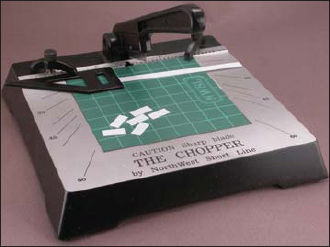
The Chopper another great item, giving a sharp, even cut for all your styrene building projects.
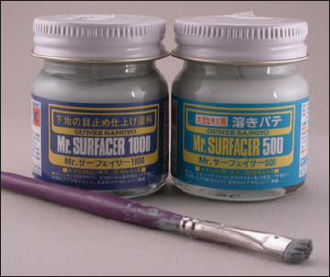
You have a choice of two Mr Surfacer viscosities: the 1000 for a thinner filler texture, and the 500 which is a bit thicker for heavy texturing.

