Contents

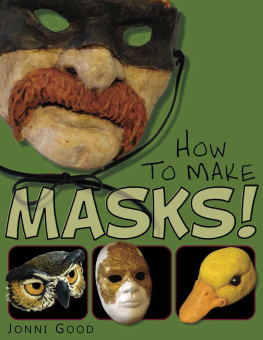
Easy New Way to Make a Mask for Masquerade, Halloween and Dress-Up Fun, With Just Two Layers of Fast-Setting Paper Mache
Jonni Good
Wet Cat Books, Hendricks, MN
Copyright 2012 Jonni Good
All rights reserved. No part of this book may be reproduced by any means whatsoever without written permission from the publisher, except brief portions quoted for purposes of review.
Art Techniques, Sculpting
1:
Introduction

Its just as much fun to make a mask as it is to wear it after its finished. And remembermasks arent just for wearing. They make great wall art, too. With just a few inexpensive materials and a few hours of work, you can populate the walls of your home (or your costume chest) with brand new personalities, creatures, and beasts.
Even more exciting, think of thisjust by making a mask of your own creation, youre following in the footsteps of a tradition that goes back at least 35,000 years, to the days when Neanderthals still lived on earth. I think thats pretty amazing, dont you?
Its also fun to have a few masks in the toy box when children come to visit (the Plague Doctor mask in Chapter 10 is my grandsons favorite, although he likes the Duck Hat, too).
Although I have experimented with many different methods for making paper mache masks, I really started having fun with them when I began using positive molds. This is a traditional method of making paper mache sculptures of all kinds, and for good reason.

The mold lets us do all the sculpting with modeling clay, which is a much more intuitive sculptural medium than paper mache. And, in the spirit of starving artists everywhere, I like the fact that I can use my modeling clay again and again to make new masks.
I like using Super Sculpey for this purpose, but I dont bake it. I just like using a soft clay for my masks, and its the only soft modeling clay available in my small town.
You can use any oil-based clay for your positive molds. If you cant find a modeling clay locally, you can buy some online.
Because the molds are only used once, each mask made by this process is a one-of-a-kind original.
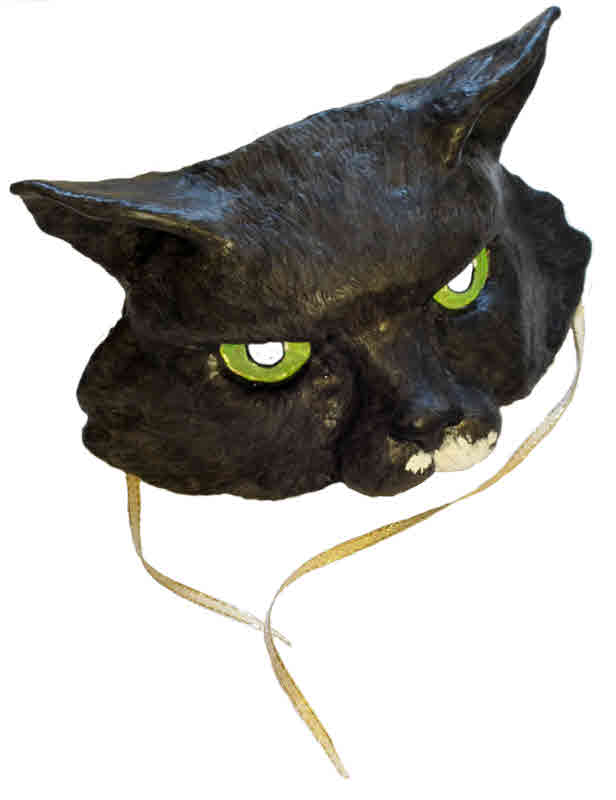
Once the paper mache has been applied to the mold and it dries hard enough to stand on its own, its lifted off the mold. With the special plaster/glue paste I use, this only takes a few hours if I set the mask in front of a fan. Then it can be popped into a warm oven for another hour or so to make sure its dry all the way through.
While its technically possible to start a mask in the morning and wear it that evening, its definitely a good idea to give yourself a lot more time. Youll want to make sure your masks is totally dry, all the way through, and you should give yourself time to finish it, too.
Whats New in This Book
Although making paper mache masks using positive molds is a time-honored tradition, youll use some new materials to make the paper mache itself.
Instead of making paste with white flour and water, youll be using a mixture of white PVA glue (the most popular brand in the U.S. is Elmers Glue-All), mixed with ordinary plaster of Paris.
If you want more time to work, and arent in such a hurry, you can use the paste made with drywall joint compound and white glue, instead. Both recipes are given in the Materials chapter.
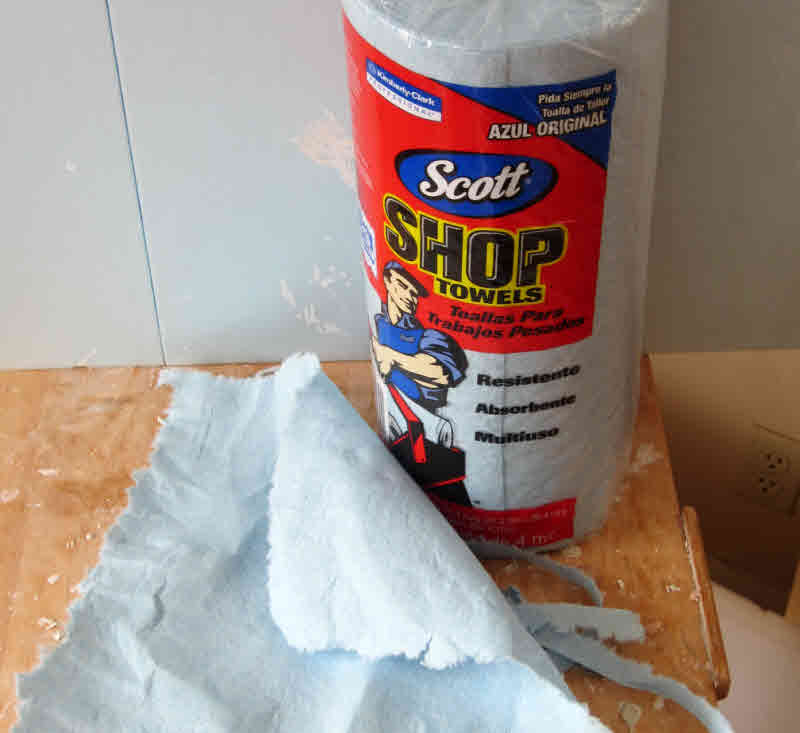
For each mask youll also be using a few sheets of strong, stretchy paper from a roll of Scott Shop Towels . These products are sold at your local hardware store or the DIY section of WalMart, and they cost just a few cents per mask. Of course, if you give your masks as gifts or sell them at the local art fair, you dont have to tell people how little they cost to make.
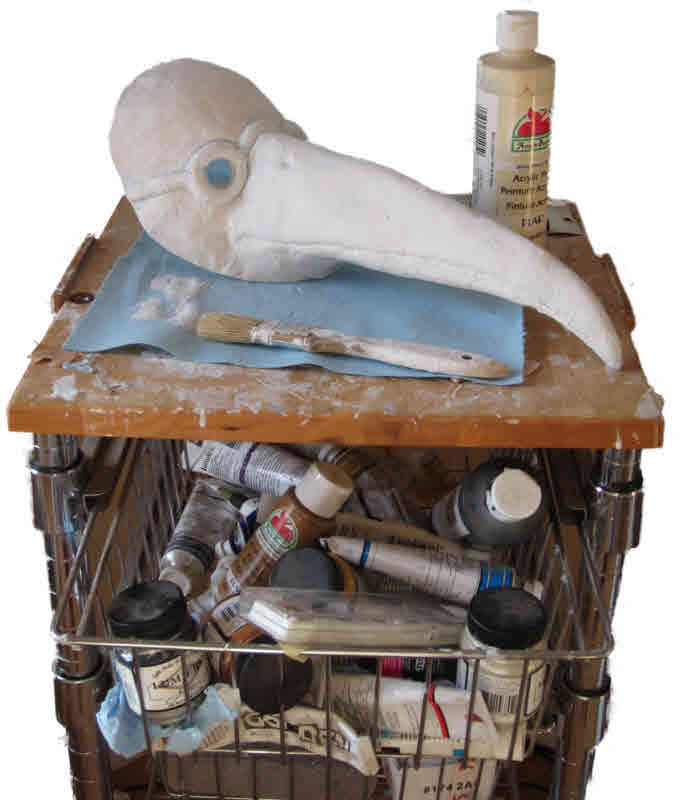
You dont even need a big dedicated studio space for your projects. Every mask in this book was made on the top of a 14 square kitchen cart. (The kudu would have been a bit easier to make on a larger table, but it still worked). I use the cart because its high enough for me to work on comfortably while standing up. You dont need anything fancy to make paper mache.
About the Instructions:
Theres no need to make your masks in any particular orderjust choose the one that appeals to you and jump right in. However, since some of the masks are more challenging than others, you might want to start with the Volto mask first, just to get a feel for the materials.
All of the masks are made with the same basic methods, and I cover these basics in detail in Chapters 2 through 6. When we get to the chapters showing individual masks, Ill assume that youve read the introductory chapters, since repeating the repetitious steps would become, well, repetitious.
Each chapter will show you the way to sculpt your modeling clay to make your mold, how to apply the paper mache over any challenging features, and how to finish your masks to look like the ones shown at the beginning of each chapter.
Then, if you discover that you enjoy making masks as much as I do, you might want to use your new skills to copy a ceremonial mask from a museum collection, or create masks for your local theater group. In fact, you can use these methods to make any kind of mask you wantyou are certainly not restricted to the projects I could fit into these pages.
2:
Materials
The Paper
For the paper mache layers, youll need a roll of Scott Shop Towels , made by Kimberley-Clark. These exceptionally strong and absorbent blue paper towels are made for mechanics and craftsmen, so you should be able to find them in any American hardware store.
A nice person at the Kimberley-Clark company told me you can also find their towels at Costco in the UK, and at Sams Club and Walmart in Mexico. Unfortunately, they arent available in all countries, so you may need to experiment with other brands.
These paper towels arent free, like the recycled newspapers many paper mache artists like to use, but you only need a few sheets per mask. The strength and stretchiness of this paper makes the entire process so much easier, and the paper makes your masks incredibly strong.
The one drawback to using the towels is the thickness of the paper. The edges dont melt into the surface quite as well as thinner paper does, so you can sometimes see where the pieces join together.
However, this isnt as much of a problem as you might think. The stretchiness of the paper lets us use much larger pieces, for fewer edges. Then, any bumps or ridges that remain in the dried paper mache are smoothed out with the easy finishing techniques Ill show you in Chapter 6.
Plaster-Based Paste
To make the paste, mix together:
1/4 cup (60 ml) white glue (Elmers Glue-All or any PVA glue)
1 tablespoon (15 ml) cold water
1 teaspoon (5 ml) vinegar (it slows down the plaster to give you more time to work)
Then mix in:
1/4 cup (60 ml) plaster of Paris

