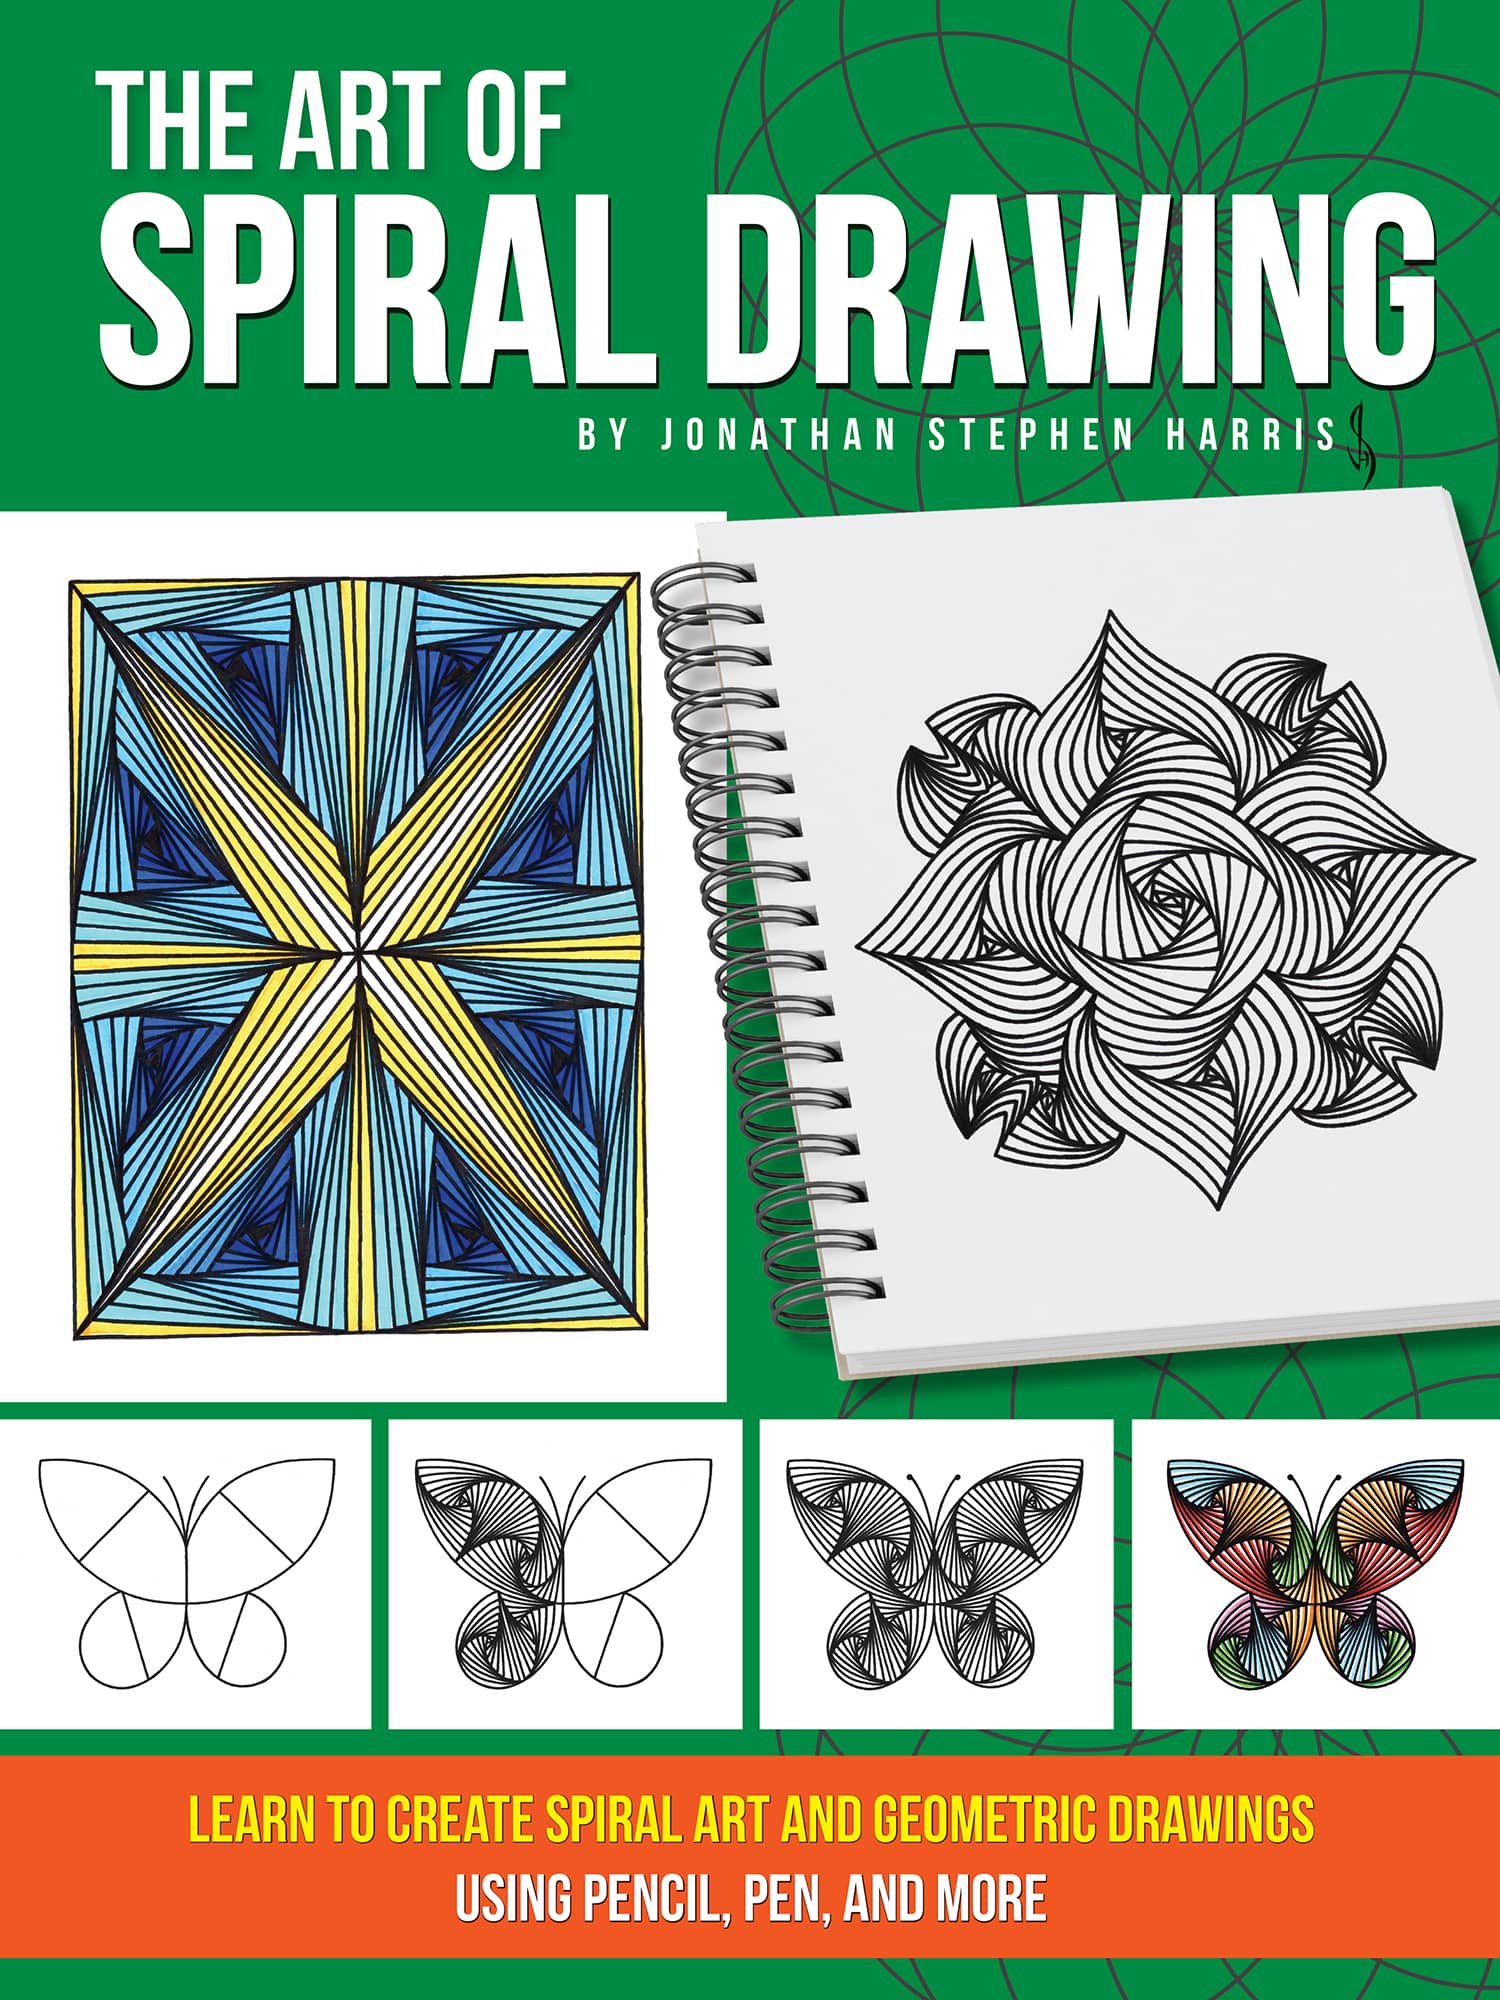
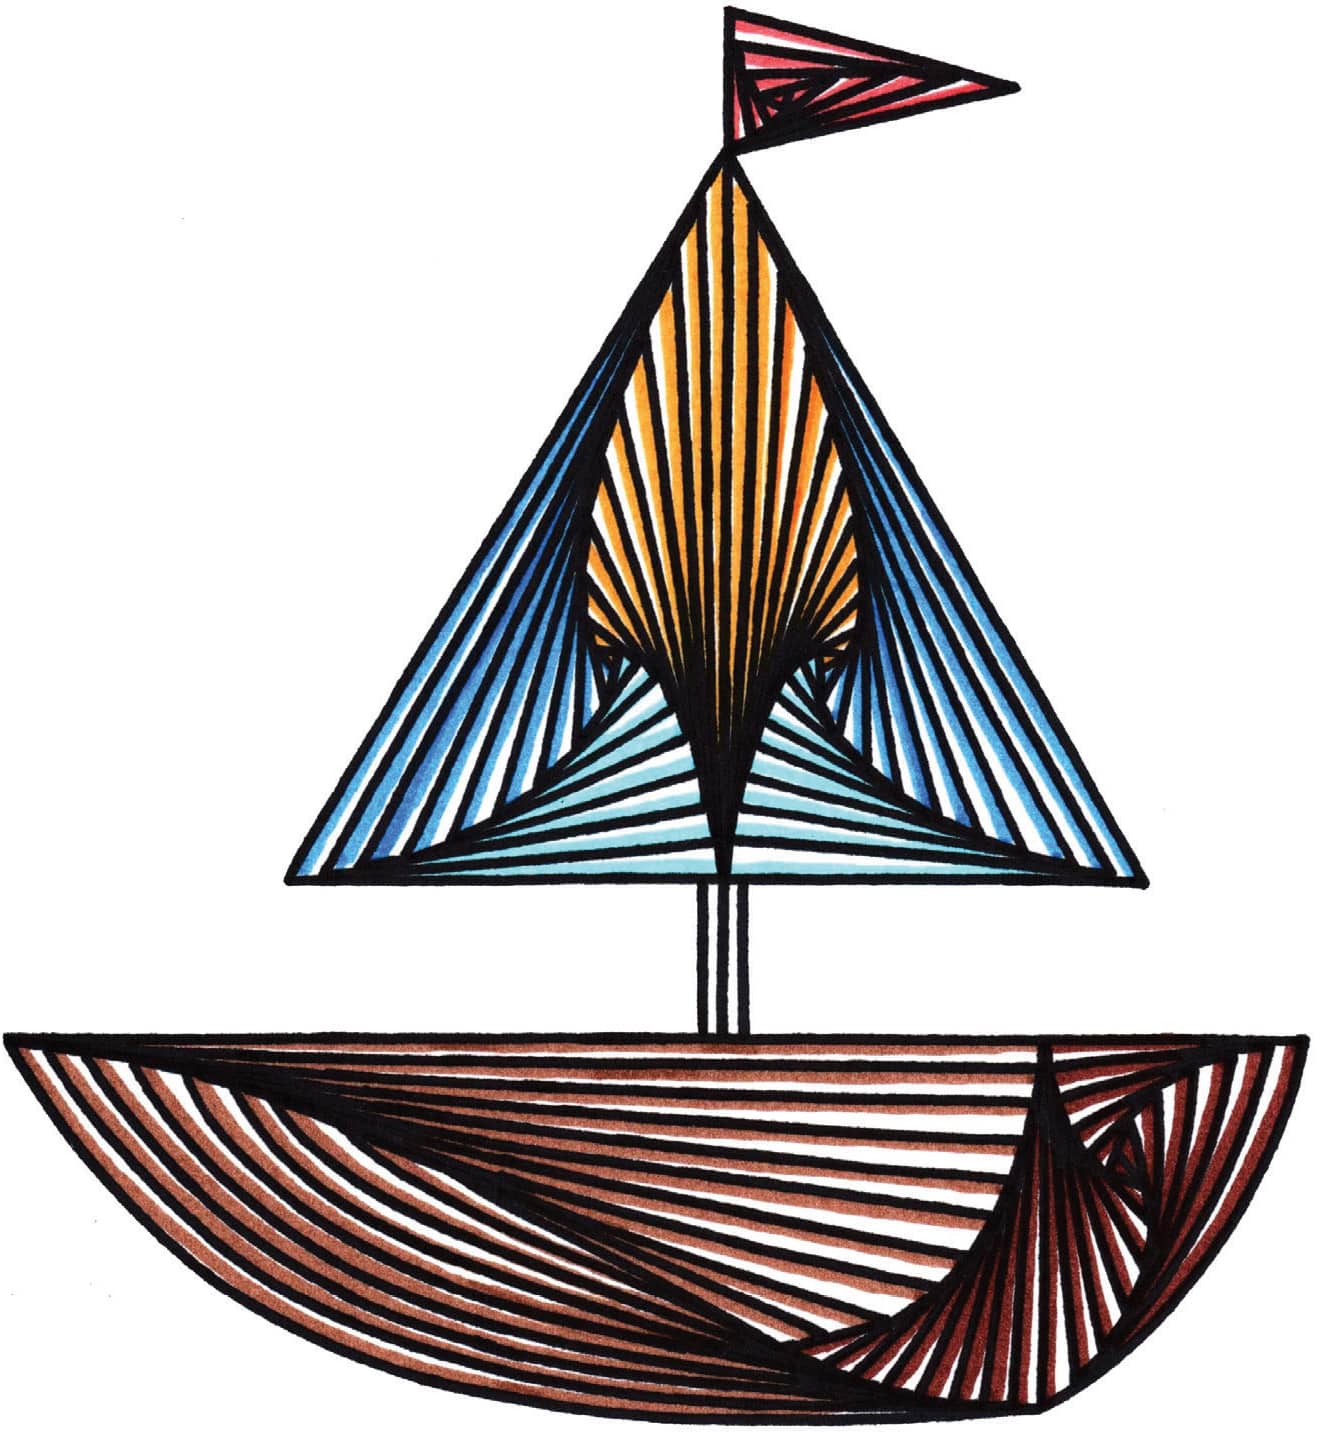
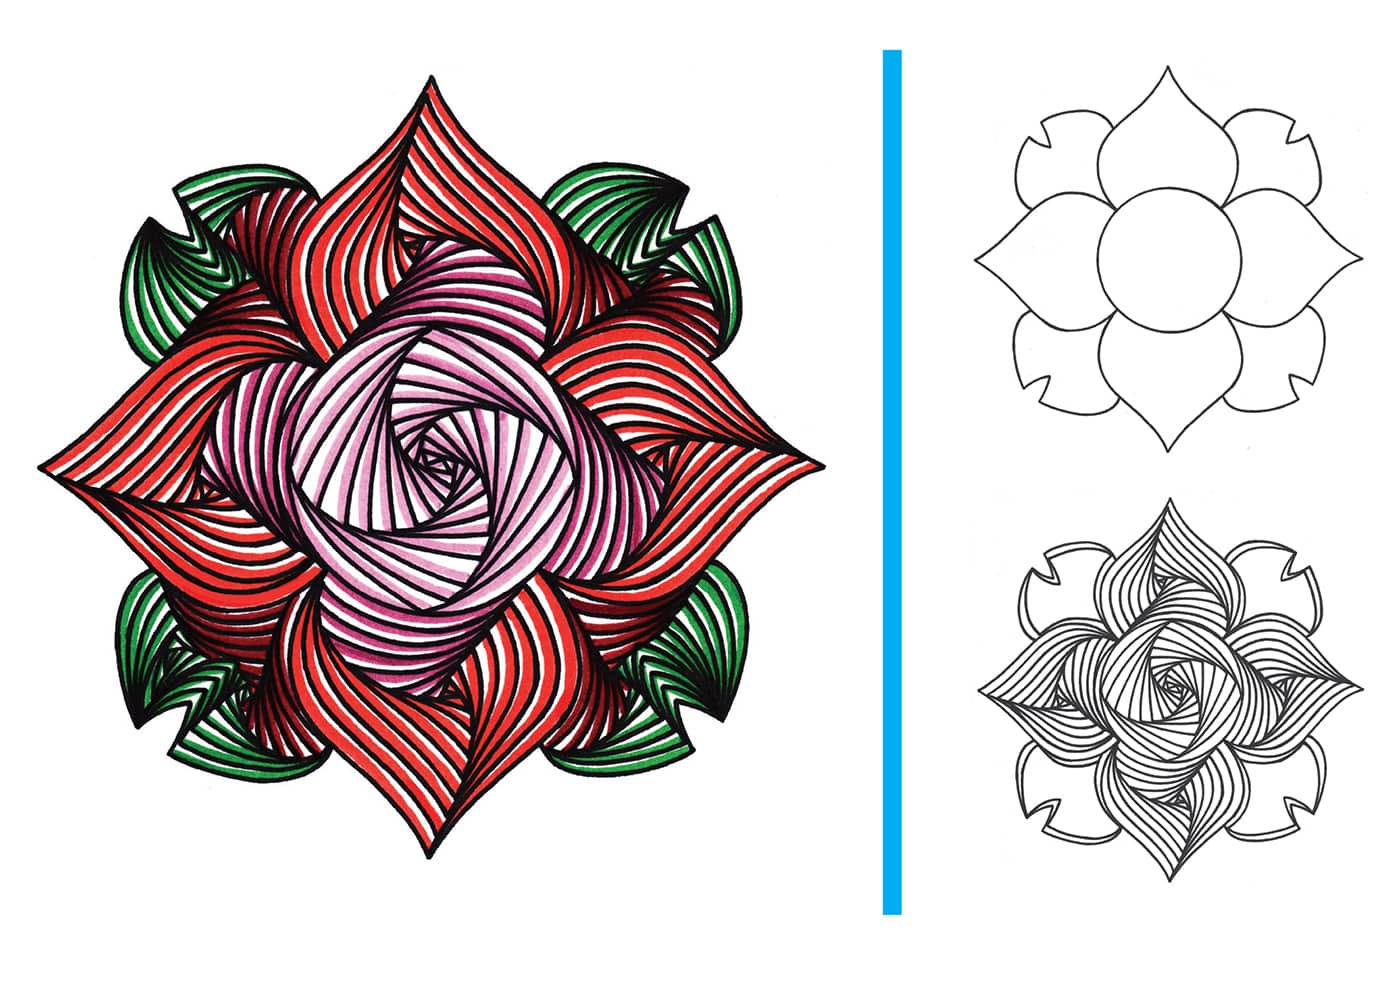
Have you ever seen a magic trick and asked yourself, How did they do that? How about an optical illusion? Optical illusions have long held my interest; in fact, it was while trying to create new optical illusions that I developed my spiral drawings. The decorative elements in these drawings create the illusion that they were drawn with curved lines, when in reality, they consist of straight lines.
Spiral drawings may look intimidating, but with just a little guidance, they can easily be achieved! Geared toward the beginning artist, The Art of Spiral Drawing explains how to draw these basic optical illusions. It also includes a few more advanced tutorials for those ready to take their spiral art to the next level. Spiral drawings are impressive to look at, and once you get the hang of the drawing method, theres no limit to what you as an artist can come up with!
LINE ILLUSIONS
Optical illusions are the tricksters of the art world; they cause confusion and disagreement between our brains and our eyes.
Someone viewing an optical illusion may think theyre seeing one thing, but upon carefully studying the image, the viewer will realize its something different. I always say that spiral drawings are created using line illusions, but thats not a specific type of illusion. The optical illusion that most closely resembles the one used in spiral drawings is actually the Wundt illusion, which is named after German psychologist Wilhelm Wundt (1832-1920).
In Wundt illusions, straight lines appear to be curved. The exact reason why the brain causes the eyes to see the lines as curved is not entirely understood, but it may have to do with the impression of depth created by linear perspective, a form of perspective in which parallel lines appear to converge, creating the illusion of depth. Our eyes want the lines to be curved because thats what makes the most sense to our brains in that moment.
While the actual Wundt illusion is not drawn in this book, the idea behind this illusion is similar to the concept behind spiral drawings. I use straight lines of different lengths and sometimes add color to make the resulting image appear to consist of curved lines. This makes the image look much more difficult to create than it actually is. You can recreate these images by following the steps and techniques featured in this book.
PERSPECTIVE BASICS
Optical illusions are a tricky thing. When viewing an optical illusion, your brain works slower than your eyes to trick you into seeing whats not actually thereoften through the use of perspective, color, light, and/or patterns.
In this book, we will explore an area of art that some might not consider an optical illusion; however, I feel that it does fall into this category. I call this technique a spiral line drawing. These drawings are not traditional three-dimensional art that jumps out at you, although that does happen in some instances. Rather, the lines merge to create movement and a finished product that looks more complicated than it is.
The process involves drawing straight lines that create curvature, giving the illusion that the lines are curved and/or that curved lines were drawn. The curved lines appear to spiral toward the center in what is sometimes referred to as a logarithmic spiral. Each curved line that reaches from one corner of the original shape (for example, a triangle) to the center of the spiral is roughly the same length as one side of the original triangle. The lines work together to create depth, perspective, and an elegant three-dimensional form.
What makes this form so appealing is that the distances between the curves of the spiral increase in geometric progression, similar to what can often be seen in nature. This phenomenon occurs in seashells, galaxies, bands of tropical storms, and many other places. In my opinion, the fact that this pattern happens organically in nature is what makes it so appealing to the viewer. Many artists enjoy creating this soothing pattern for themselves.
I hope that you will use the techniques shown in this book to create countless drawings of your own!
TOOLS & TECHNIQUES
I use a few basic tools and drawing techniques to create my spiral drawings.
I always draw on 110-lb. card stock. This heavyweight paper is durable and doesnt crease easily. Also, it can withstand almost any medium without buckling.
For subject matter that requires accuracy, I begin my drawings with an HB or a #2 pencil; then I use permanent markers to outline.
I do not use a ruler, but you should feel free to do so if you find it helpful!
I erase with a kneaded eraser, also known as a putty rubber. Try not to use a hard eraser if you can avoid it. Your paper can handle some erasing, but its very important to draw lightly. You can always make a drawing darker, but its difficult to go back and erase a mark that was applied using too much pressure.
To add color to my drawings, I like to use Crayola markers. They are affordable, they produce well-defined colors, and you can blend them simply by applying more pressure.
ADDING COLOR
Adding color often makes for the finishing touch in a drawing. Using color on your spiral line drawings does more than that, however. Various coloring techniques can actually be used to further the illusion of a spiral drawing.
Coloring can add depth, which enhances the visual perception and helps grab viewers attention.
For depth and 3-D forms, use darker colors for the inside of the spiral patterns and lighter colors for the outside edges.
For an additional effect, leave the outside edges of each inside space white. Just dont color all the way to the edge. This will really make the image pop!
You can use any colors you like in your spiral drawings, but try to stick to the main rules of color theory for the best-looking final image. Use colors that complement or contrast with each other based on their location on the color wheel. You can also choose to go monochromatic for a more sophisticated look. Avoid using jarring colors that will only detract from your spiral drawing.


