Kikai Anime - Drawing Chibi
Here you can read online Kikai Anime - Drawing Chibi full text of the book (entire story) in english for free. Download pdf and epub, get meaning, cover and reviews about this ebook. year: 2020, publisher: Ulysses Press, genre: Romance novel. Description of the work, (preface) as well as reviews are available. Best literature library LitArk.com created for fans of good reading and offers a wide selection of genres:
Romance novel
Science fiction
Adventure
Detective
Science
History
Home and family
Prose
Art
Politics
Computer
Non-fiction
Religion
Business
Children
Humor
Choose a favorite category and find really read worthwhile books. Enjoy immersion in the world of imagination, feel the emotions of the characters or learn something new for yourself, make an fascinating discovery.

- Book:Drawing Chibi
- Author:
- Publisher:Ulysses Press
- Genre:
- Year:2020
- Rating:4 / 5
- Favourites:Add to favourites
- Your mark:
Drawing Chibi: summary, description and annotation
We offer to read an annotation, description, summary or preface (depends on what the author of the book "Drawing Chibi" wrote himself). If you haven't found the necessary information about the book — write in the comments, we will try to find it.
Kikai Anime: author's other books
Who wrote Drawing Chibi? Find out the surname, the name of the author of the book and a list of all author's works by series.
Drawing Chibi — read online for free the complete book (whole text) full work
Below is the text of the book, divided by pages. System saving the place of the last page read, allows you to conveniently read the book "Drawing Chibi" online for free, without having to search again every time where you left off. Put a bookmark, and you can go to the page where you finished reading at any time.
Font size:
Interval:
Bookmark:
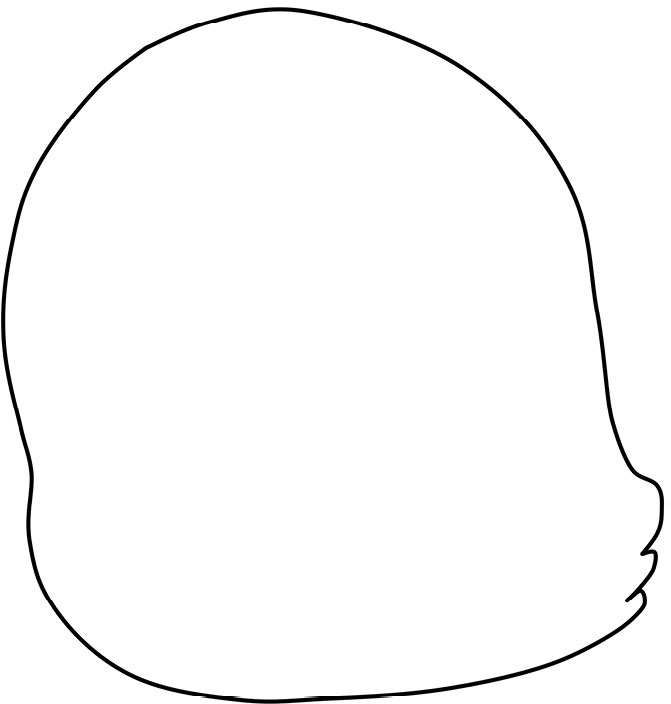
STEP 1 Draw a round, slightly lumpy body that is flat on the bottom. Give Dixie some ruffled tail feathers on the bottom right side.
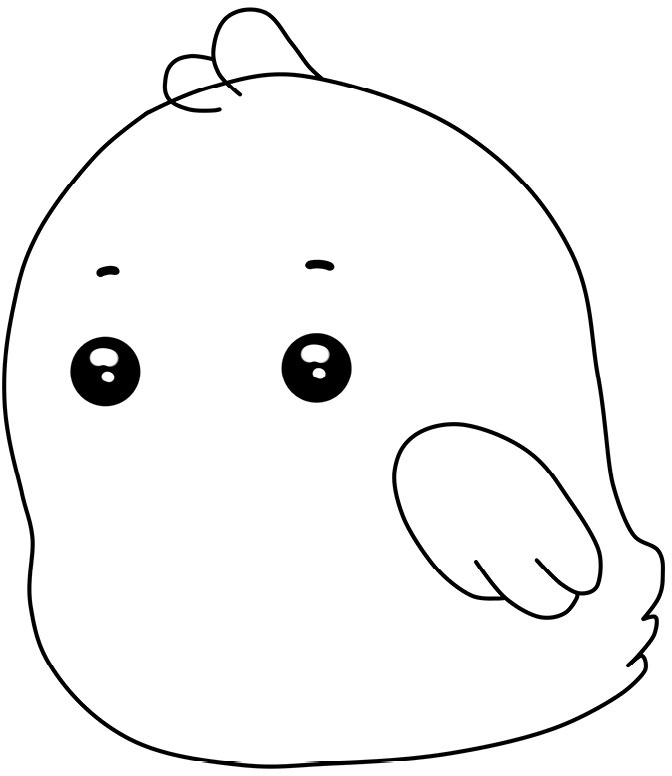
STEP 2 Add some dark eyes set off to the left and above the midway point of the body. Draw small eyebrows and a fluffy wing. At the top of the head, sketch a tuft of feathers. Erase to make two white spots in each eye.
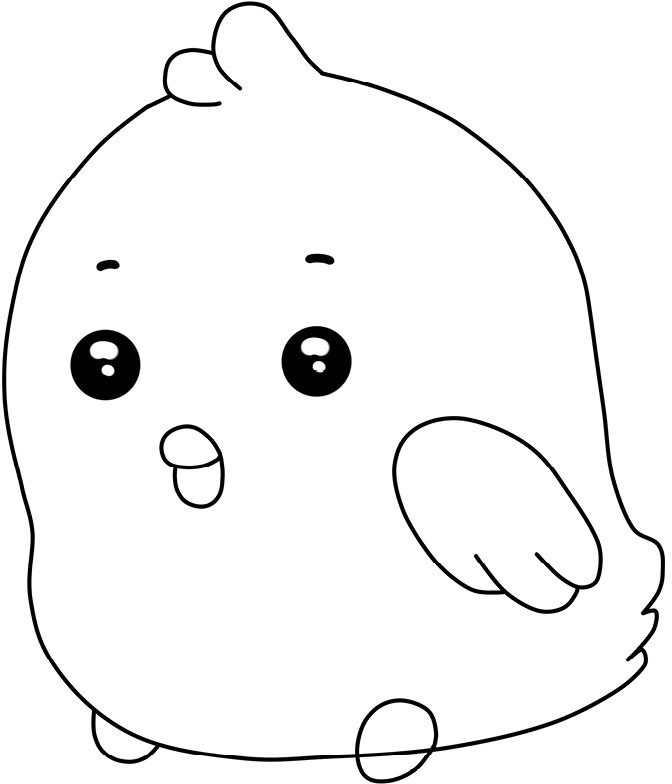
STEP 3 Erase the lines at the top of the head that overlap with the tuft of feathers. Draw a rounded beak (like a sideways heart) below and in between the eyes. Sketch small feet at the bottom. Put one foot in front of the body and one behind.
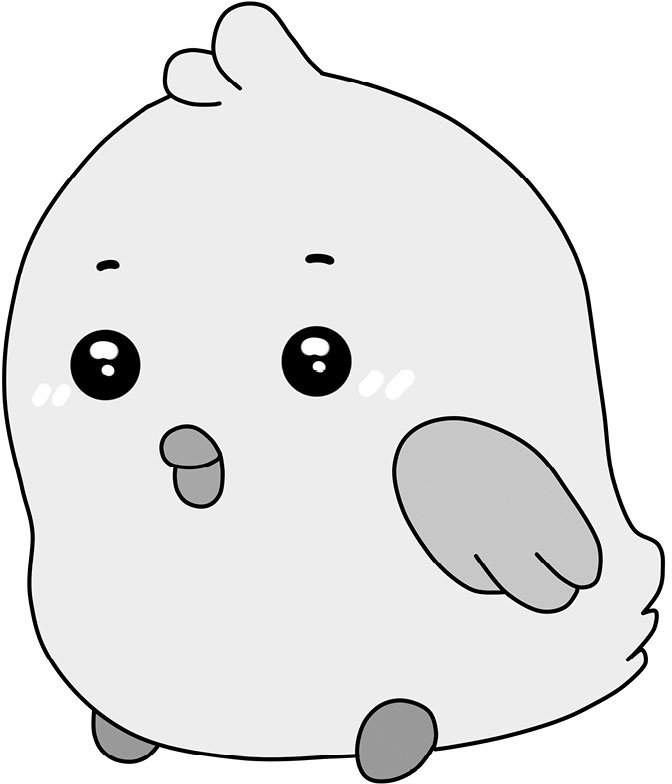
STEP 4 Remove the body line that the right foot is now covering. To complete Dixie, add some light shading.
Practice a Couple of Dixies on Your Own!
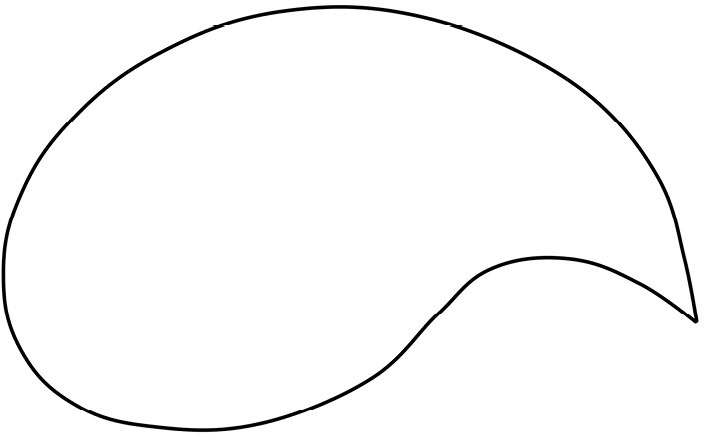
STEP 1 Start by drawing a body that looks like a teardrop lying on its side.
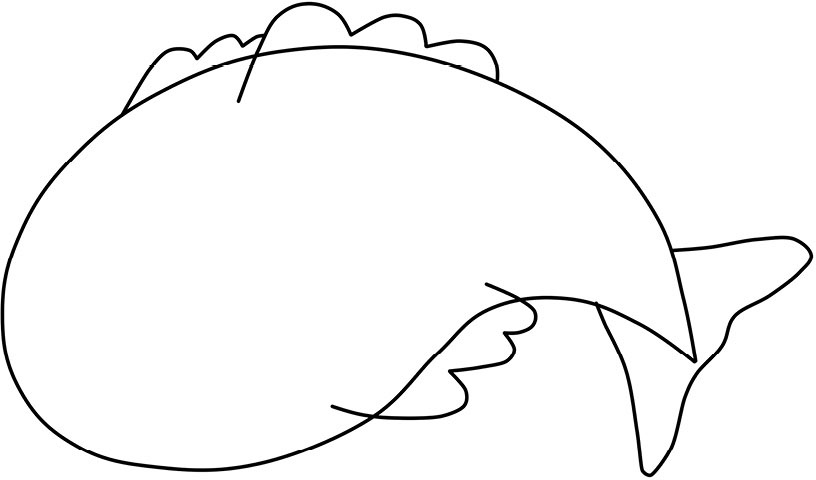
STEP 2 Sketch some tail fins. Then add more fins by drawing some ridges at the top of the body, with part of the ridge in the middle extending slightly into the body. Add more jagged ridges on the bottom curve of Splishs body.
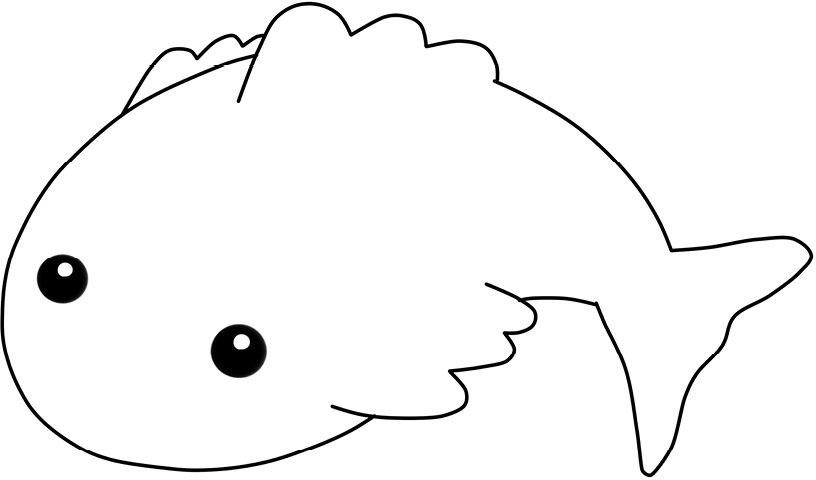
STEP 3 Erase the top body line so the fins starting in the center are connected to the body. Do the same for the tail fins and the lower body fins. Draw dark, round eyes with a small white dot near the top.
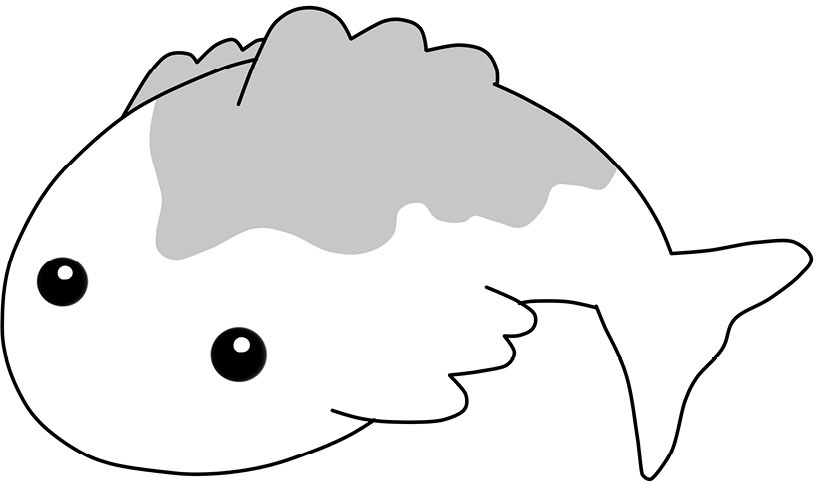
STEP 4 Give Splish some shading on his upper body and fins. Hes ready to make a splash!
Draw More Splishes on Your Own!
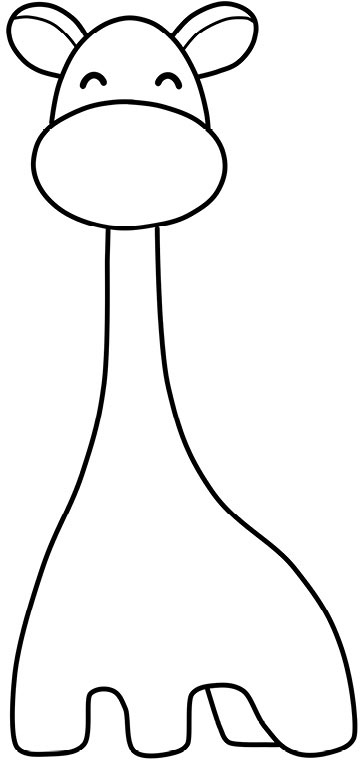
STEP 1 Start by drawing a small oval with an arch on top, or what looks like an upside-down acorn.

STEP 2 Add round ears with a curved line across the top of each, and little arches for eyes. Then draw a long column that fans out into the body. At the bottom, sketch four square-shaped legs, with three in the front and one in the back.
STEP 3 Draw nostrils spaced a little wider than the eyes. Give Speckle ossicones (the horn-like structures on giraffes heads). Next, add a tail and a few fun spots on Speckles back.
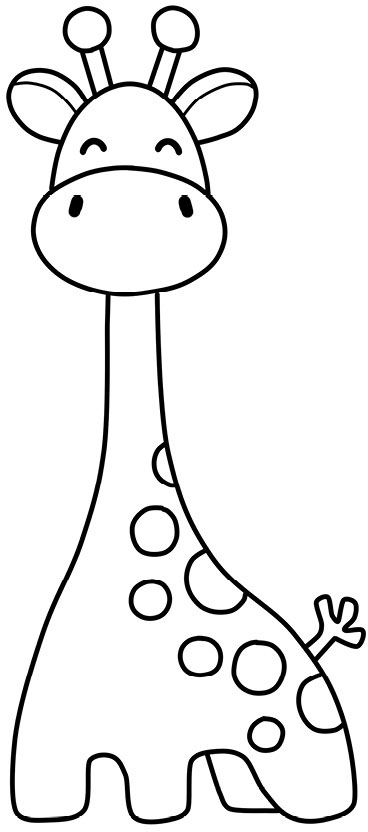
STEP 4 Shade in your giraffe, adding some more color to the spots, tail, and ossicones to make your drawing pop!

Try Some More Speckles on Your Own!
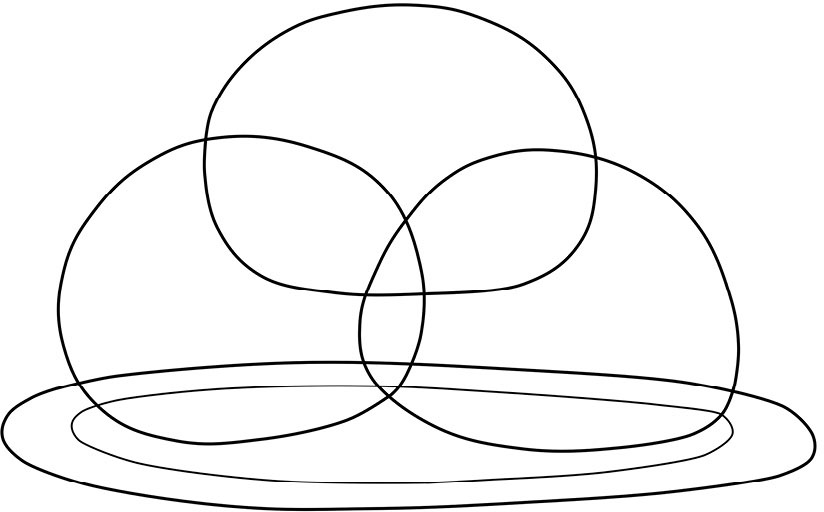
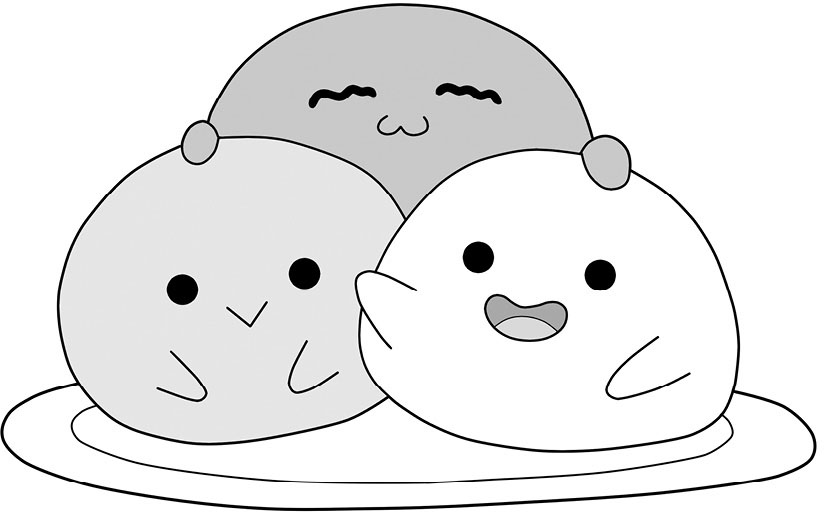
STEP 1 Draw two round, flat ovals, one inside the other, to form a plate.

STEP 2 On top of the plate, sketch three slightly misshaped circles that overlap and are stacked in the shape of a pyramid.
STEP 3 Erase all the lines that are now covered by the two bottom marshmallows so that the top marshmallow appears behind the other two. Give the bottom marshmallows V-shaped hands. For the top marshmallow, add rounded hands resting on top of the lower marshmallows heads.
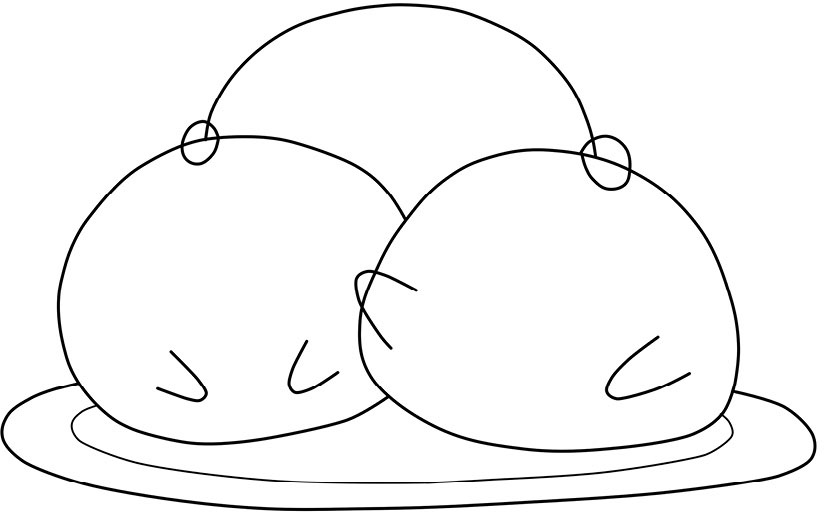
STEP 4 Draw cute faces on each marshmallow. Give Puffers lots of character by making each marshmallow different. Draw one with an open-mouthed smile, one with big round eyes, and another with smiling eyes. Finally, make each marshmallow a different shade.
Practice a Couple Puffers on Your Own!
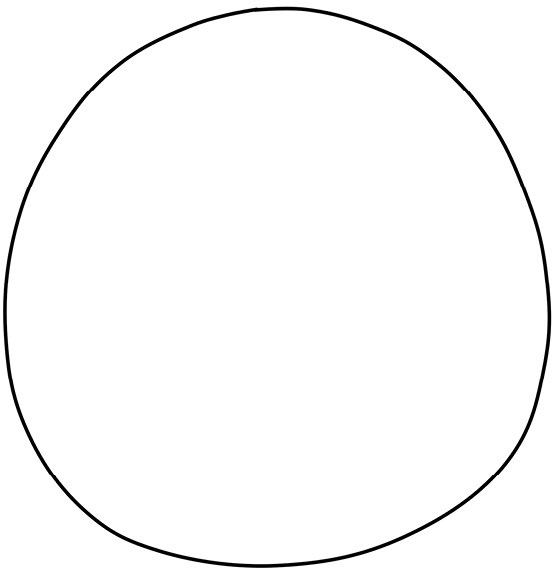
STEP 1 Draw a big circle thats slightly egg shaped.
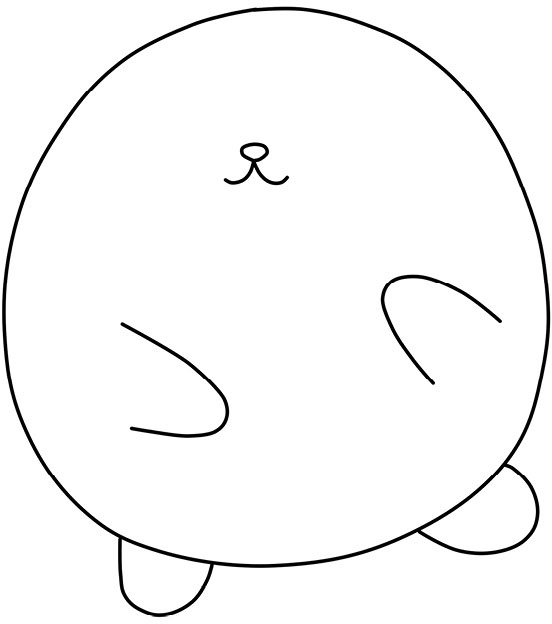
STEP 2 Add an oval button nose and upside-down fancy V for a mouth. Draw two sideways U-shapes for arms. And a couple lumpy legs.
STEP 3 Give Bubble big, floppy ears (about as far apart as the arms). Sketch a smaller curve inside the bigger curve of each ear. Draw a fat carrot in Bubbles arms with three curved lines showing its shape and then a fluffy, cloud-like top.
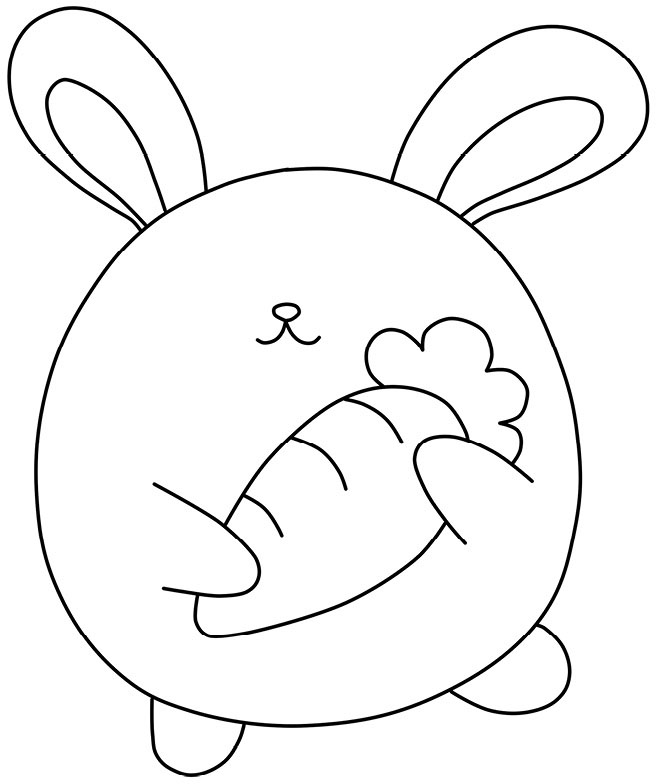
STEP 4 Add big eyes just wider than the mouth, with small white dots in each. Shade or color in Bubble and his carrot to bring this bunny to life.

Perfect Your Bubble Skills on Your Own!
STEP 1 Draw a scoop of ice cream in the shape of a fluffy cloud. Sketch the same pattern of the bottom edge underneath the first scoop.
Font size:
Interval:
Bookmark:
Similar books «Drawing Chibi»
Look at similar books to Drawing Chibi. We have selected literature similar in name and meaning in the hope of providing readers with more options to find new, interesting, not yet read works.
Discussion, reviews of the book Drawing Chibi and just readers' own opinions. Leave your comments, write what you think about the work, its meaning or the main characters. Specify what exactly you liked and what you didn't like, and why you think so.