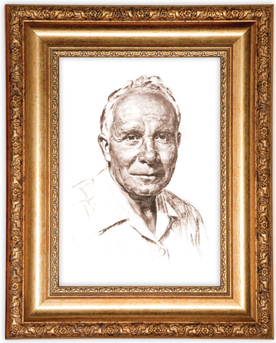
More than 88 years ago, Walter Fostera well-known artist, instructor, and collectorbegan producing self-help art instruction books from his home in Laguna Beach, California. He originally wrote, illustrated, printed, bound, packaged, shipped, and distributed them himself. Although Walter passed away in 1981 at the age of 90, his legacy continues in a growing product line. Walter Foster Publishing now provides how-to books and kits to millions of enthusiastic artists worldwide who enjoy the rewards of learning to draw and paint. People who have never before picked up a paintbrush or drawing pencil have discovered their artistic talents through his easy-to-follow instruction books.
We are dedicated to preserving the high standards and superb quality you expect from our products. We believe artists are eager to learn, sharpen their skills, and experience new artistic horizons. Our mission is to provide the tools to accomplish those goalswe offer step-by-step books and kits that are accessible, entertaining, affordable, and informative. Whether this book is your first experience with us or the continuation of a long-term relationship with our products, we are sure that this title in our How to Draw and Paint series will delight you. Whatever your artistic ambitions may be, we wish you good luck and success and we hope that you always have fun in the process.
1990, 1998, 2003, 2011 Walter Foster Publishing, Inc. All rights reserved.
This book has been published to aid the aspiring artist. Reproduction of the work for study or finished art is permissible. Any art drawn or photomechanically reproduced
from this publication for commercial purposes is forbidden without written consent from the publisher, Walter Foster Publishing, Inc. (HT1)
Digital edition: 978-1-61059-849-1
Softcover edition: 978-1-56010-011-9
How to Draw 1
Drawing is something that anyone can learn to do! All you need is a pencil, some paper, and the desire. And even if youve never drawn before, youll be amazed at how quickly and easily you can render just about anything youd care to draw. In the following pages, youll learn the basic principles of drawing, as well as all the materials and tools youll need to get started. Youll begin by drawing simple, familiar shapes and quickly learn to transform them into three-dimensional, lifelike forms using just a few easy techniques. And with simple step-by-step instructions, youll learn to draw a variety of popular subjects, including fruits, flowers, animals, human portraits, and even cartoons. And remember: All drawing gets easier with practice. The most important thing is having the confidence to try. So get started!

CONTENTS
Drawing Preparation
Drawing is just like writing your name. You use lines to make shapes. In the art of drawing, you carry it a bit further, using shading techniques to create the illusion of three-dimensional form.
Only a few basic tools are needed to draw. The tools necessary to create the drawings in this book are all shown here.
Pencils
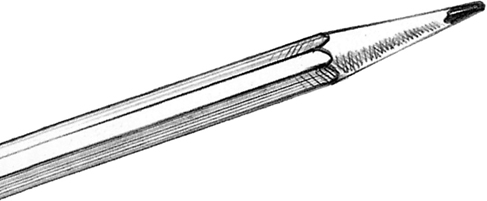
Pencils come in varying degrees of lead, from very soft to hard (e.g., 6B, 4B, 2B, and HB, respectively). Harder leads create lighter lines and are used to make preliminary sketches. Softer leads are usually used for shading.
Flat sketching pencils are very helpful; they can create wide or thin lines, and even dots. Find one with a B lead, the degree of softness between HB and 2B.
Although pencil is the primary tool used for drawing, dont limit yourself. Try using charcoal, colored pencils, ink, crayons, and pastelsthey can add color and dimension

ROUND 2B PENCIL
ROUND HB PENCIL
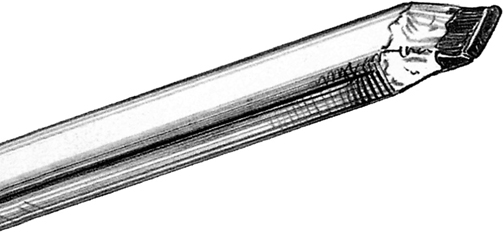
FLAT SKETCHING PENCIL
Erasers
Erasers are not only useful for correcting mistakes, but they are also fine drawing tools. Choose from several types: kneaded, vinyl, gum, or rubber, depending on how you want to use the eraser. For example, you can mold a kneaded eraser into a point or break off smaller pieces to lift out highlights or create texture. A gum or rubber eraser works well for erasing larger areas.
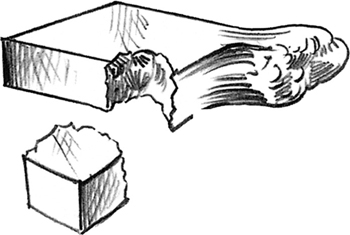
KNEADED ERASERS
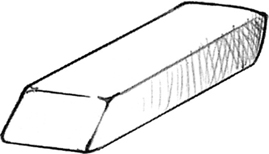
ERASER
Paper
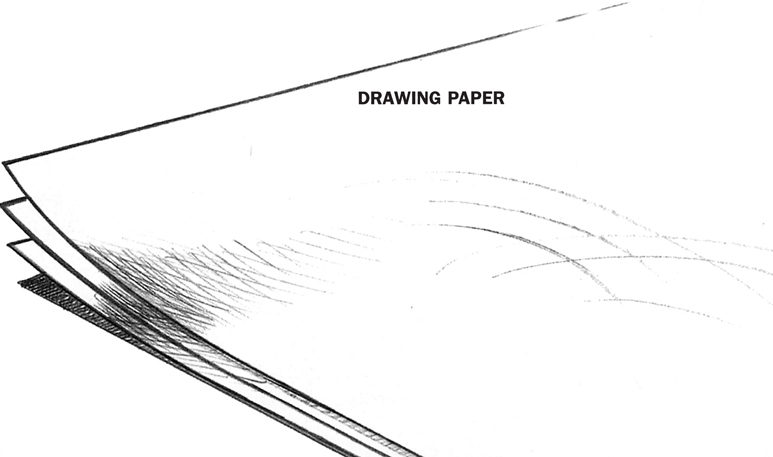
Paper varies according to color, thickness, and surface quality (e.g., smooth or rough). Use an inexpensive sketch pad for practice. For finer renderings, try illustration or Bristol board. Bristol board is available in smooth (plate) or textured (vellum) finish. As you become more comfortable with drawing techniques, experiment with better quality paper to see how it affects your work.
Other Helpful Materials
You should have a paper blending stump (also known as a tortillon) for creating textures and blends. The paper stump enhances certain effects and, once covered with lead, can be used to draw smeared lines.
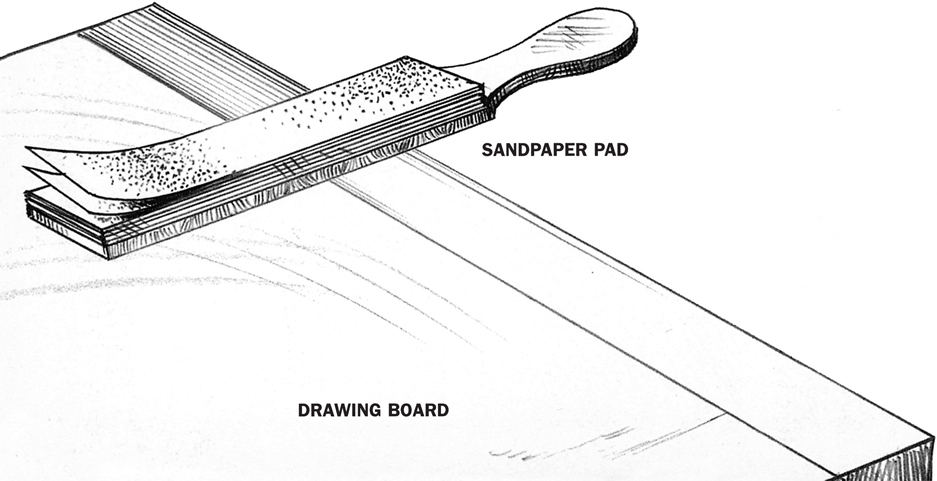
To conserve lead, purchase a sandpaper pad to sharpen the lead without wearing down the pencil. You may also want to buy a regular hand-held pencil sharpener and a metal ruler. Finally, a sturdy drawing board provides a stable surface for your drawing.
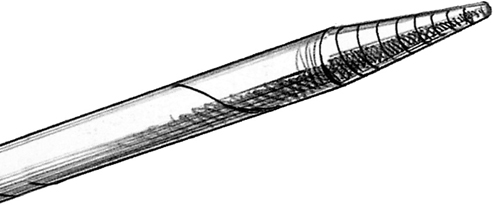
PAPER STUMP/TORTILLON
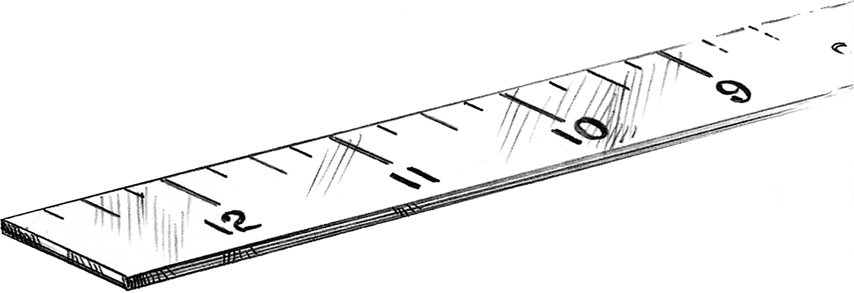
METAL RULER
Final Preparations
Before beginning to draw, set up a spacious work area that has plenty of natural light. Make sure all your tools and materials are easily accessible from where youre sitting. Because you might be sitting for hours at a time, find a comfortable chair.
Tape the paper at the corners to your drawing board or surface to prevent it from moving while you work. You can also use a ruler to make a light border around the edge of the paper; this will help you use the space on your paper wisely, especially if you want to frame or mat the finished product.
As you read through this book, carefully note the how the words
Next page

