Table of Contents
Guide
Acknowledgments
I need to go back to my childhood to thank peoplemy parents, friends, and Boy Scout leadersfor my love of the natural world. My passion for photography started in 6th grade and has never waned. I am mostly self-taught but had a 9th grade photography teacher who taught me the basics. Thank you, Mr. Sihon. My college roommate, Mark Higley, and his dad, John, were instrumental in helping me get a foundation in wildlife photography. I feel like Im getting an Academy Award, so Ill keep this short.
I have learned a lot and have a lot more to learn. Reading John Shaws The Nature Photographers Complete Guide to Professional Field Techniques in the 1980s put me on track for creating professional-quality images on a consistent basis. I sold my first photos to Rocky Mountain Elk Foundation for their magazine, Bugle. Shortly thereafter, I submitted photos to Audubon, and editor Les Line replied with a form letter that basically said never send us photos again. So, I used what I learned in Shaws book and resubmitted some bird photos. They were published in Audubon in 1987. Thank goodness Les had an openness about using great photos, no matter who took them, and I had a never-give-up attitude. I have since developed great relationships with many photo buyers, and I am grateful to each of them. My good friend, professional photographer Jeremy Woodhouse, helped me to elevate my work another notch a decade ago. He has a great eye, is a travel bug, and shared his creative vision.
My two boys have been a big help over the yearsand great travel companions. They appear as youngsters in the book, but they are now grown up and graduated from college. We had fun back in the day, and we still take an annual trip together.
My mother, at the age of 86, is my biggest fan. My wife, Heidi, is the most supportive partner ever; she has given me endless love and her total support to write this book and continue my photography.
About the Author
Jeffrey Rich graduated from Humboldt State University with a B.S. in Life Science Biology and a B.S. in Wildlife Biology, with an ornithology emphasis. He earned a masters degree in Science Education from the University of Texas and holds a California teaching credential in Life Science. He is currently a science and photography teacher at Stellar Charter School in Redding, California.
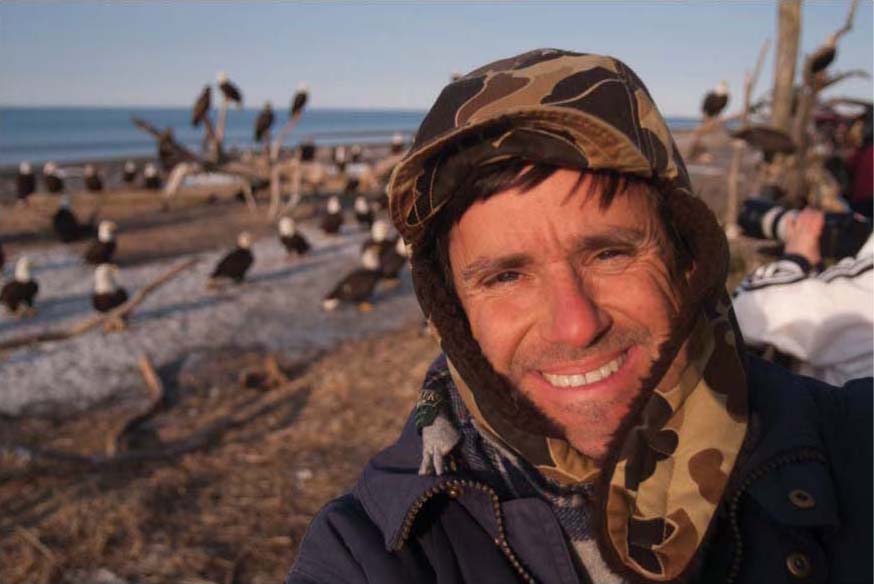
Jeffs photos and articles have been published in major magazines, including Ranger Rick, Birders World, Audubon, National Wildlife, WildBird, Sunset, Ducks Unlimited, Outdoor Photographer, and hundreds of others. He has written a bimonthly column for Northwest Travel Magazine called Watchable Wildlife, which accompanied one of his photos. He is also the author of Bald Eagles in the Wild (Amherst Media, 2018) and Baby Birds (Rio Nuevo, 2005).
Jeff has been leading photo tours and teaching workshops since 1991. These tours blend his background as a naturalist, teacher, and nature photographer to combine adventure with outstanding photo opportunities.
You can visit Jeffs website at .
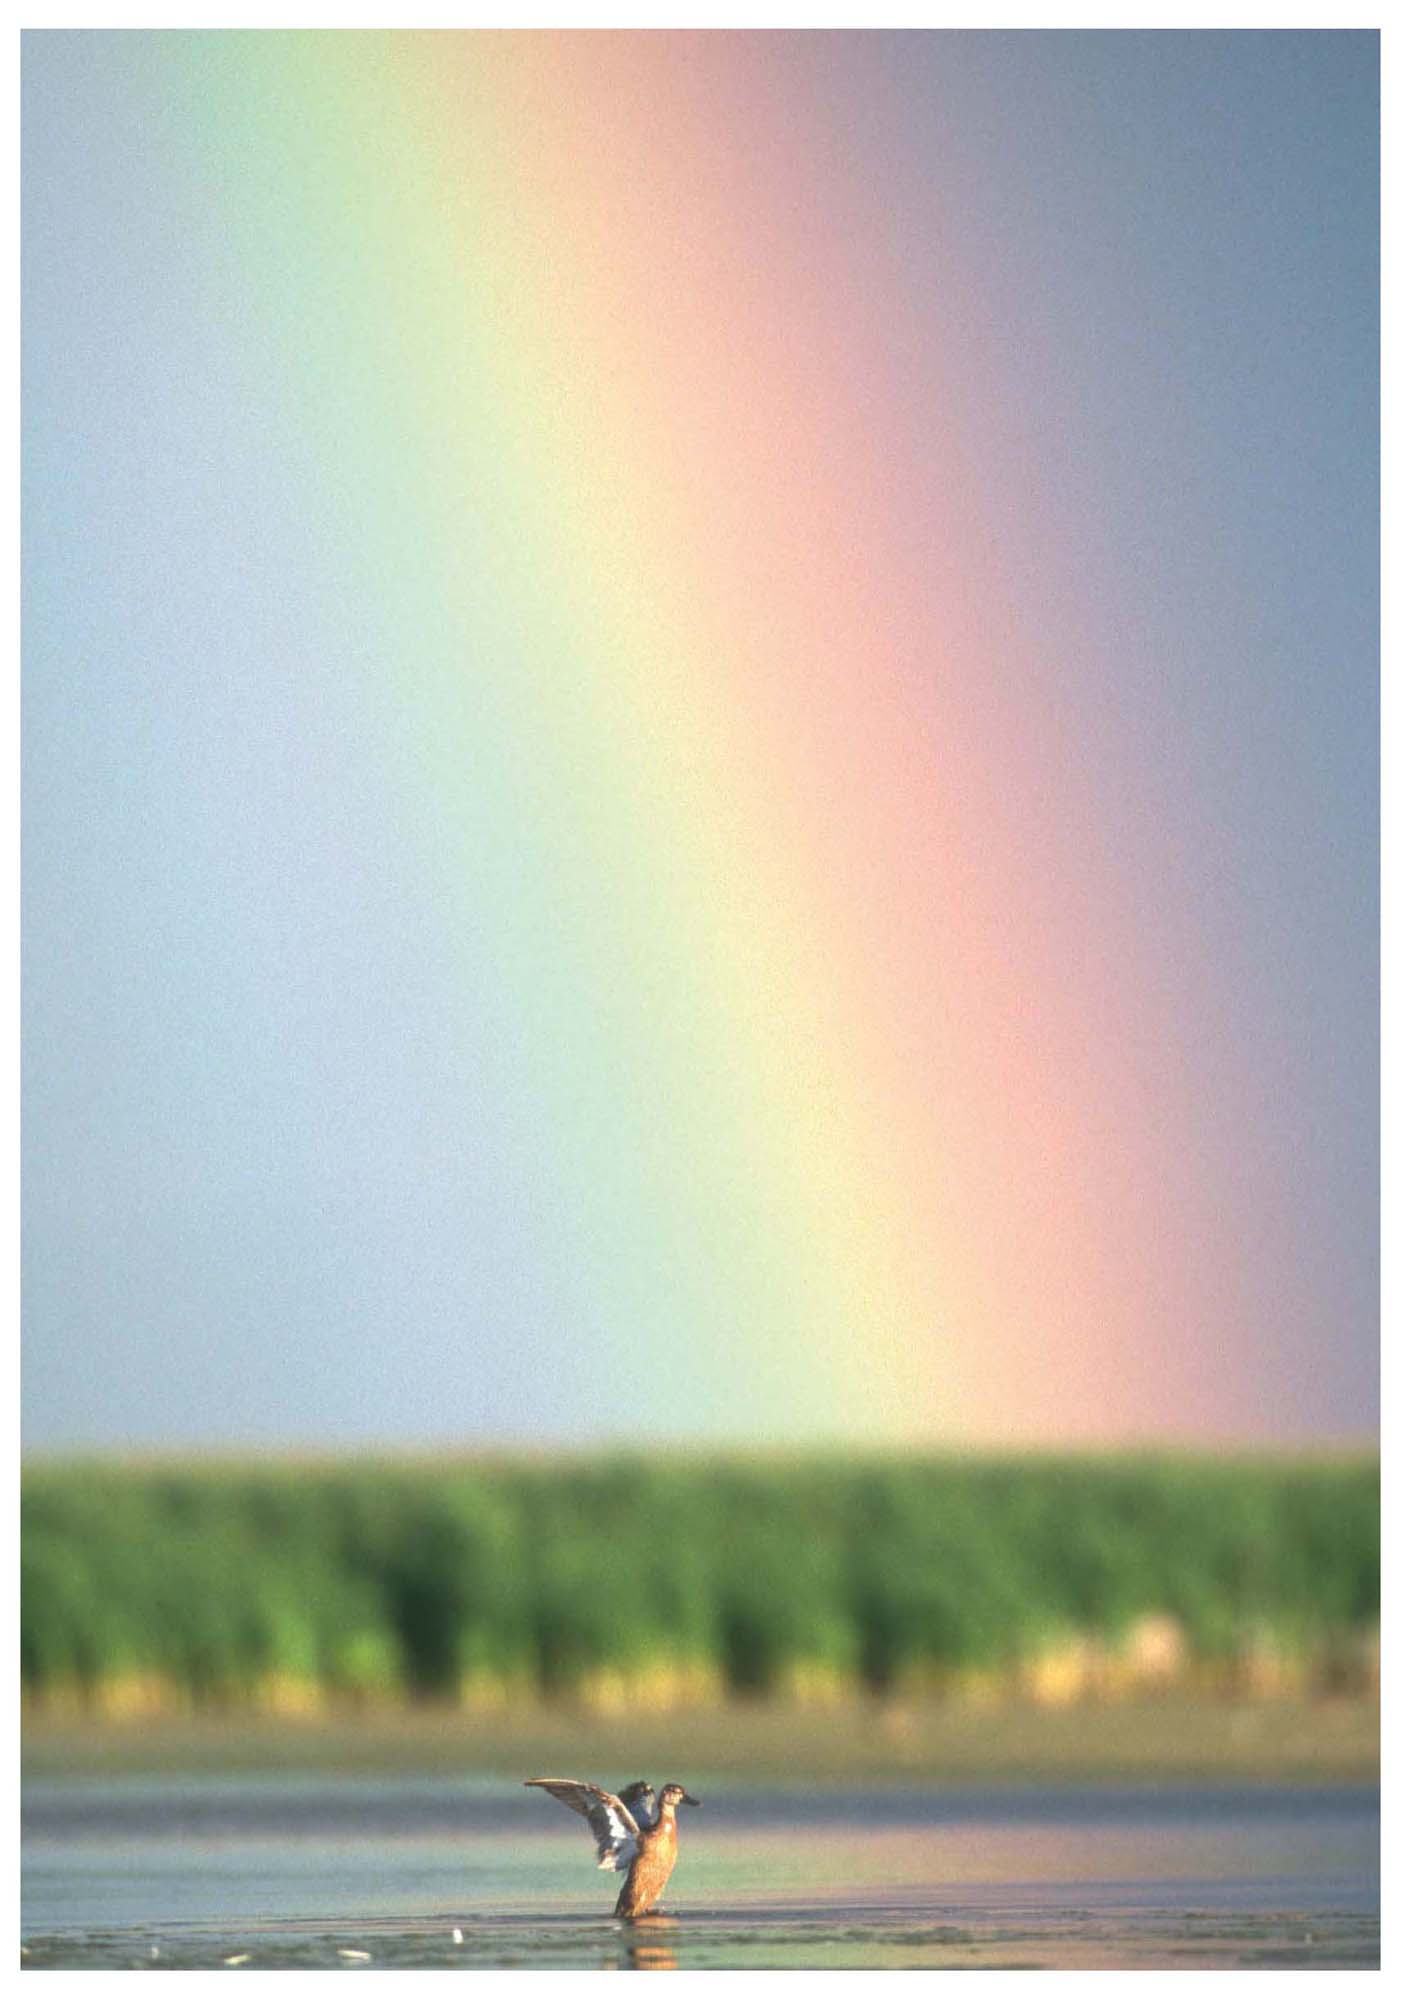
Quality gear will help you create top-notch images. Mallard wing-flapping.
Cameras
Consider your goals regarding the images you will create before you choose a camera. Do you want to post your bird photos online, publish them in magazines, share them with friends and family, use them to teach the world, or...? The camera is only a tool that determines the quality of the image. You can capture wonderful bird images with an automatic camera or a smartphone. Other factors to consider when choosing a camera are the price you can afford and the accessories that the camera can utilize.
If you are a birder or a photographer who simply wants to capture identification shots of birds, a spotting scope with a camera attached might be best for your needs. (Well revisit this topic in chapter 5.) Many spotting scopes today have adapters that cameras can mount to. Even a PhD (push here, dummy!) camera (i.e., a fully automatic, one-button camera) can be coupled with a scope for good ID shots.
For professional-quality bird imagery, I recommend a high-end DSLR. These cameras produce high-quality image files with great resolution. These features allow you to crop your files for enhanced compositions without much loss in quality. Be ready to re-mortgage your housea top-of-the-line DSLR costs over $5000! The main two brands used by professional bird photographers are Nikon and Canon, but by no means are you limited to cameras from these manufacturers. There are many choices, and there is a camera for every need. My camera bag is full of Nikon gear, and my bodies are the newest professional DSLRs. Mirorless cameras are making an impression, too.
Technology is always changing. As of this writing, I recommend that those serious about producing artful bird photographs opt for a DSLR with continuous capture (motor-drive capabilities), a high-quality sensor with great quality at high ISOs (1600 and higher), and a fast-focusing motor for getting the action stopped and sharp. Selecting a camera that is the same brand a close friend uses would be beneficial also, as you can learn together and share equipment.
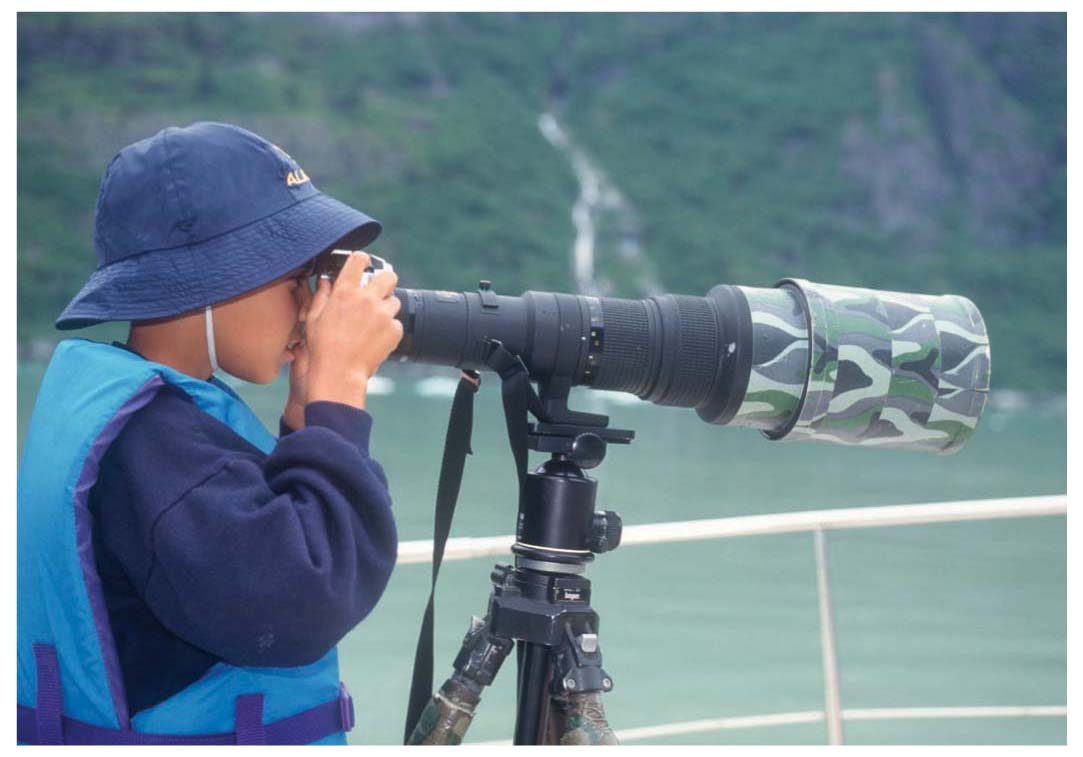
My paintbrush. I took my first nature photos in 6th grade.
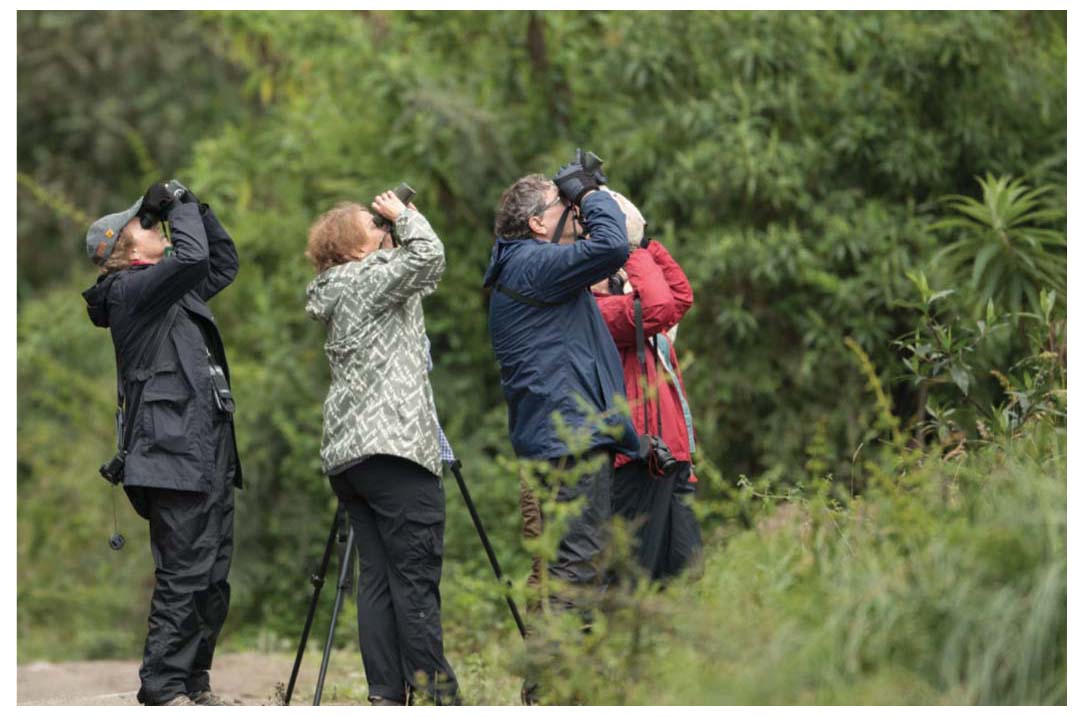
Birders searching for high-altitude rarities in Ecuador.
I shoot in RAW format. Doing so gives me a bit more control but requires more time in postproduction. I can save my optimized RAW files in JPEG or TIFF format if needed. You can shoot in JPEG, but the files are smaller, contain less information, and have a narrower tonal range. On the plus side, JPEGs may require less work in after-capture.
Once you have chosen the camera you want to use, read the manual carefully, start practicing, and practice some more. Get to know your camera. The more comfortable you become with it, the better your photos will be. Let your camera become an extension of your hand so you can think about composition and technique, not which knob to turn, when the action starts.
Lenses
Lenses are the most important part of your toolkit. Long lenses are heavy, but they are necessary for photographing birds. Go with as long a lens as you can comfortably carry, manipulate, and afford. If you arent sure what works for you, take a trip to your local camera store and try out some long lenses. Can you put the lens on your tripod with ease, or is it too heavy? Can you comfortably carry it over your shoulder, or is it too cumbersome? Bigger is often better, but dont get a lens that is too big for you to use comfortably. If you do, you wont use it. Most professionals work with a 500mm or 600mm lens. I prefer the 500mm only because it is much lighter and easier for me to manage, carry, and use. My chiropractor is happier, too. The high-quality 400mm will work, but I wouldnt go any smaller than 400mm. Paying the price for the highest-quality lens in the beginning is better than buying an off-brand lens and being unhappy with the quality.
Whats in Jeffs Camera Bag?
Nikon D5 Nikon D4
Next page

