Table of Contents
COPYRIGHTS
Published by OGE Publications, LLC (http://www.ogepublications.com)
Copyright (c) 2013, by Kristy Jessica and Andrew Orzo
All rights reserved. No part of this publication may be reproduced, stored in a retrieval system or transmitted in any form or by any means, electronic, mechanical, photocopying, recording or otherwise, without permission of the copyright holders.
Text by Kristy Jessica and Andrew Orzo.
All images by Andrew Orzo. All modeling by Kristy Jessica.
INTRODUCTION
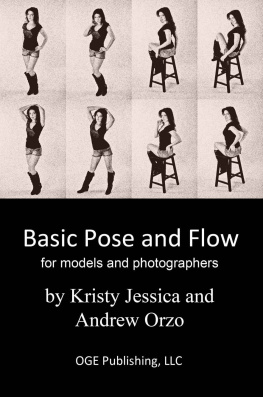
This book is a guide that will show you core "go-to" poses and help diversify your photo shoot experience with detailed tips on how to flow from one pose to the next. The process is similar to learning a new dance routine. First, start by learning the core poses. Once you have them down, start experimenting with flowing from one variation of a core pose to another. Variations of each core pose are shown in the flow series provided in this guide. By following this simple formula, each shoot will be a breeze and you will quickly develop your own style of posing.
Your core set of poses should include four main positions: standing, sitting, laying, and kneeling. The most efficient method of flowing through the shoot is to pick a main position, keep your legs in the same pose, and vary your arm positions and facial expressions one shot at a time for five to twenty photos. Once you have gone through a position, then change your leg position and repeat the process!
A few general guidelines to ALWAYS have on your mind during a shoot:
- never turn your face away from the light source;
- elongate and keep good posture;
- arch your back to create curves;
- keep your fingers closed and dont make a fist;
- if a joint is bendable, bend it;
- always keep in mind leg, foot and arm placement;
- keep toes pointed when your foot is not fully on the ground;
- vary your expressions; and
- remain attentive to the photographer's shooting rhythm.
You should also follow any instructions the photographer gives you, but try putting your own creativity into your poses to create your own unique style. You will be amazed to see how much better the shoot will be if you do!
STANDING POSES AND FLOW
Core Pose 1: Standing on Both Feet
This is the base standing pose. Casually rest your hands on your hips, elbows slightly pointing out. Shift your weight to your back leg, bend your front leg with one knee in front of the other, front toe pointing downward. Lean your upper body to one side to form an "S" shape.
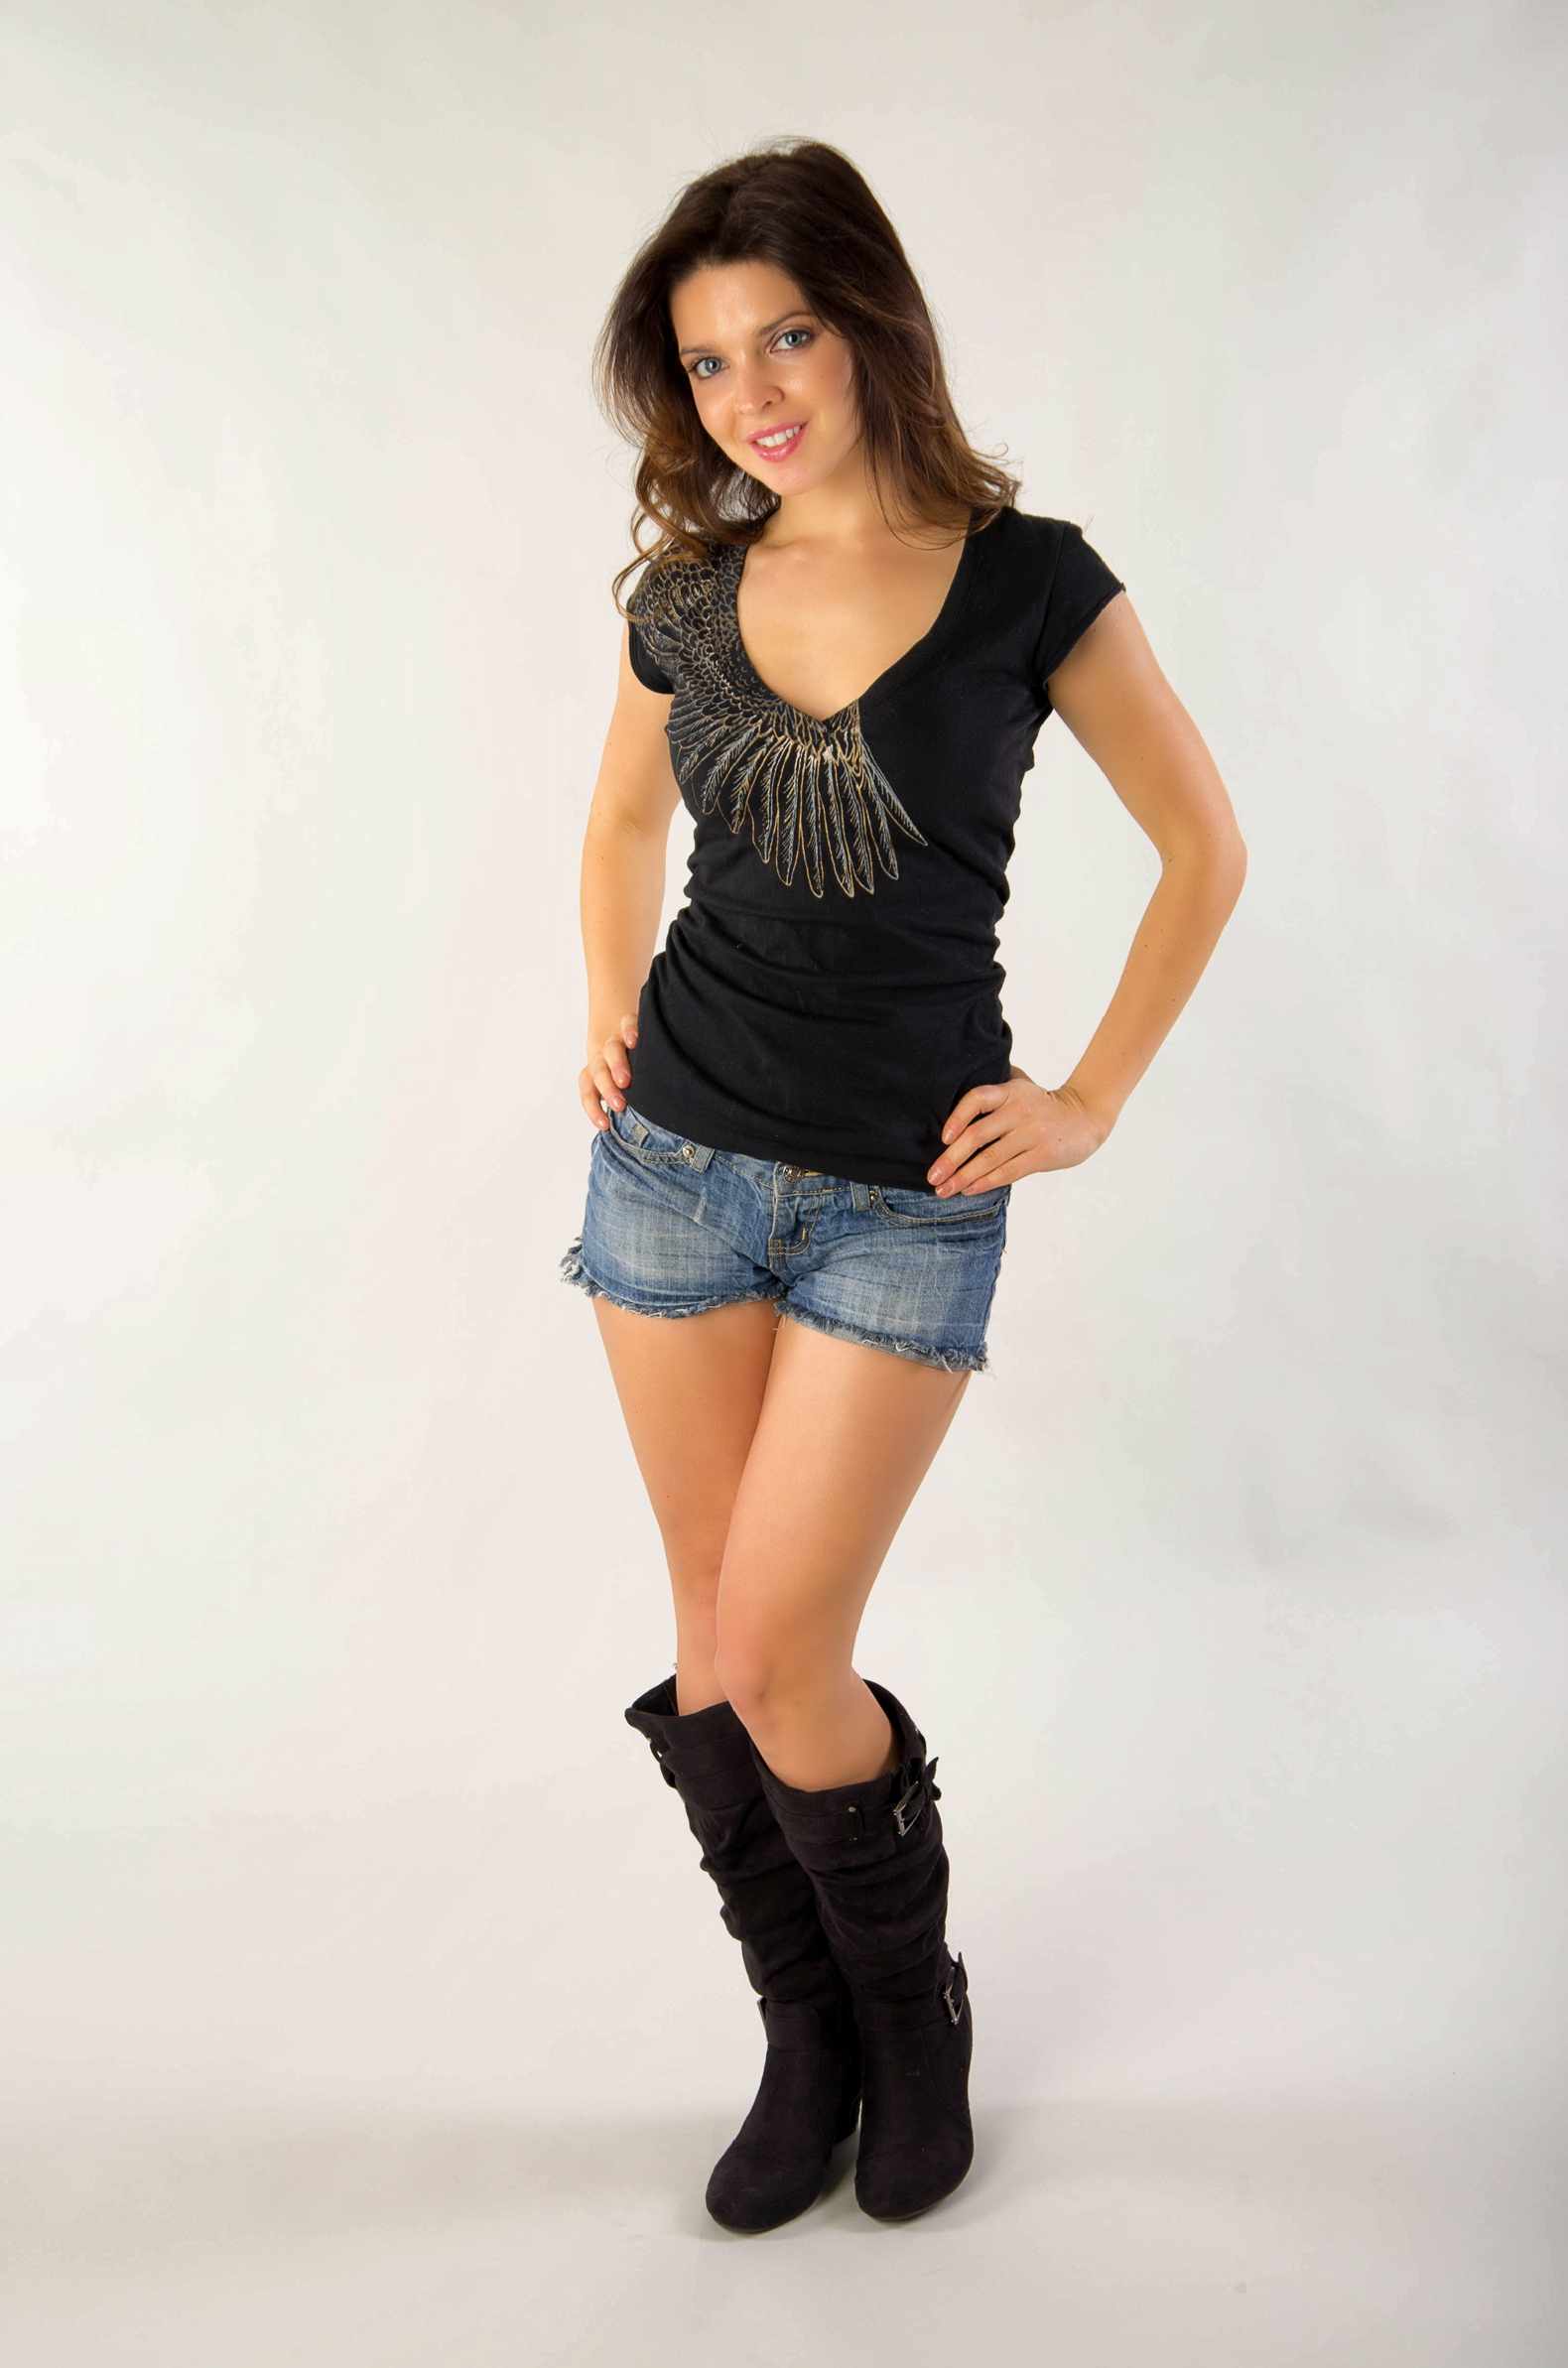
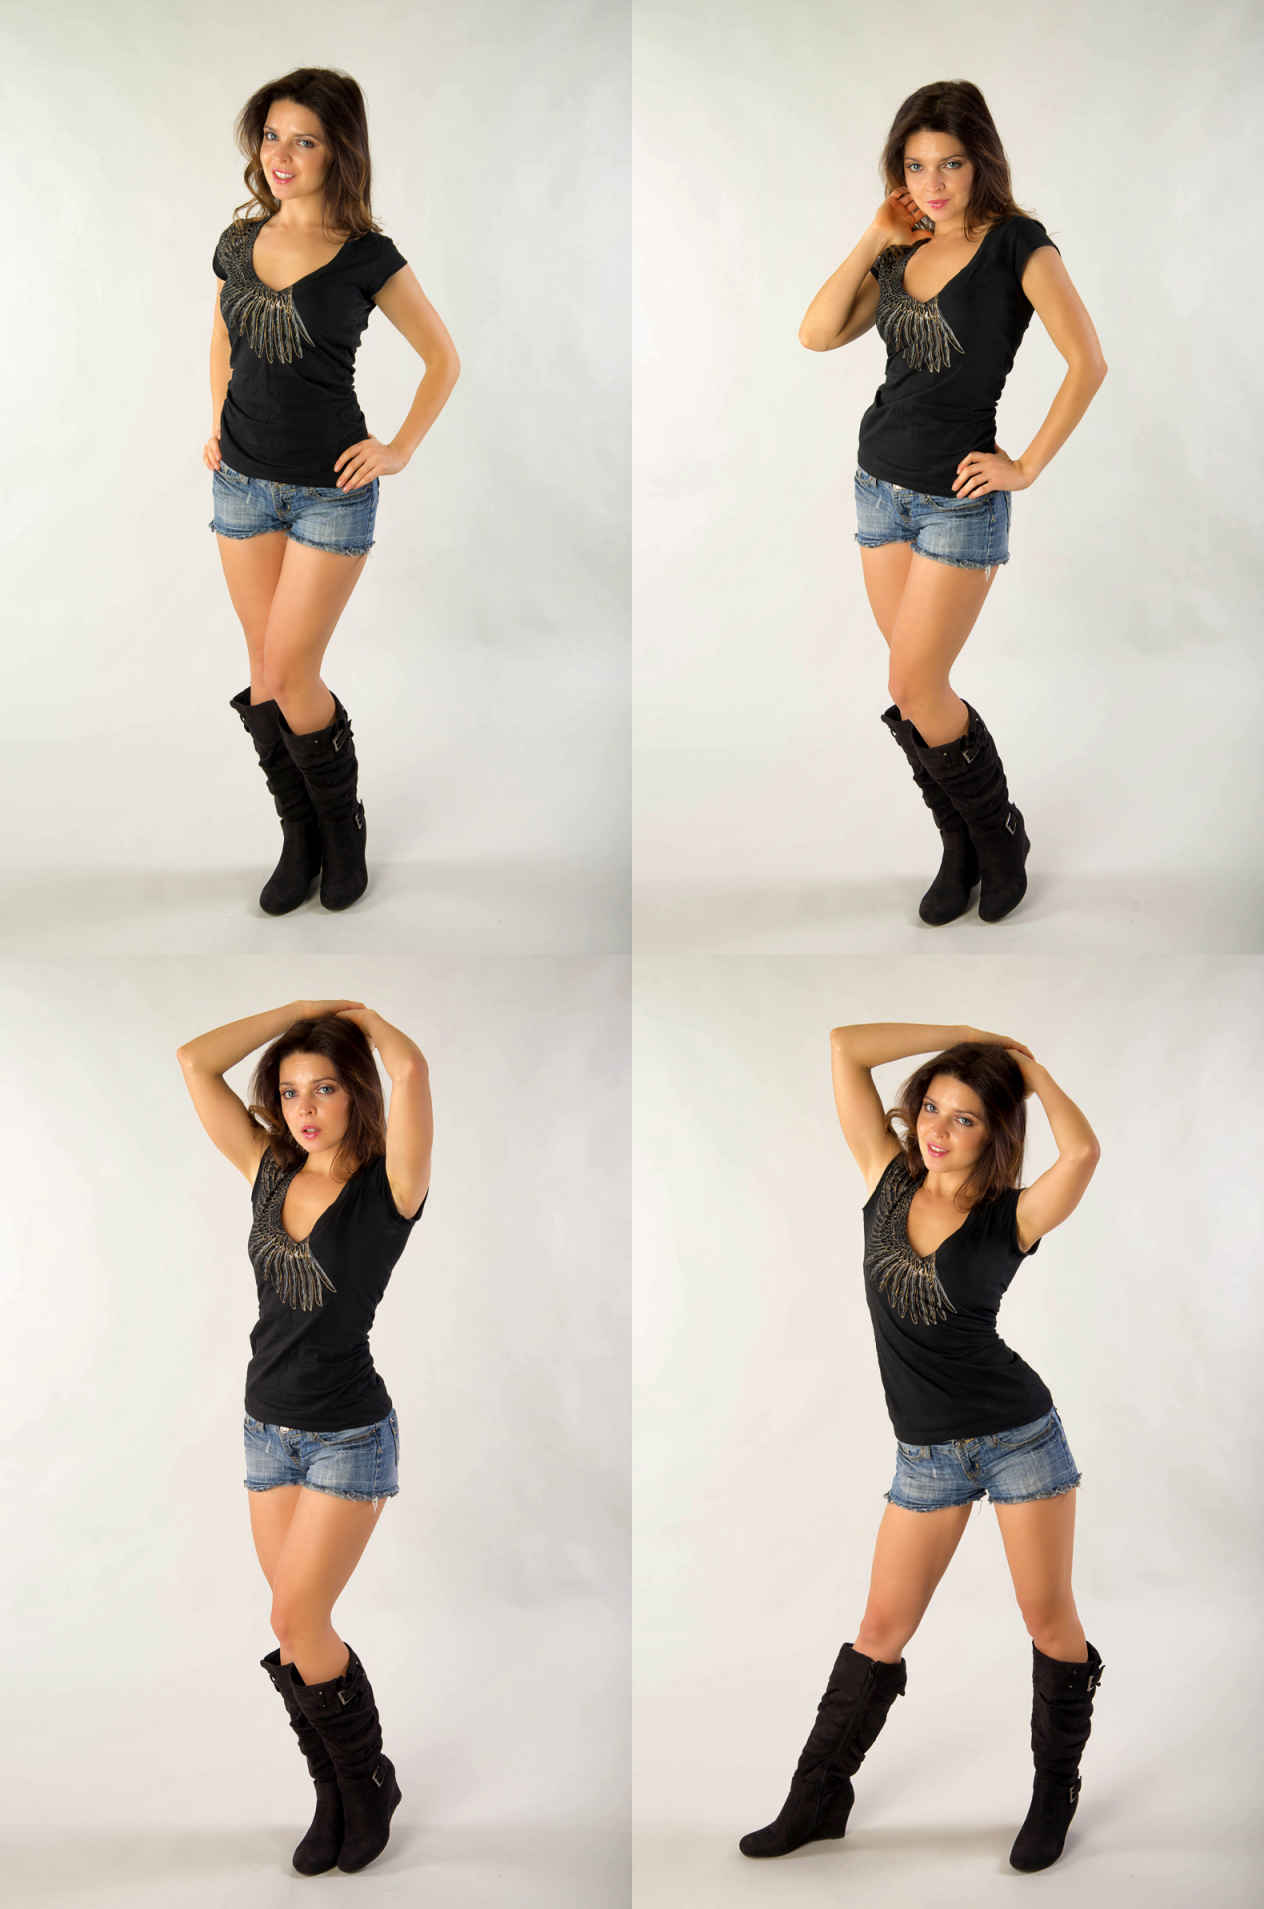
Flow Series 1: (Standing on Both Feet)
Keep your legs in the same position, and change one thing each time the camera snaps:
- One arm;
- The other arm;
- Your smile;
- A smirk;
- A glint and then move your legs to the next key pose!
Additional Notes:
Toes should be pointed in the appropriate direction, shoulders should be opened towards the camera and the rear arm should not stick out in ways that leave incomplete parts sticking out either to the front or the back. You must develop an awareness of how your body is blocking the cameras view of all or part of your arms and legs. Common issues include:
- the back arm sticking out like a fish fin behind the model;
- floating hands located on the front of the body that appear not to attached to anything; and
- arm and leg parts that look like they have been amputated from the rest of the body.
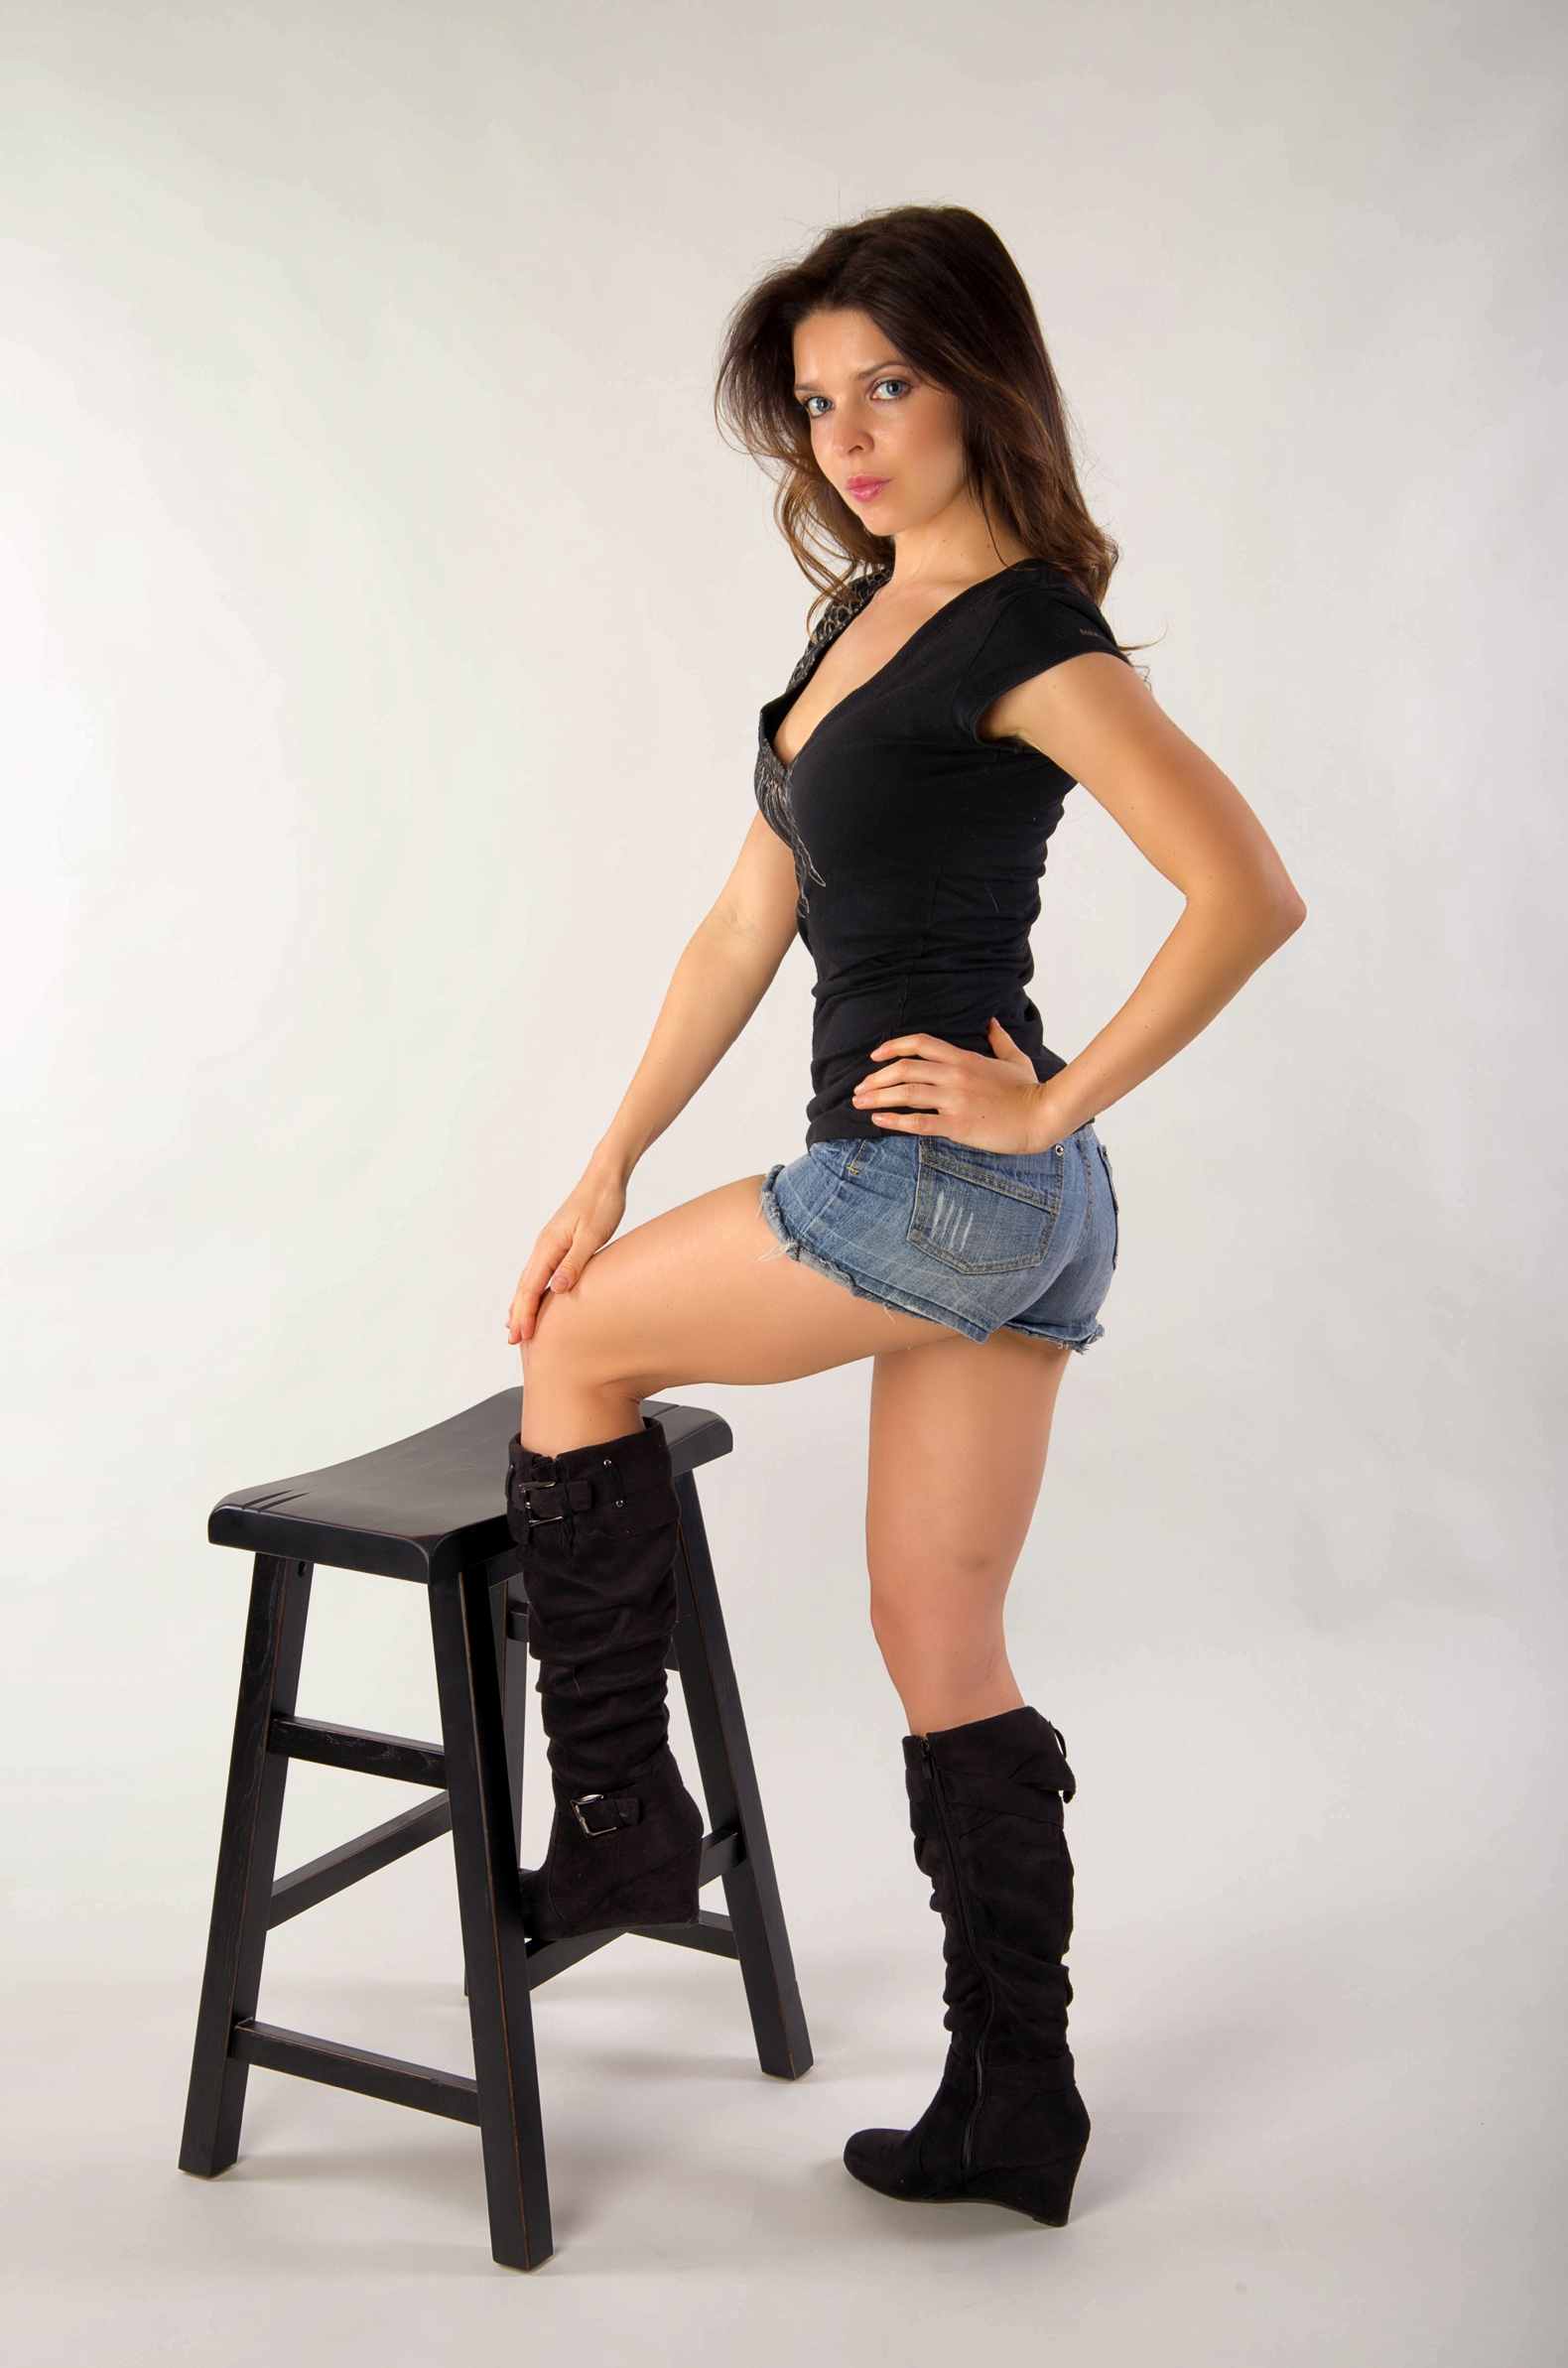
Core Pose 2: One Leg Raised
This pose shows one leg up with the foot resting on a posing stool. However, you can have your foot resting on pretty much anything like stairs, boxes, chairs, etc. The key is to keep good posture and remembering to slightly bend your knee on your standing leg!
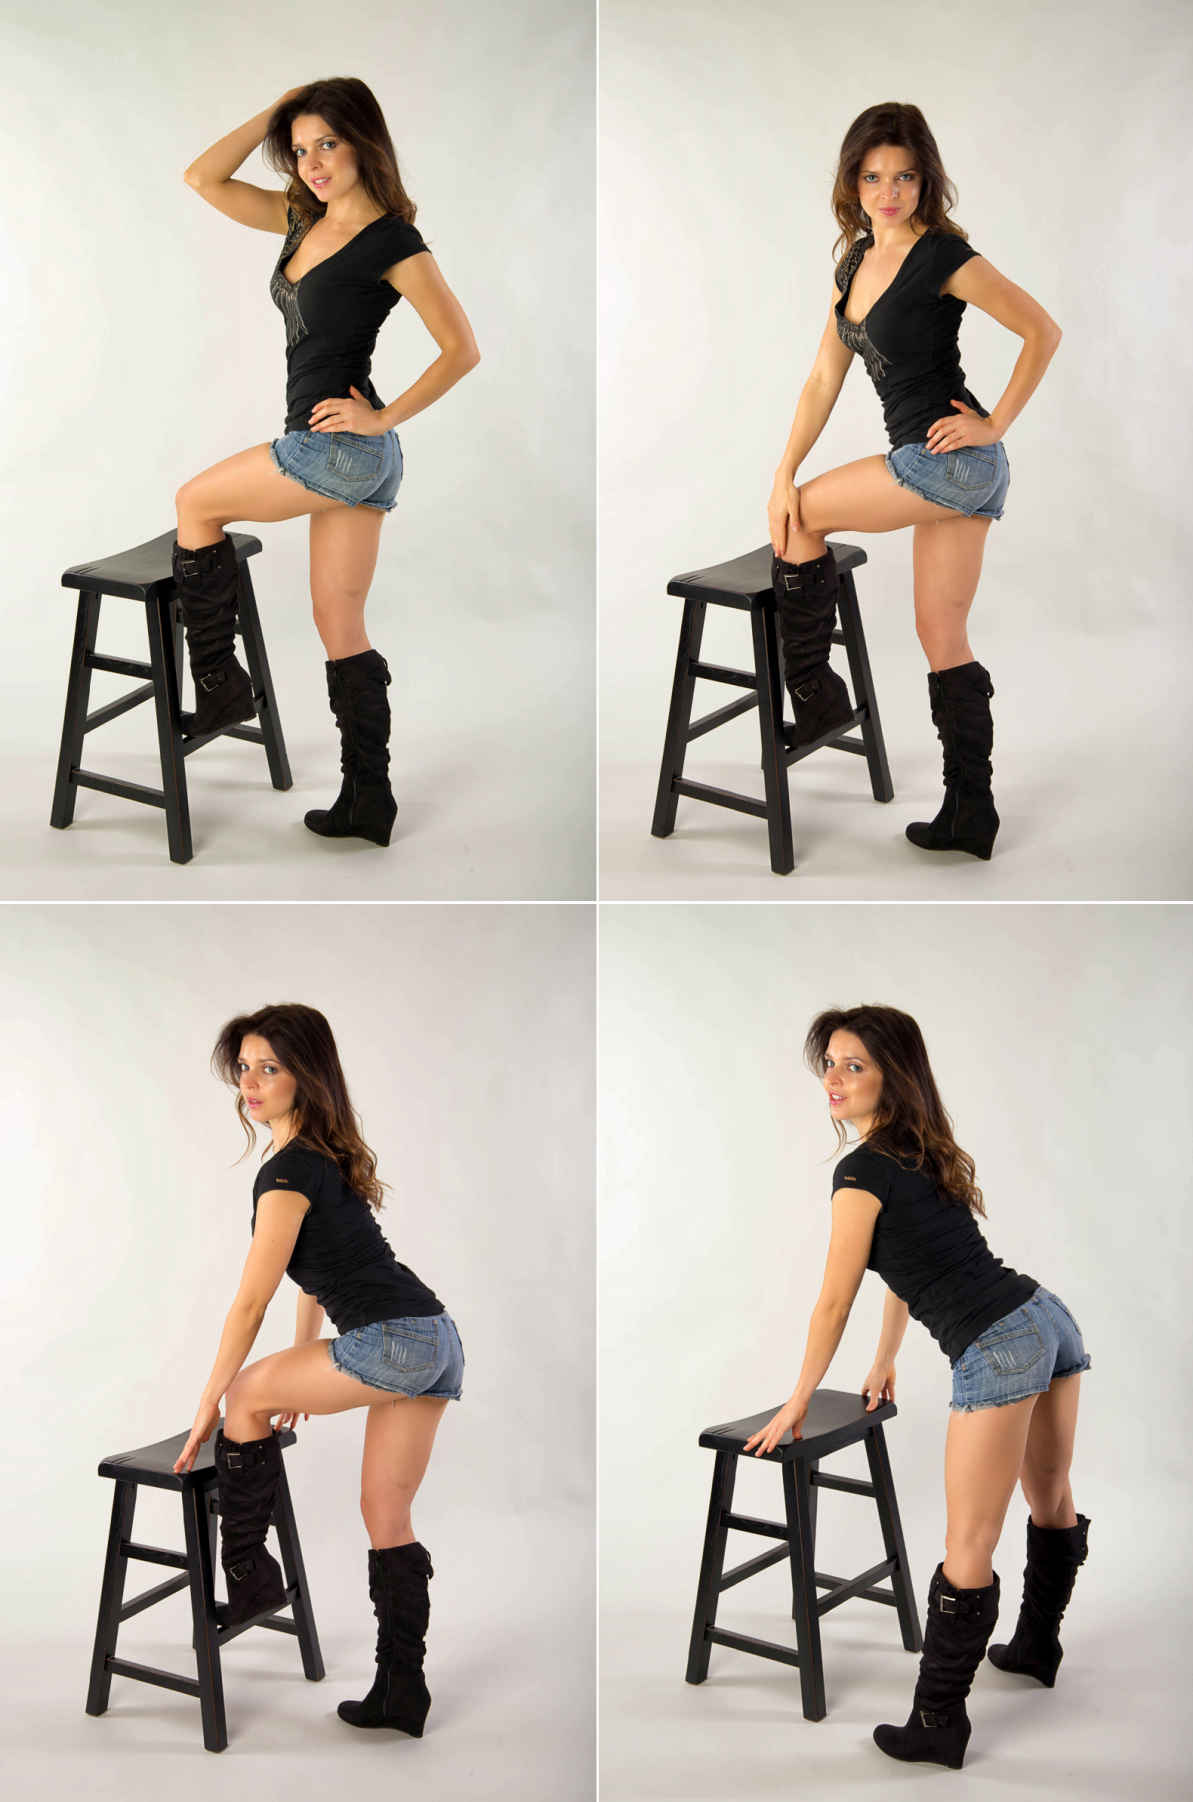
Flow Series 2: (One Leg Raised)
With each flash of the camera, experiment with a slightly different facial or hand position variation. When you believe you have nailed that stance, change your leg position a bit!
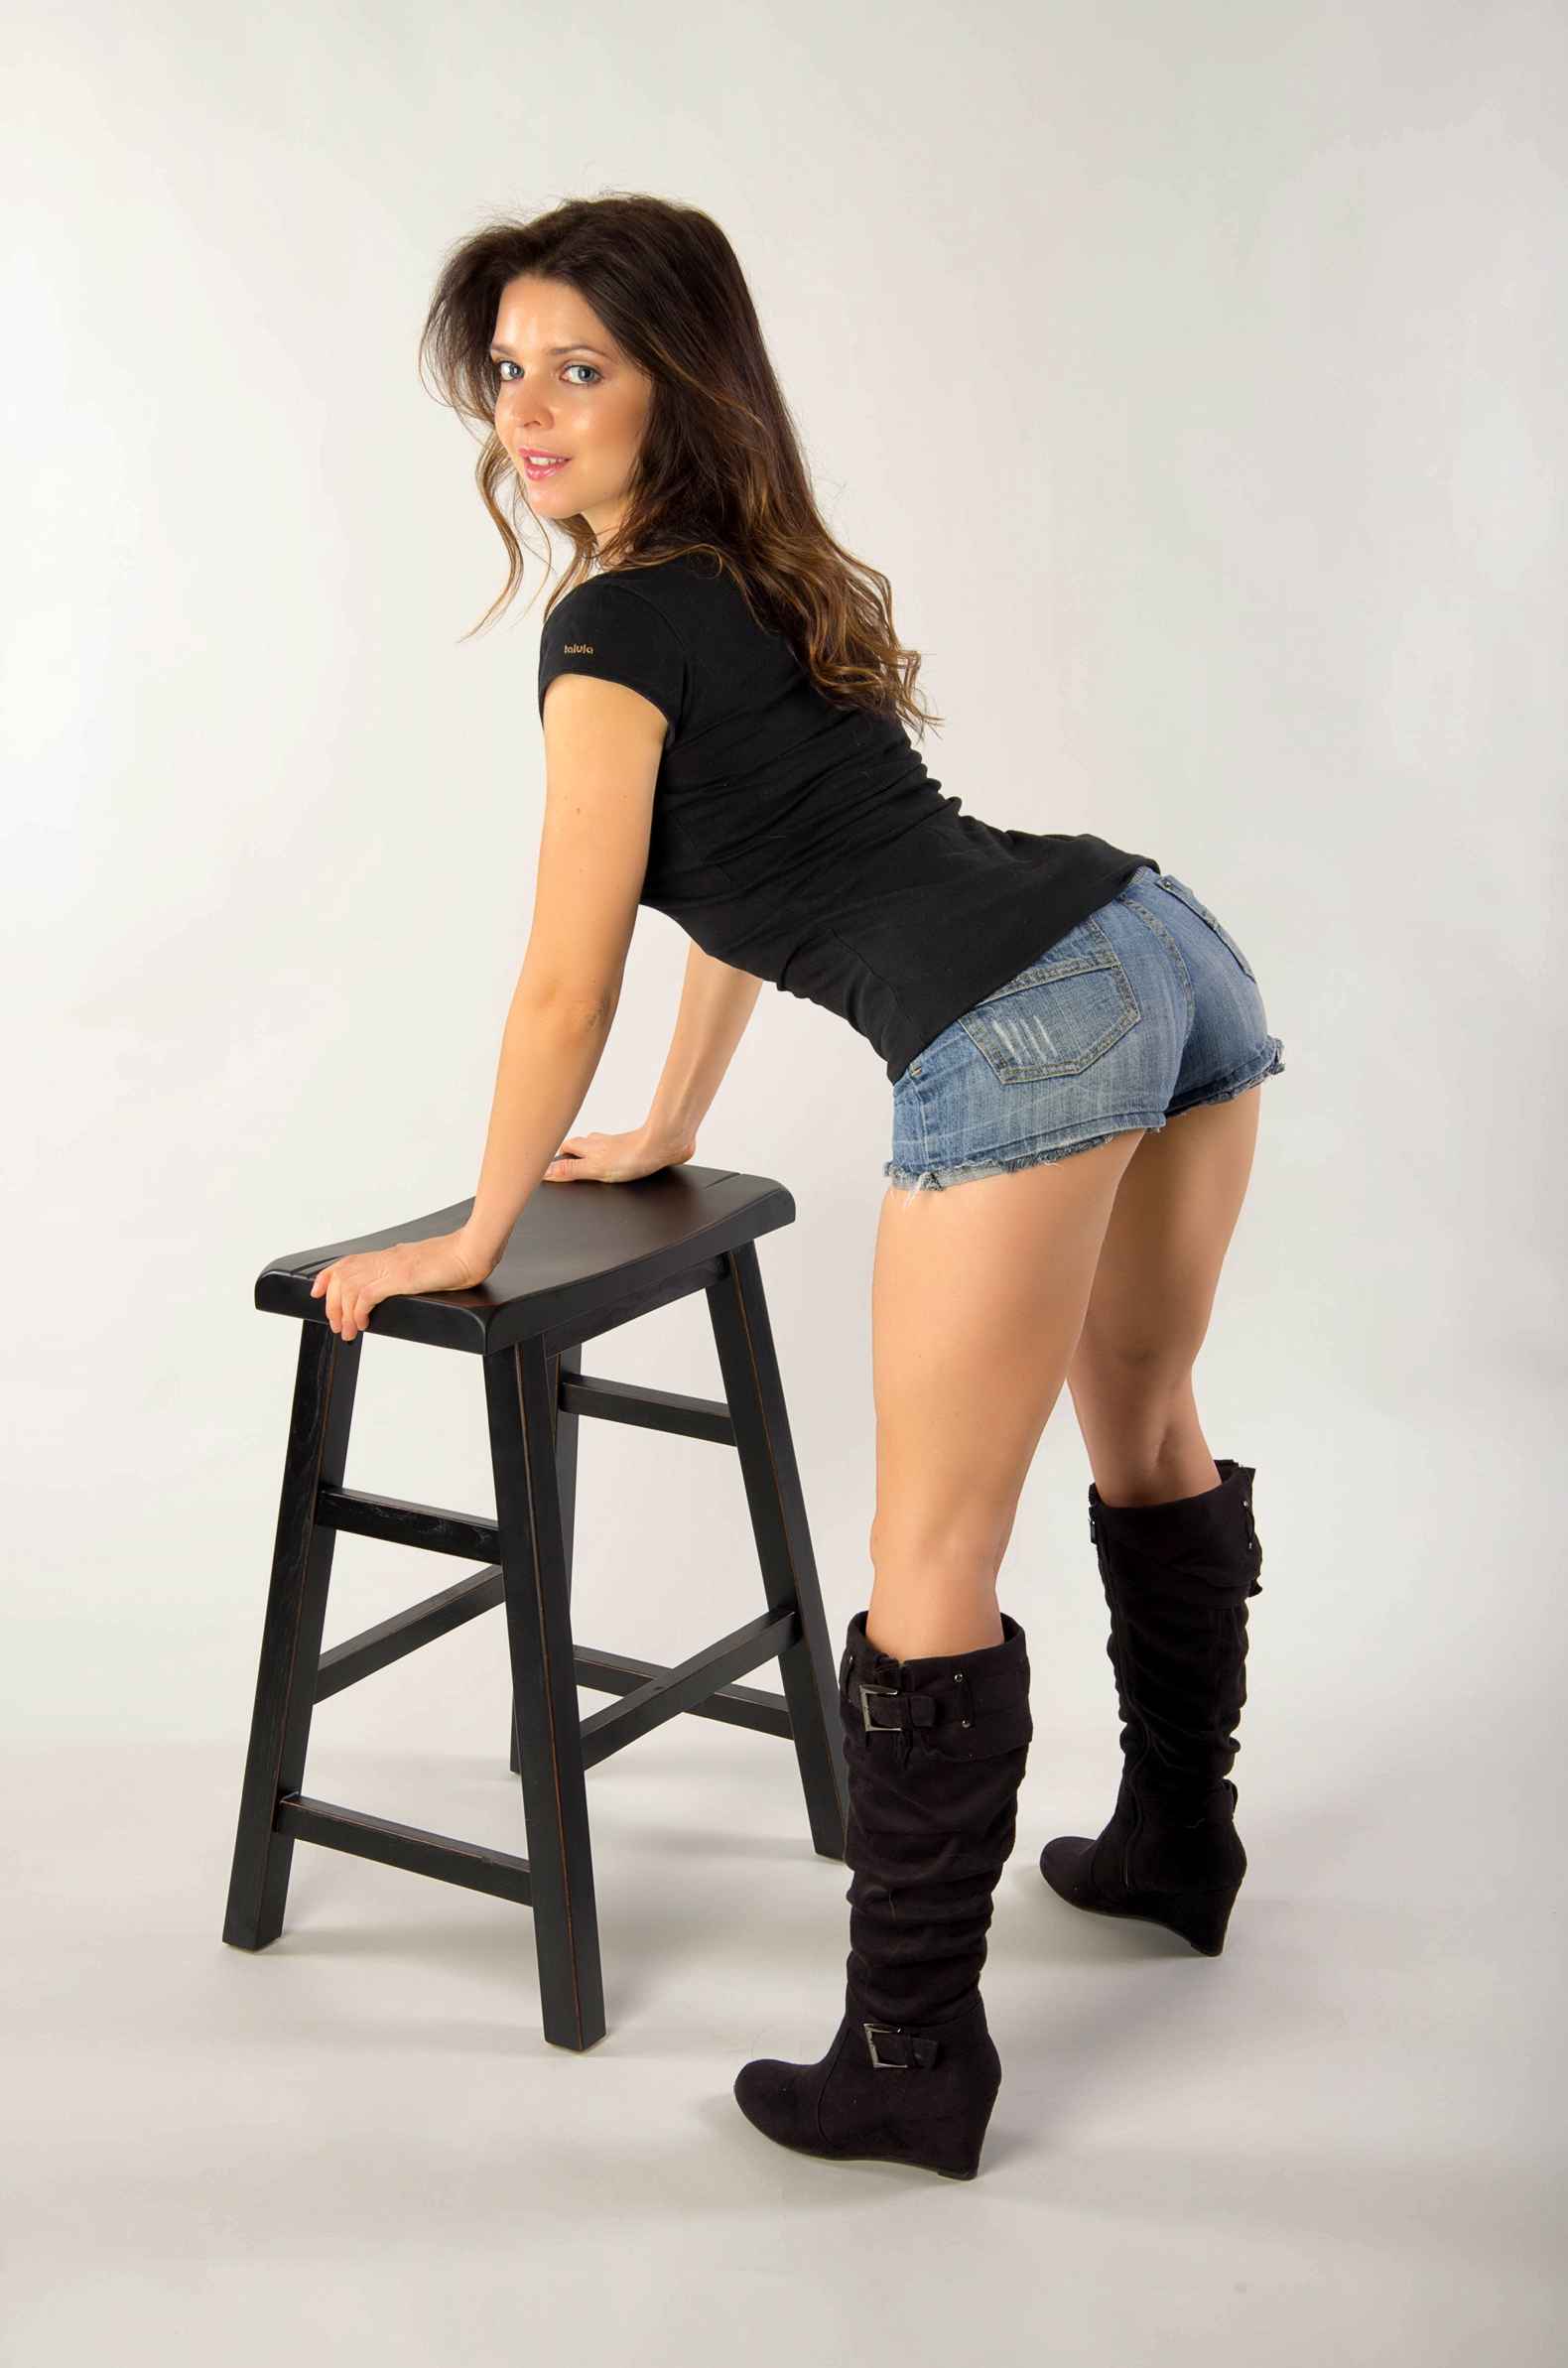
Core Pose 3: Standing Bend Over
Back arched, knees slightly bent, lean forward, look back and smile!
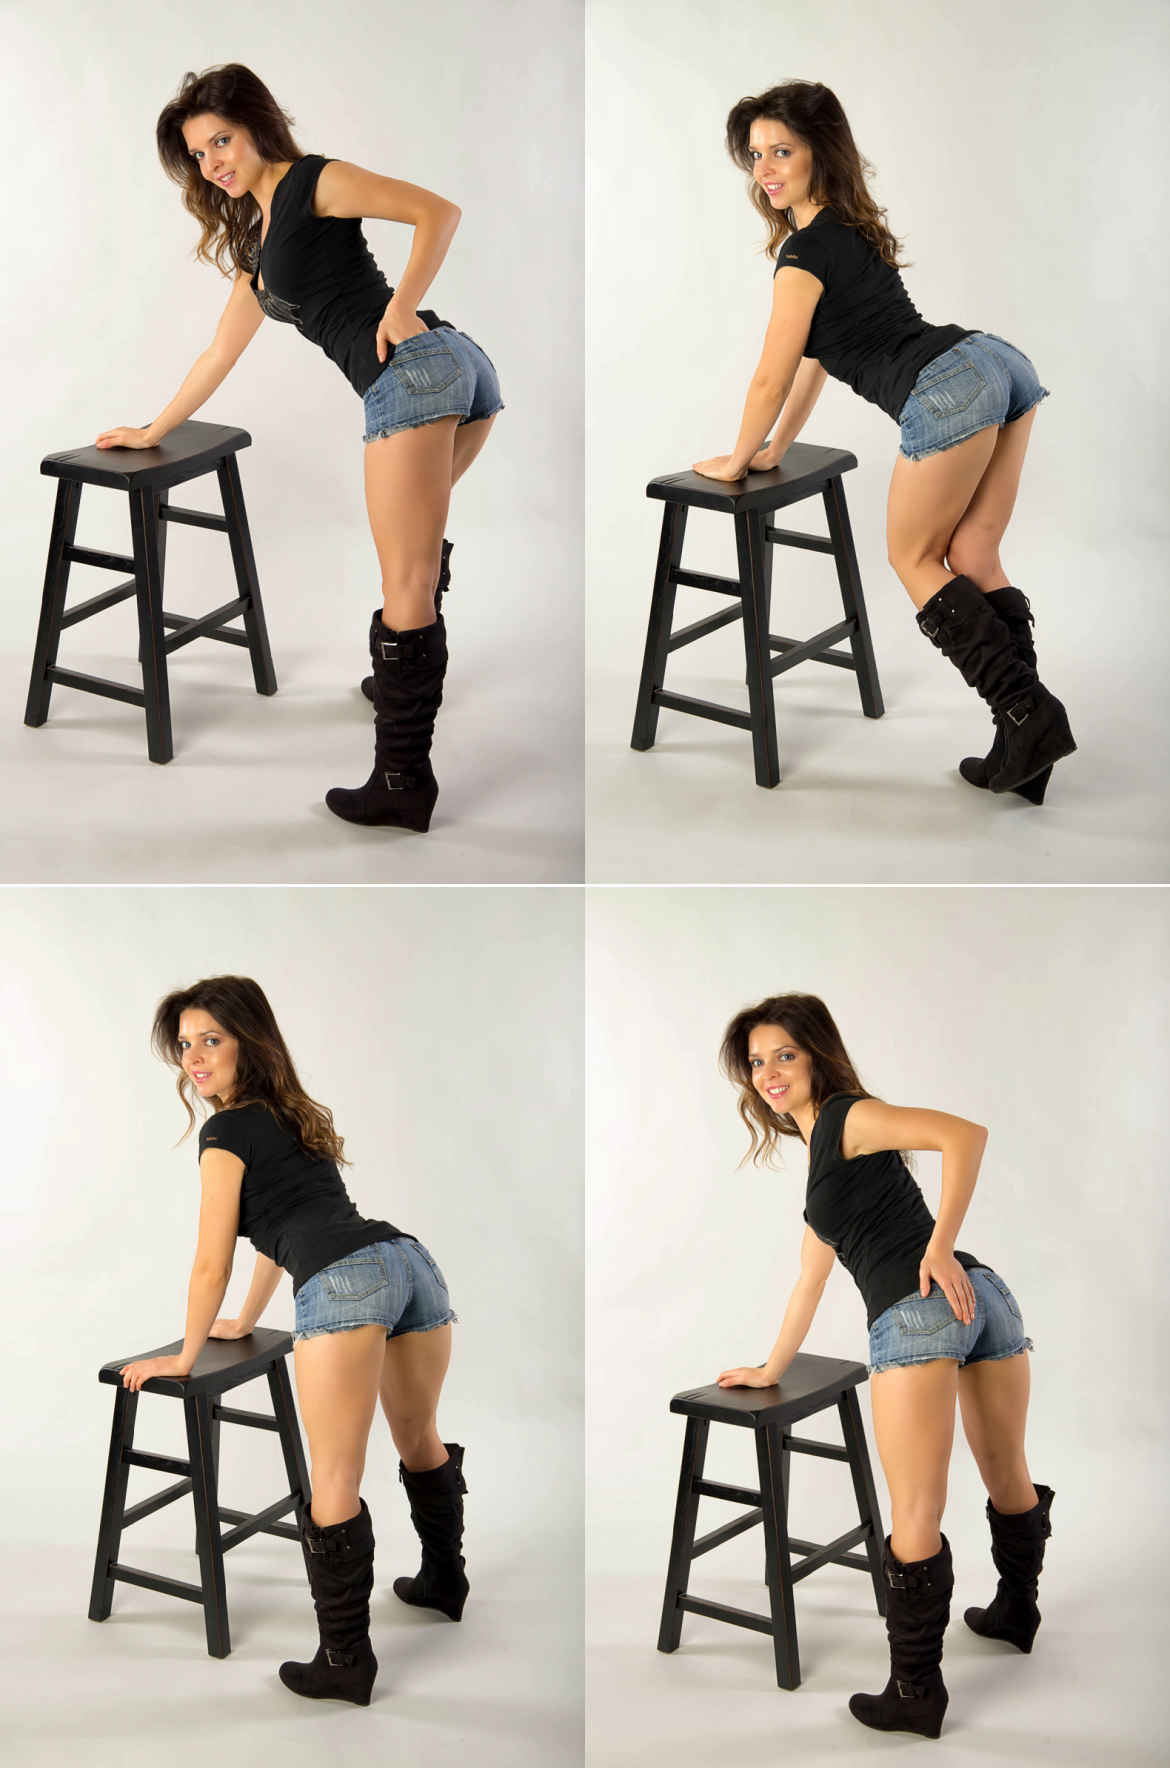
Flow Series 3: (Standing Bend Over)
Get creative! Play with your outfit a little, or think of a time when you were having the best time of your life! This technique makes the shoot fun!
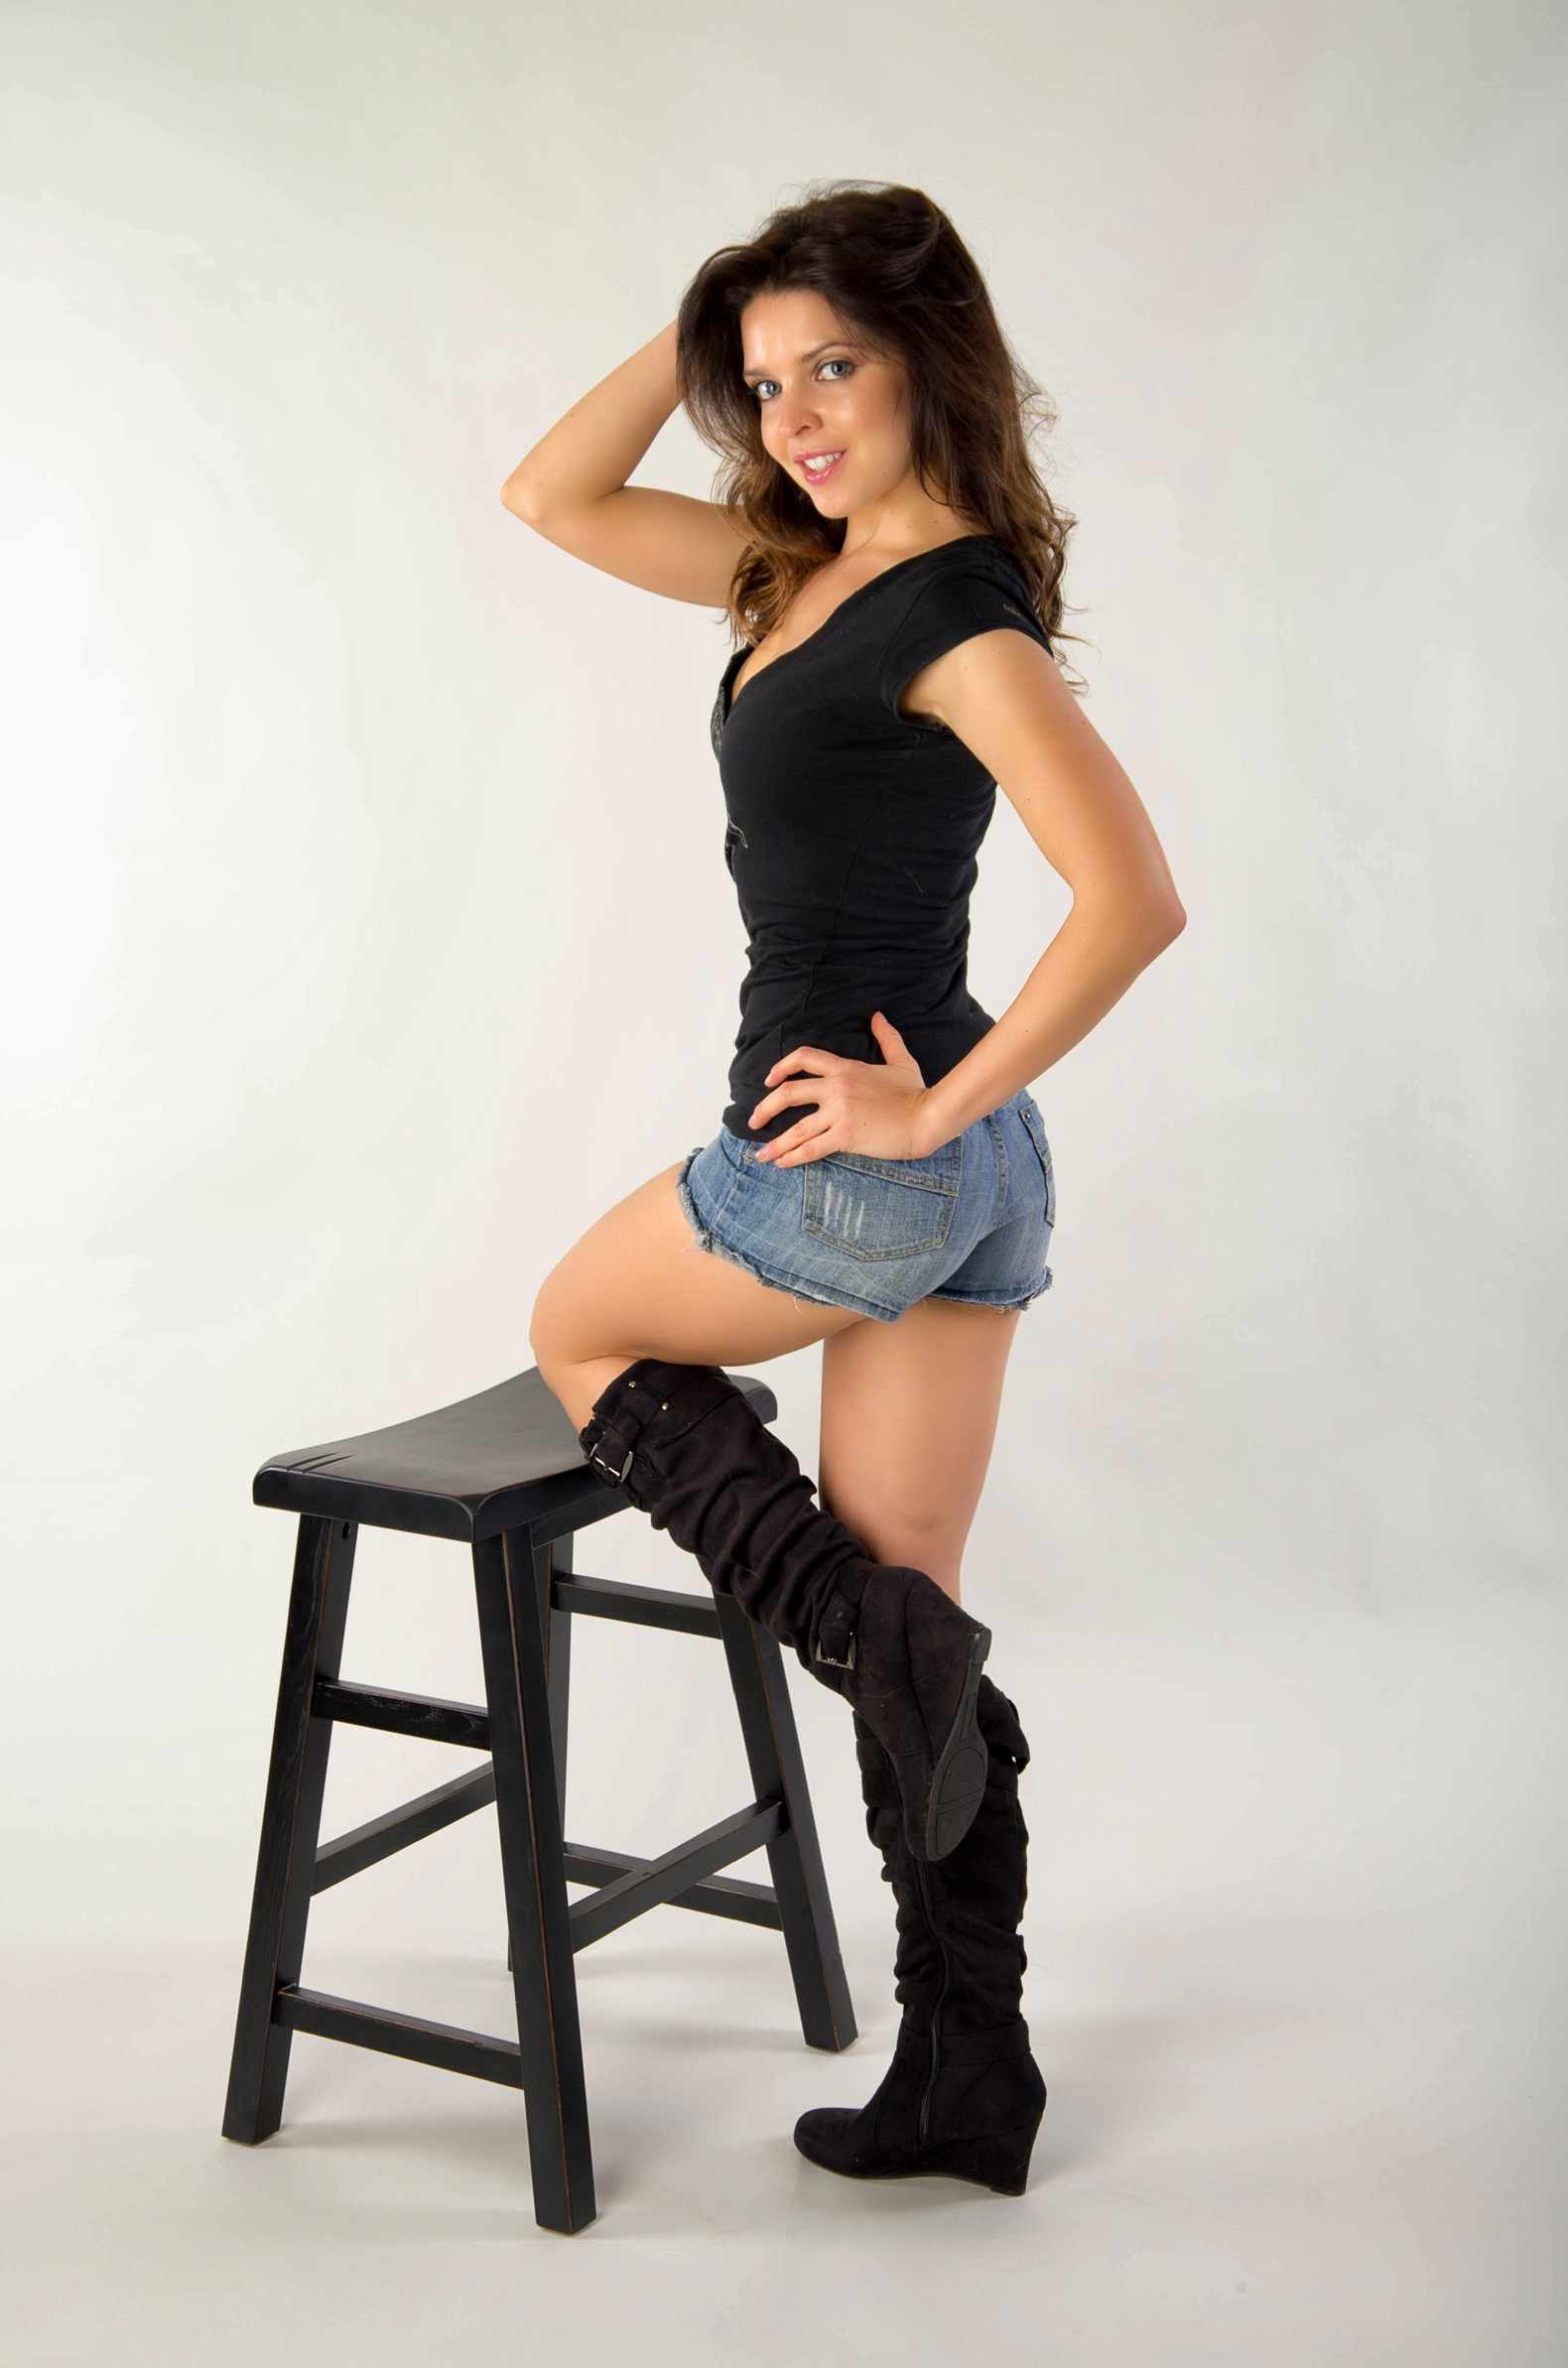
Core Pose 4: Using Triangles While Standing
Observe how the elbows and knee create three attractive triangles! Keep your hips turned sideways and your shoulders twisted to the camera to shrink your waist.
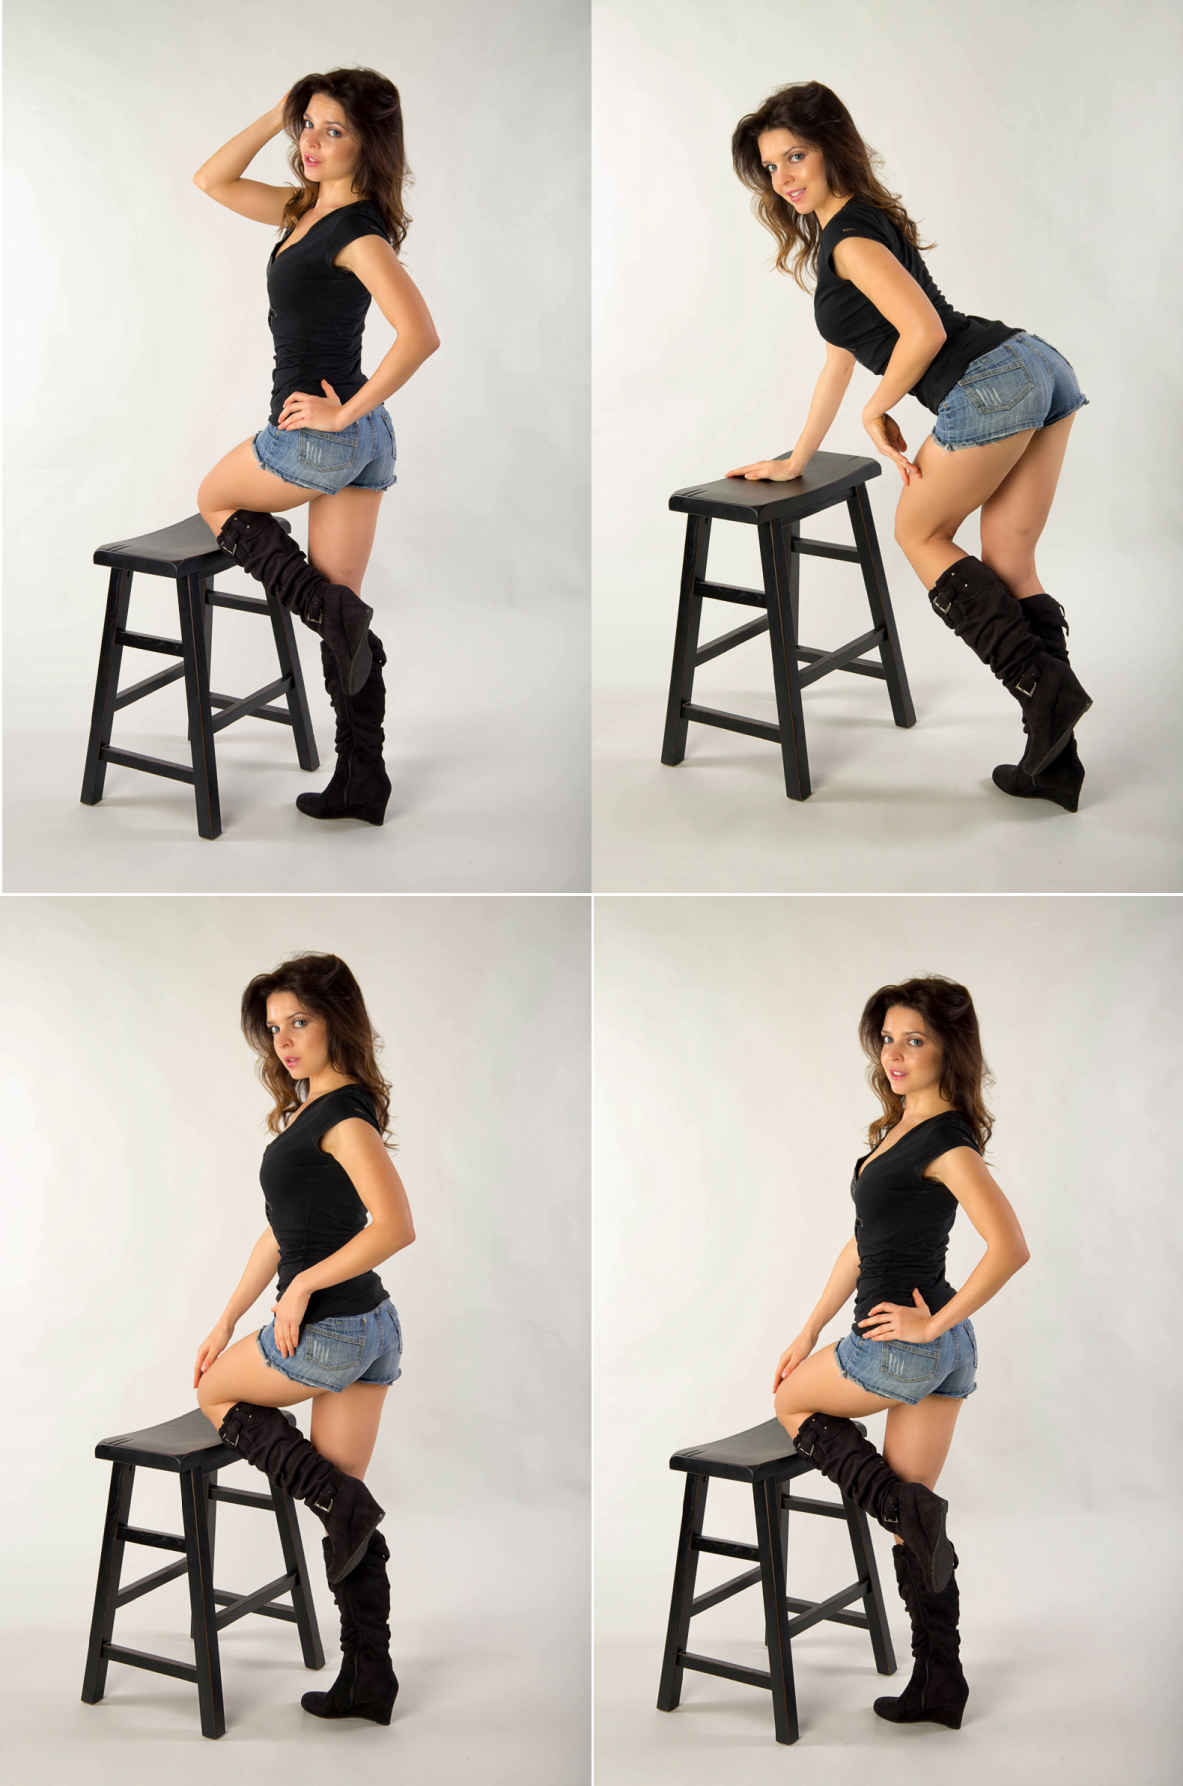
Flow Series 4: (Using Triangles While Standing)
Vary your positioning slightly snap by snap, but remember your closer leg is always the bent one, and your further arm is never to block your face!
SITTING POSES AND FLOW
Core Pose 5: Angles! Angles! Angles!
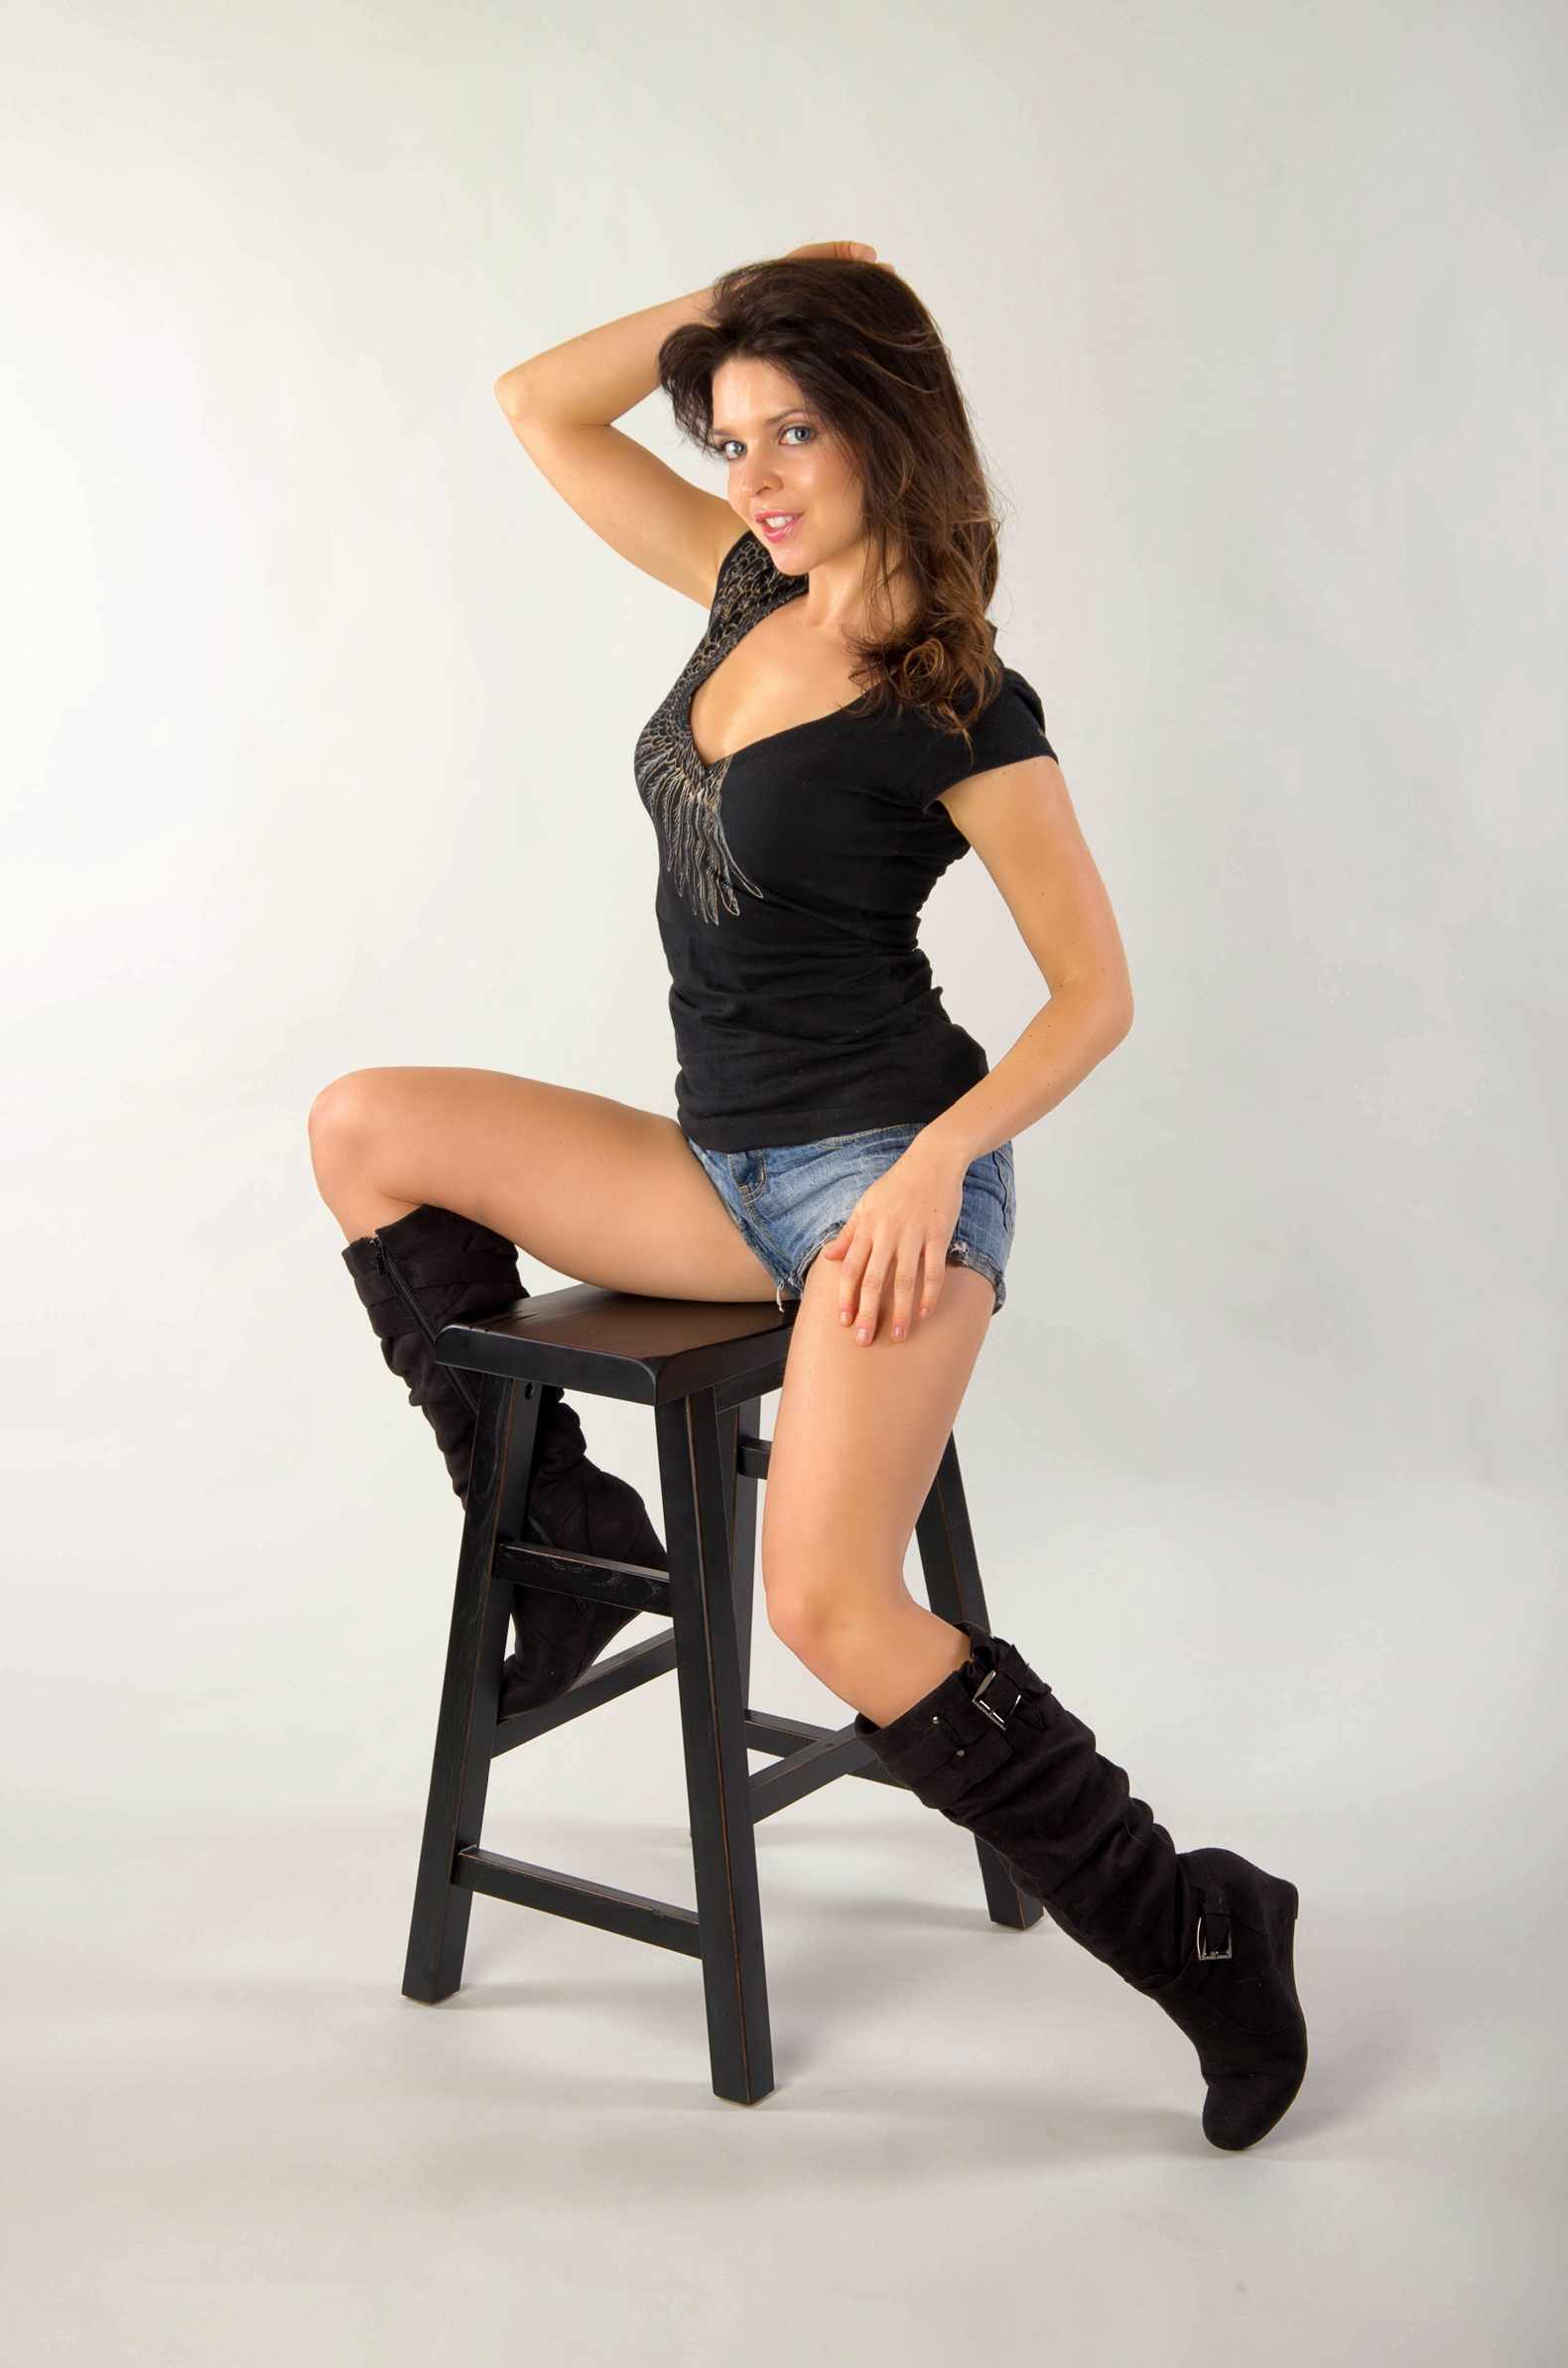
This pose has a lot going on! Notice how all of my limbs are bent, my back is arched and my toes are pointed. Also, notice how my hand is lightly touching my thigh and my fingers are closed. Placing your hand this way always looks flattering.
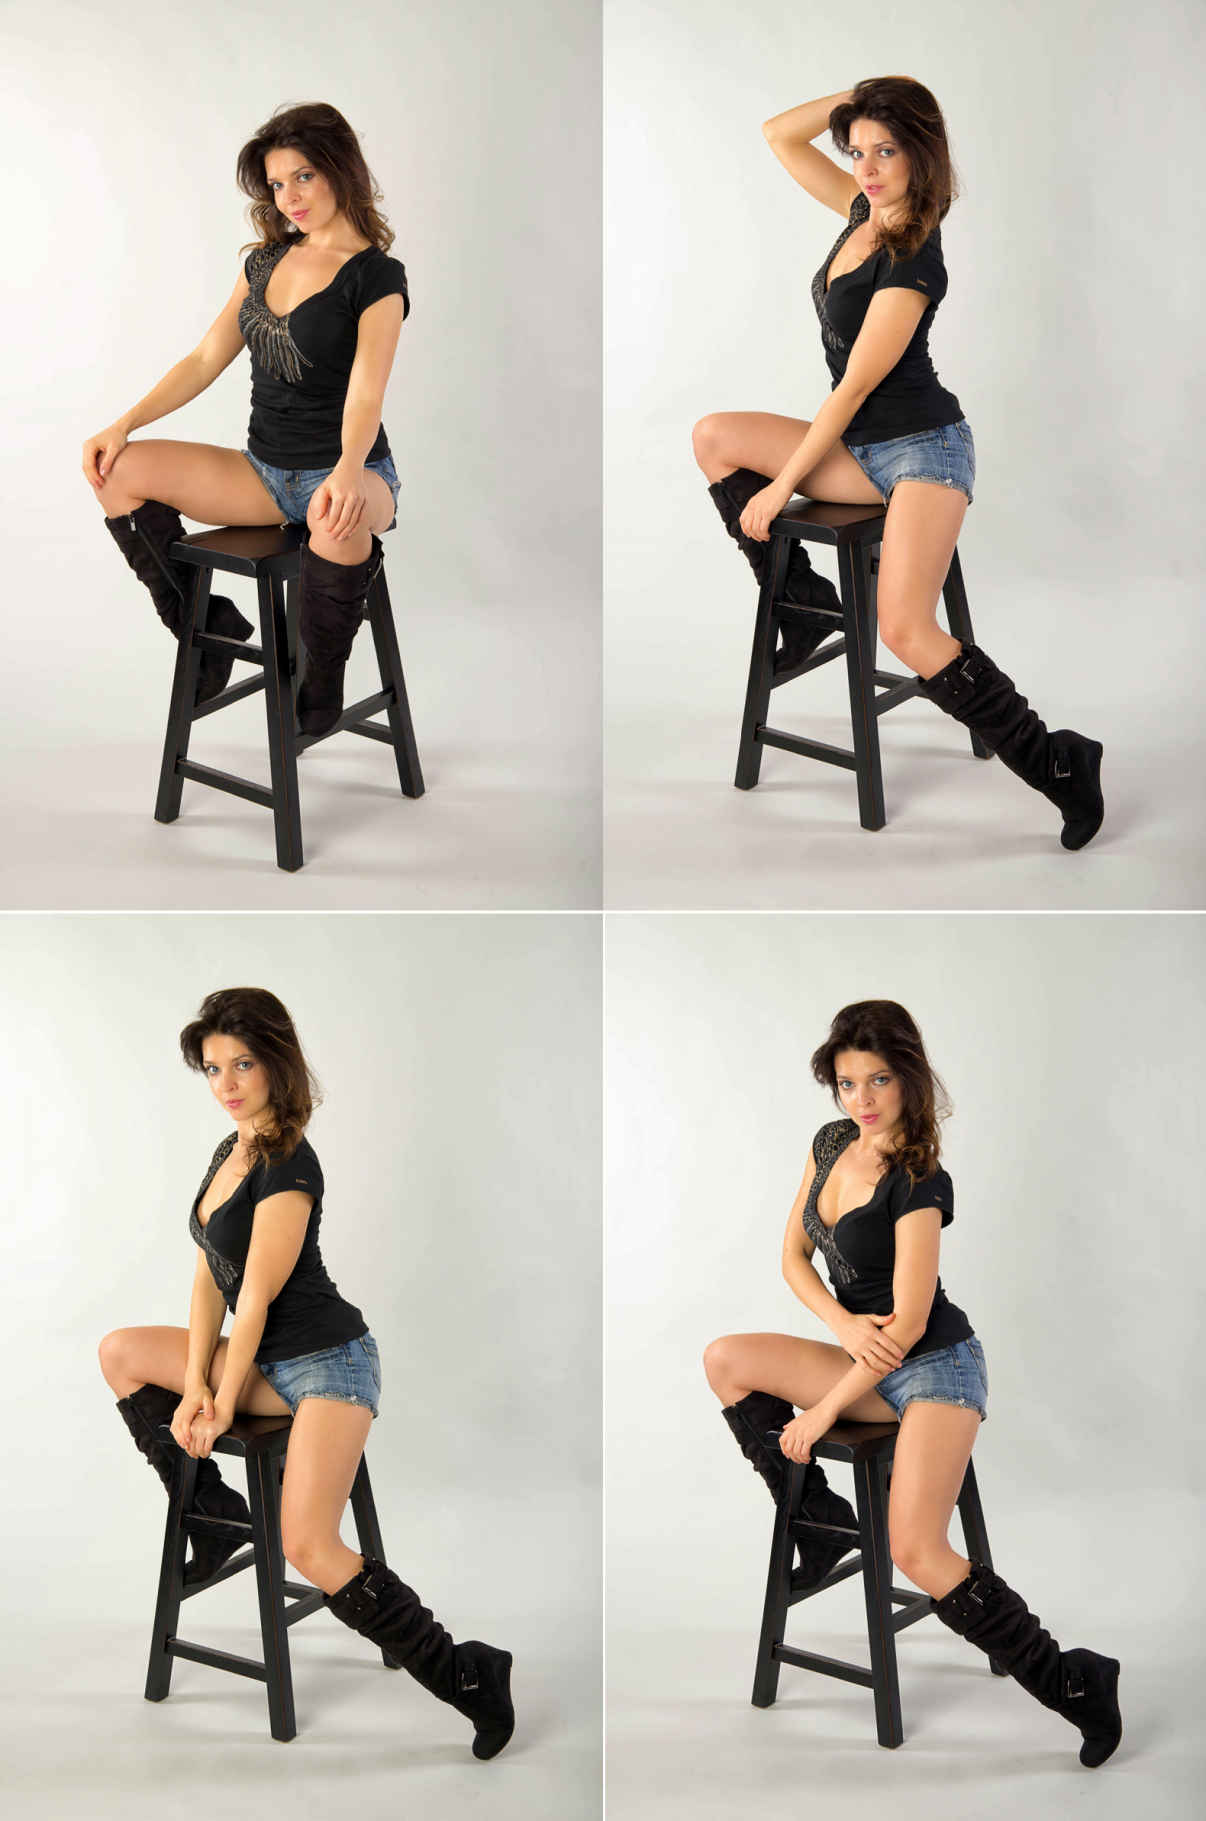
Flow Series 5: (Angles! Angles! Angles!)
By now you should have somewhat of an idea of what it means to "flow" from pose to pose. Keeping a steady pace with the photographer's shooting rhythm also helps, like a dance!
Core Pose 6: Over the Shoulder
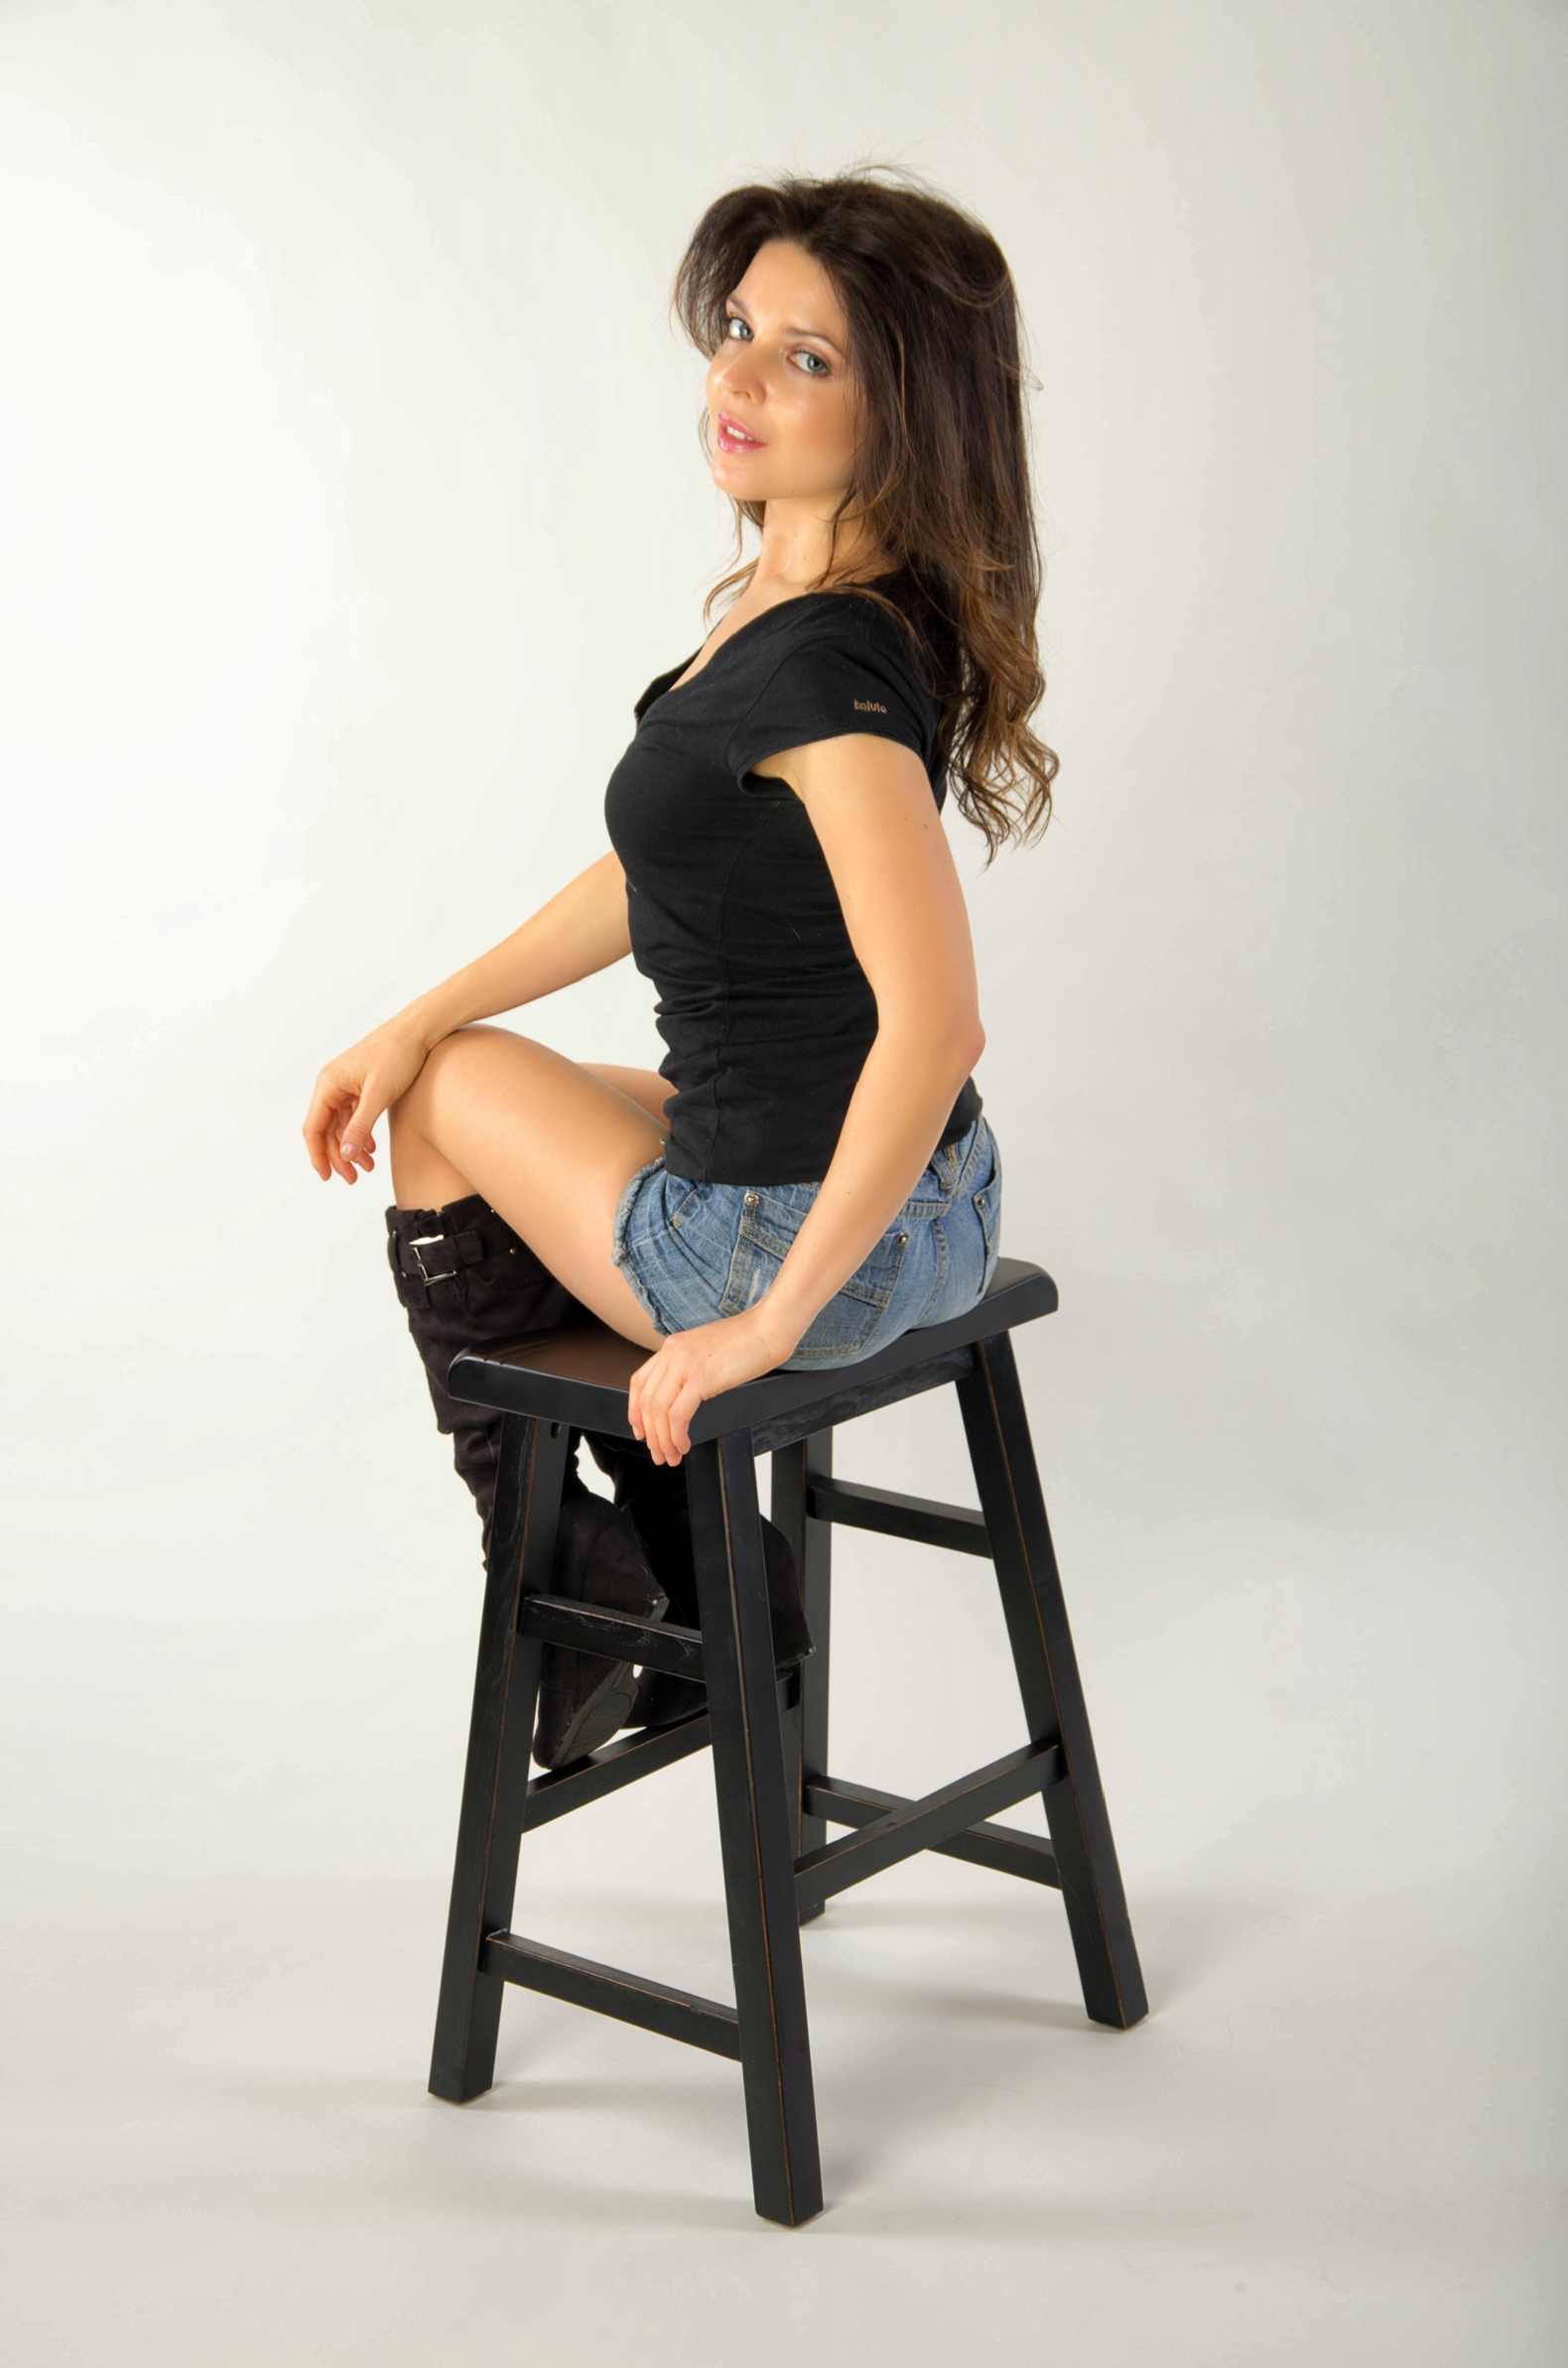
Casual and classy! Angle your body diagonally away from the camera, look over your shoulder (toward the light) and keep your closer knee slightly higher than the other.
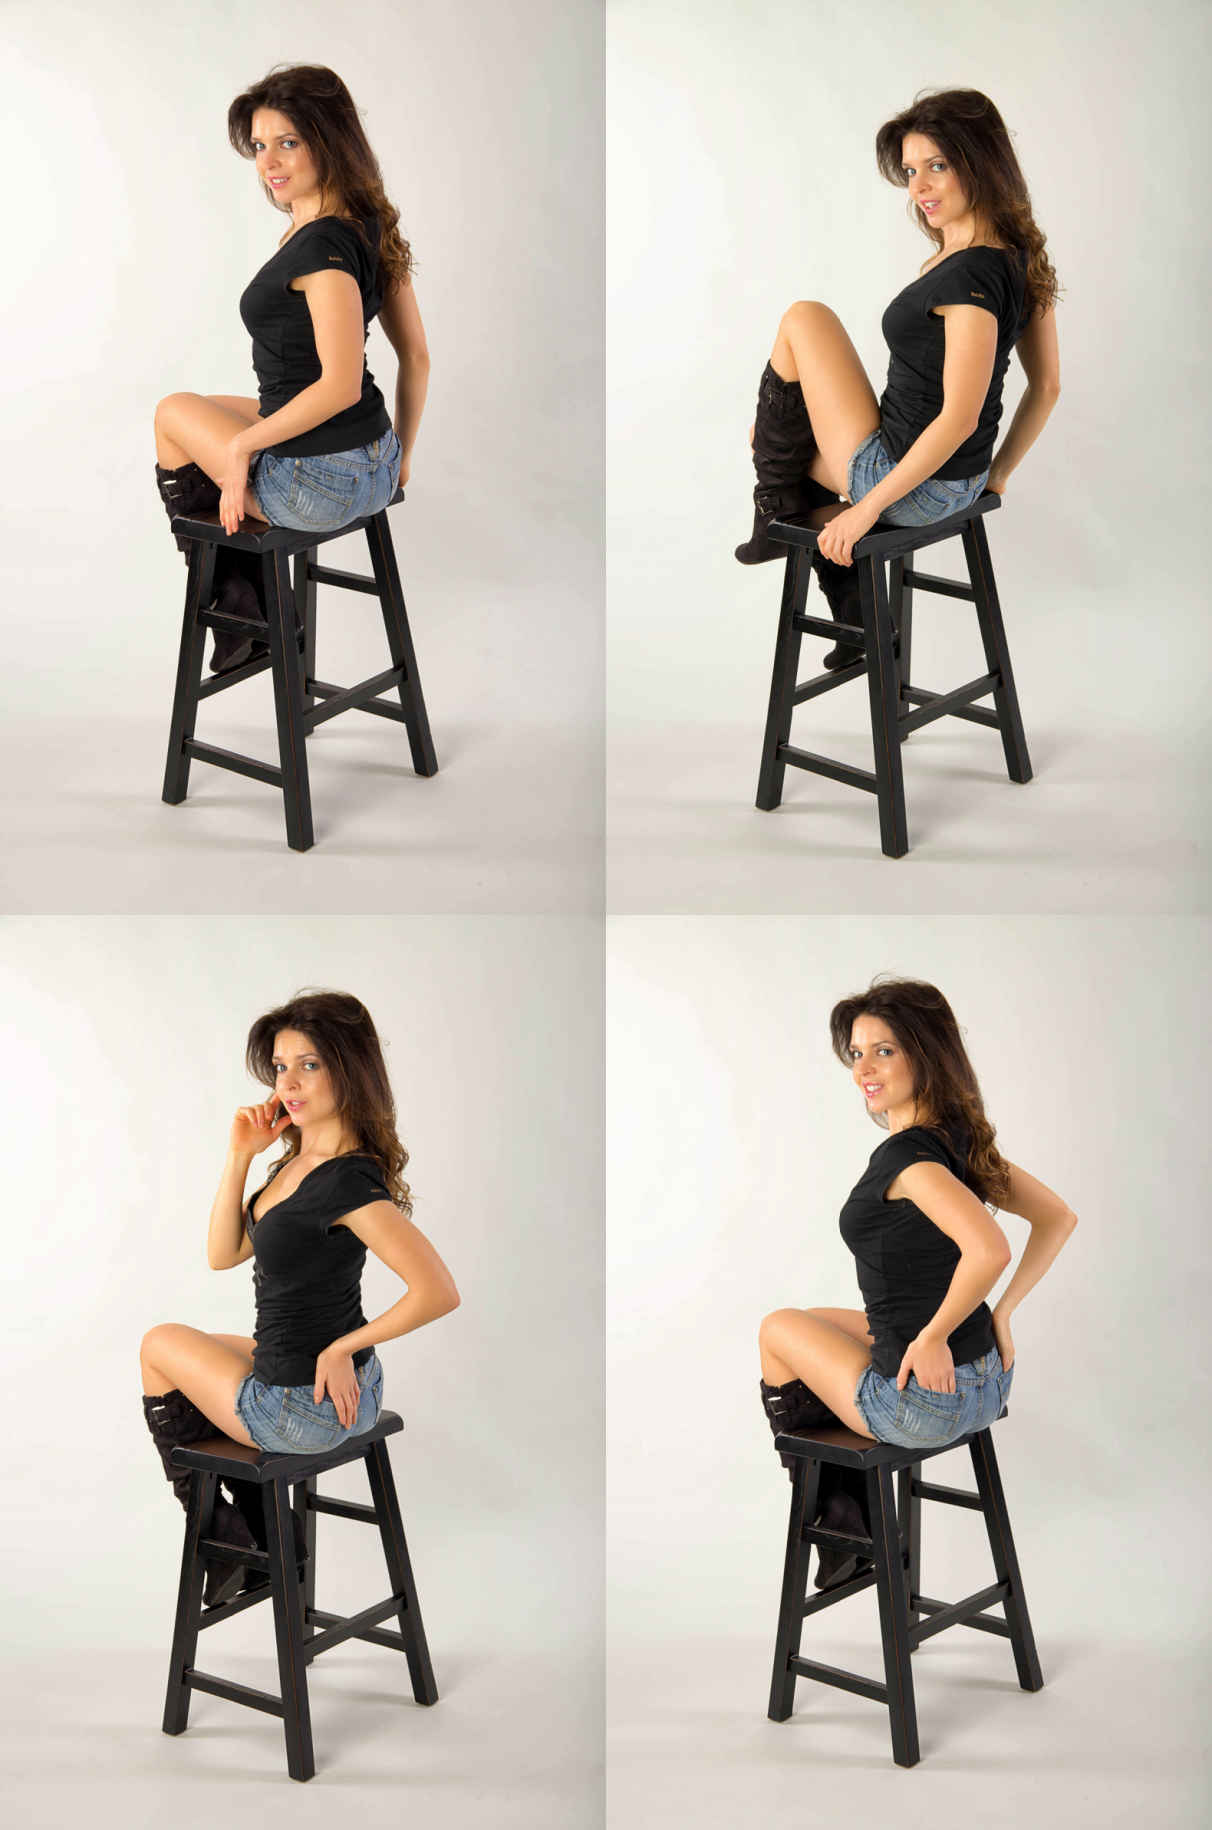
Flow Series 6: (Over the Shoulder)
Hold your legs in the same pose while creating new expressions with your eyes and changing hand positions.
Core Pose 7: Perfectly Balanced
If you're not having fun, you're doing it wrong! This balancing pose is beautiful because of the negative space you create. Take a deep breath and keep a straight spine!

